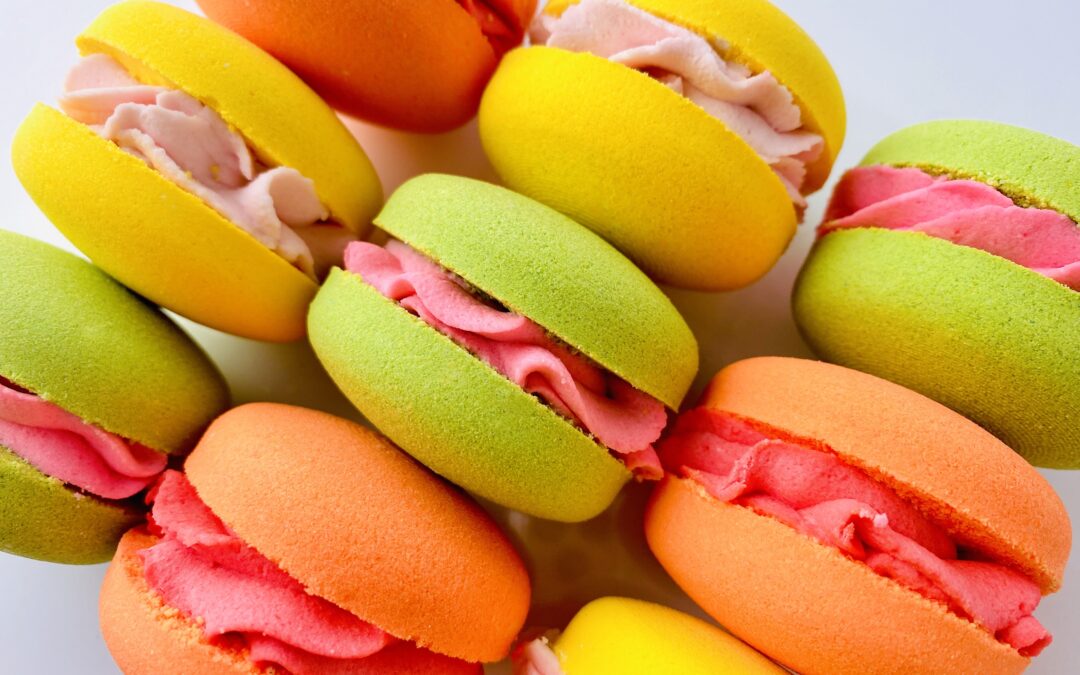
Macarons are probably the cutest dessert out there! (In Amanda’s opinion!) They come in a variety of colors and filing choices. They also make adorable bath bombs and bubble bars! I feel like using the macaron mold is super simple and Wonder Bar makes an easy filing.
For this project, Robyn and I used Robyn’s Humid Weather Bath Bomb Recipe. We used Wonder Bar for the icing.
For the mold, we used a Cada macaron mold. It is probably one of the easiest molds to use! I love it because you can make macarons, vanilla wafers, cookies…all sorts of stuff!
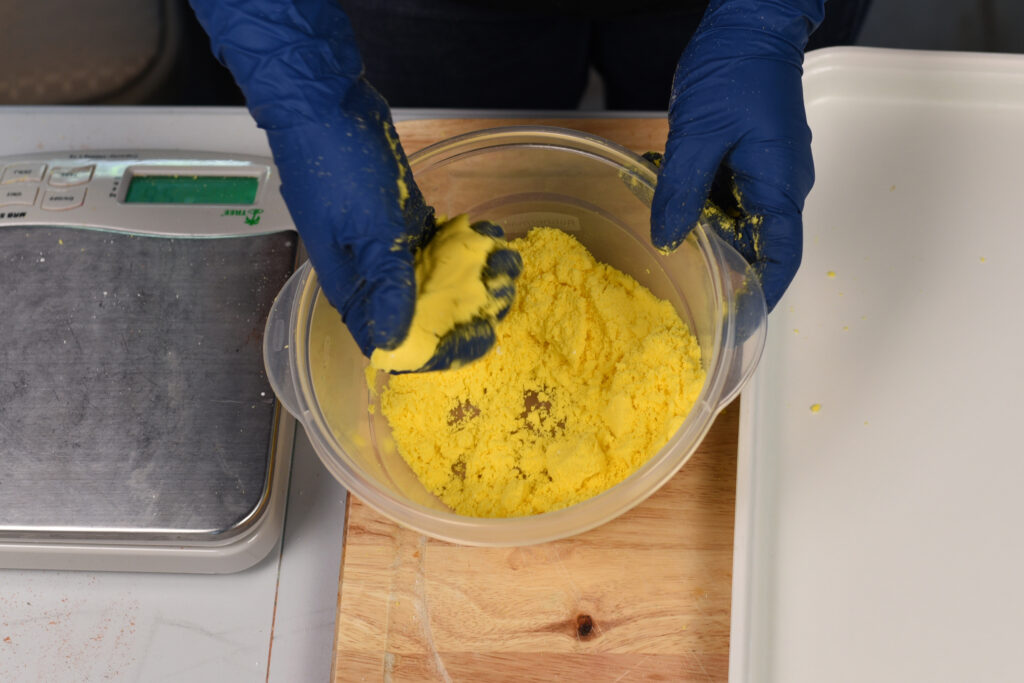
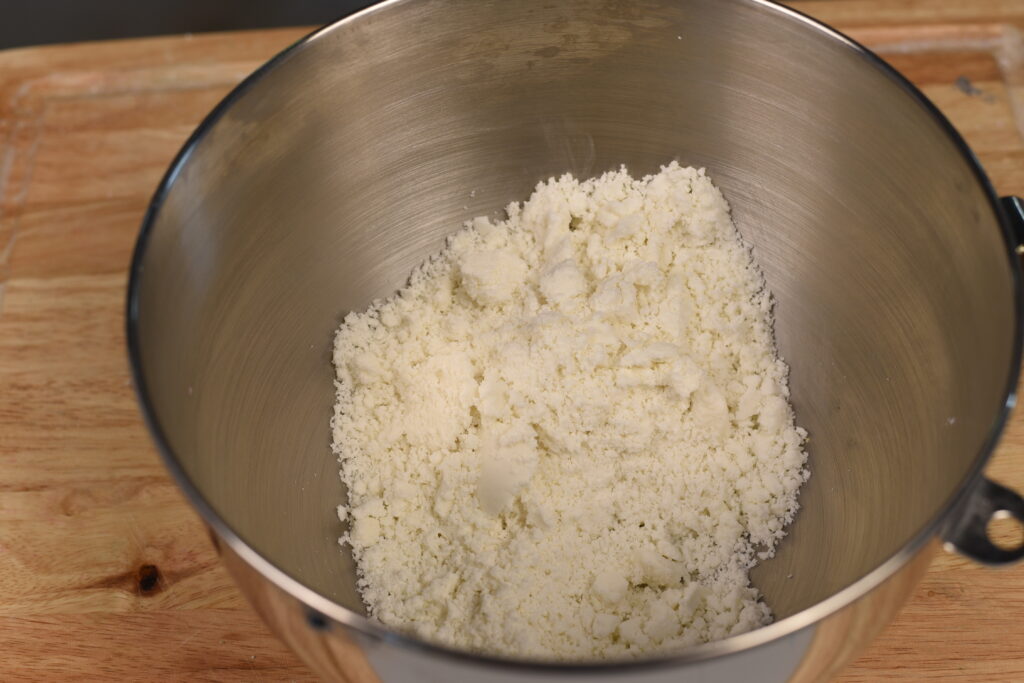
Step 1: Mix up your bath bomb mixture and make a note of the total amount because you’ll divide it by three. We used a quarter batch of Robyn’s recipe so noted that our total mixture weighed about 540 grams.
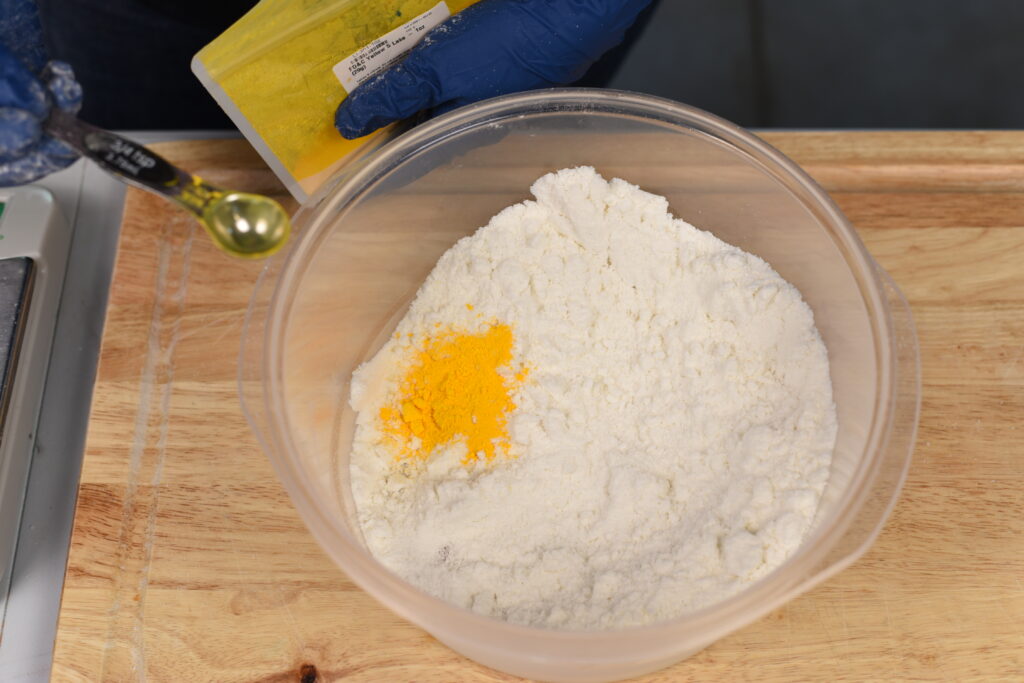
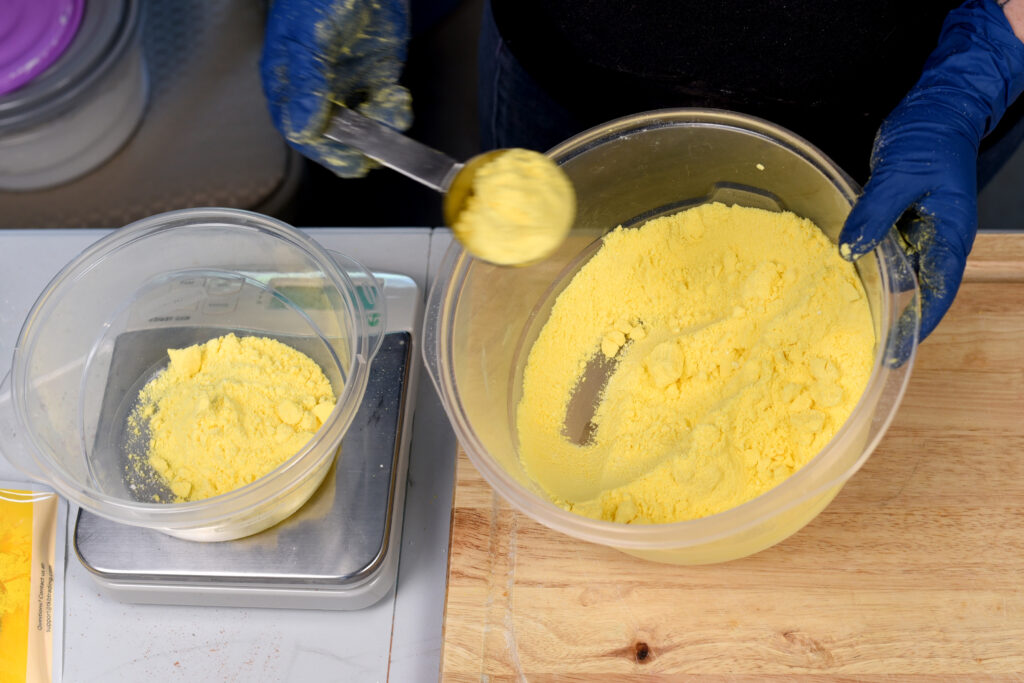
Step 2: We added 3/4 teaspoon of Yellow 5 to the entire batch and mixed well.
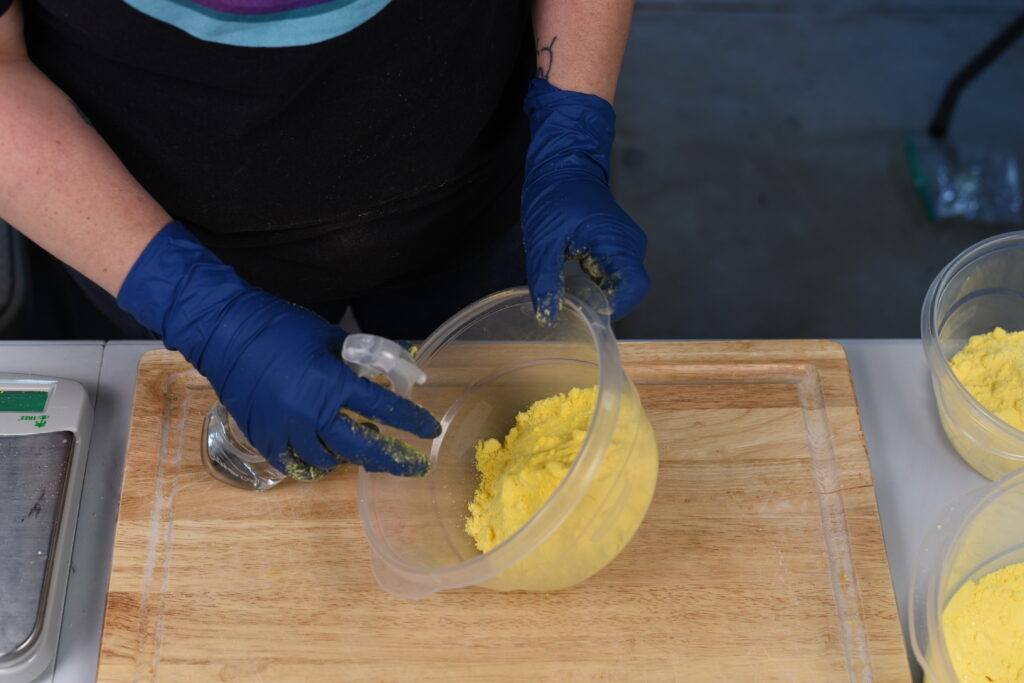
Step 3: We then divided the batch into three parts (about 180 grams each).
NOTE: We’ve added everything but binder at this point!
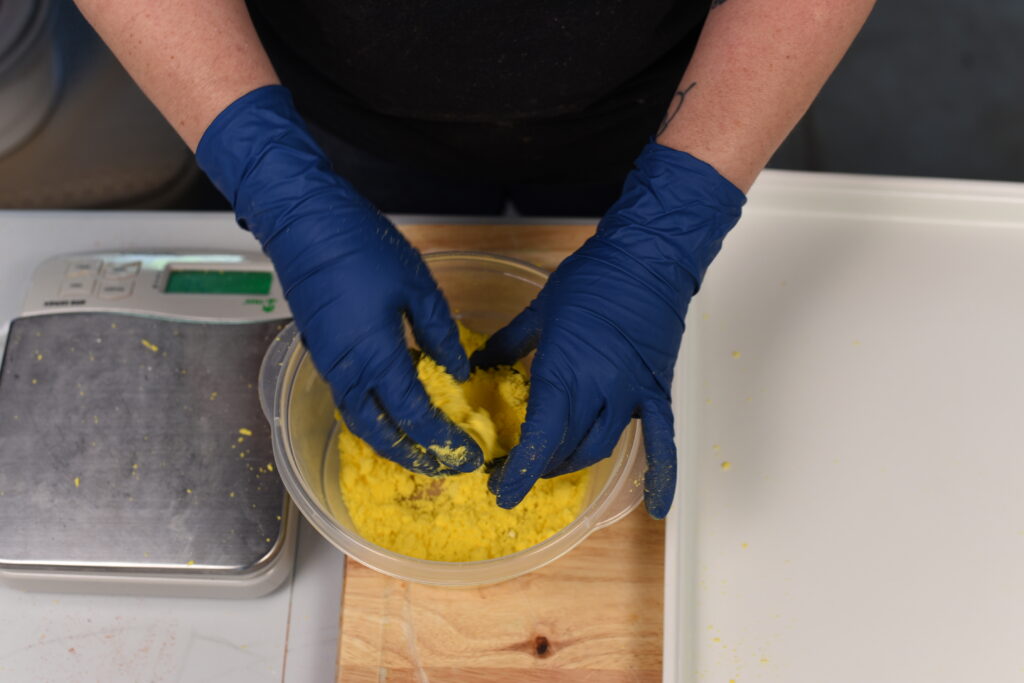
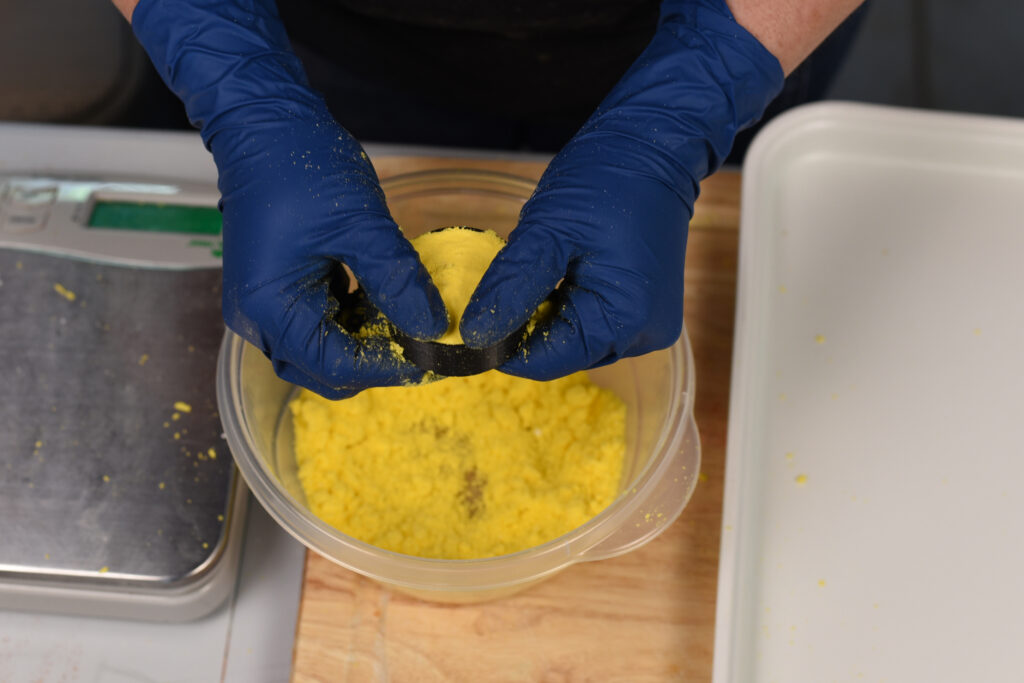
Step 4: Take your first part and leave it as a is…yellow. Add binder and mix well. Try a drop test and see if it’s ready.

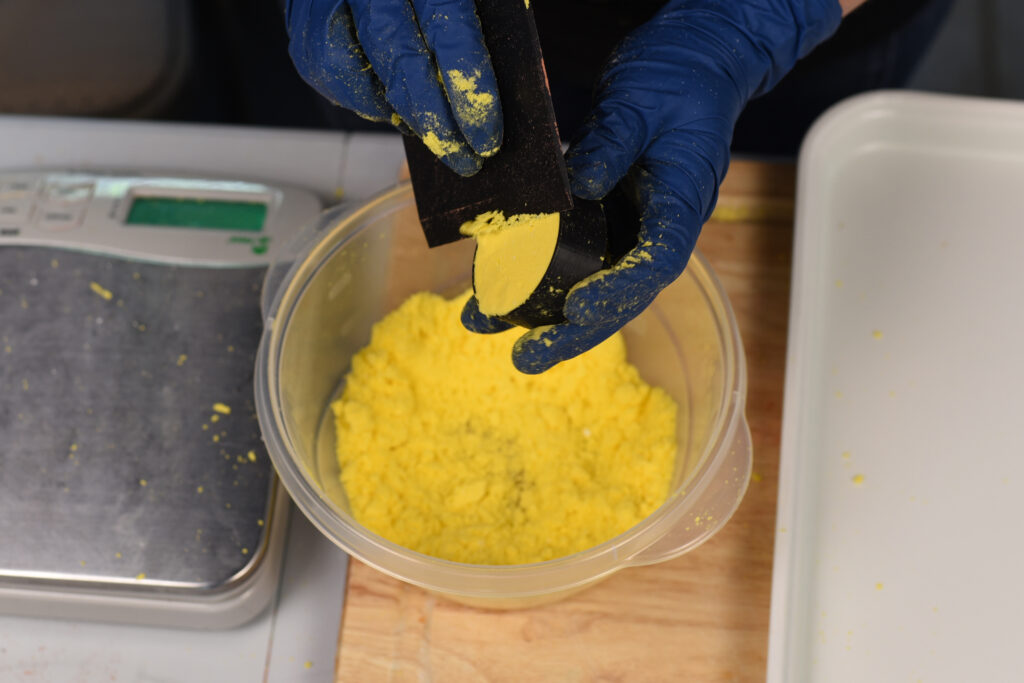
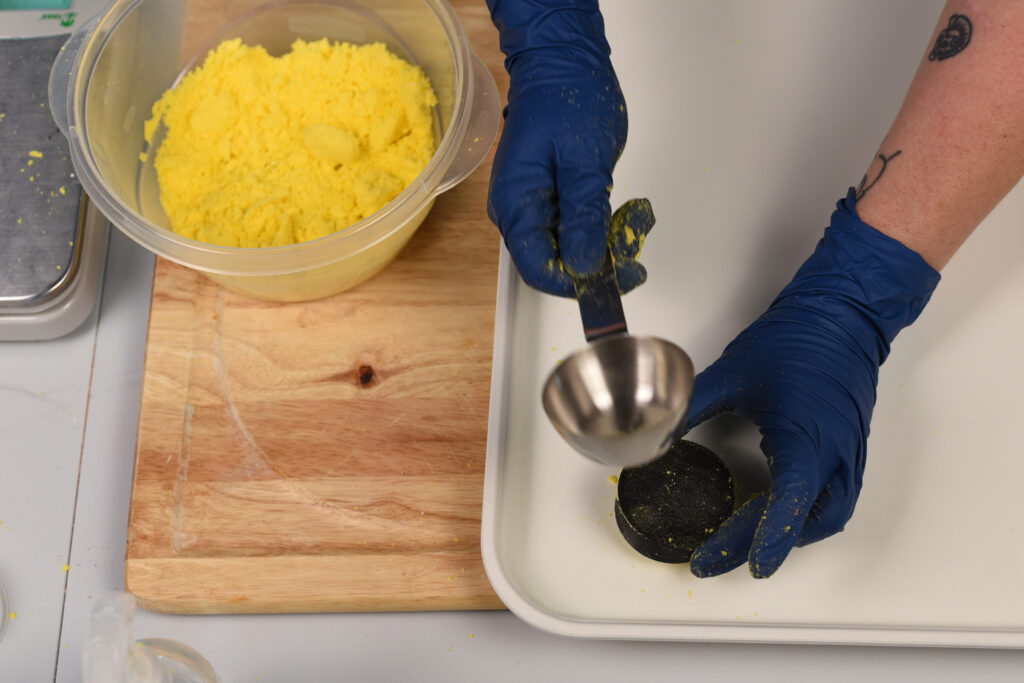
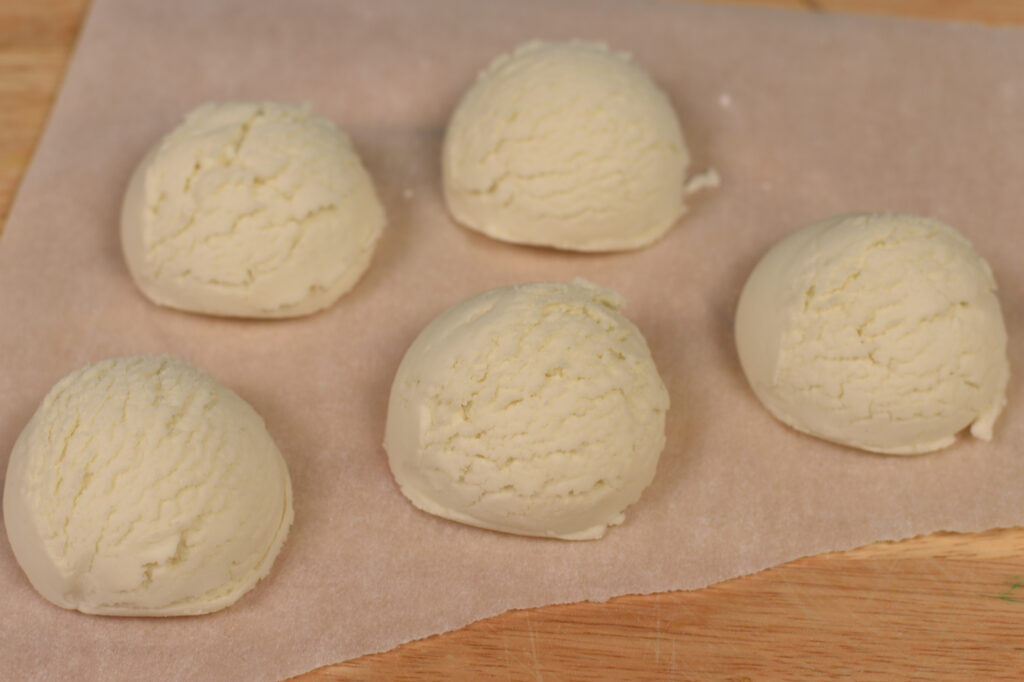
Step 5: Mold your macaron shells! Press the mixture into the mold and scrape off any overfill. This gives you a nice, flat base.
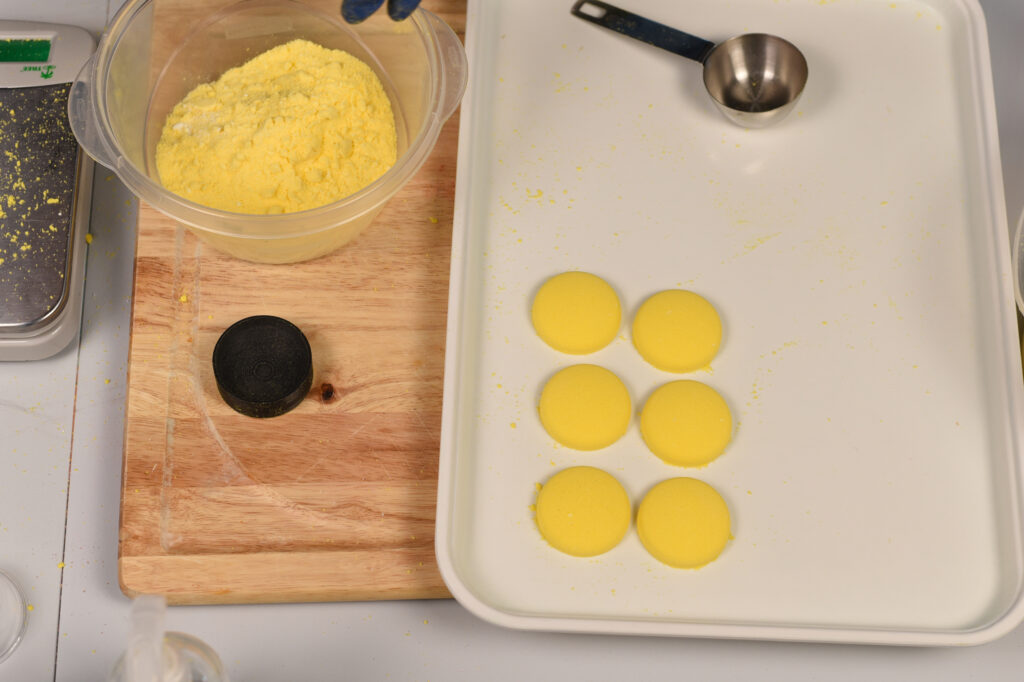
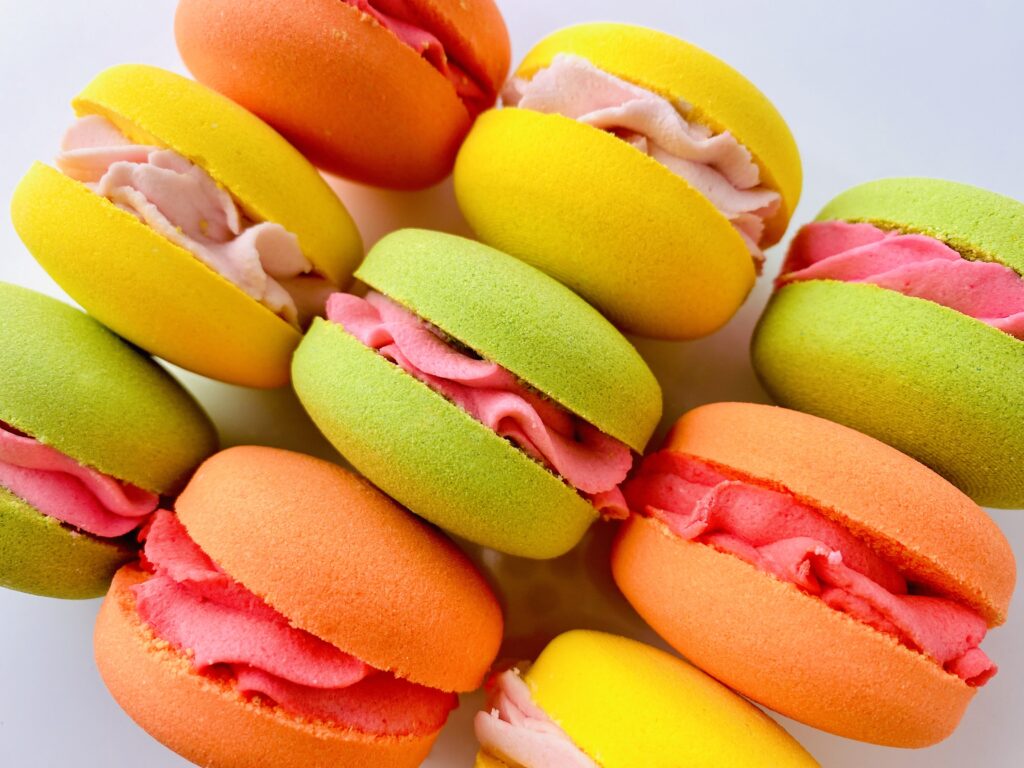
Step 6: Place on your unmolding tray, lift a tiny bit, bang with a spoon, and it should fall out. You should get about 6 shells if you used the same amount of mix that we did.
Step 7: Add a microscoop of Blue 1 to the next part and turn it green! Mix well and repeat adding binder, drop test and molding.

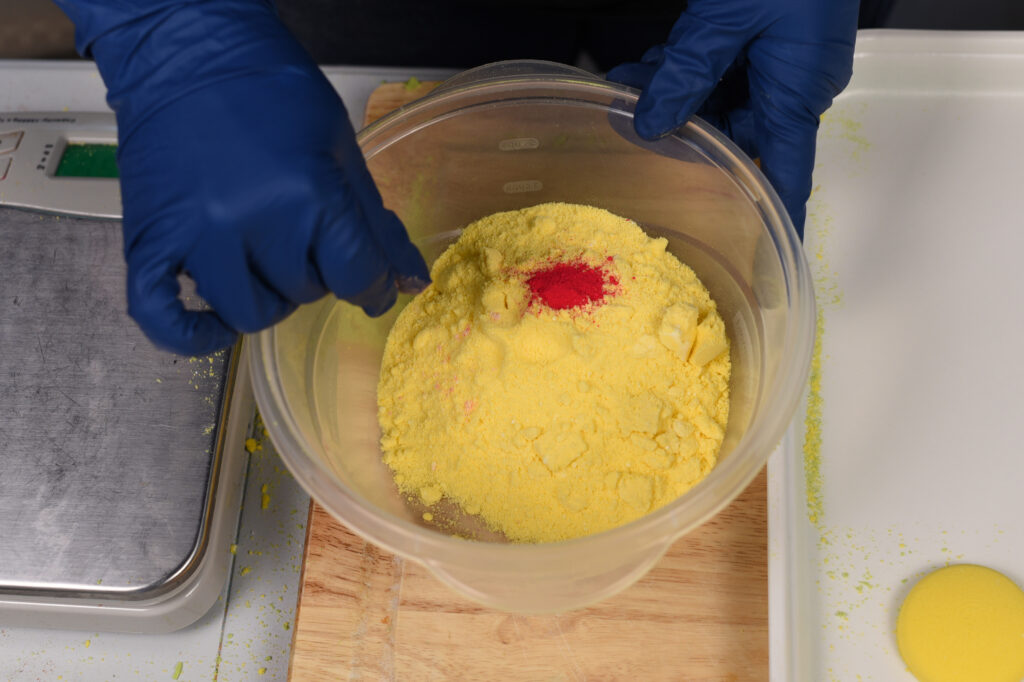
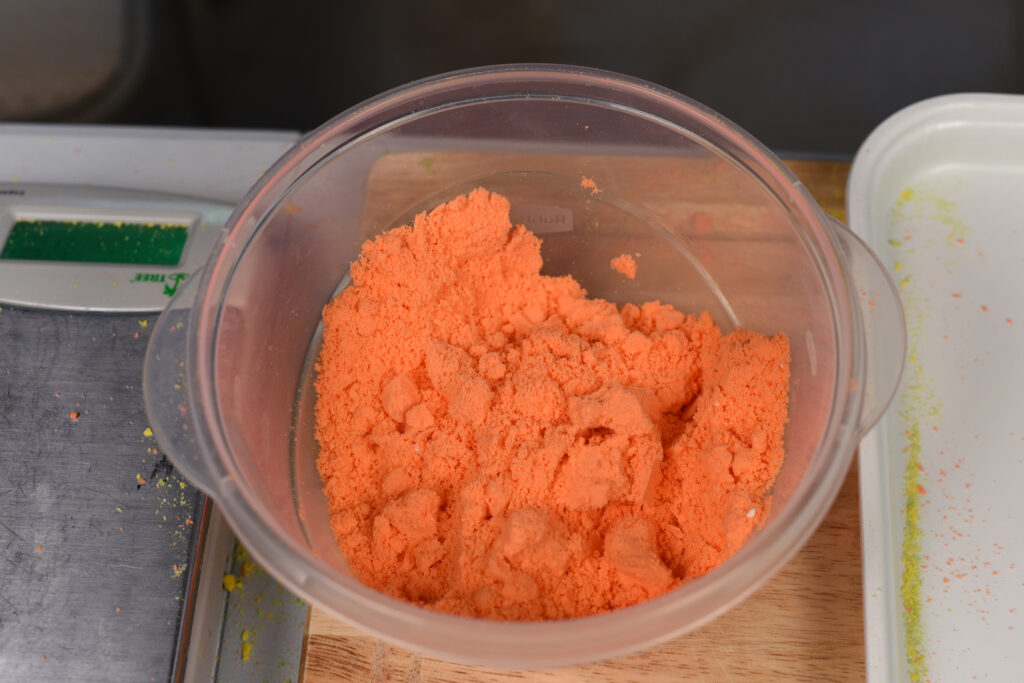
Step 8: Add 1/8 teaspoon of Red 27 to the last part to turn it orange! Mix well and repeat adding binder, drop test and molding.
You now have all of your shells molded! We got about 6 of each color, with one or two extra.
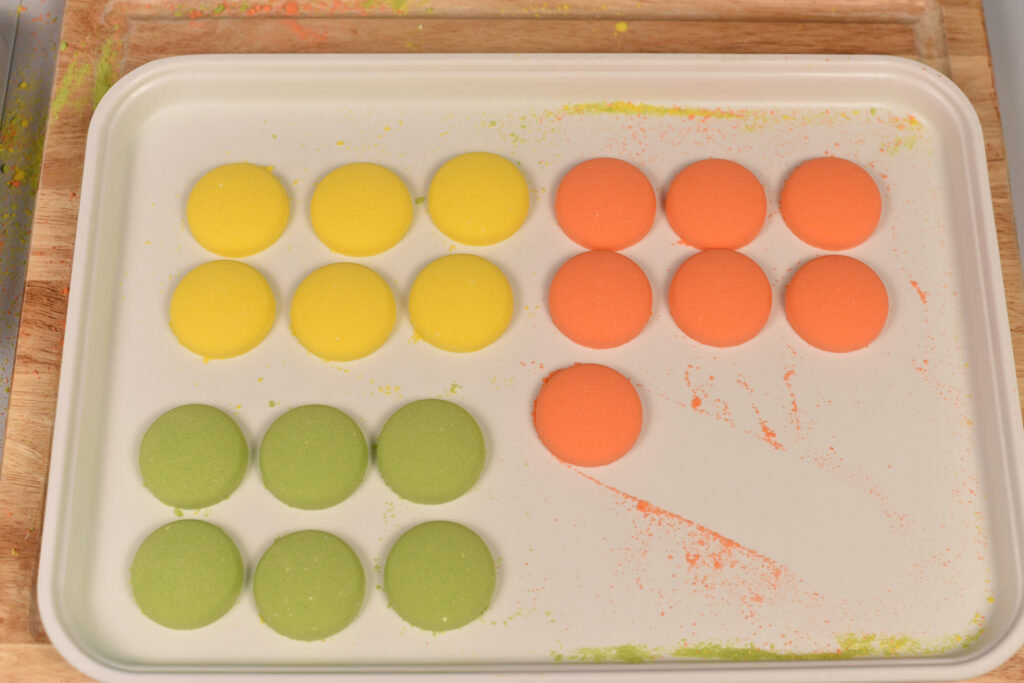
Allow your shells to dry before piping.
TIP: Drying your bath bombs: The best way to quickly dry your bath bombs is to place them in a room with a dehumidifier running. If you have no humidity where you live, then you probably don’t have to do this. But if you have any humidity, I highly recommend investing in a dehumidifier. Even if you don’t have high humidity, it can help your bath bombs dry quickly so you can decorate and package even faster! I like this dehumidifier from Homelabs on Amazon.
Now it’s time to add our bubble bar frosting!
Wonder Bar is the absolute best pipable bubble bar recipe…of course we’re biased. Ha! But it really is easy! And the best part? Wonder Bar is rebatchable! We made these plain white bubble scoops, didn’t really like them and decided to rebatch into our macaron filing. If you don’t have any Wonder Bar to rebatch, grab some from your masterbatch.
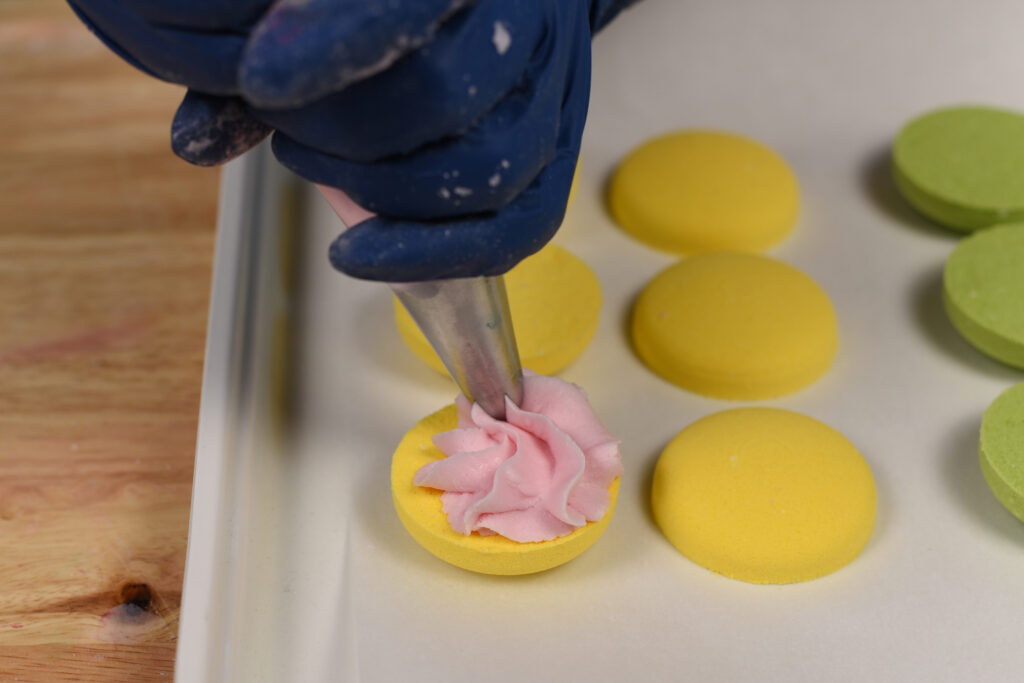
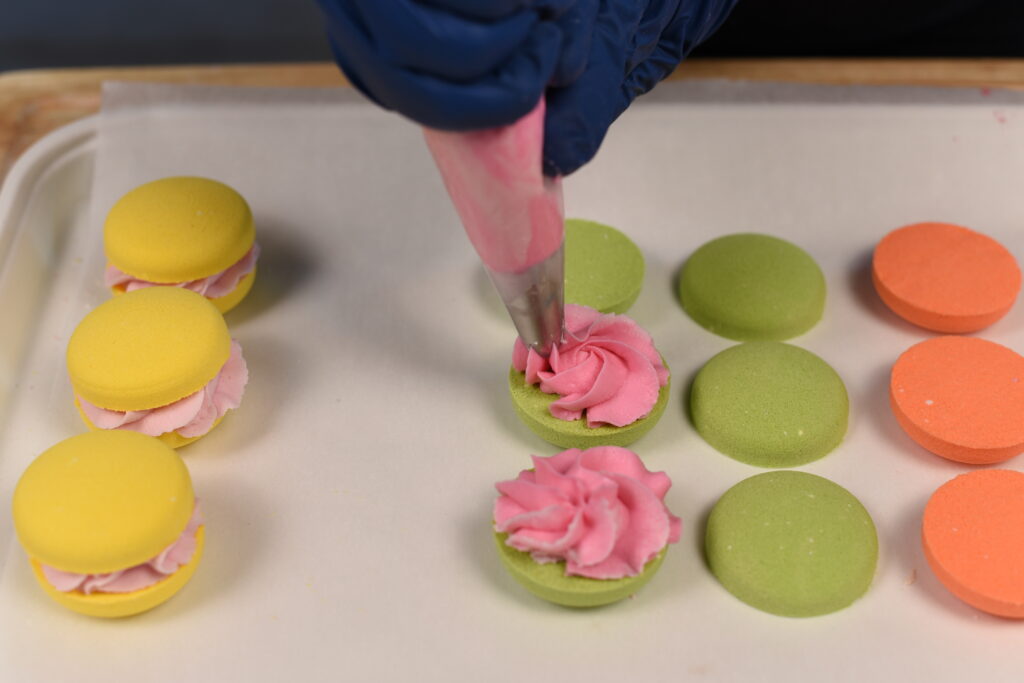
To pipe the filing, we used the famous Wilton 1M tip!
Step 1: Create your Wonder Bar frosting. Bring it a pipable consistency.
Step 2: Add 1 microscoop of dark pink mica. We used Voodoo from Mad Micas.
Step 3: Divide into three equal parts (if you want to do three different colors like we did).
NOTE: Spray the bath bomb surface that you’ll be piping onto to make sure the Wonder Bar sticks!
Step 4: Add your first color to your piping bag and pipe a swirl on top of half the shells!
Step 5: Add 2 microscoops of additional pink mica to darken the next batch. We also added a dusting of Red 27 Lake to make it pop.
Step 6: Pipe the next batch!
Step 7: Add a microscoop of Red 40 Lake and a bit more of pink mica to make the last, and darkest, filling color.
Step 8: Pipe the last batch!
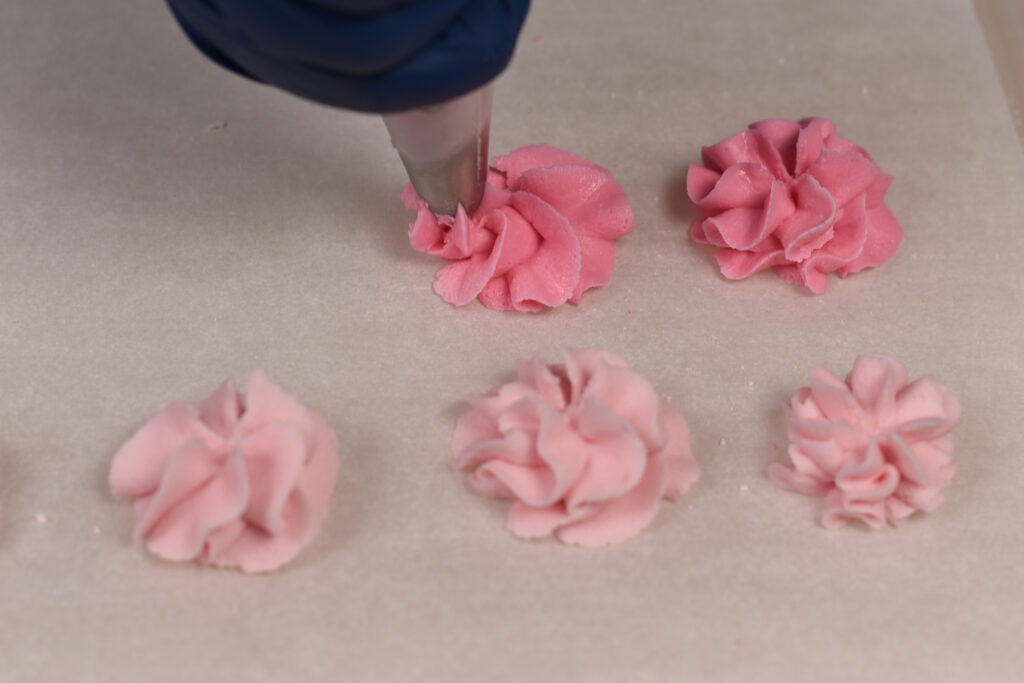
Any extra filling can be piped to create meringues!
Allow your bath bombs to dry completely before packaging!
Happy Making!
Amanda & Robyn
Wonder Bar Bubble Bar Recipe + Process Guide
Get one recipe to make it all! Make bubble bar scoops, rolls and bubble frosting, using just ONE recipe! Get Wonder Bar here.
Robyn’s Humid Weather Bath Bomb Recipe
Making bath bombs in wet, rainy weather can be so frustrating! If you live in an area with constant high humidity, then you’ll need a recipe that can hang day in and day out without failing, warting, cracking or crumbling. Check out Robyn’s Humid Weather Bath Bomb Recipe!