We’ve talked about a few different ways to create infusions for your cosmetics over the past months. We created a cold oil infusion with juniper berry and hot oil infusion with calendula oil. But both of those infusions used liquid oils. What if you want to create an infusion with solid butters? The good news is you can totally do that!
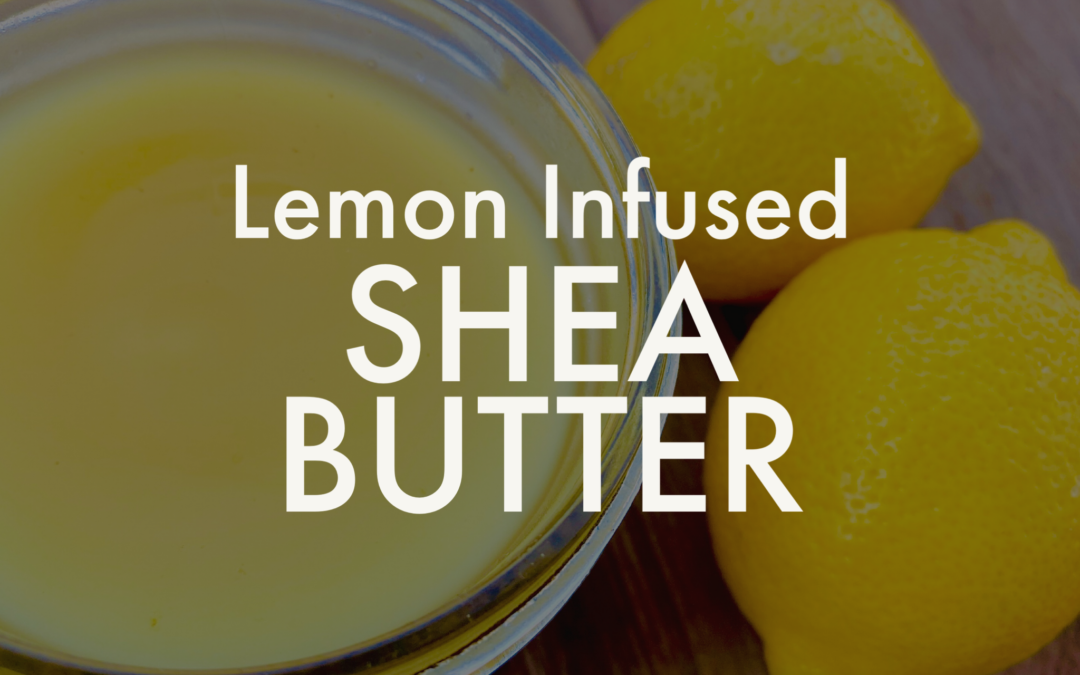
We already shared how to create Rosemary infused mango butter with our Patreon followers several months ago, and t’s one of my favorite infusions to make. I use it in my shampoo and conditioner bars made with our Shampoo and Conditioner Bar PDF and Guide. But winter is coming and it’s bringing cracked cuticles and callused feet, so today we’re going to make a lemon shea butter infusion for wintery balms that condition and exfoliate!
Of course we always want to pay special attention to cleanliness and sanitation, but it’s even more important with infusions. To prevent the introduction of bacteria, and other yucky gremlins, make sure your work area, utensils, jars, etc are all clean and sterilized!
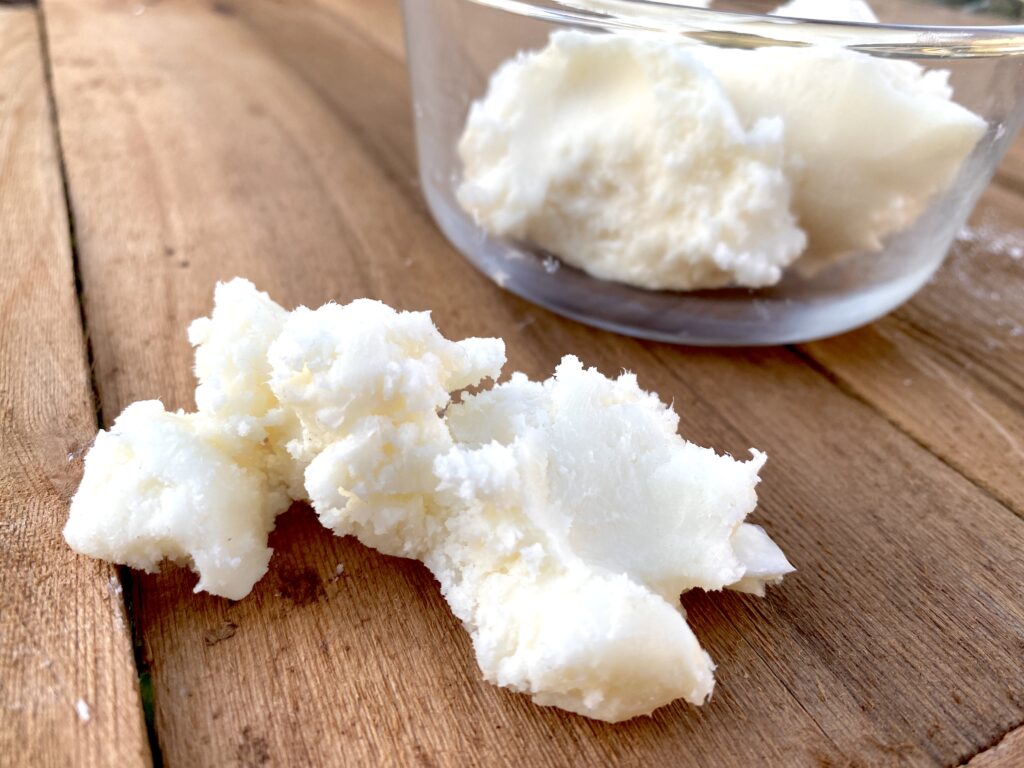
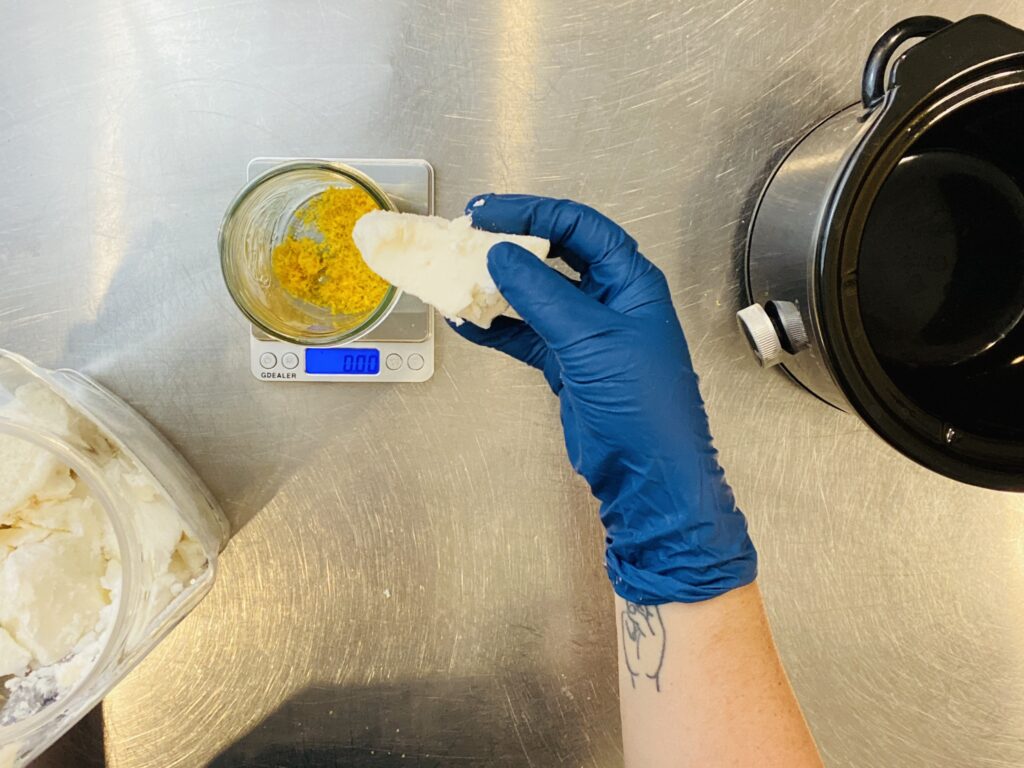
To create a lemon shea infusion we will first want to use high quality shea butter. The odor of raw shea butter is fairly strong and might be off-putting if you’re not accustomed to it. It can also compete with other fragrances in finished products, which might be at odds with your desired outcome. That being said, I actually think that raw shea would be great for this project, but I only keep refined shea on hand so that’s what I’ll be using. The choice is totally up to you though, and it won’t affect the outcome of this lemon infusion.
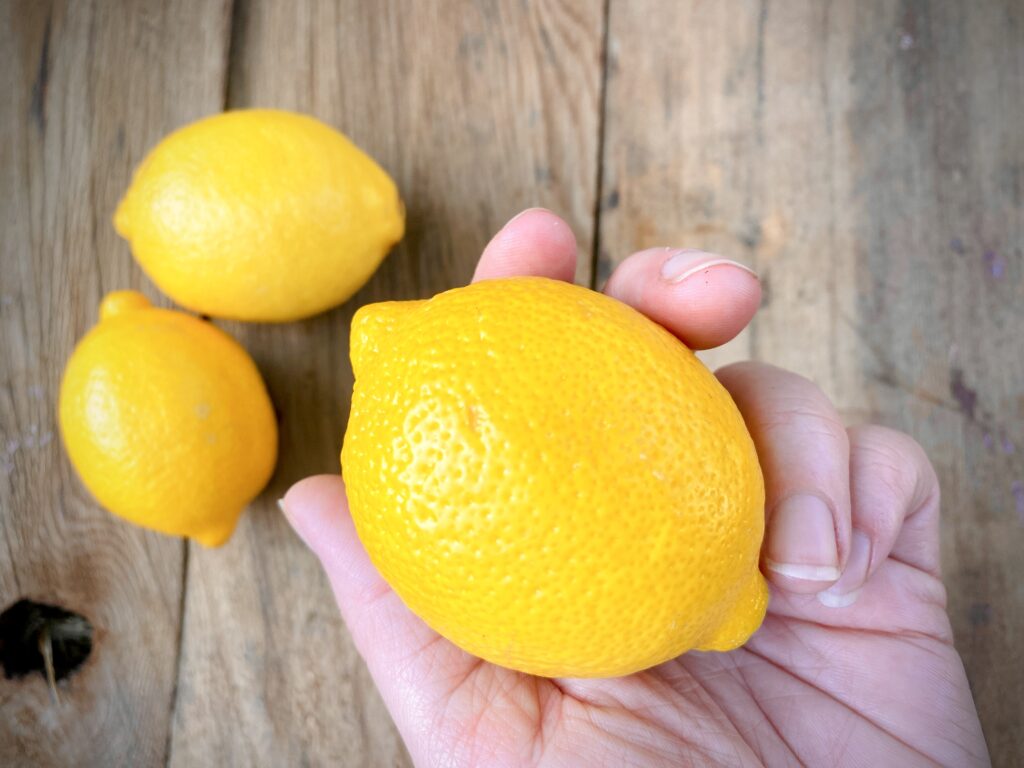
The next thing we will need are lemons! You’ll want real lemons here—not pre-squeezed lemon juice—because we are going to be using the lemon zest and not the fruit inside. Lemon zest actually contains the essential oils that gives lemon its unique flavor and scent. Using zest in our shea infusion will create a gorgeous, powerful combination! The shea will deeply condition skin, and the lemon will act as a natural exfoliant to help clear away build up and dead skin.
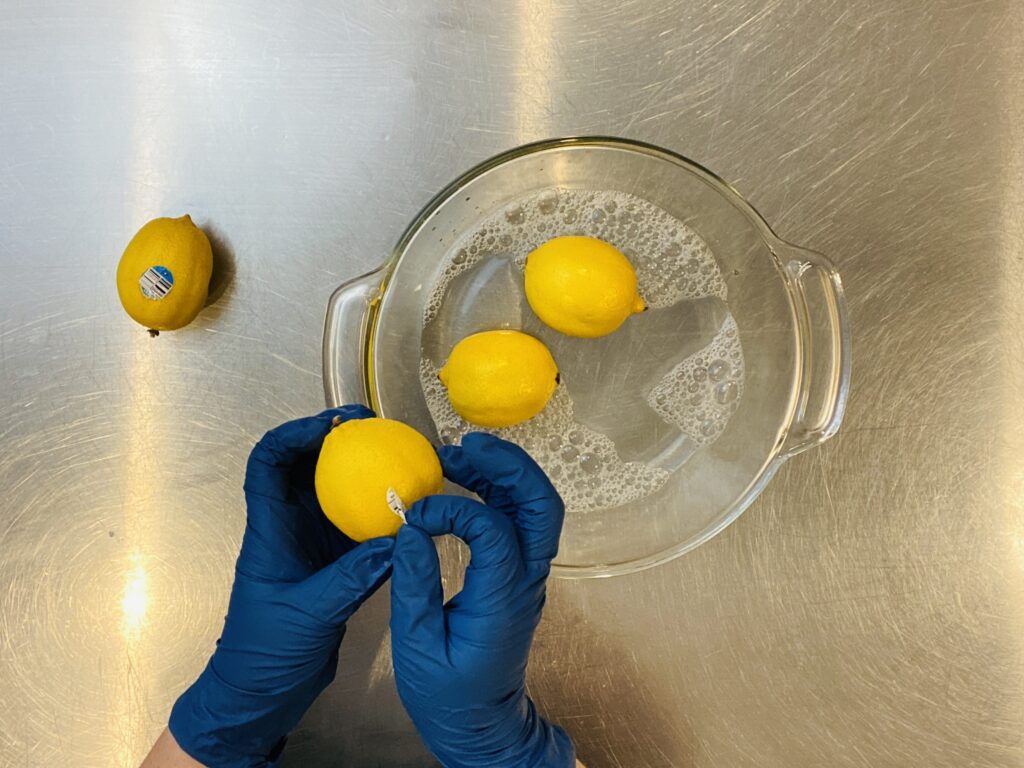
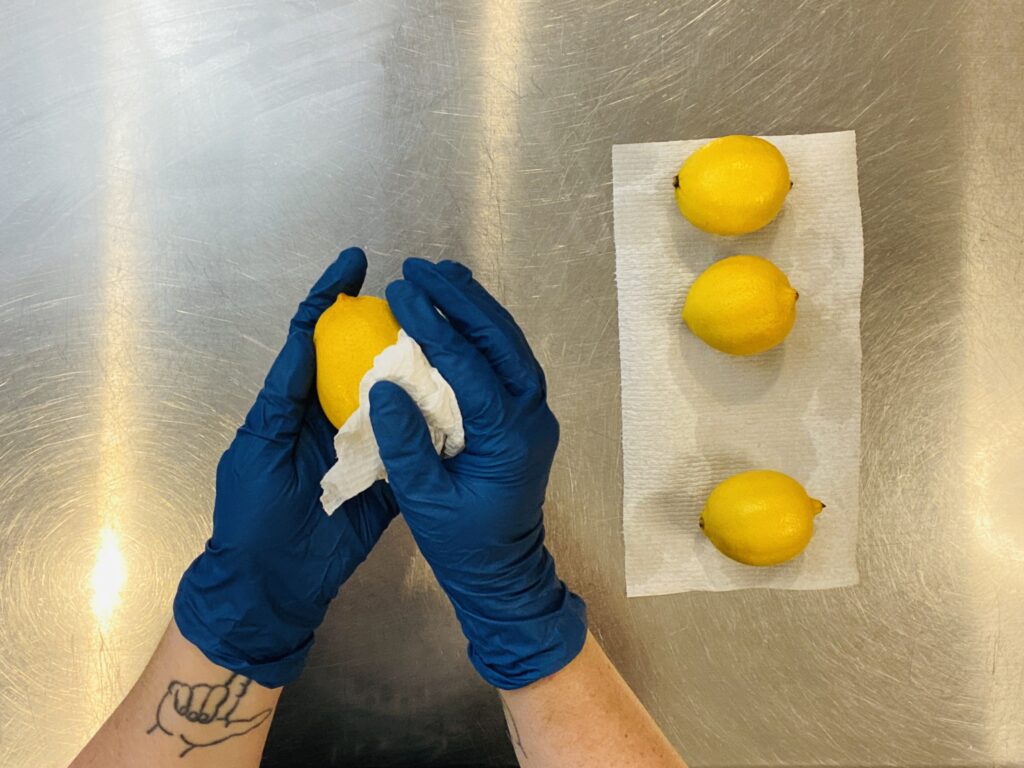
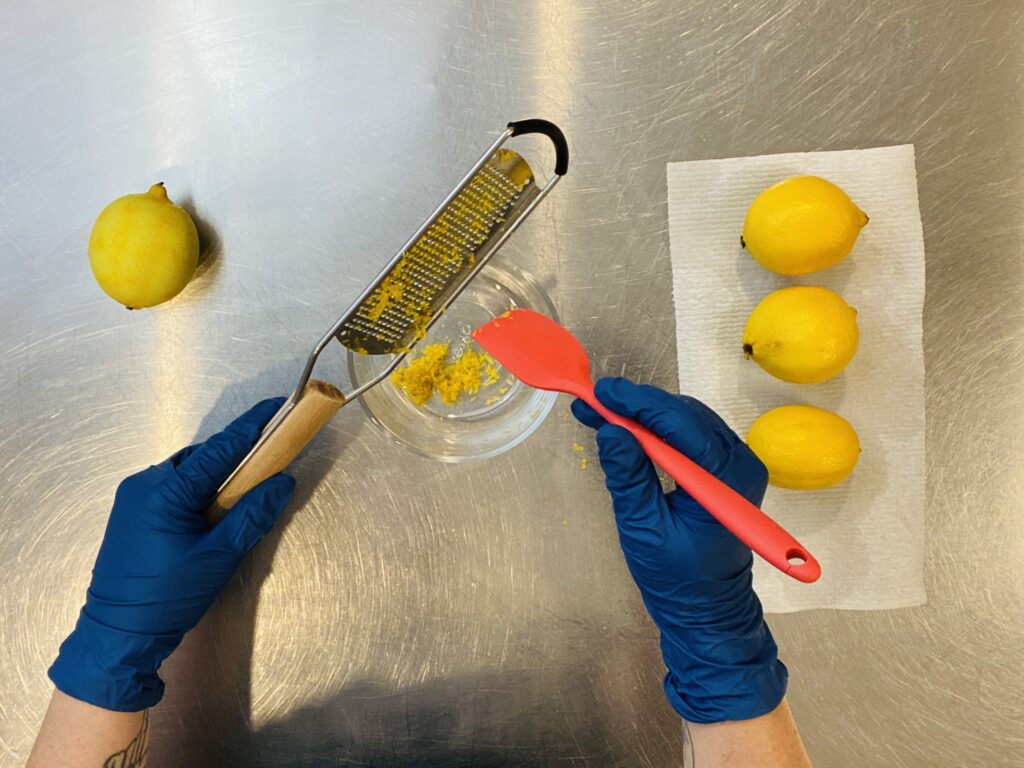
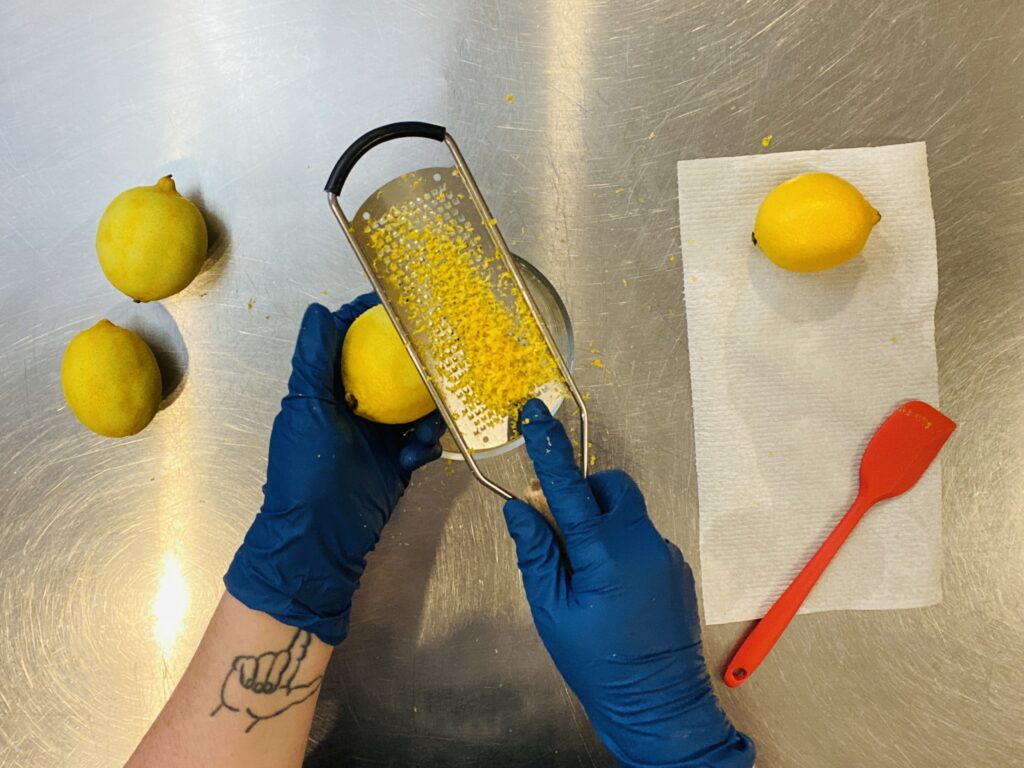
First remove any stickers from your lemons, then wash and dry them! You don’t want any yeast, bacteria, or other contaminants that might be hanging out on the lemon peel to make its way into your butter infusion! I used a drop of dawn soap and distilled water, then rinsed again in clean water. You can use a veggie wash, or vinegar rinse if you prefer.
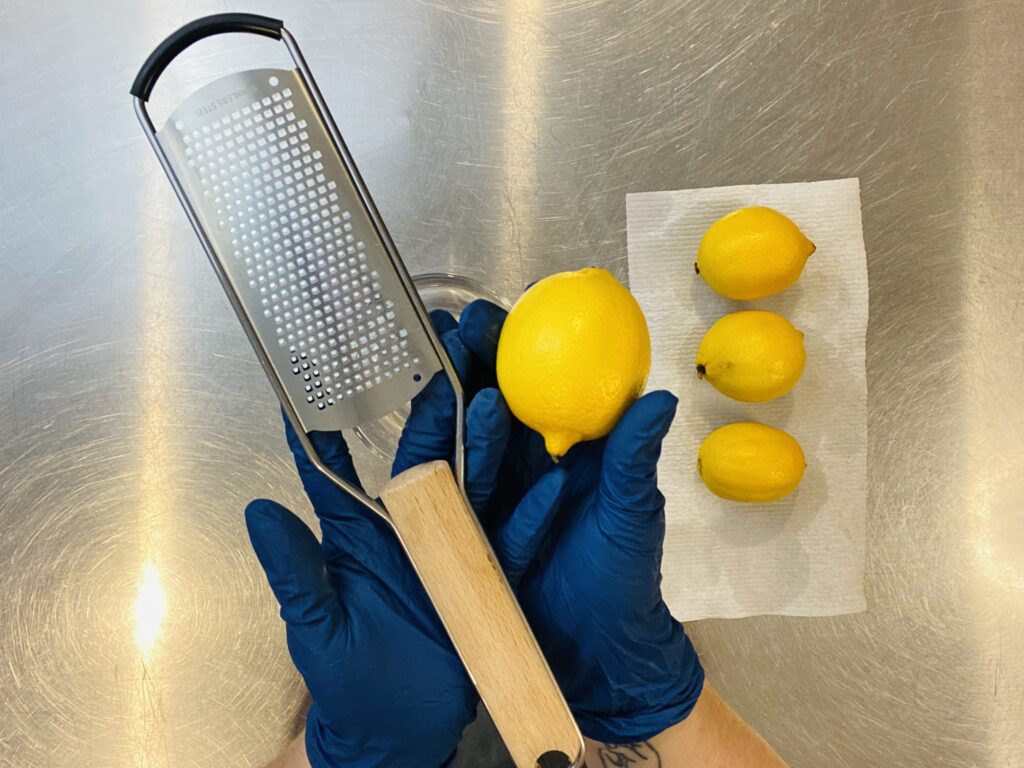
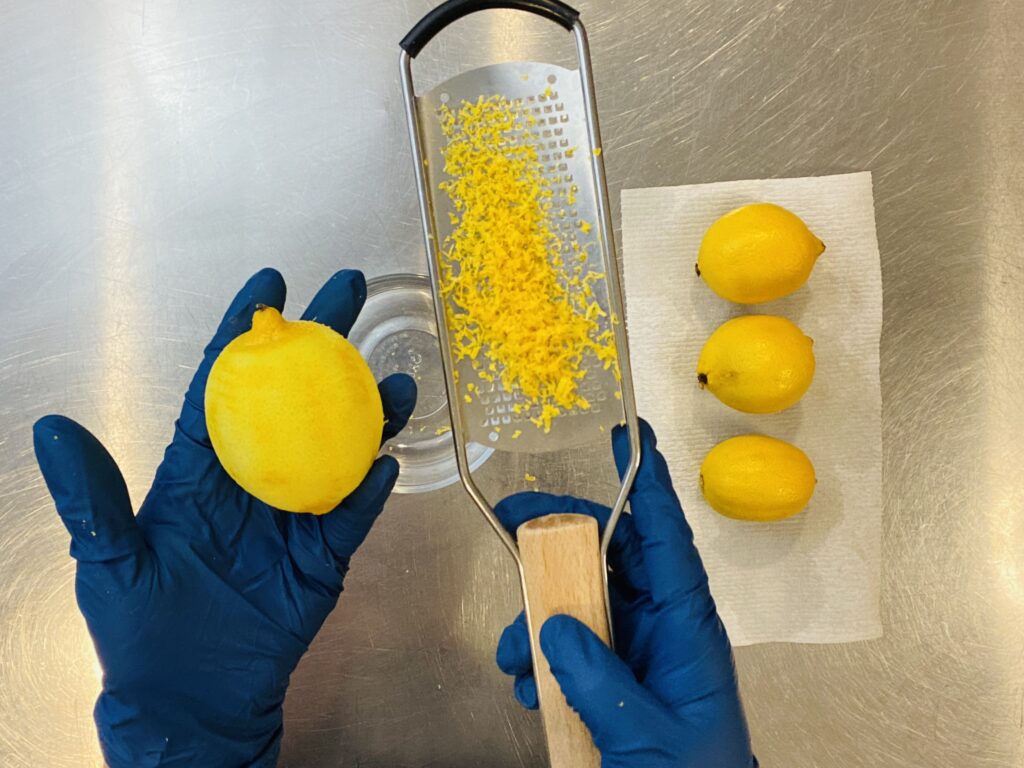
To zest my lemons I used a fine grater then scraped the zest into a glass bowl. If you don’t have a grater you can also use a vegetable peeler! These four lemons yielded just over 8 grams of zest. Based on my experience, I suggest using 1-2 grams of lemon zest for every 100 grams of shea butter, but of course we always encourage you to experiment and see what work best for you!
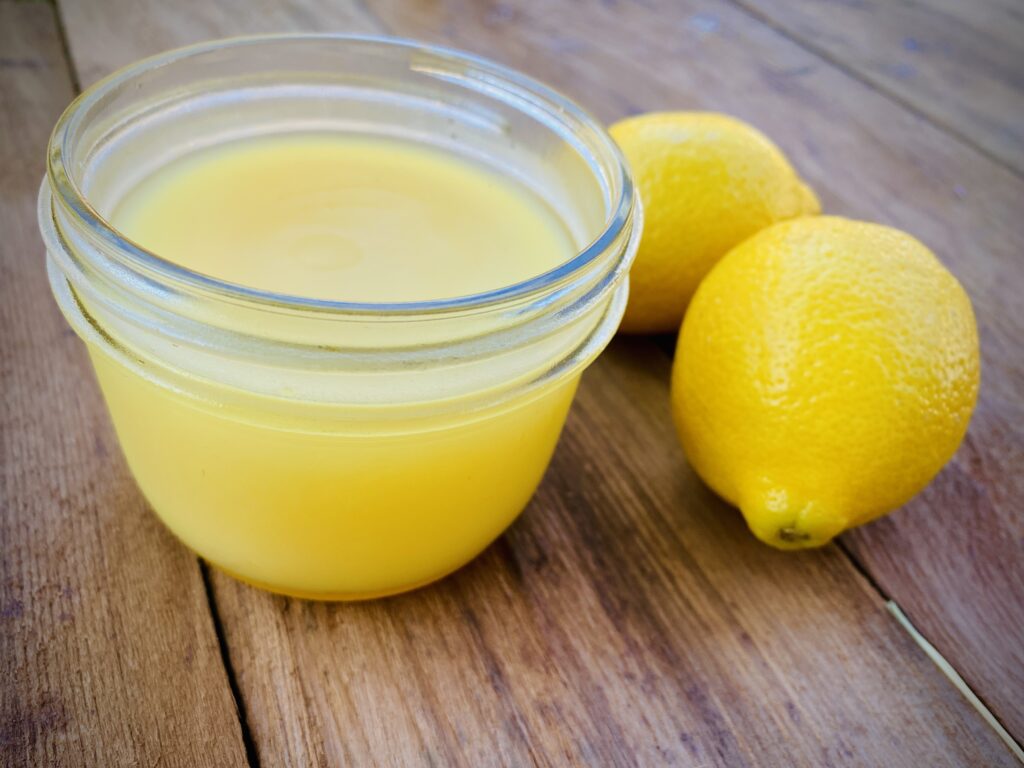
Once the zest was ready I added it to a canning jar, then added the shea butter. I love using canning jars because I know they will be able to handle the heat for extended periods of time. Plus, if I have to walk away, I can just pop a canning lid on the jar and don’t need to worry about contamination!
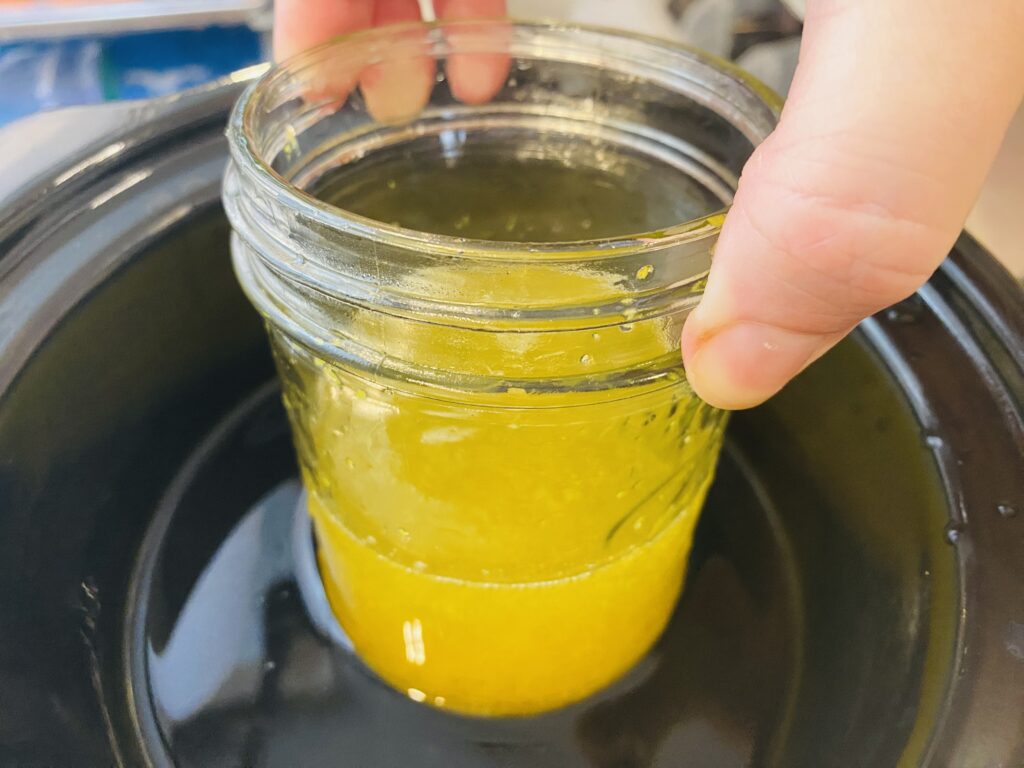
I set the jar into my crock pot in a water bath. Once the shea was melted I left the whole infusion alone for several days! Yes, I said several days—I know, I can hear you groaning and I’m sure I’ll get messages about how patient I am… BUT…
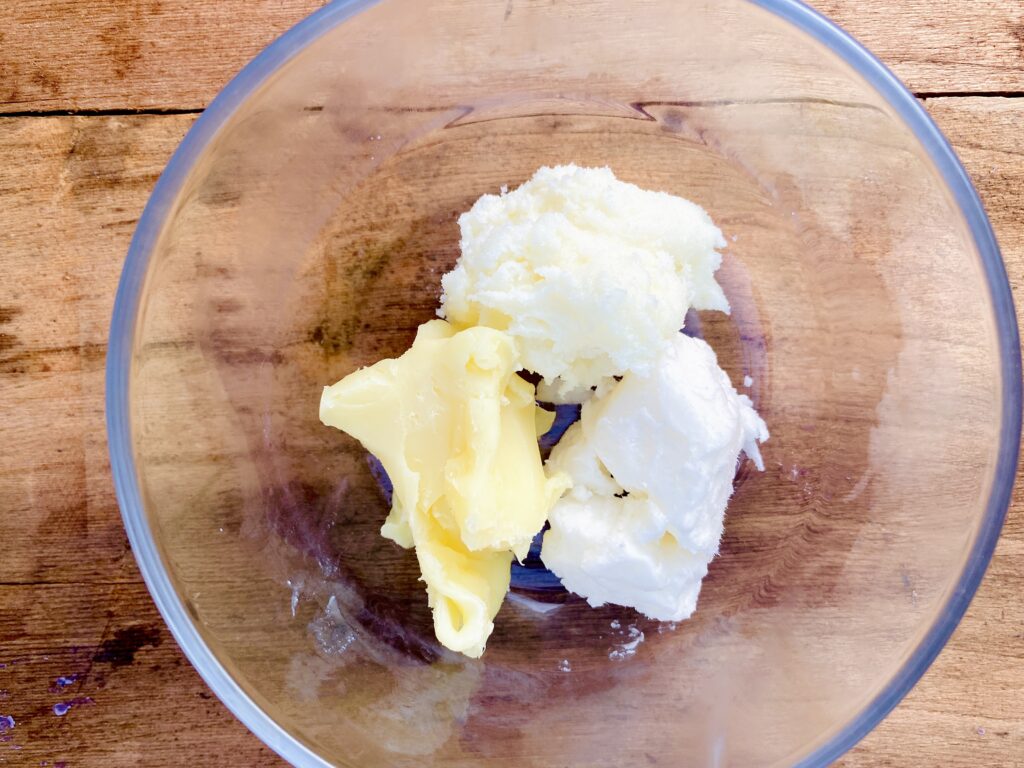
The first time I created a lemon infusion I did a quick 20 minute infusion and you know what? It was still great! The length of time is absolutely up to you! I personally wanted to see what kind of difference it would make to do a short versus long infusion. In the image below you can see refined shea on the right, a 20 minute infusion at the top, and a 7 day infusion on the left. I know there isn’t much difference between plain shea and a 20 minute infusion—but there is some difference! So even if all you have time for is a quick and dirty infusion, then go for it (minus the dirty part of course!)
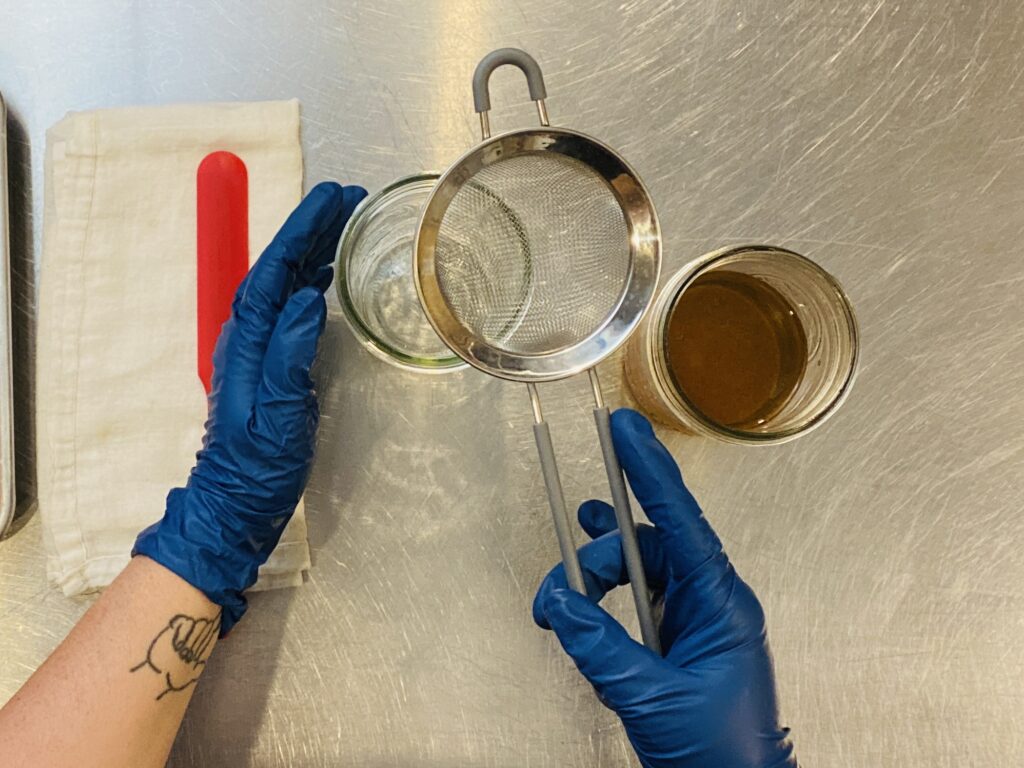
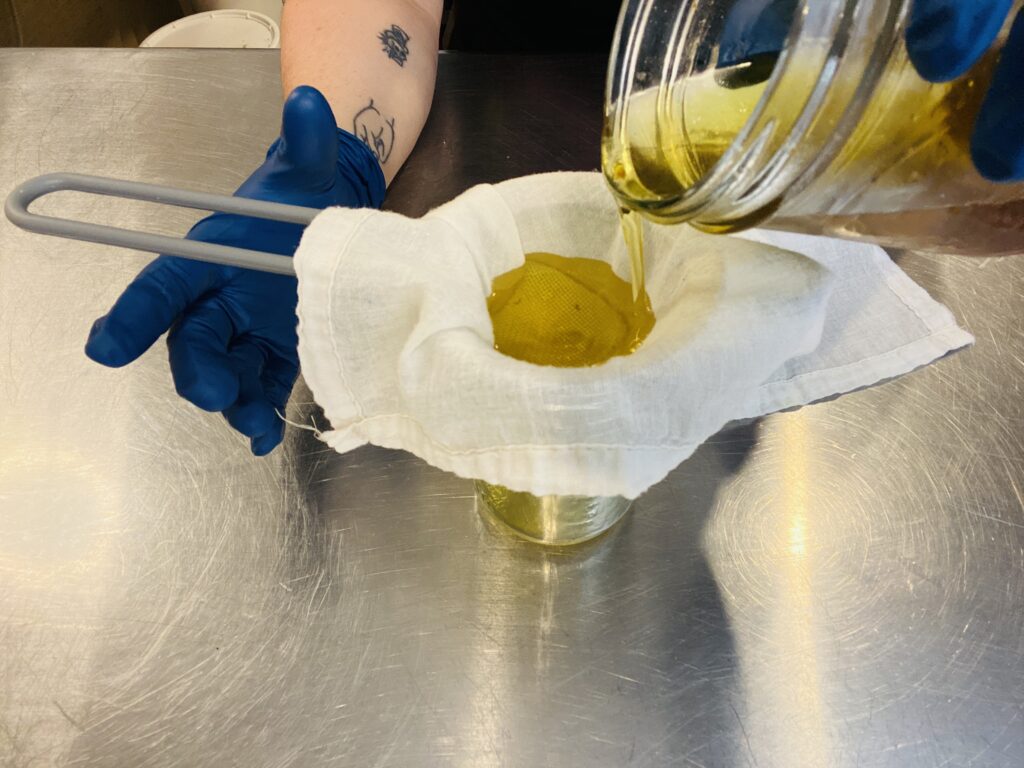
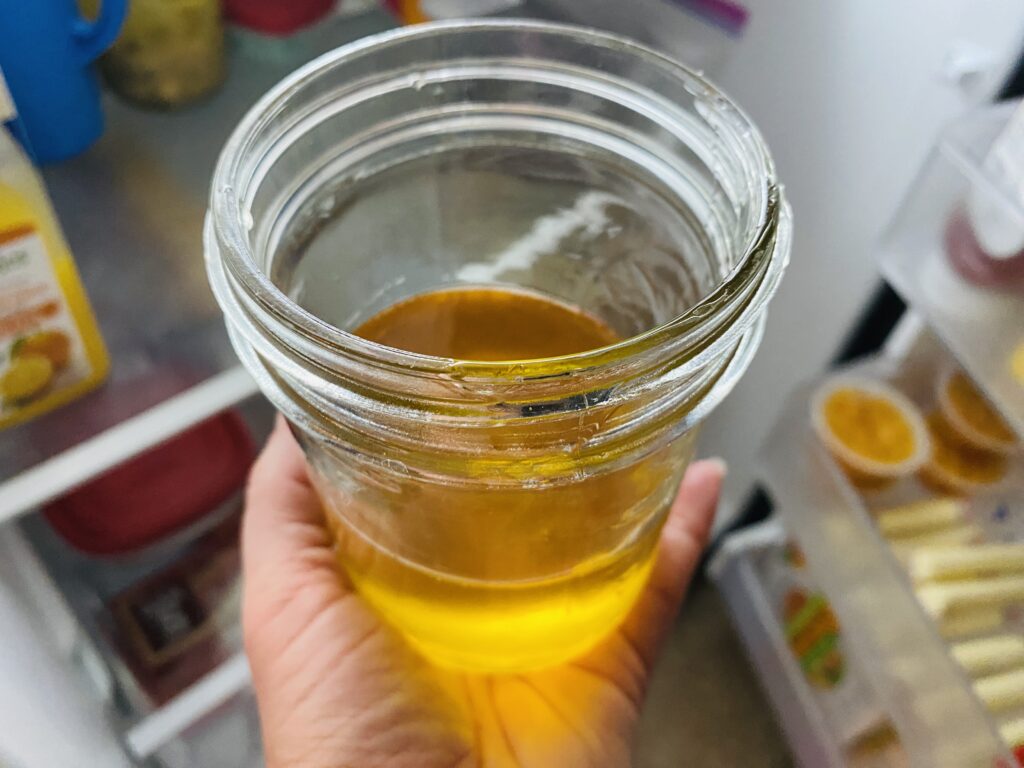
After the infusion was completed I used a combination of a small wire strainer and a cheesecloth to remove the used lemon zest. I’ve tried to show you guys several different ways to strain your infusions because I want you to know there isn’t a wrong or right way to strain the marc (the spent botanical matter) as long as your oil or butter is clear, clean, and free from any residue.
After the shea butter was strained there was one last step! Because shea is known to create a grainy texture in anhydrous products, it’s often recommended that you temper it. Tempering shea is easy! Simply heat and hold for 20 minutes, then immediately place into a fridge. Since we’ve been heating and holding for at least 20 minutes, all we need to do is pop it into the fridge. Once it’s cooled, it’s ready to use in all kinds of products.
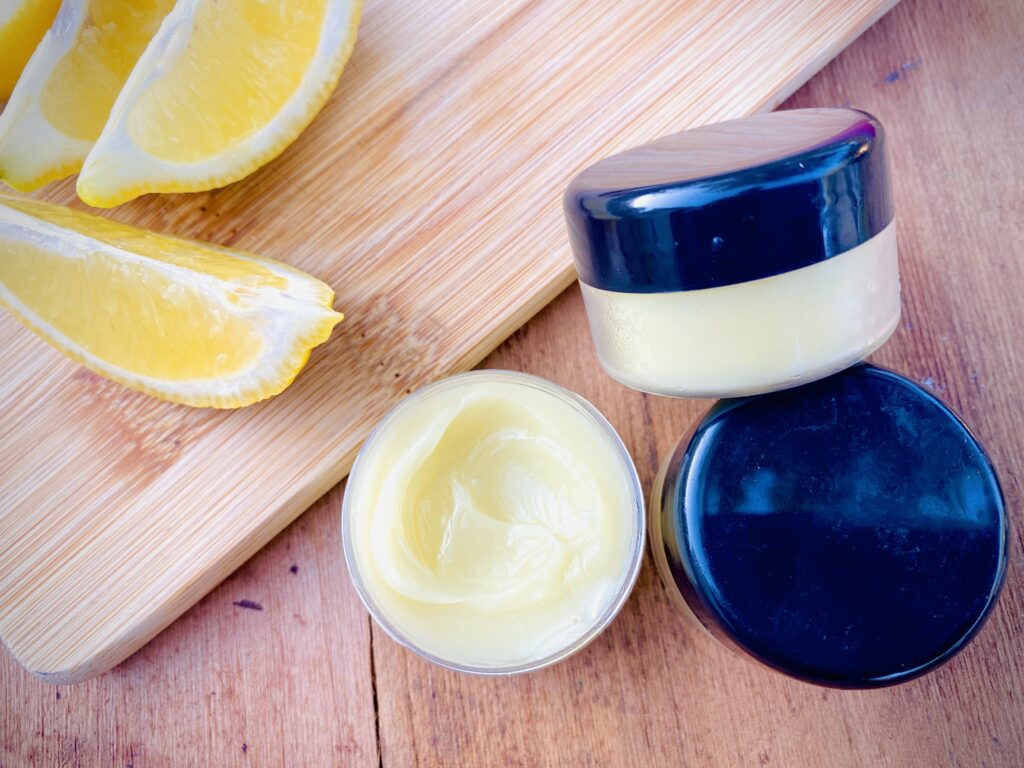
I used my lemon infused shea butter in a cuticle and callus balm that helped turn my embarrassingly bad cuticles into something far more presentable. This cuticle balm was free for our Patreon donors in the Bonus Tier this month, and both tiers of our Patreon got early access to this blog post! If you’re interested in seeing what we have going on over at Patreon you can check it out here.
We’d love to see what you create, so don’t forget to head over to our free Facebook support group and share your projects! And remember, Happy Making! 🤗
How would I create a cranberry butter? I love the idea of a cranberry butter but it is expensive to buy! Thank you for your recipe!!