
Multi-colored bar embeds are super trendy these days! Especially rainbow embeds for cloud bath bomb molds. I made some the other day and wanted to share how I did it! There is certainly different ways that you can do this…here is what worked well for me.
My embed recipe is much different than my regular bath bomb recipe. To make embeds, I use an equal portion of baking soda and citric acid (1:1). This creates a mixture that fizzes a tad bit faster than the regular bath bomb mix, so that it releases color into the tub quickly. I don’t add hardeners or oil or anything else. You might have to tweak the recipe to fit your climate!
To learn how to tweak a bath bomb recipe, I highly recommend my basic bath bomb class. You can find it as part of Bubble Bootcamp or you can take the individual class here.
So, basically all you need is baking soda, citric acid and binder (I like to use a blend of 50/50 water and alcohol). You might have to play around a bit here, again, depending on your climate/humidity. I don’t add fragrance to embeds since they’ll be embeded in another bath bomb mix that is scented. That way I can use the same embeds in different bombs.
Choosing Colors for Embeds
You can use lakes or dyes in your embeds. I personally prefer dyes. Dyes color the water so easily and beautifully. And since the embed is embeded in a another bath bomb, you don’t run the risk of it fading in UV light. (If you make up a bunch ahead of time, be sure to store away from light!)
Molding Your Embeds
There are a few different ways to mold your embeds. You can, of course, mold each color into individual cubes. But, this tutorial is all about make the bars! I’ve seen people use a rectangle press mold – such as this mold from Cada. I personally like to make a huge block that I cut down into pieces.
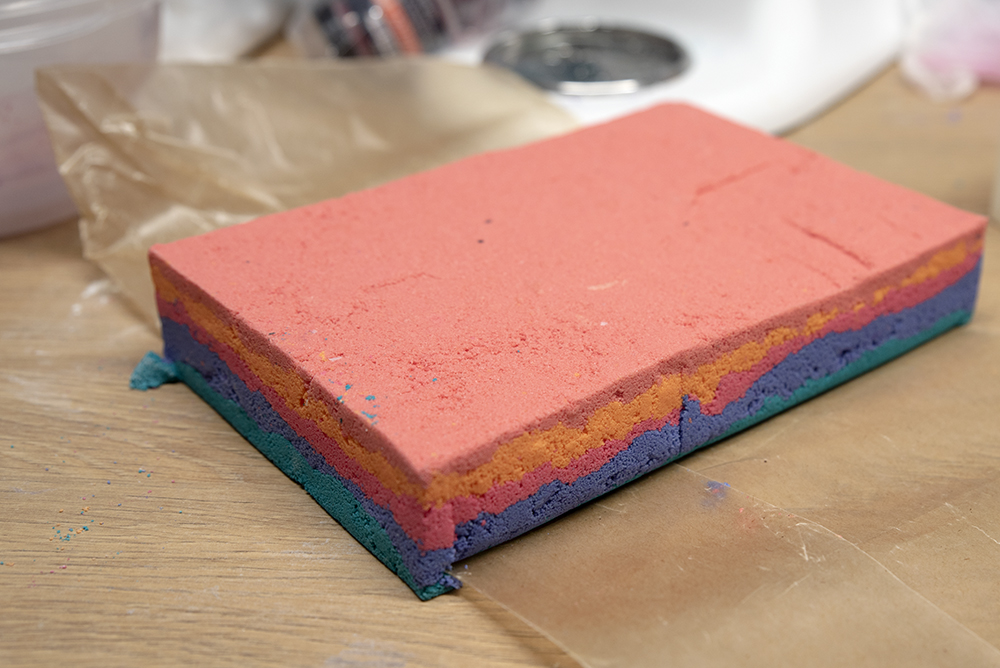
I used a Bramble Berry silicone mold. I think the Cada molds would make cleaner embeds! Silicone doesn’t allow you compress the mixture as well. You can see in my image above that I had some crumbling from not pressing enough.
Try a few different methods and see what you like!
So, here is what I did!
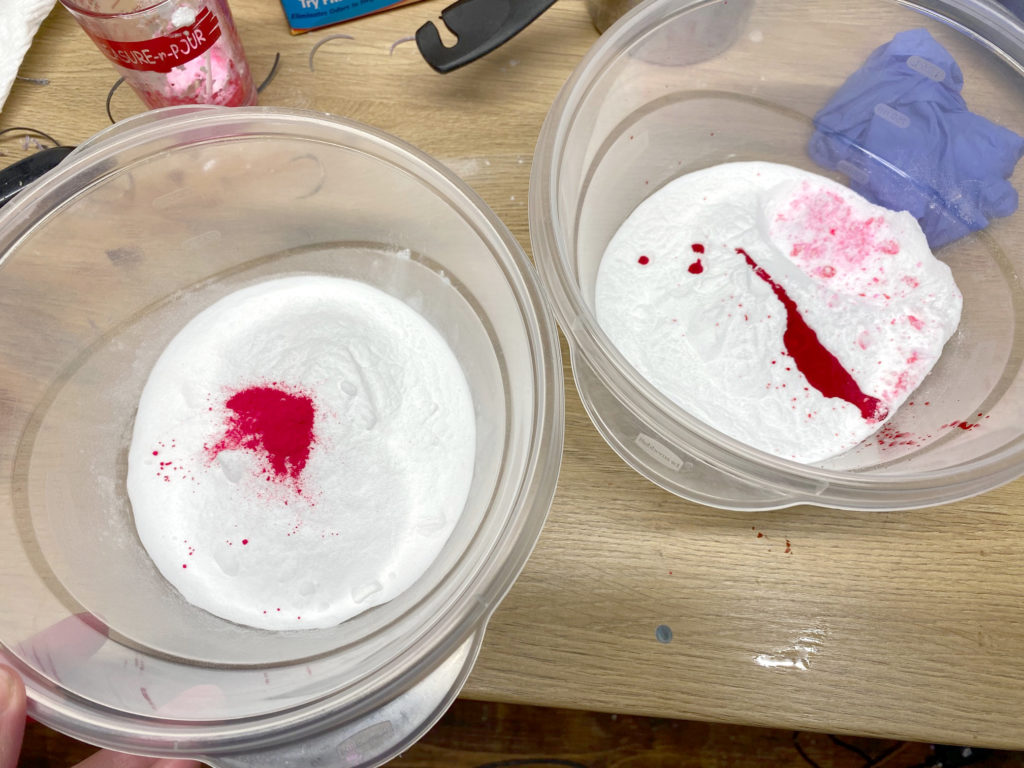
Step 1: Mix your color into your baking soda. I added 1 cup of baking soda to 5 bowls.
- Lakes: If you are using lakes, you can mix the dry powder directly into your baking soda. Usage rate: Start with 1/4 teaspoon of lake and go up from there. I would add 2 grams of polysorbate 80 per 1 cup of baking soda to help your lakes not stick to oil. (Also be sure to use poly 80 in your regular bath bomb recipe as well.)
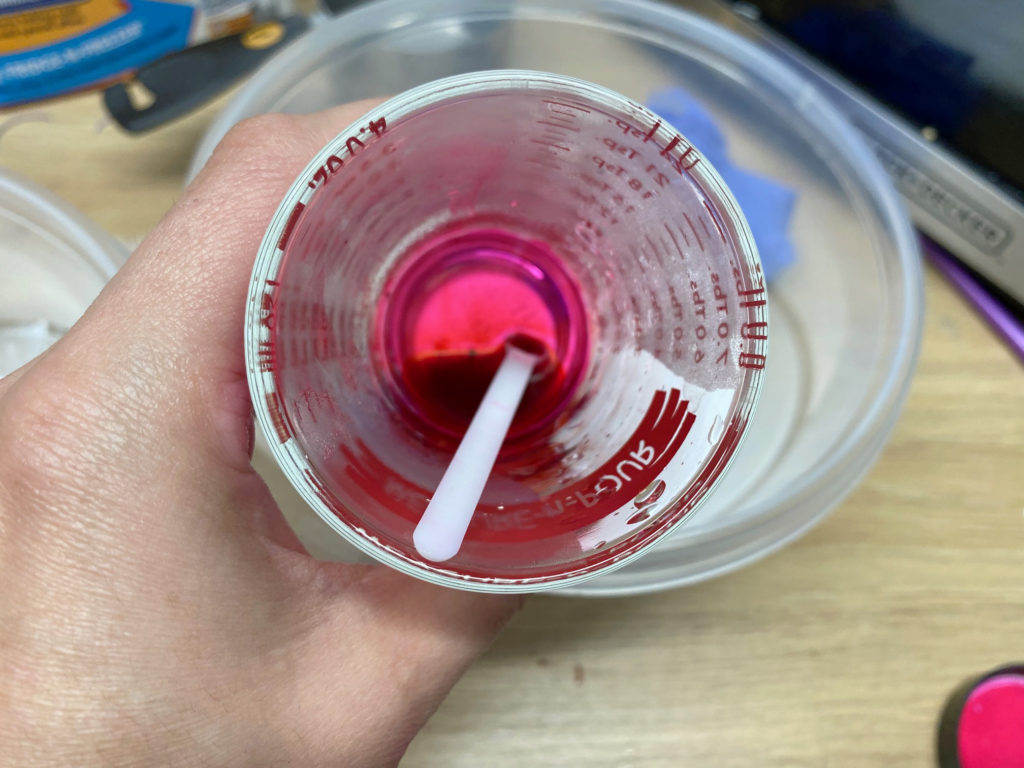
- Dyes: If you are using dyes, you’ll want to bloom them into the baking soda first. Simply mix your dye with a bit of hot water (just enough to dissolve it) and mix into your baking soda. Usage rate: Start with 1 microscoop of dye into 1 cup of baking soda and go up from there.
The usage rates I offer are certainly open to change based on what you’re going for. If you want more concentrated embeds, add more color. I simply offer them as a starting point. Be sure to take good notes and test your products. You can easily over-do dyes and lakes, especially when it comes to pinks/reds. You don’t want to stain bath tubs! And when working with lakes, be sure to include polysorbate 80 in your recipe to emulsify the oils into the tub so that colorants don’t stick when the water is drained out.
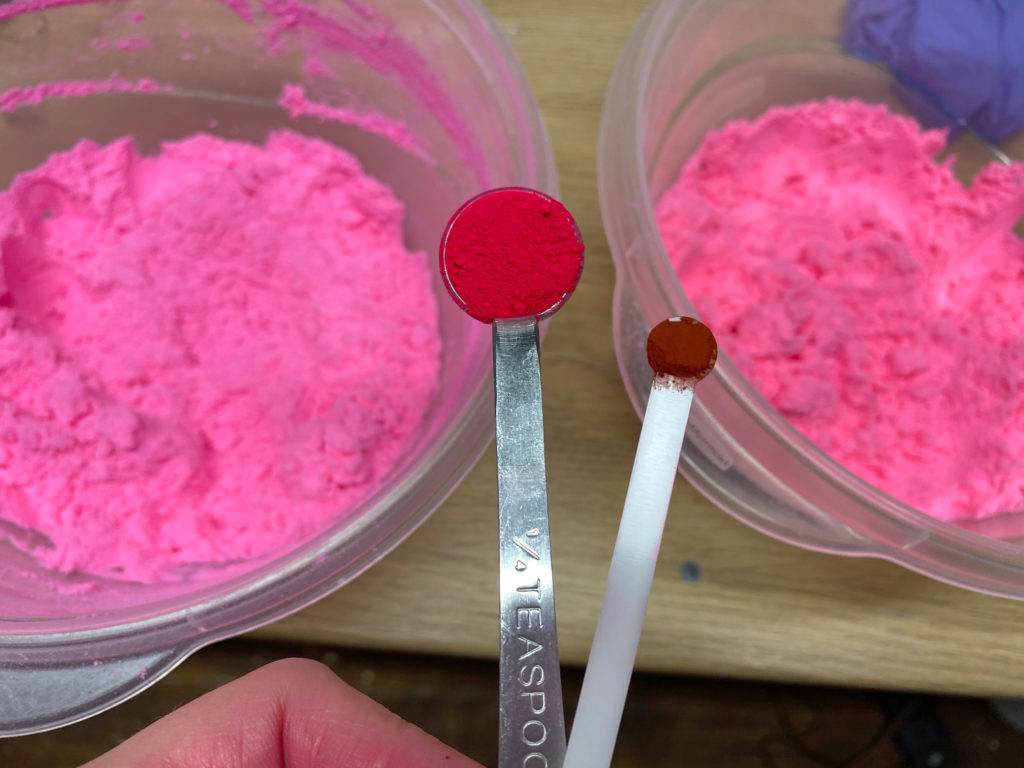
Below, I’m using Red 27 Lake and Red 28 Dye. Notice how much more lake I used compared to dye.
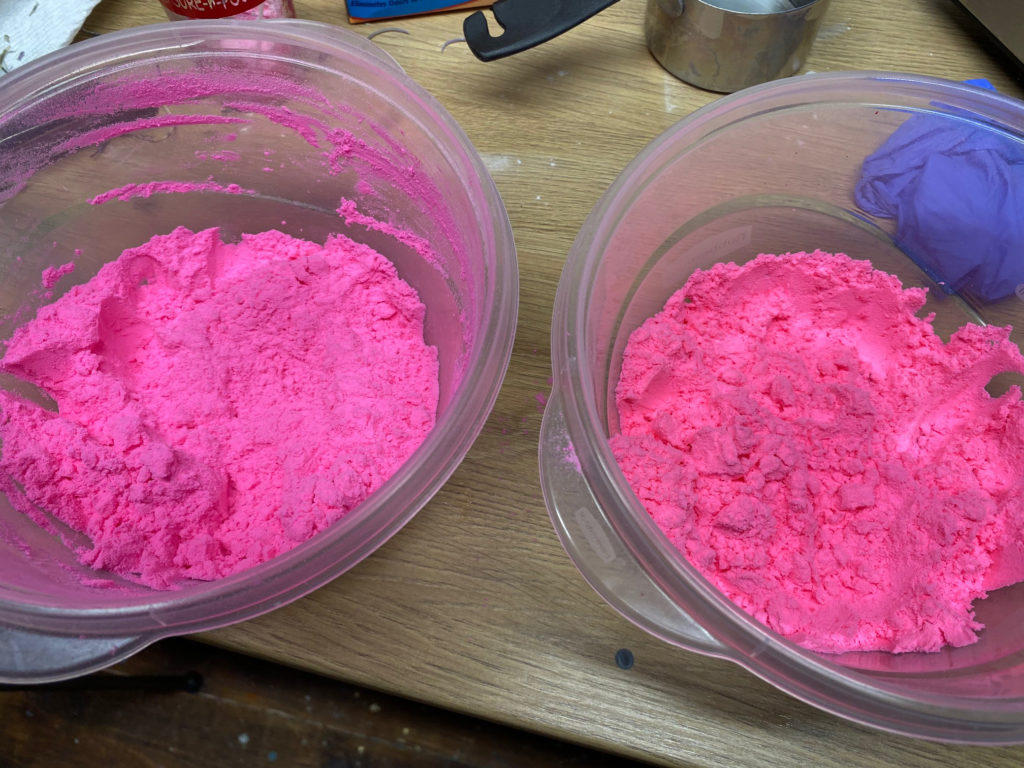
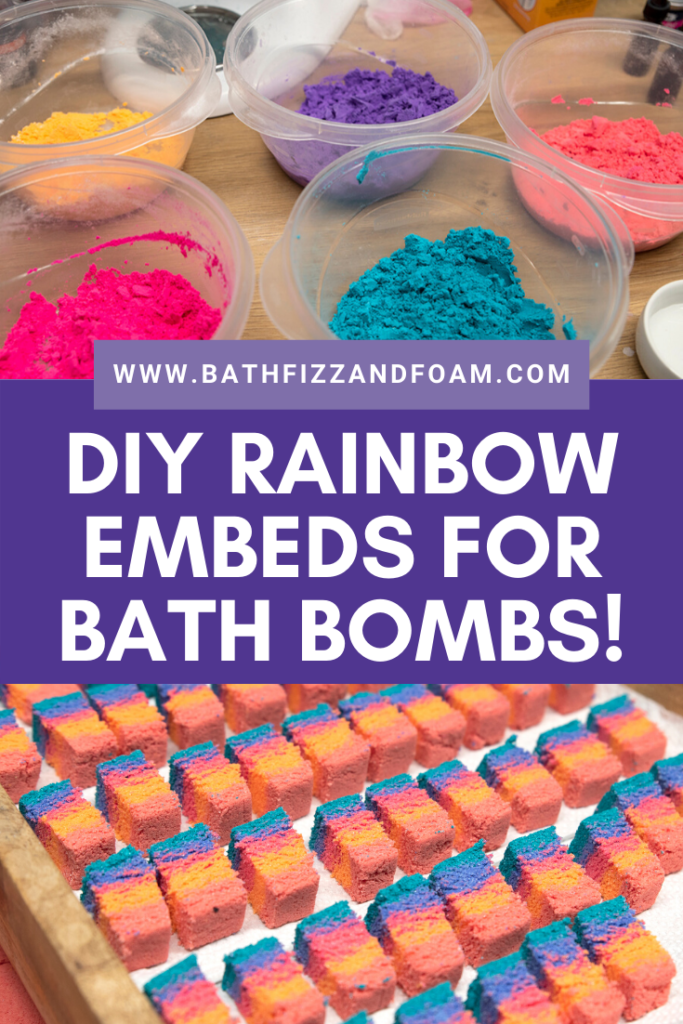
Below are all of my colors ready to go (the colors above were used for a different project)! You can create true rainbow colors, or you can choose any colors that you want!
For some great rainbow color blends, check out the bottom of this post. And this post has some great ideas as well!

Once your baking soda is colored, you have a few options.
- If you used lakes, you are good to go. Since you didn’t add any water, your baking soda is already dry and you can make your embeds.
- If you used dyes dissolved in water, you might want to let your baking soda dry before making your embeds. This ensures that you won’t make a too wet mixture.
- Once you get good at blooming dyes into baking soda using the least amount of water, you might find that you can bloom and immediately make your embeds! An embed mixture does need to be a bit wetter than a regular bomb recipe. You’ll just have to be bold and try it!
Step 2: Add citric acid to each color and mix well.
Step 3: Spray your mixture with binder until you get a mixture that stays together easily and is a bit squishy. This is the hardest part of making these types of embeds! You have to be able to cut your mixture. You can take some mixture, squeeze it really hard. Place it onto your table and try cutting it with a knife. Does it crumble? It might need more moisture.

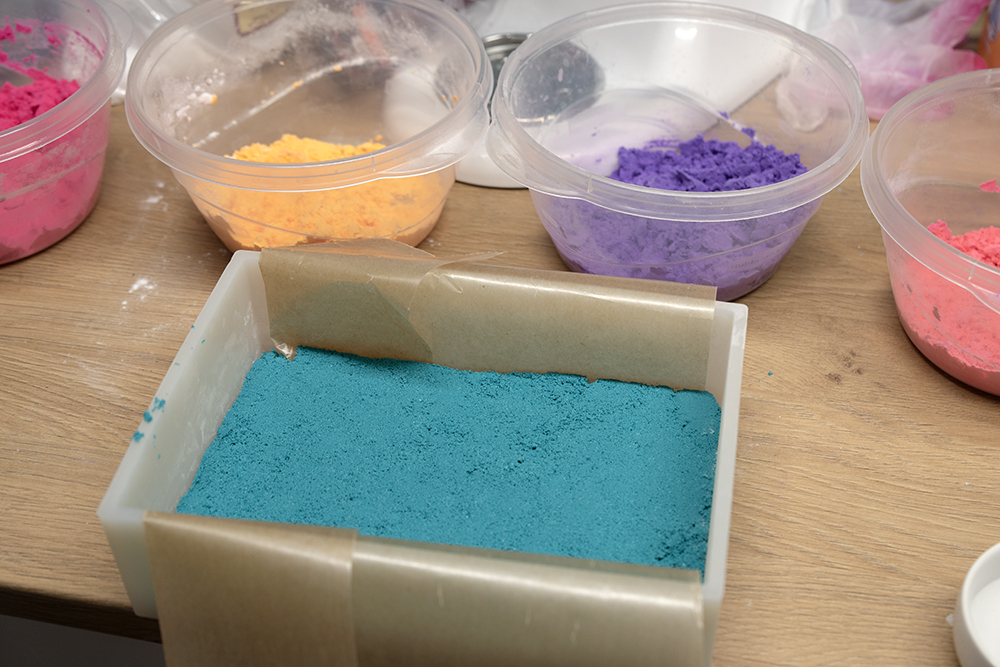
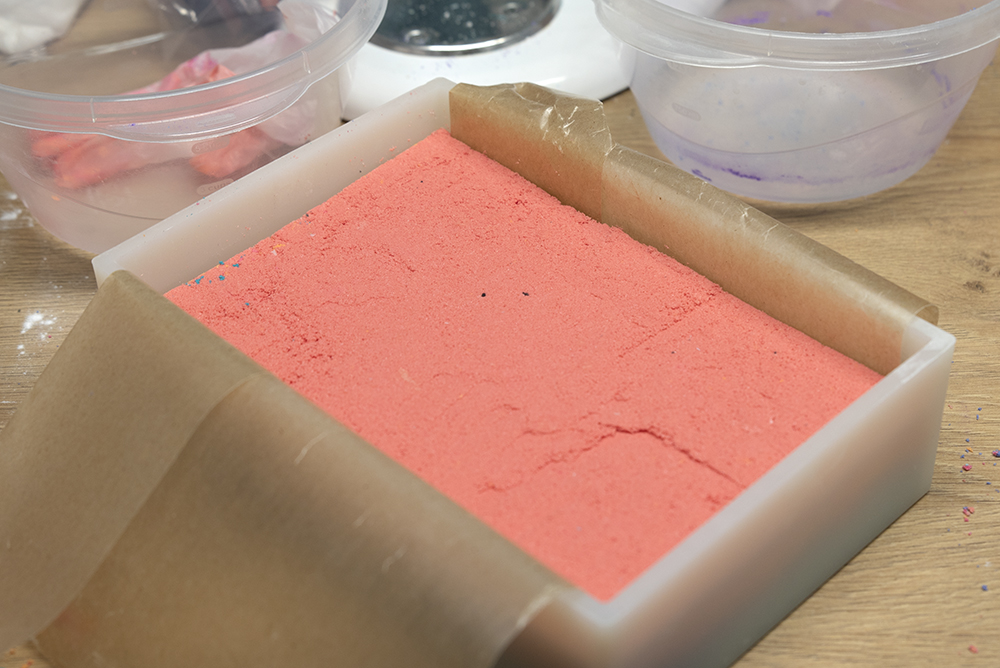
Step 4: Spread your first color into your mold and press well to flatten.
Step 5: Repeat for each additional layer!
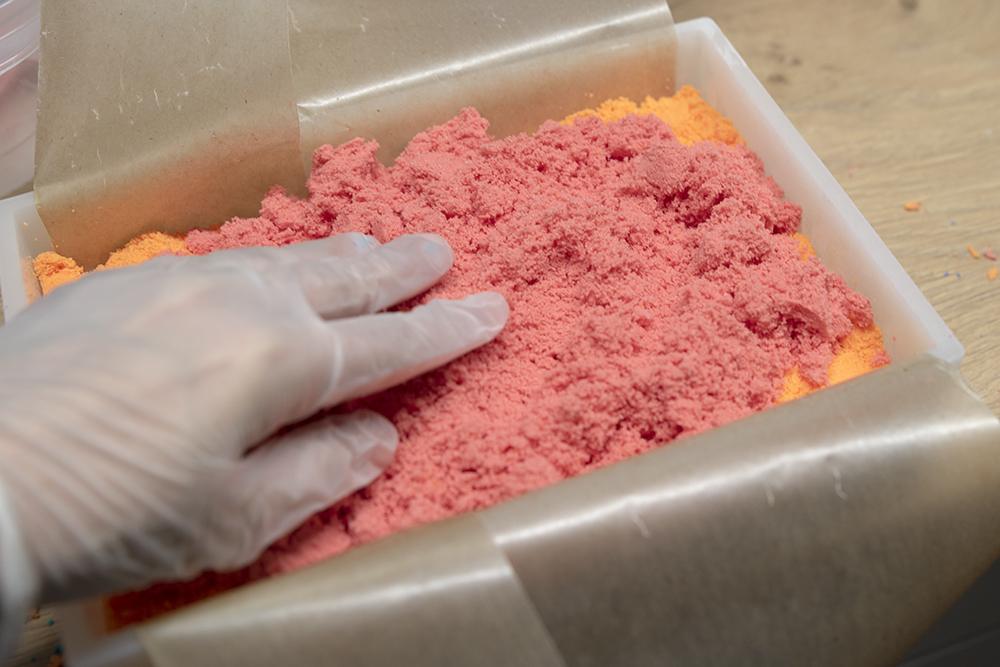

I used a bar of soap to flatten each layer down. 🙂
Step 6: Unmold your block of embeds! Since I had the wax paper in the mold, I could just lift the block right out! Easy peasy!
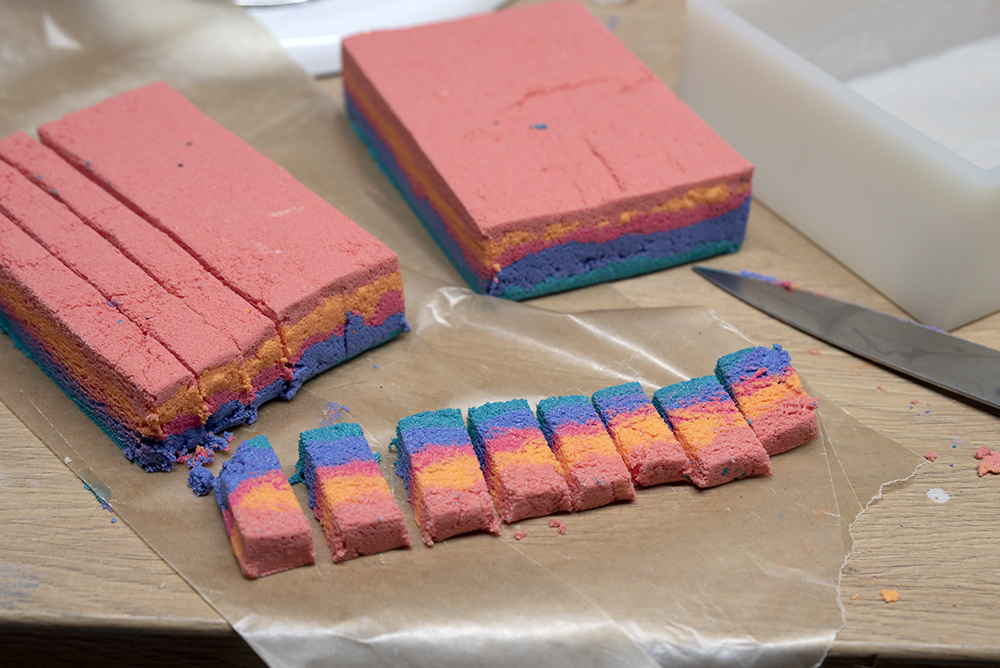
Step 7: Cut your embeds! I cut my block into strips and then into individual embeds. Keep the size of your mold in mind. Maybe have it on hand to test as you cut…just to make sure your embeds will fit into the mold you want to use.
Using a mold like the Cada mold will give you more crisp results! Silicone just doesn’t allow you to compress as well. You can see a bit of crumbling below. I’ll be doing this again with a Cada mold (or something similar!).
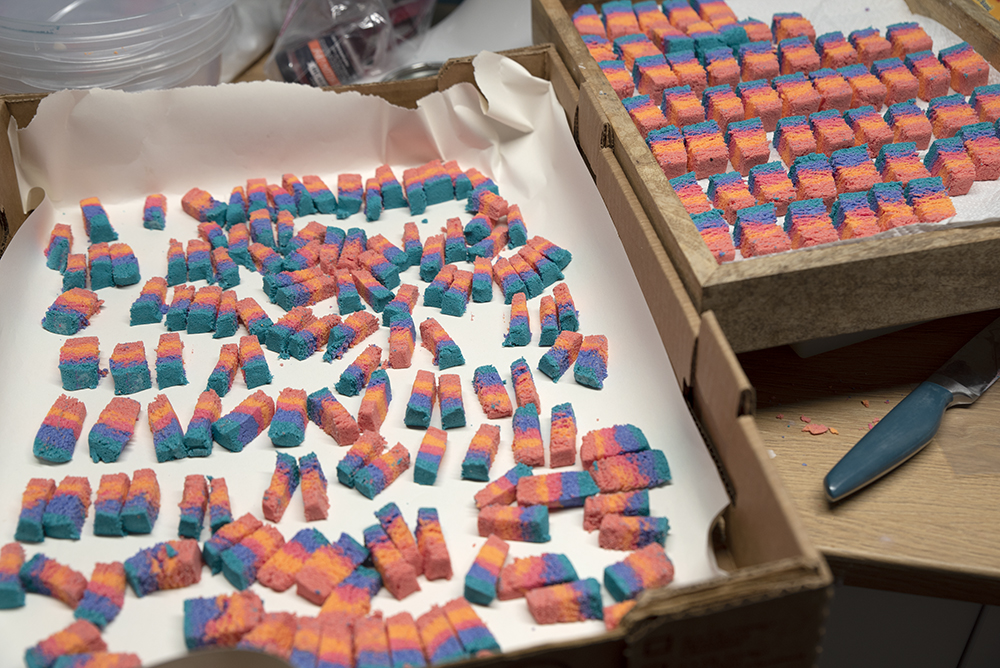
Step 8: Allow your embeds to dry!
Step 9: Embed them into new bombs! I used these in some black clouds that I’ll show you soon!
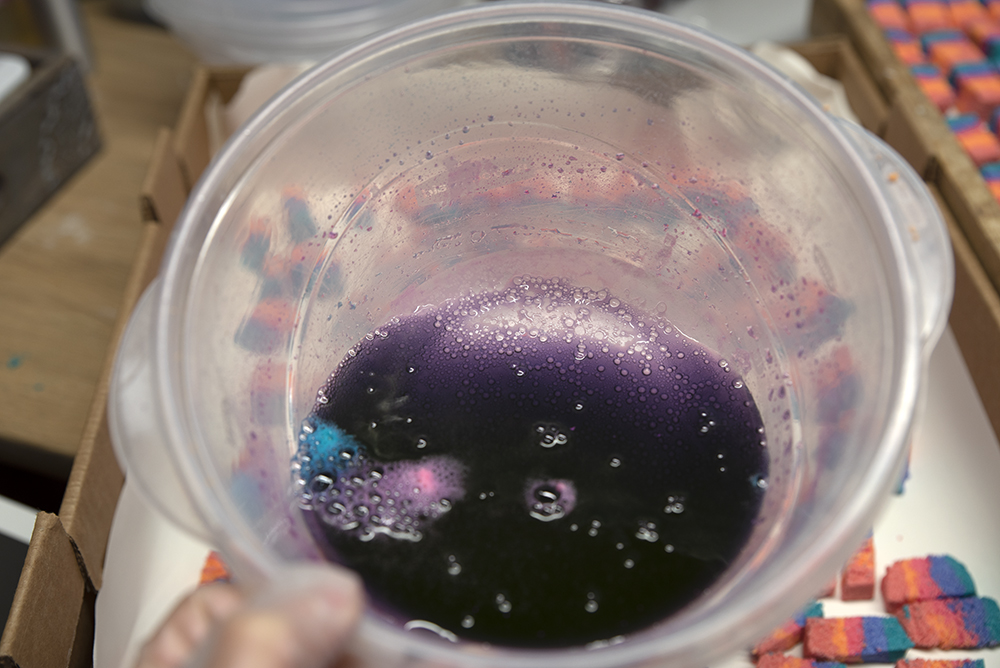
I was curious to see what color water these would create! Purple! Yay!
I hope this helps you make rainbow embeds for your cloud molds!
If you enjoyed this tutorial, can you please share on Pinterest!? Thank you! 🙂
Do you cut them immediately or wait a bit?
Hey Kay! You’ll want to cut them as soon as you make them!
I made these with dyes in water and the embeds look great. When I put them in the bombs and tested them there is almost no color coming out even though the embeds are vivid. Do you have an idea what I could have done wrong? Could the bombs have something in them that killed the color? Thank you.
Watch Jerika Zimmerman on YouTube. She says not to pack your bomb too hard. You don’t want it to sink but to float and spin. She also adds SLSa for sudsing and Polysorbate 80. She demonstrates hers on the video. This may help.
Thank you Amanda for teaching us how to make embeds. Very informative. I am grateful for your expertise. I’m just learning how to do all of this.
Super concise and easy to follow, thank you Amanda!
I don’t have Pintrest, just Instagram! Which is enough for my old age. I love the blog though! You always give great advice, that is easy to follow 😀