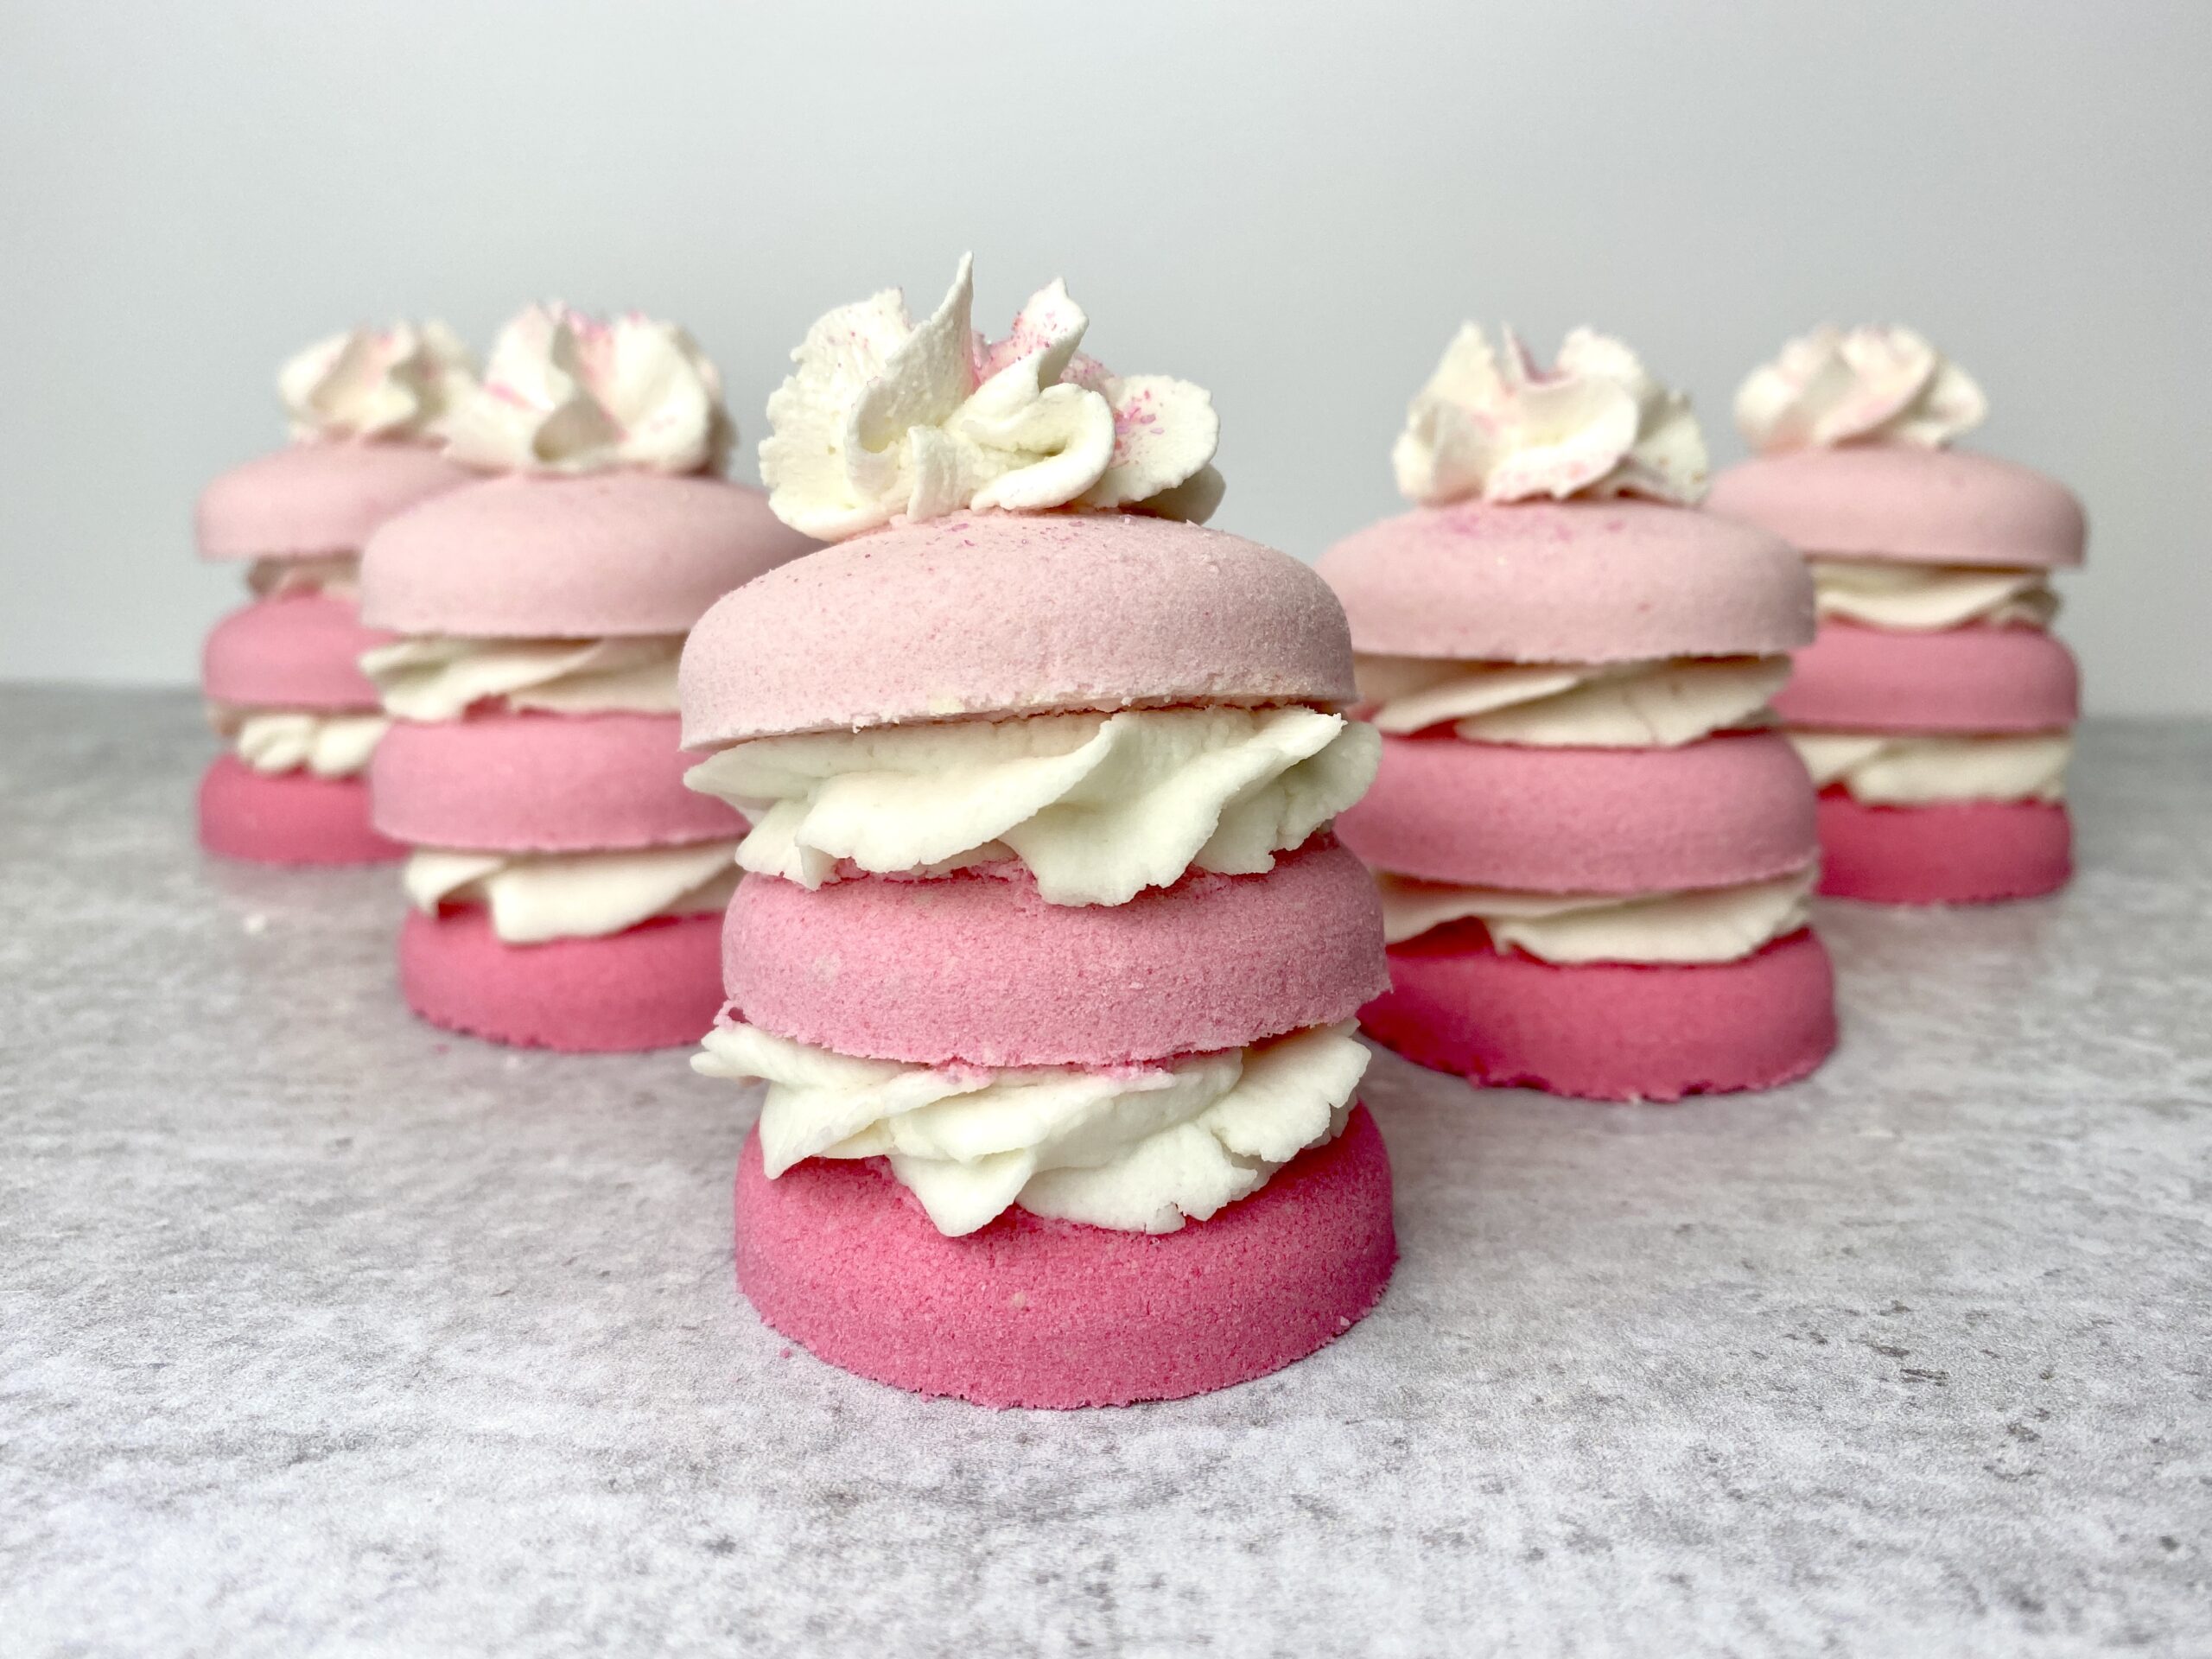
Ahhh these layer cakes are probably one of my favorite projects that Robyn and I created when she came to visit this year for the Holiday Bootcamp! I LOVE how they turned out.
Let’s walk through it!
For this project, Robyn and I used Robyn’s Humid Weather Bath Bomb Recipe. We used Wonder Bar for the icing.
This tutorial is all about the design! You can use any bath bomb recipe that you prefer. Let’s jump into it!
For the mold, we used a Cada macaron mold. It is probably one of the easiest molds to use! I love it because you can make macarons, vanilla wafers, cookies…all sorts of stuff!
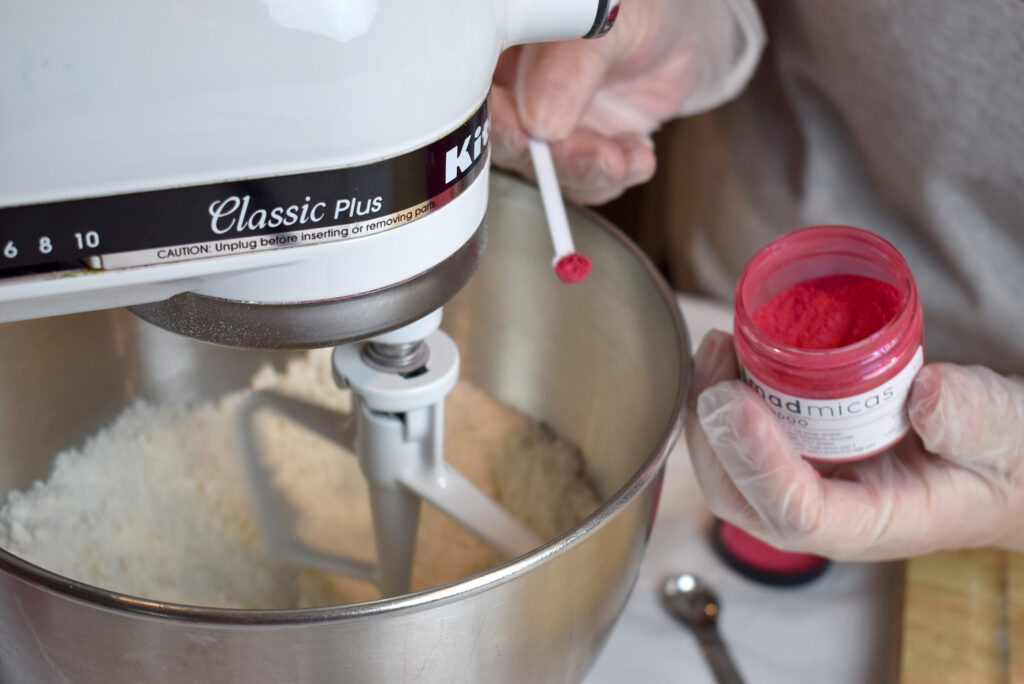
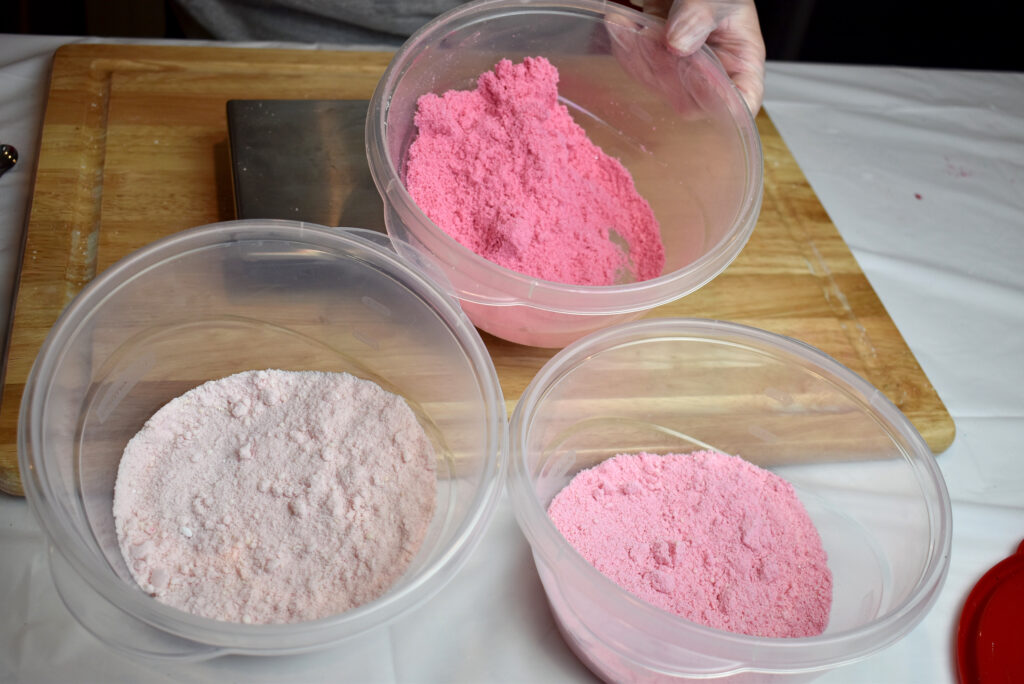
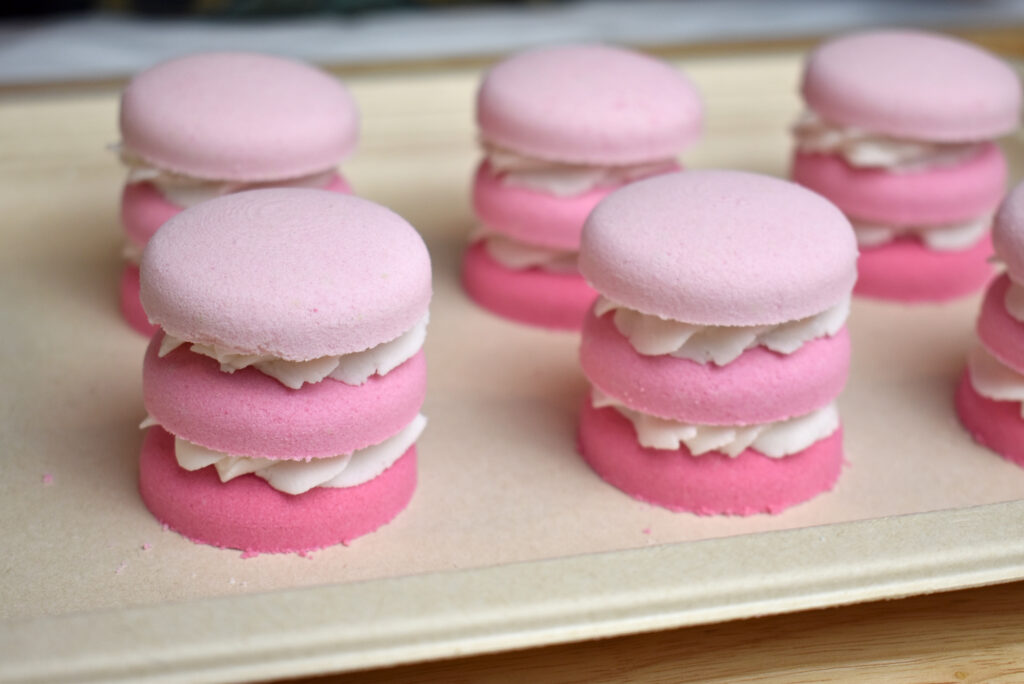
We decided to create an ombre of pink for our layers…three total. We used Mad Micas Voodoo Mica to color the mixture pink.
Step 1: Mix up your bath bomb mixture and make a note of the total amount because you’ll divide it by three. We used a quarter batch of Robyn’s recipe so noted that our total mixture weighed about 540 grams.
Step 2: We added 2 micro-scoops of Voodoo mica to get a super soft pink and mixed it well.
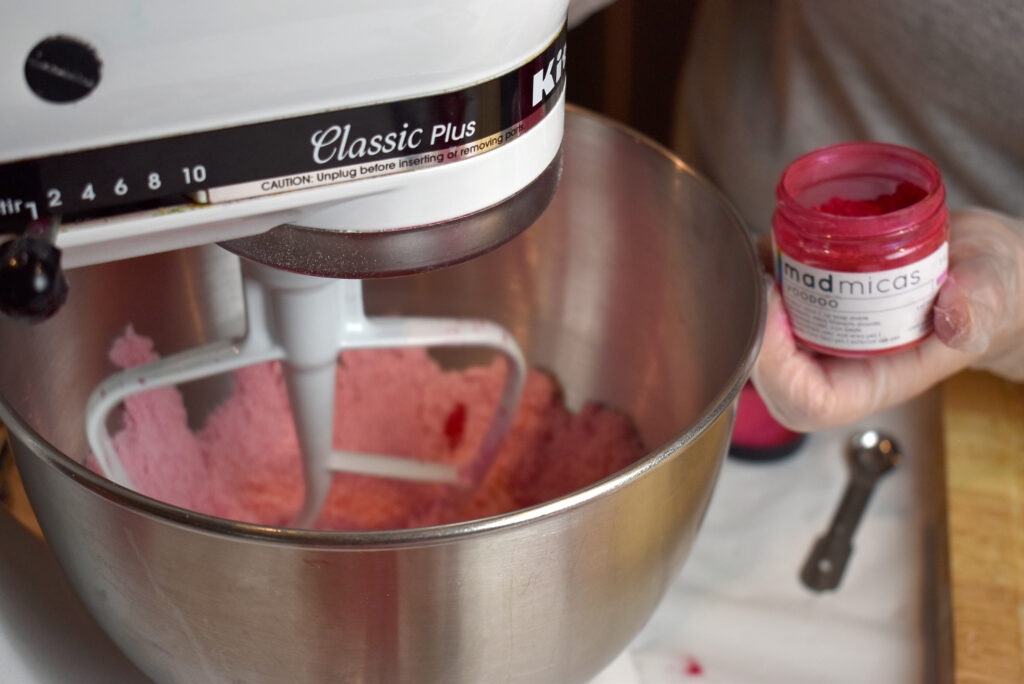
Step 3: Pour off 1/3 of the mixture, which happened to be 180 grams for this batch.

Step 4: Add more pink mica using micro-scoops until you get a darker shade of pink. We ended up adding 6 more, but it will vary depending on the mica you’re using. Add a little at a time.
Step 5: Pour off 1/3 of the mixture (again, 180 grams).
Step 6: Color your last 1/3 even darker pink. We ended up adding another 4 micro-scoops of mica.
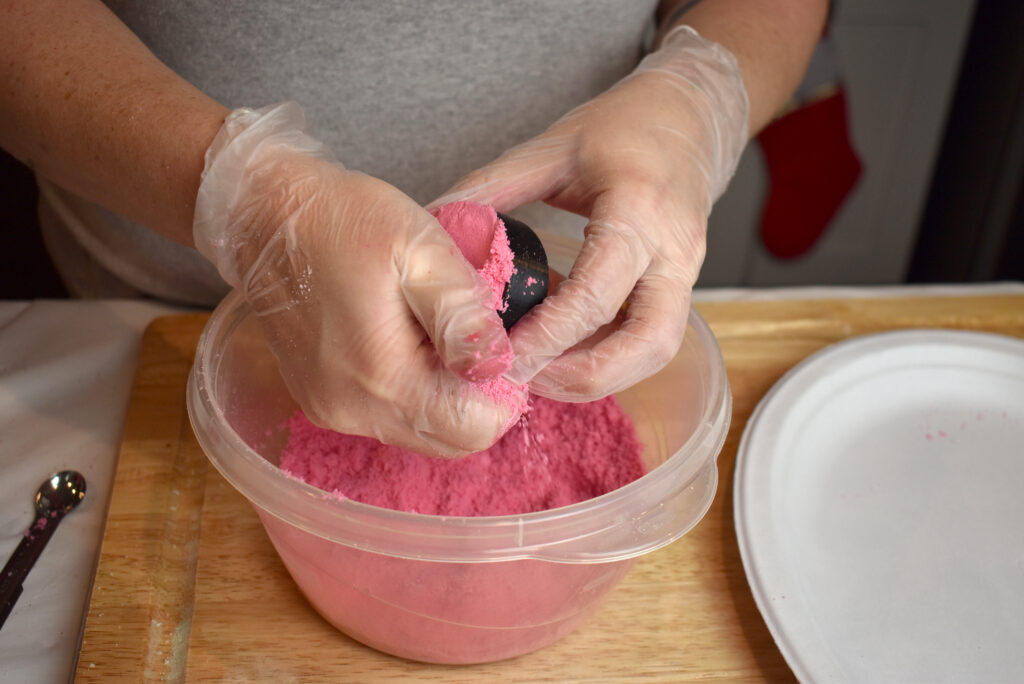
Step 7: Choose a color to start with to mold your macarons and add a spray or two of binder! We added binder to each mix as we went so they wouldn’t dry out before we had a chance to mix.
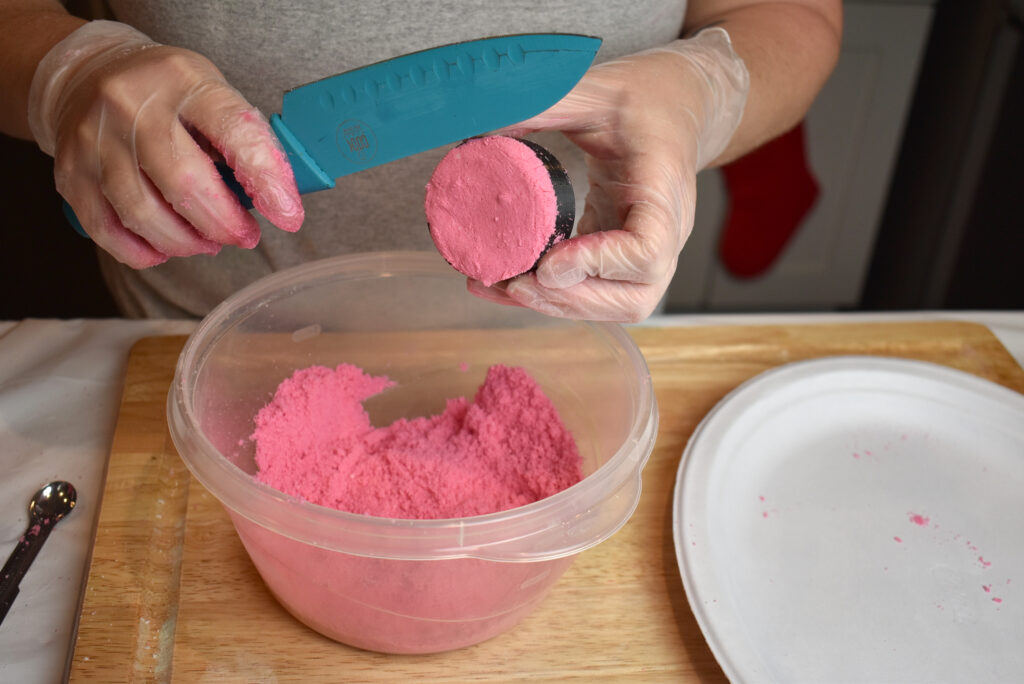
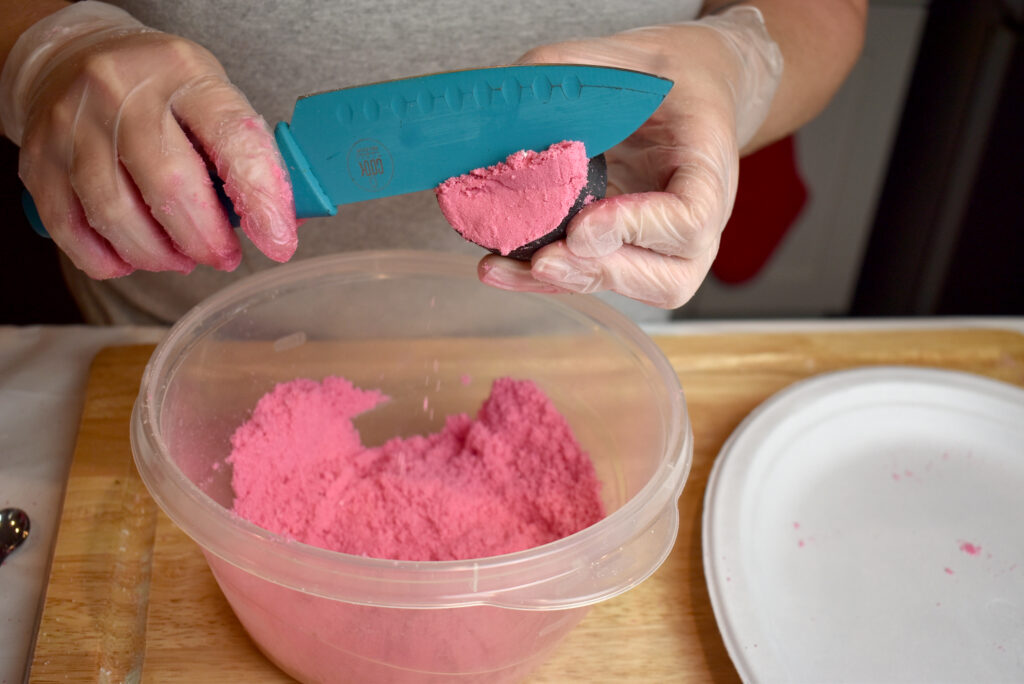
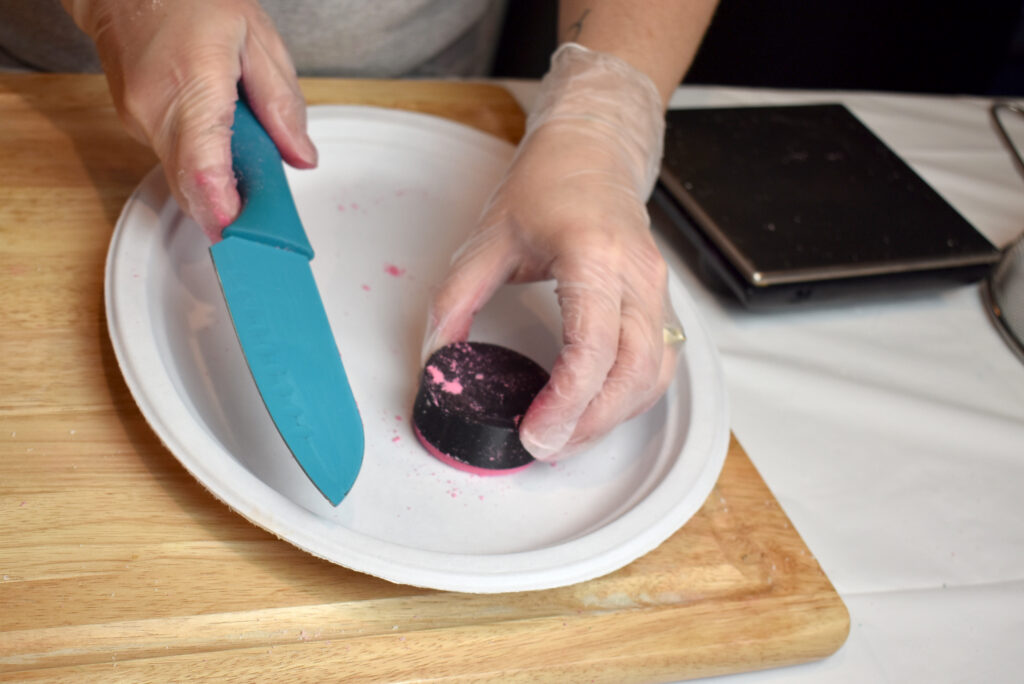
Step 8: Mold your macarons! This mold is sooooo simple! I (Amanda) simply pack, slice off the access and then slam down to unmold. Robyn does the same, but doesn’t slam. She holds it slightly up off of the surface and taps with a knife to unmold. Try both and see what you like!
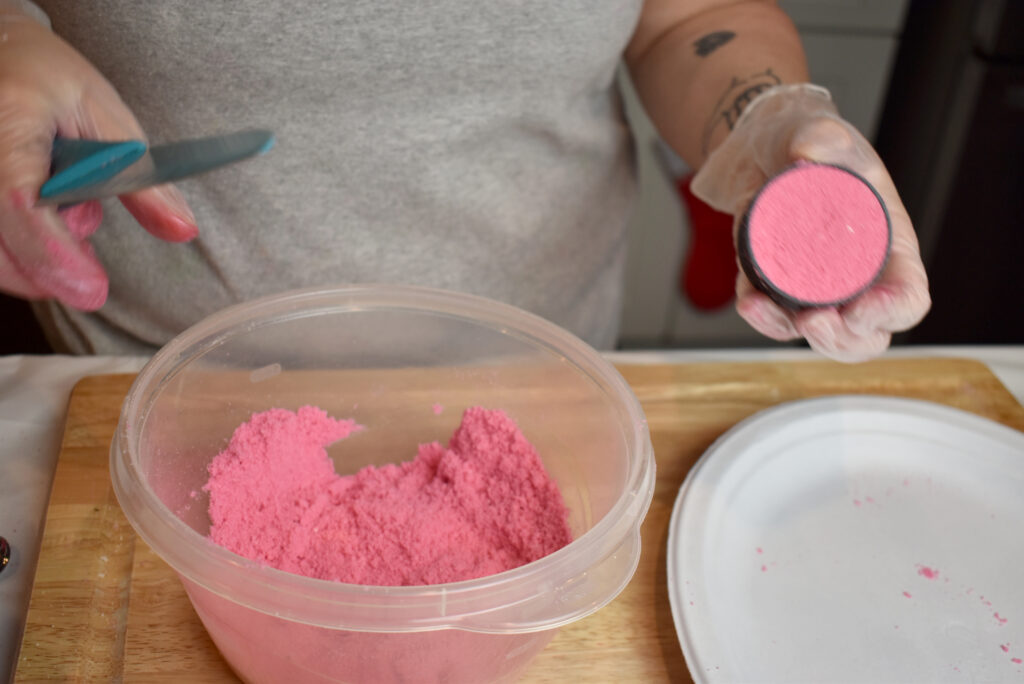

Step 9: Repeat the molding process for each additional color until you have all your bottoms made.
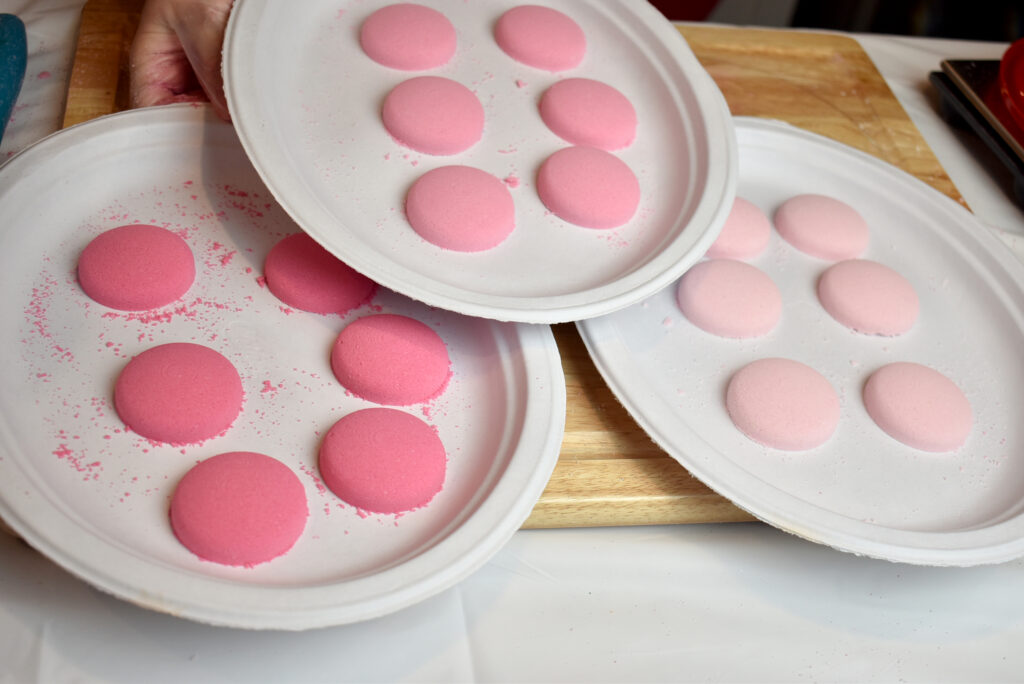
Step 10: Dry your bath bombs before decorating. Depending on how humid it is where you live, you might need to dry them 1-4 days. I dry in a room with a dehumidifer running and mine only need about 24 hours to dry (even in humid Florida!).
TIP: Drying your bath bombs: The best way to quickly dry your bath bombs is to place them in a room with a dehumidifier running. If you have no humidity where you live, then you probably don’t have to do this. But if you have any humidity, I highly recommend investing in a dehumidifier. Even if you don’t have high humidity, it can help your bath bombs dry quickly so you can decorate and package even faster! I like this dehumidifier from Homelabs on Amazon.
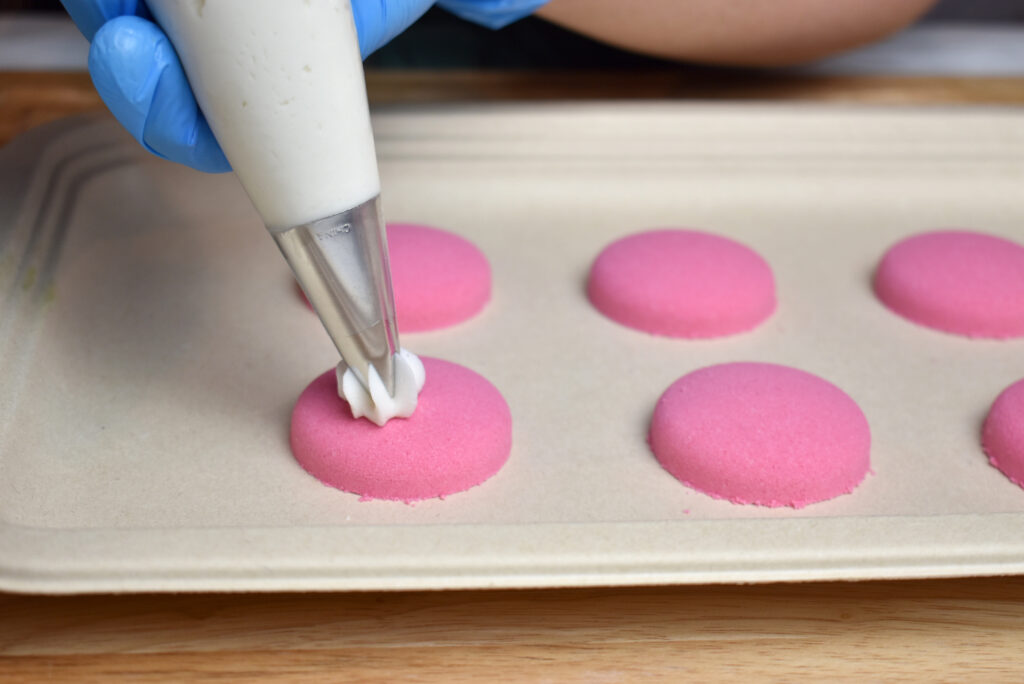
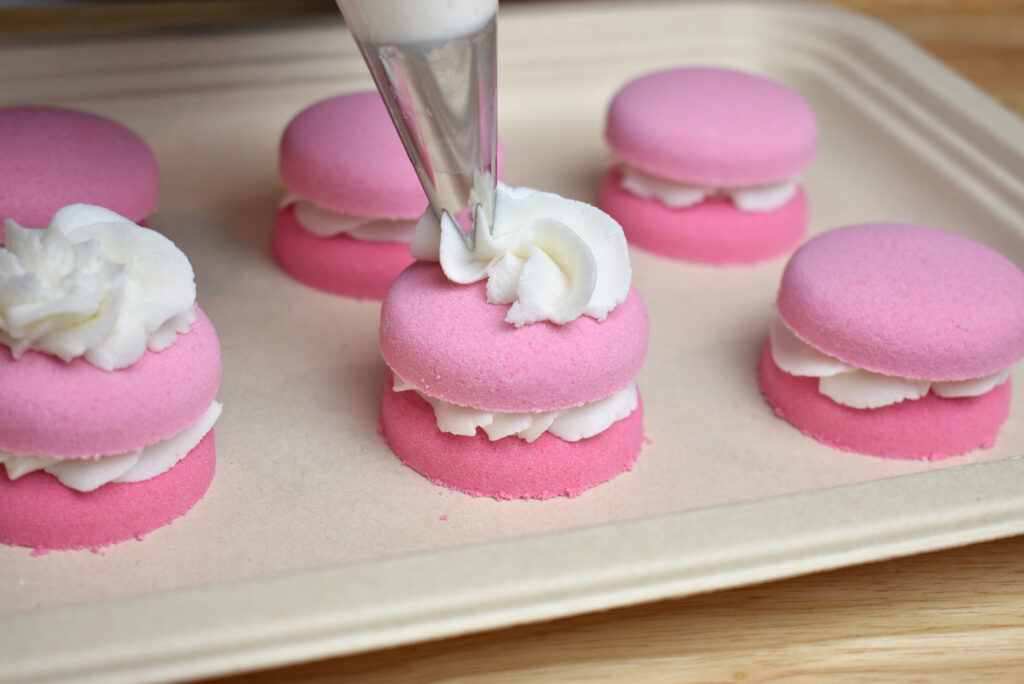
Once dry, you can add your Wonder Bar piping as the frosting.
Let’s do it!
We used Wonder Bar for cake icing.
If you want to make just a bit of Wonder Bar for topping your bath bomb project, check out this blog post on masterbatching Wonder Bar! You can simply take out a bit of mixture and add alcohol as needed to get it to that piping consistency.
Or, you could make a whole batch of Wonder Bar and then use the leftovers to pipe bubble wands!
We took a bit of materbatched Wonder Bar and left it uncolored. We added alcohol to get it to the perfect piping consistency.
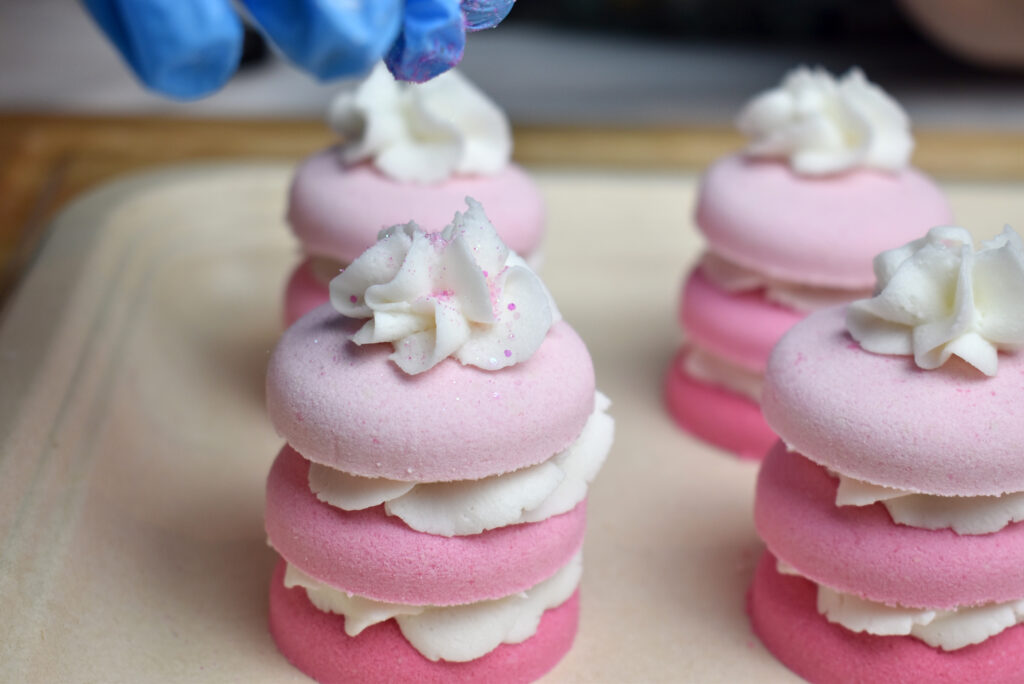
TIP: Before piping Wonder Bar onto your bath bombs, be sure to spray bath bombs with 91% alcohol to help it stick!
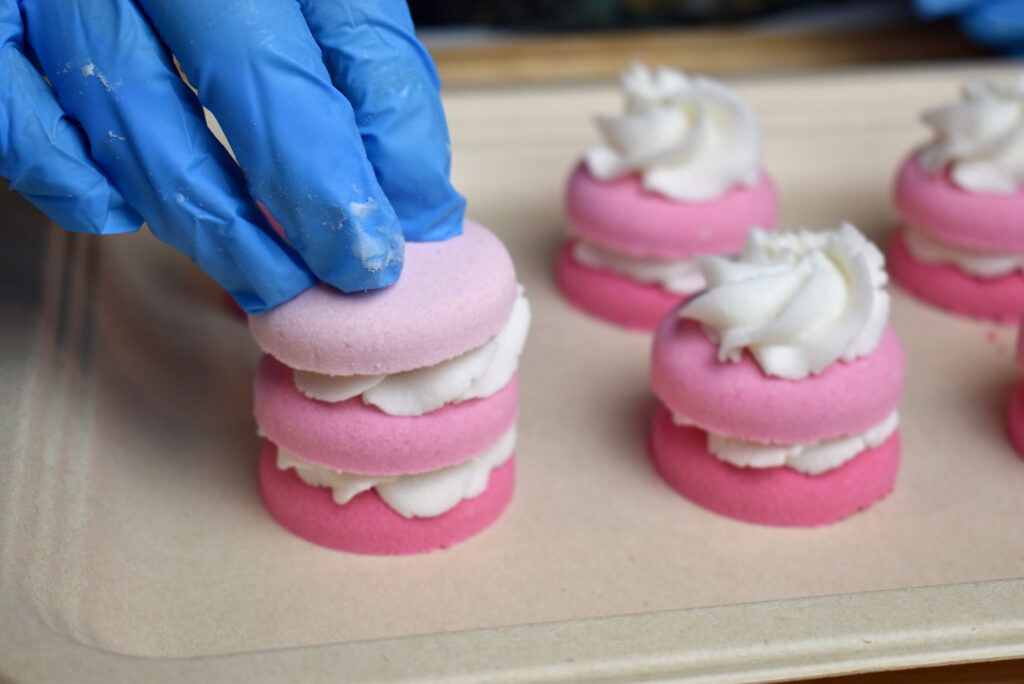
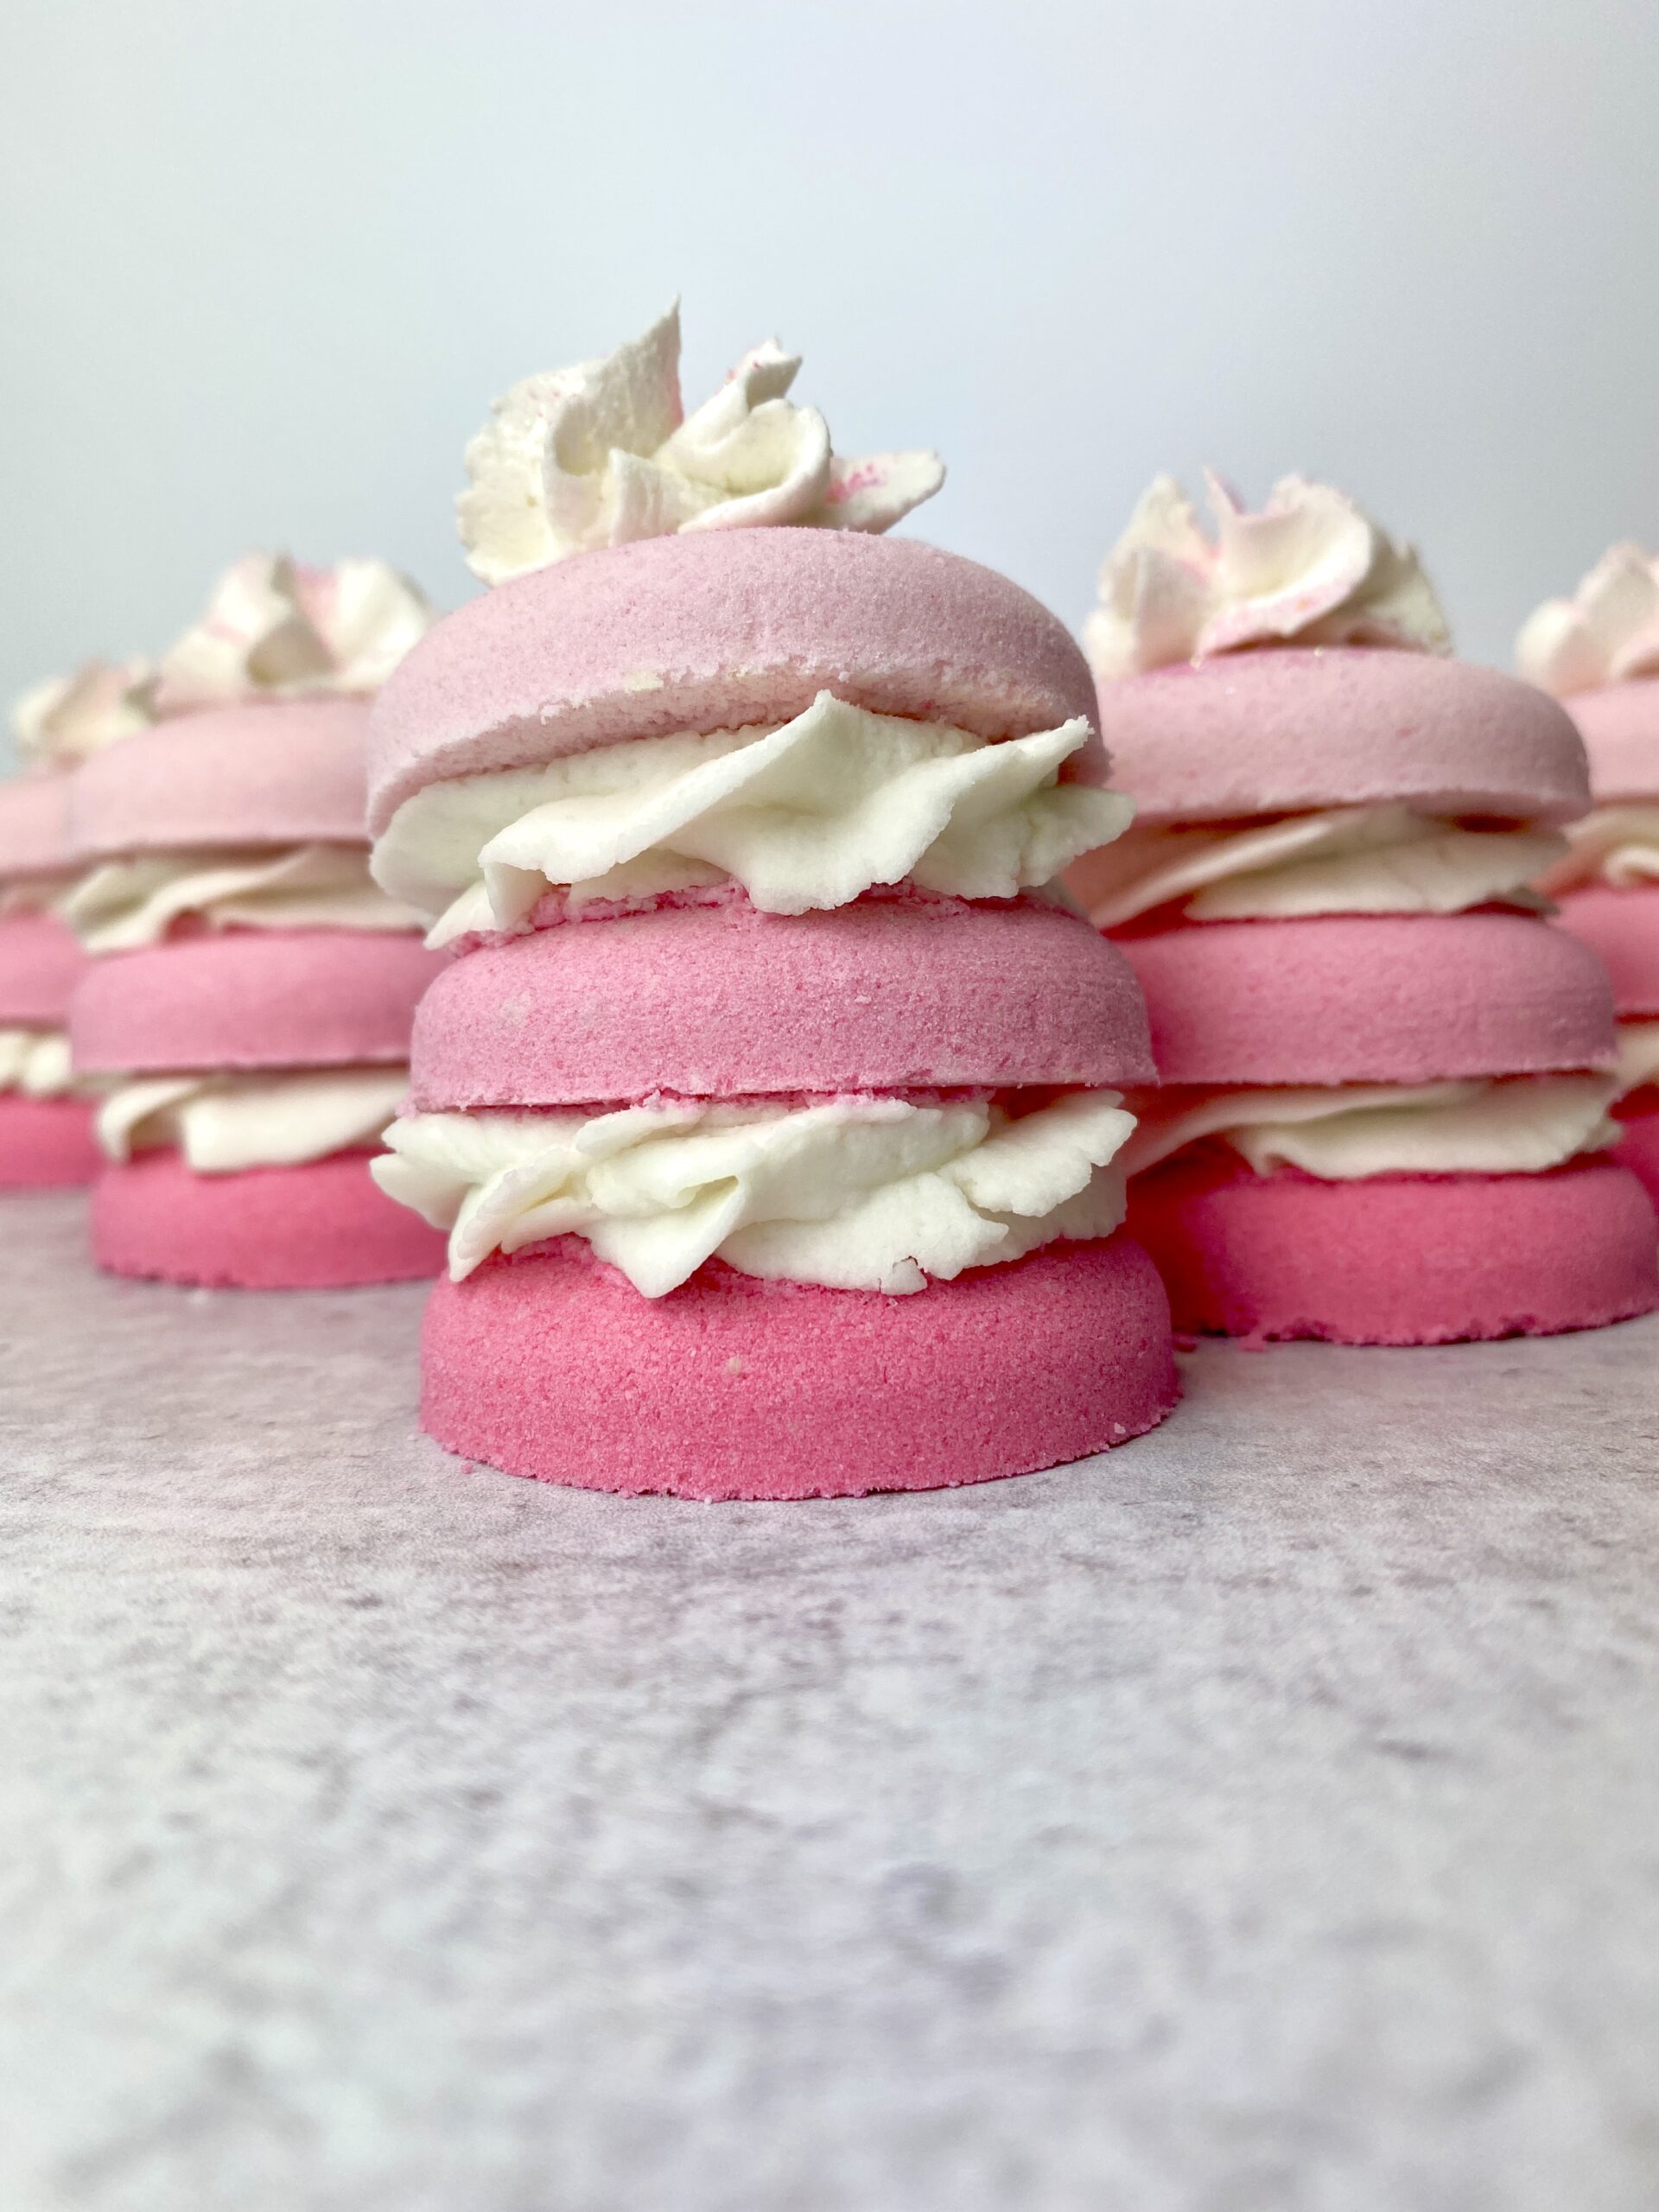
We used a 1M piping tip and piped a little swirl in between each layer and on top.

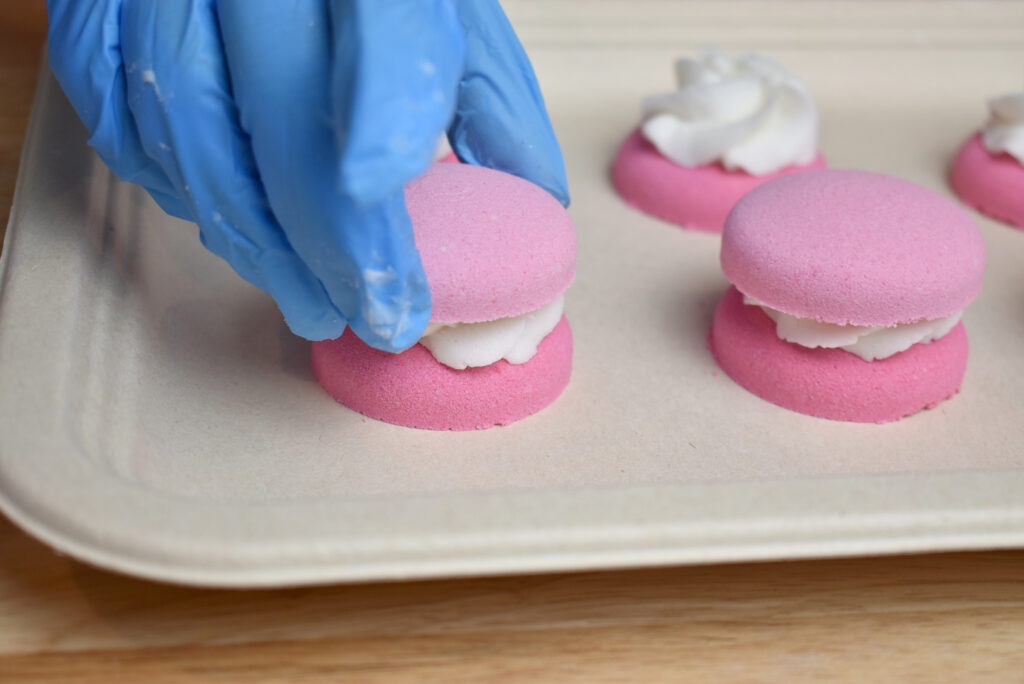
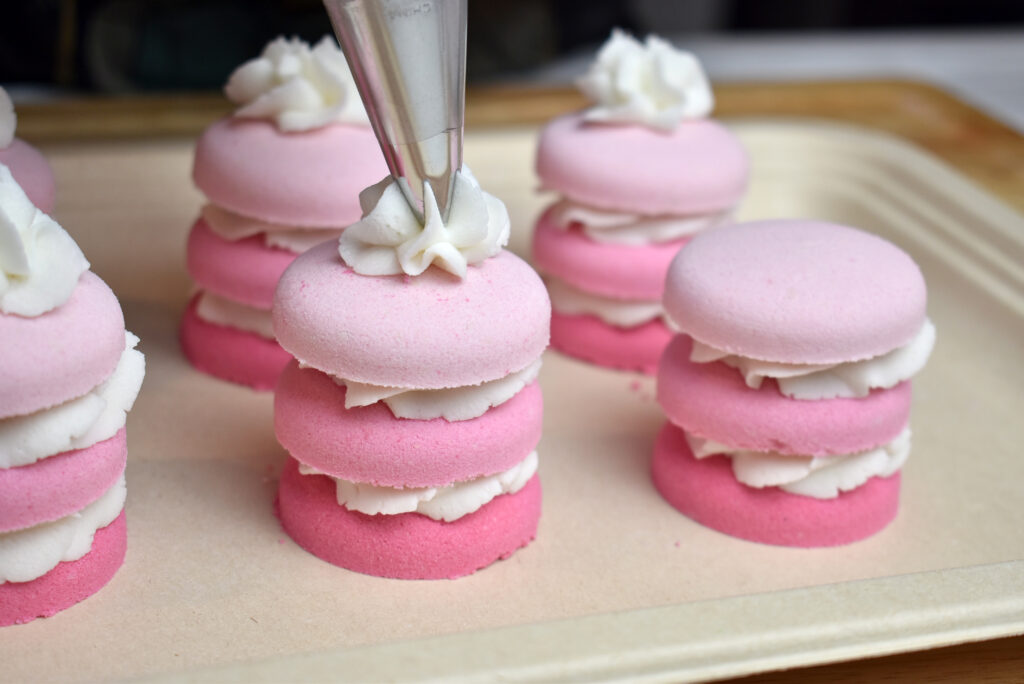
We topped with a bit of pink eco glitter! So cute!
Happy Making!
Amanda & Robyn
Wonder Bar Bubble Bar Recipe + Process Guide
Get one recipe to make it all! Make bubble bar scoops, rolls and bubble frosting, using just ONE recipe! Get Wonder Bar here.
Robyn’s Humid Weather Bath Bomb Recipe
Making bath bombs in wet, rainy weather can be so frustrating! If you live in an area with constant high humidity, then you’ll need a recipe that can hang day in and day out without failing, warting, cracking or crumbling. Check out Robyn’s Humid Weather Bath Bomb Recipe!