
Robyn and I are declaring this week Geode Week on the blog and in our bath bomb Facebook group, Bath Fizz and Foam. We’re going to share FOUR different geode bath bomb projects and one bubble bar geode project.
As we move through the week, we’re going to share some different molds and advanced techniques. To get us started, I’m going to start with the simplest way I found to make geodes. You only need a round bath bomb mold…nothing fancy. Let’s dive in!
The recipe I used is my basic bath bombs recipe with added SLSa to give it some foam in the tub! You can omit the SLSa or substitute with milk powder, which creates a bit of foam in the tub.
If you are new to making bath bombs I HIGHLY recommend my book Fun in the Tub or Bubble Bootcamp to learn about formulating so you can tweak any recipe to suite your environment. There is no single and perfect bath bombs recipe! You’ll need to formulate for your humidity and environment.
The bath bomb recipe below makes 4 geode bath bombs (depending on your mold)! Once you give it a try, you can scale it up to make bigger batches.
I used a stainless steel bath bomb mold from Bramble Berry.
- Stainless Steel
- Dimensions (in inches): Each half: 2.75″ diam x 1.5″ H
- Capacity: 7.5 oz.
This project is created in four phases:
- Making the colored salt
- Making the bath bombs
- Gluing on the colored salt
- Painting the bath bomb
Making the Colored Salt
When it comes to coloring salt, you can basically use any kind. My favorite kind of salt to use is Epsom salt. You can use sea salt, dead sea salt or, as Robyn does, rock salt. You can use fine through large grain (size) depending on the look you’re going for. My Epsom salt is pretty large in grain size. You can use a finer salt for a druzy style of crystals.
Coloring salt is super simple! You simply wet your salt with alcohol, mix in some mica and then spread it to dry. I like to combine alcohol and polysorbate 80 to wet my salt. The polysorbate helps to emulsify the colorants into the tub (by actually emulsifying the oils into the tub).
Combine salt, alcohol and polysorbate into a cup and mix. Add mica until you get the color that you want. I used about 2 tablespoon of salt, 1/2 teaspoon of alcohol, a few drops of poly80 and then a microscoop of mica. If your color doesn’t appear to be mixing in, add more alcohol to help disperse it.
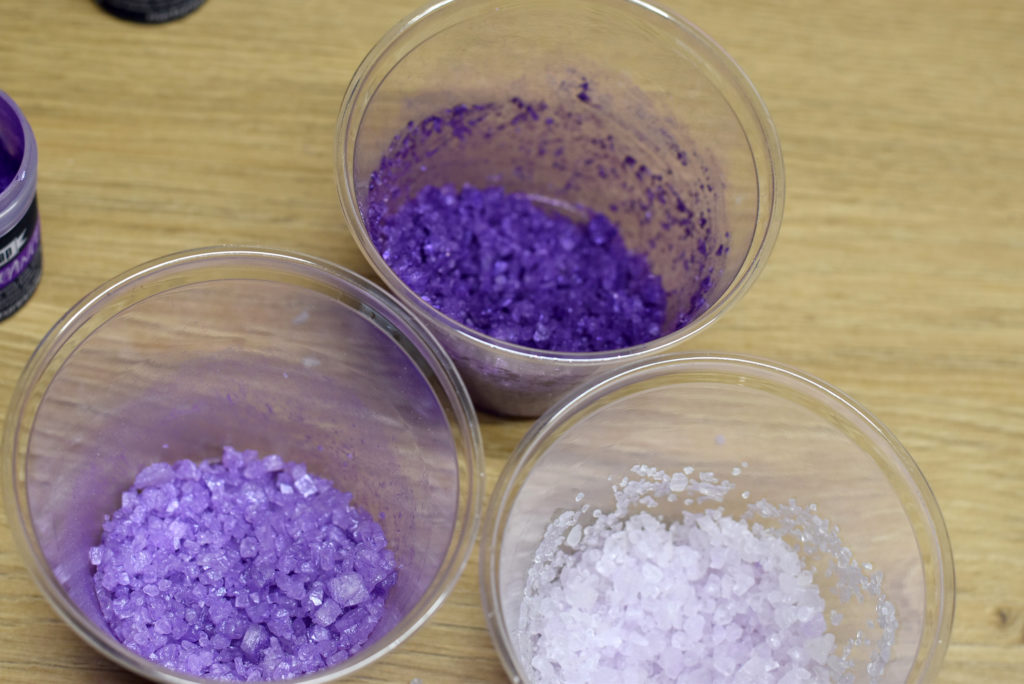
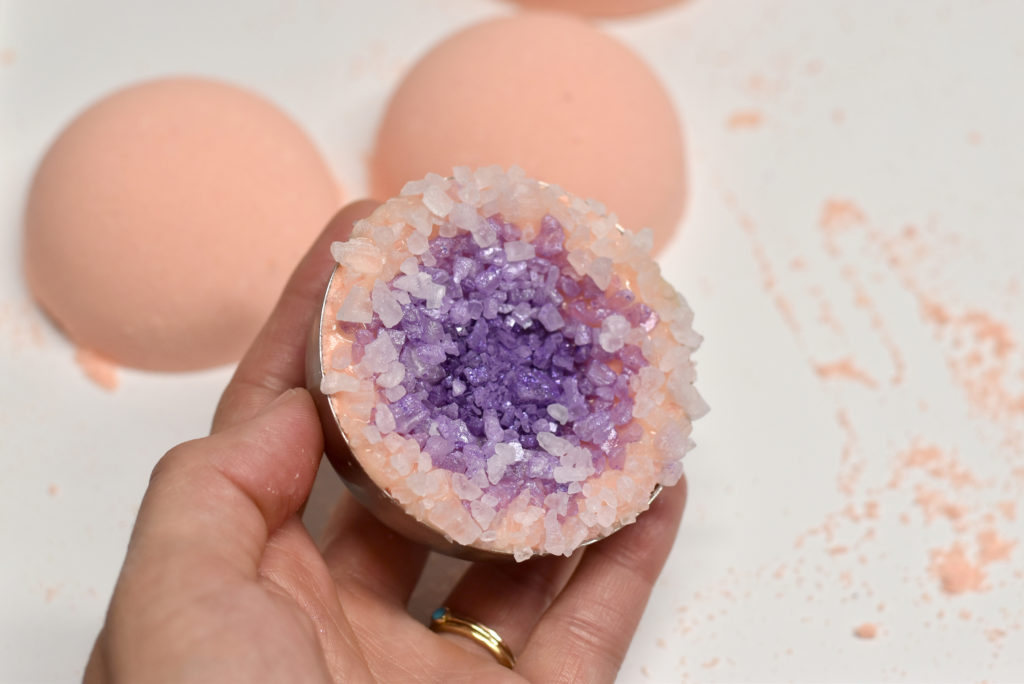
I colored my salt 3 shades of purple mica from Nurture. A dark purple (Purple Vibrance + Blackberry), medium purple (Mardi Gras) and then a really light purple (touch of Iris Purple). I was going for an amethyst geode look and if you Google images, they are usually dark purple in the middle and then spread out to white.
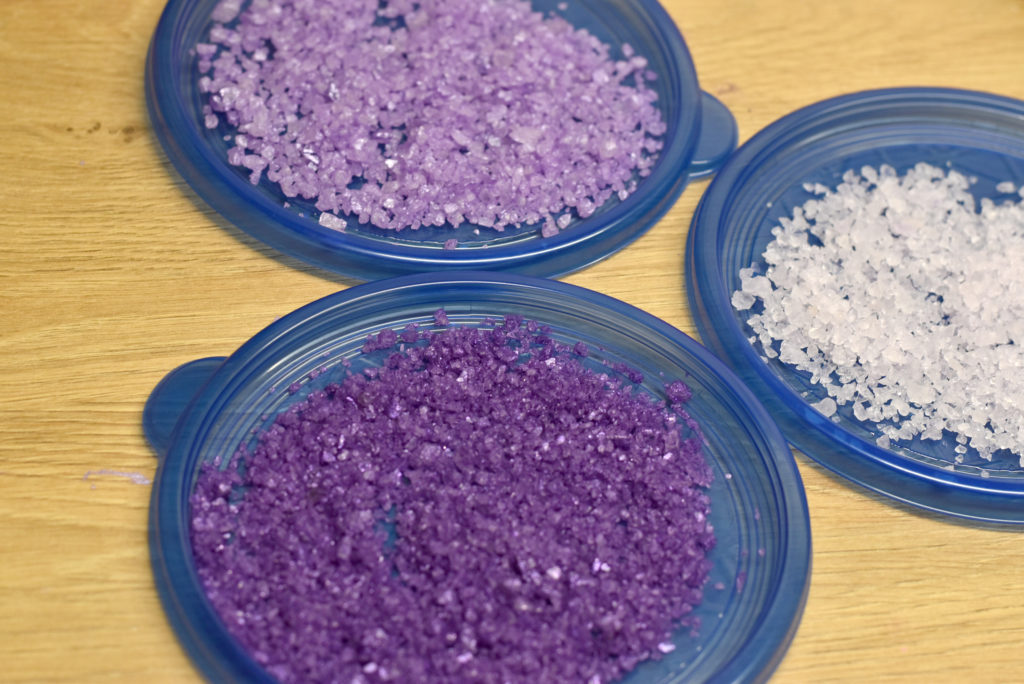
You want your colored salt to be dry before use. So, spread it out onto plates to dry.
Now, let’s make the bath bombs!
Simple Geode Bath Bomb Recipe
Ingredients
- Baking Soda – 1 cup (250 grams)
- Citric Acid – ½ cup (100 grams)
- Cream of Tartar – 1 tablespoon (12 grams)
- Kaolin Clay – 1 tablespoon (3 grams)
- Corn Starch, Tapioca Starch or Arrowroot Powder – 1 tablespoon (10 grams)
- Fine Sodium Lauryl Sulfoacetate (SLSA) – 1/8 cup (20 grams)
- Avocado Oil – 1 teaspoon (5 grams)
- Polysorbate 80 – 1 teaspoon (5 grams)
- Scent – 7 grams
- Color – Dye, Lake or Mica
- Fine-mist spray bottle with 50/50 water/alcohol
Step 1: Measure or weigh all the dry ingredients into your mixing bowl (sift for best results). In another container (a small measuring cup works well), measure or weigh all the wet ingredients and mix them together. If you’re using a butter in place of the avocado oil, be sure to melt it first.
Step 2: Pour the wet ingredients into the dry ingredients and immediately start to mix. 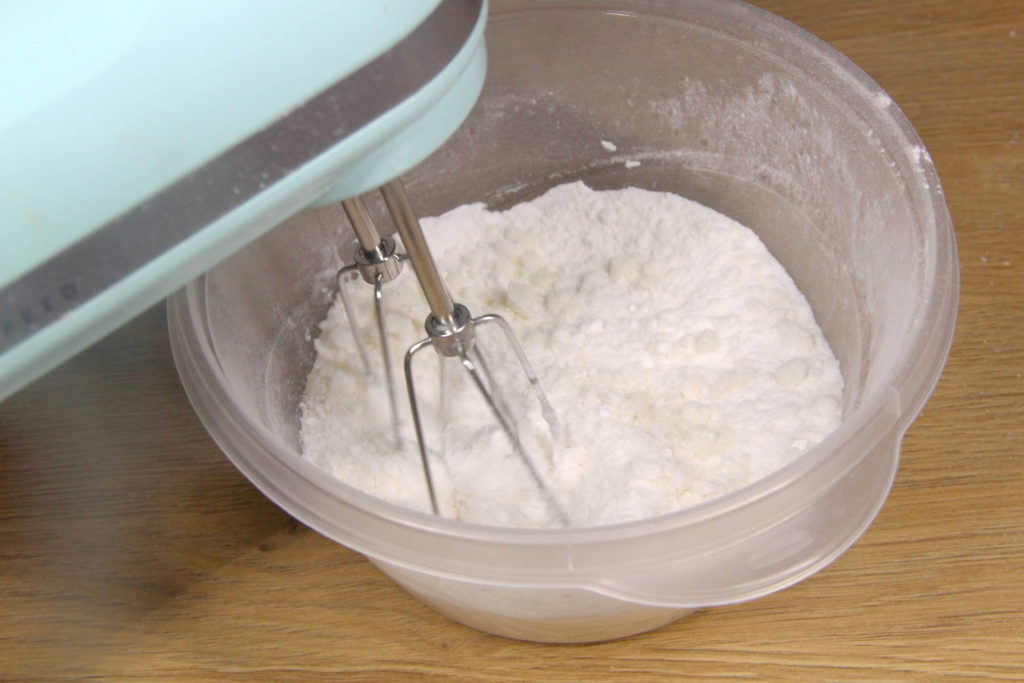
Step 3: Blend the mixture using a hand mixer or a stand mixer.
Mix for about a minute. This helps to break up clumps and aerate the mixture. You can also break up any clumps using your hands if needed.
Step 4: Add your coloring and mix using a hand mixer to disperse. I used a blend of Yellow 5 Lake and Red 40 Dye.

Step 5: Wet your mixture using a fine-mist spray bottle of binder until you get to the correct consistency.
The mixture feels like lightly damp sand, not like wet sand, which would be too much moisture. Holding together and not crumbling.
I like to test mine by tapping it with my thumb. It should stay together and not break apart easily. Some makers hold the clump of mixture in the air (maybe 10-12 inches) and drop it into the bowl. If it stays together, it’s ready.
For more tips, be sure to read through our basic bath bomb recipe tutorial.
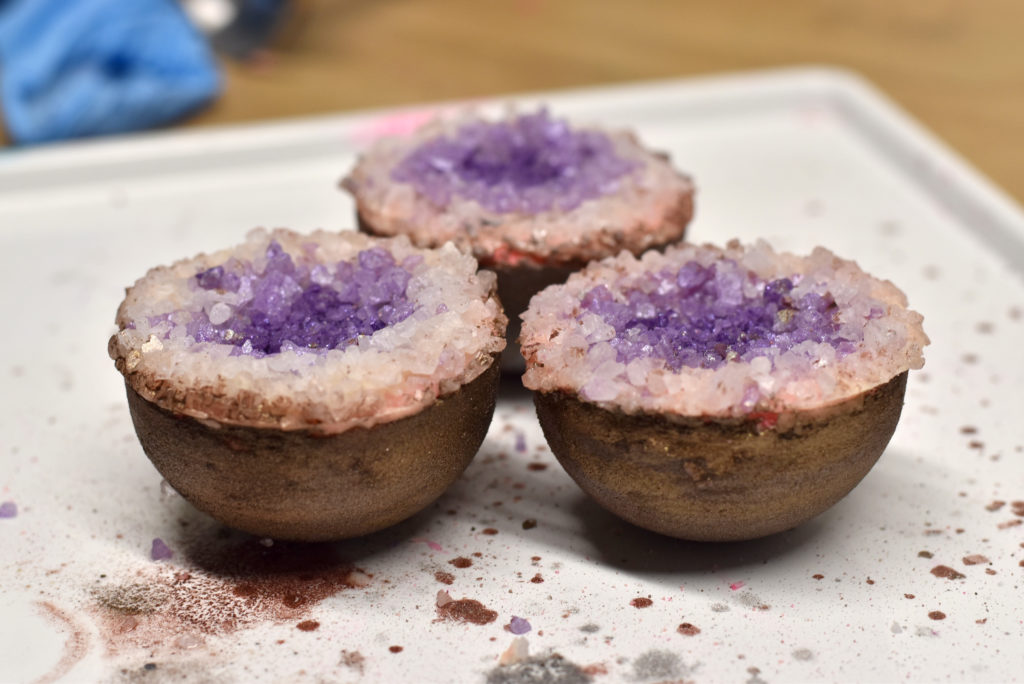
Step 6: Mold your bath bombs. I packed one side of the round mold and then pressed the other into it to create the indented area to fill with salt for the geode design.
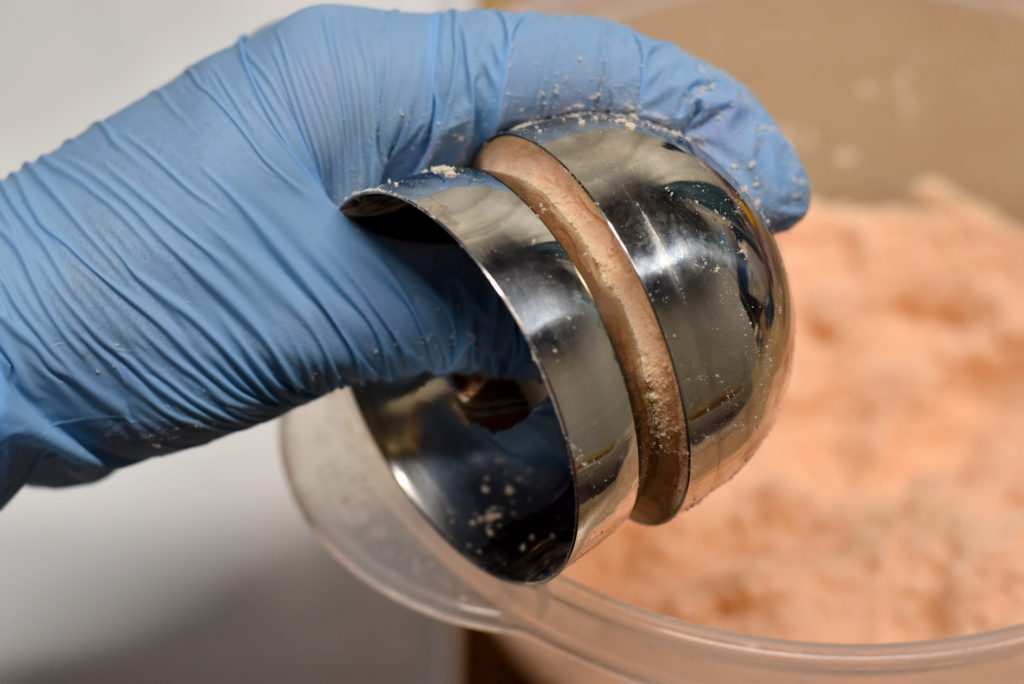
If your bath bomb crumbles or breaks during unmolding, simply mix back into the batch and start over with molding.
Allow your bath bombs a day or two to dry before you decorate as geodes!
Making the Cocoa Butter Drizzle
To adhere the salts to the bath bomb, I like to make a cocoa butter drizzle. You can do this a few ways.
I have a recipe in my book, Fun in the Tub, that uses cocoa butter, baking soda, SLSa and polysorbate 80. You can use that recipe or simply combine cocoa butter with baking soda until you get a consistency that you love! I find that when adding SLSa and polysorbate 80, it melts and emulsifies easier into the tub.
I like the consistency to be similar to a thicker glaze or royal icing. You don’t want it to run down the sides of your geode. And you don’t want it to be too thick to spread. Drizzle is forgiving. If you need to thicken it up, add more baking soda. If you need to thin it down, first heat to make sure the thickness isn’t because of the cocoa butter solidifying, then try adding more cocoa butter and melt.
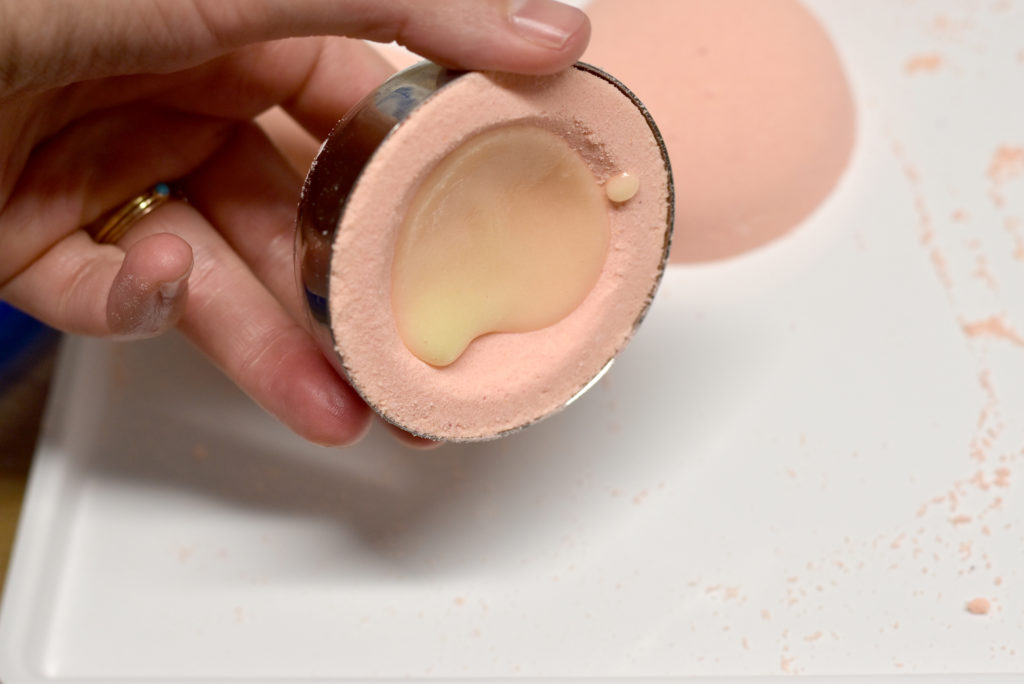
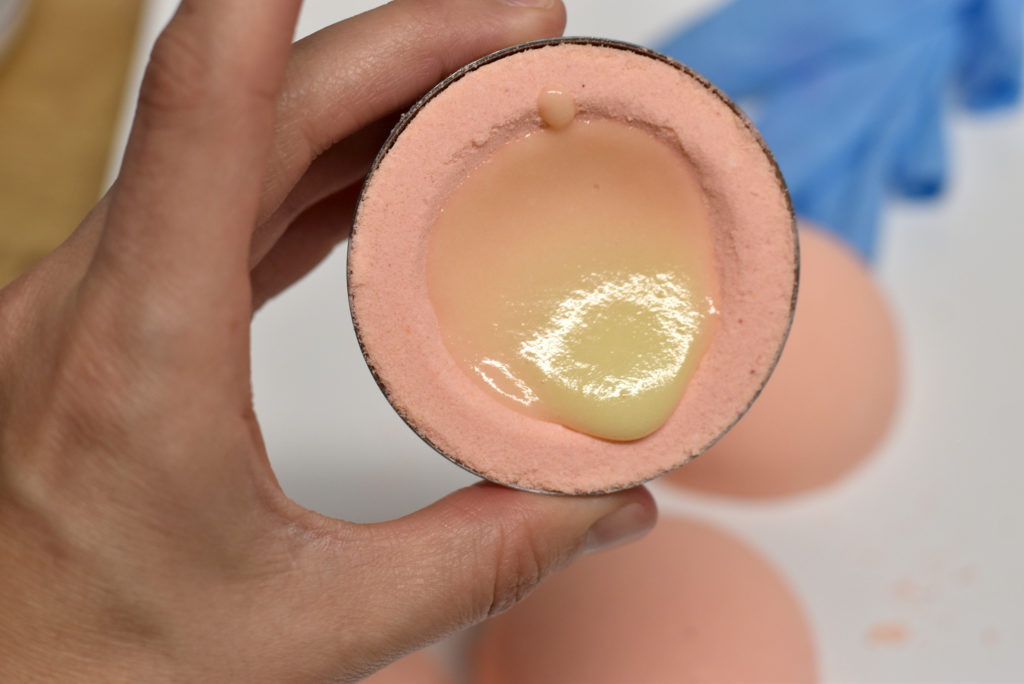
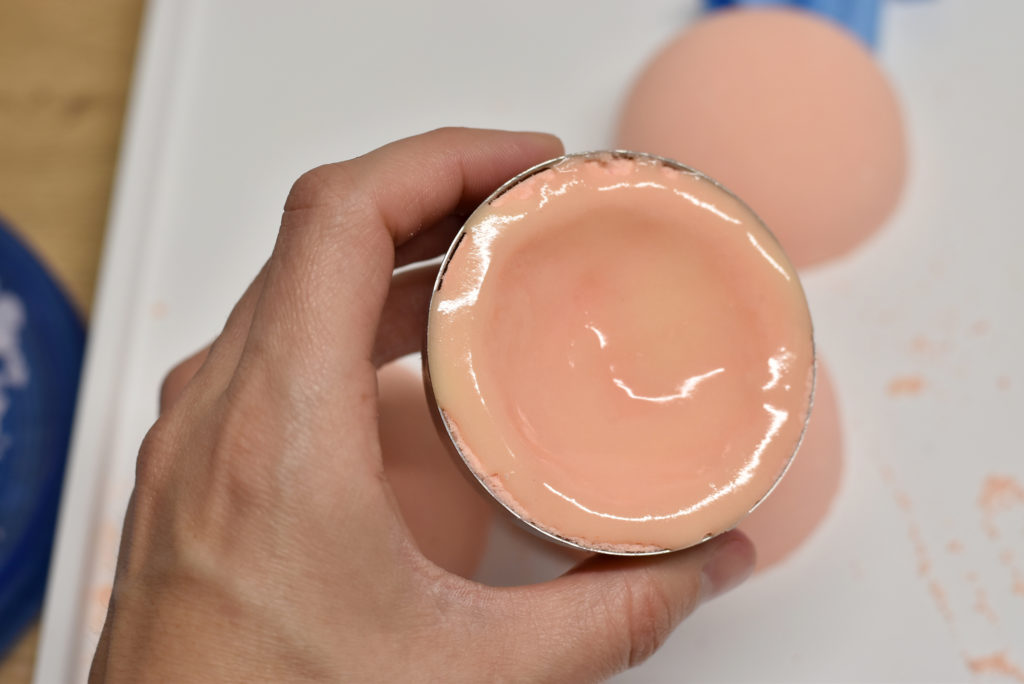
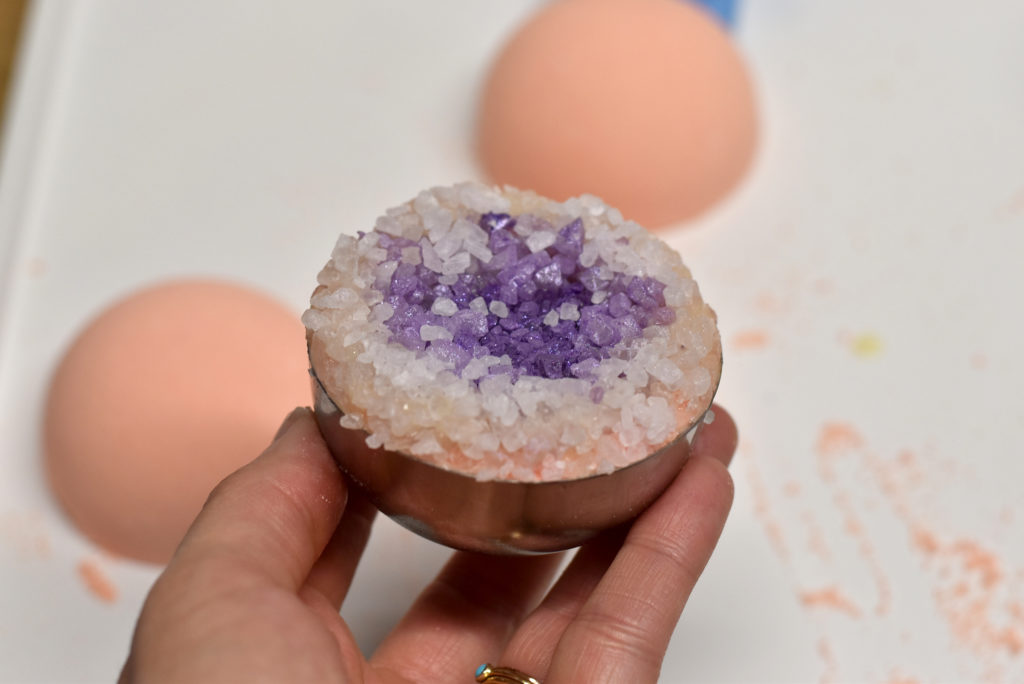
Once your drizzle is ready, pour some into the center of your bath bomb and spread by rotating your bath bomb. Get it all the way to the edges. (Although, you can always add more.)
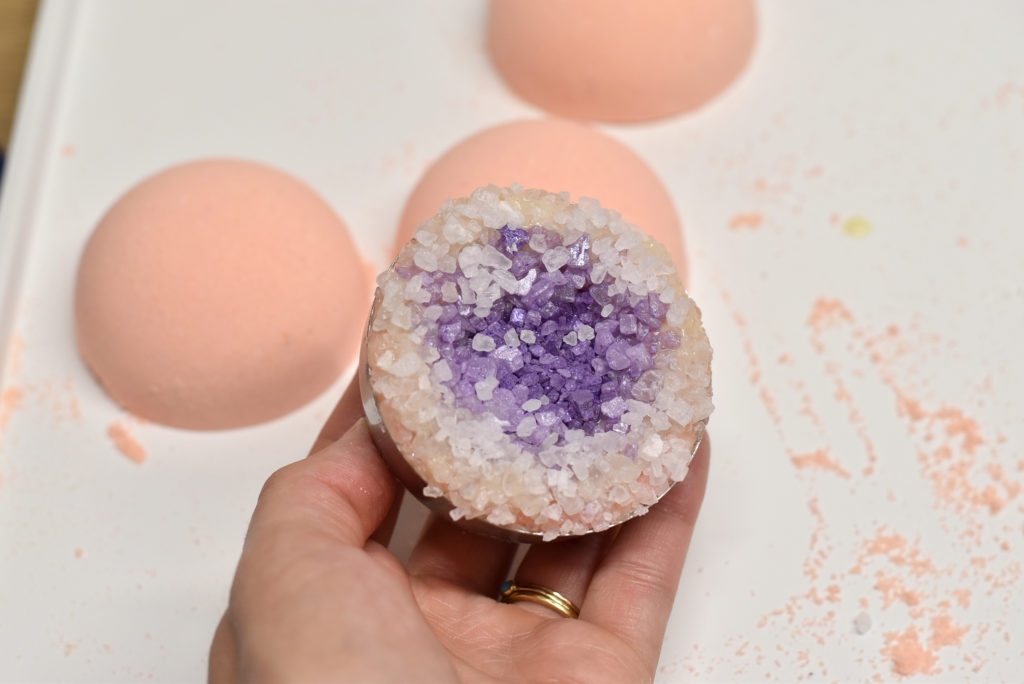
Add dark purple salt to the very center. Place medium purple salt around the dark purple salt. Use the lightest salt for the outside. There really isn’t a right or wrong! Don’t be afraid to be creative! Add more drizzle as you go if you feel like the salt isn’t sticking well. If your drizzle solidifies too much, heat for a few seconds to loosen.
I thought I needed more salt in the middle so I added another layer.

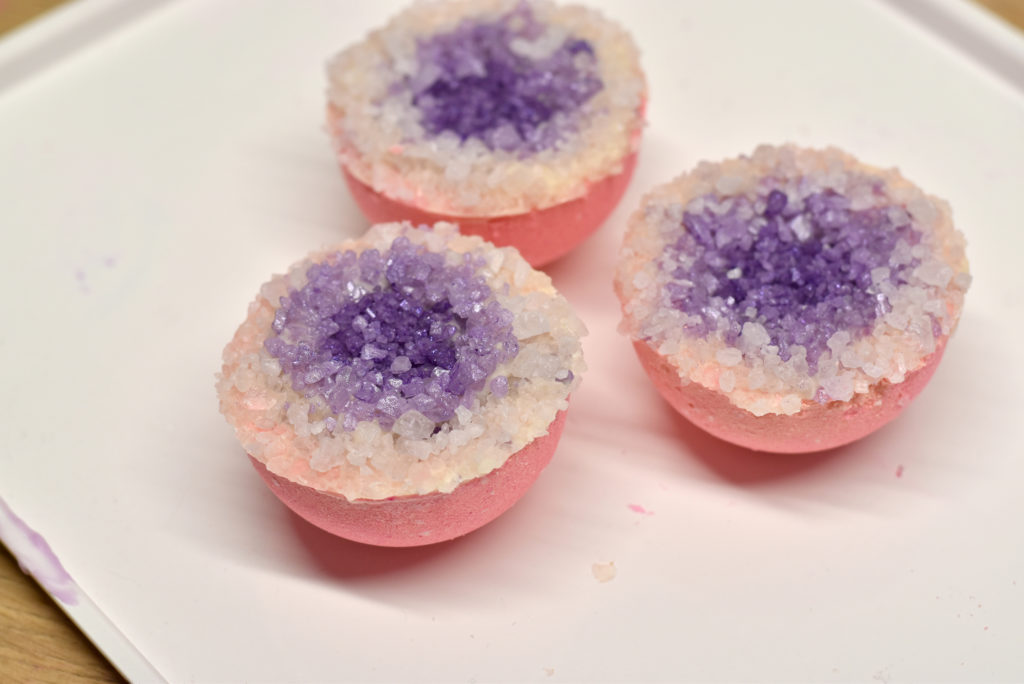
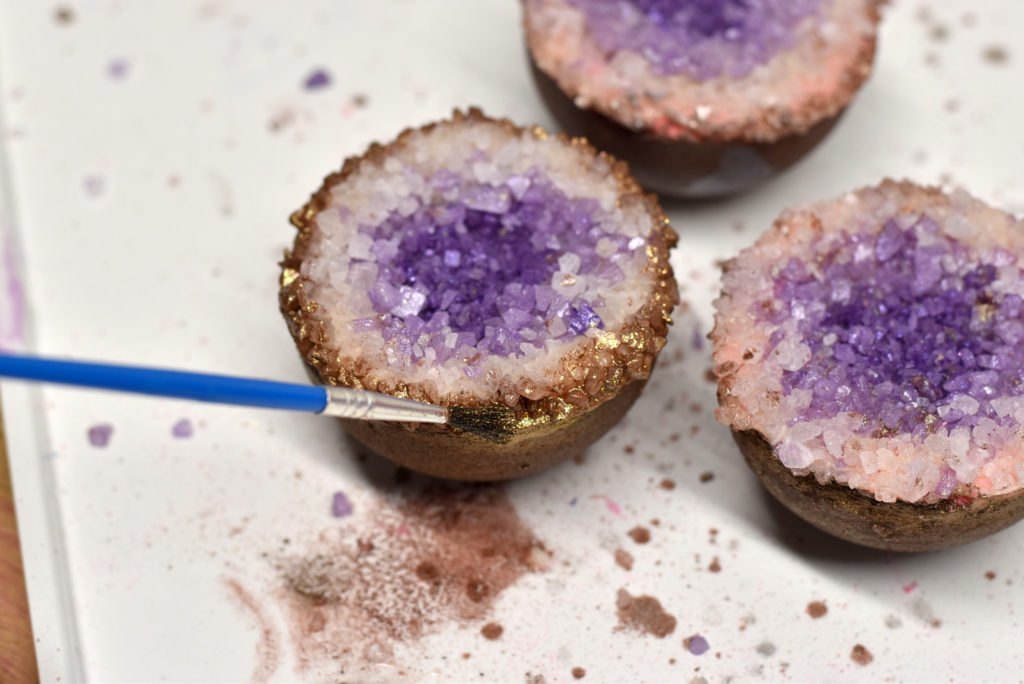
Painting the Outside of your Geodes
If you’d like to paint the outside of your geodes to make them look more like rocks, that is easy to do! I almost left mine as-is, but I’m glad I painted them! Magic Mushroom mica from Nurture Soap is the perfect color for this project, but I also experimented with some earth/brown micas.
If you’d like to learn more about painting, airbrushing and decorating bath bombs, check out Robyn’s eClass – Decorating Bath Bombs!
Simply combine 91% alcohol with mica and a splash of polysorbate 80. I like to add enough mica for it to be pretty runny. (Some projects require a thick paint.) Apply using a sponge or a brush.
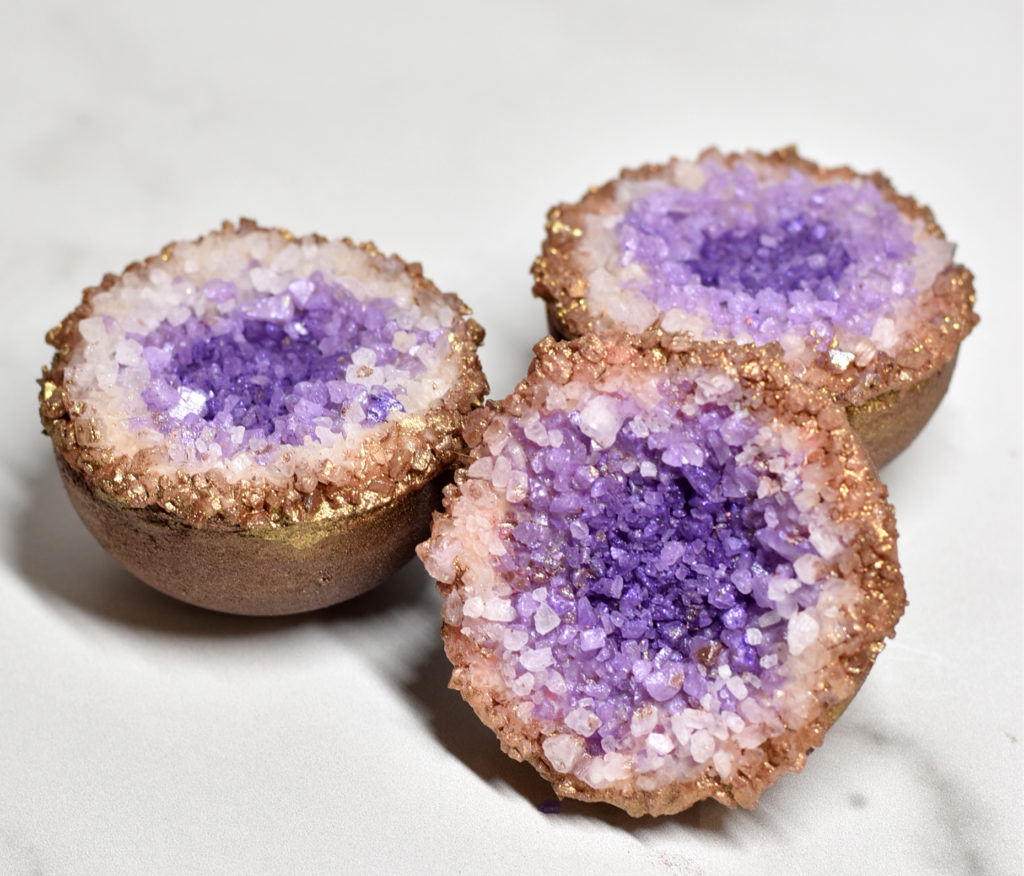
I also mixed up some Gold Dust mica + Magic Mushroom mica to paint along the outside of my geode.
Allow your geodes to completely dry before you package!

Wow! So thorough and you make it sound so easy! I’ll be adding this to my list of products to try. Thanks!
Thanks, so helpfully we’ll explained and nothing important left out!
I’m a big fan!