
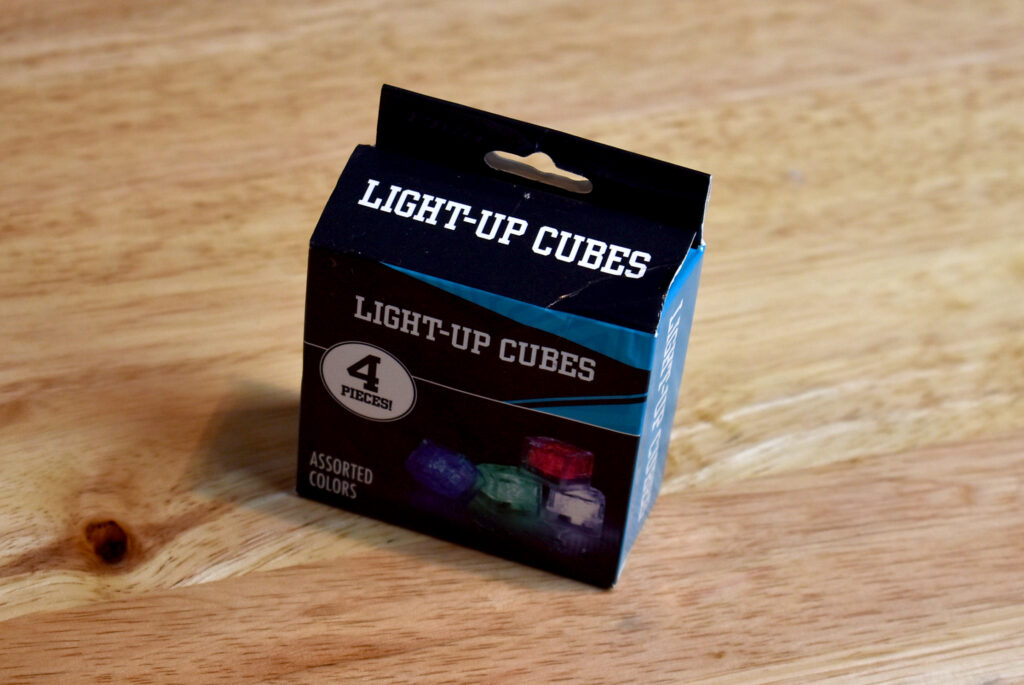
Have you seen the water activated light cubes that people are putting in bath bombs? Robyn and I had to give it a try. And what better project than pumpkins!
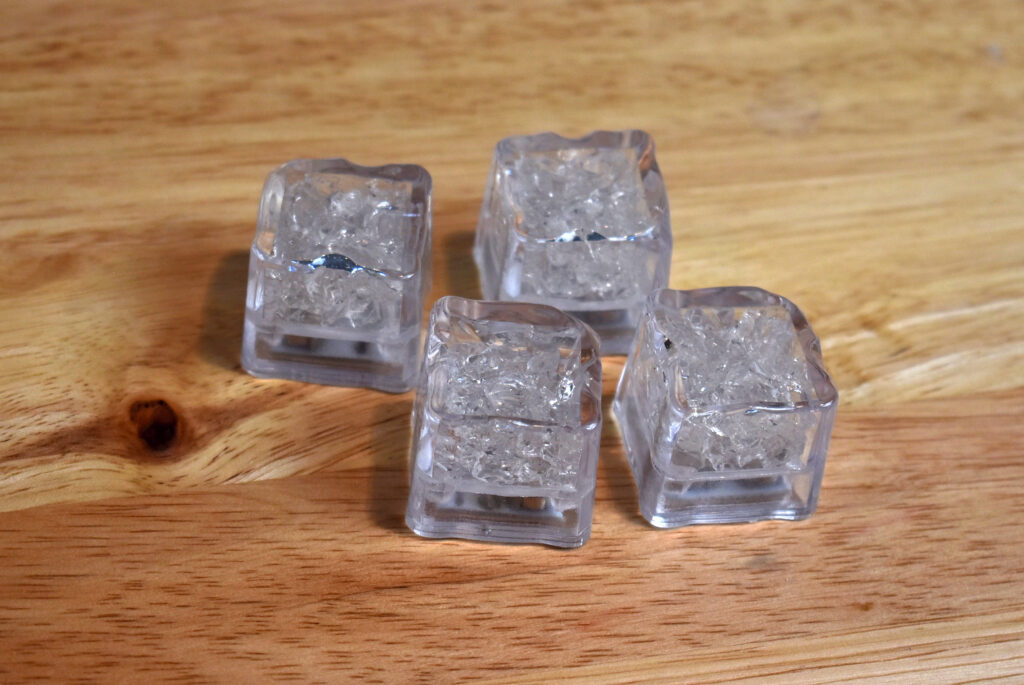
We found these water activated light cubes at Party City! They have sensors. Once the sensors get wet, they turn on the light cube. Once the water is drained and the cube is dry, it turns off. They do have a life of about 16 hours and can be used again and again until the battery dies. Your customers can use them in the tub until they die. Batteries can not be replaced as they are sealed for safety.
For this project, Robyn and I used Robyn’s Humid Weather Bath Bomb Recipe. We were together making soap in Florida and it behaved perfectly with the high humidity here.
We made the piping using Wonder Bar. Wonder Bar is a bubble bar recipe that can be pressed, scooped, rolled and piped!
For more tips on making bath bombs in these pumpkin containers, check out this blog post.
We kept these pretty simple and just made a single colored mix…no embeds or anything fancy. We wanted the light cubes to be the stare of the bath bombs!
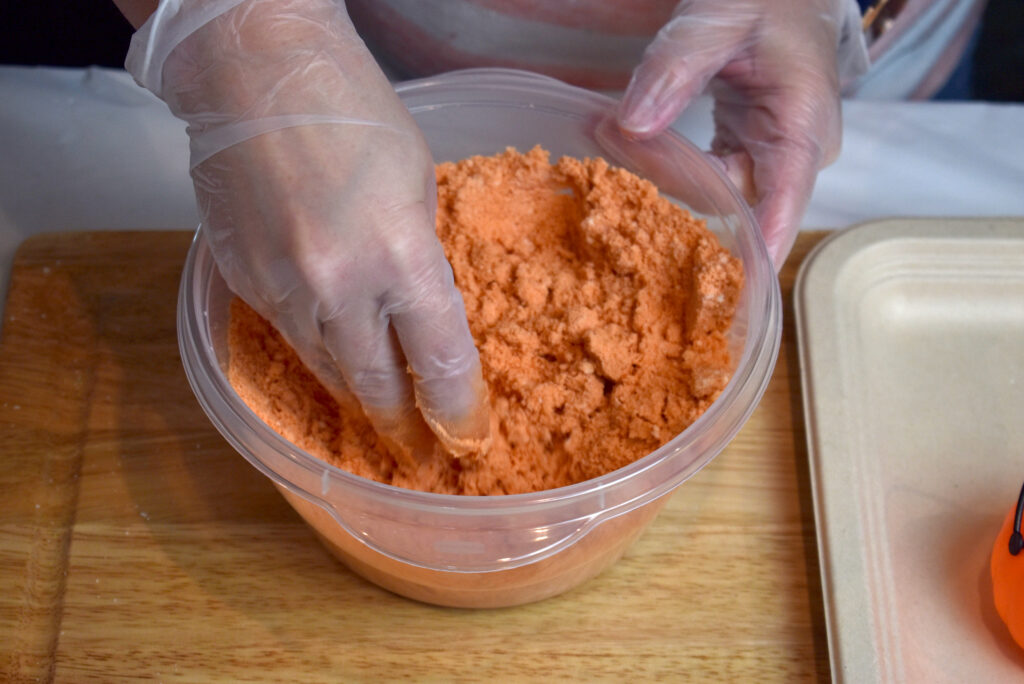
Step 1: Mix up your bath bomb mixture! We used 1/4 of a batch of Robyn’s recipe and it made 4 pumpkins and 4 shot glasses. We ran out of pumpkins and light cubes. It typically would make 6 pumpkins.
Step 2: Color the entire mixture orange. We used 1/2 teaspoon of yellow 5 and 1/4 teaspoon of red 40 to darken it slightly and give us a different orange than the last pumpkins.
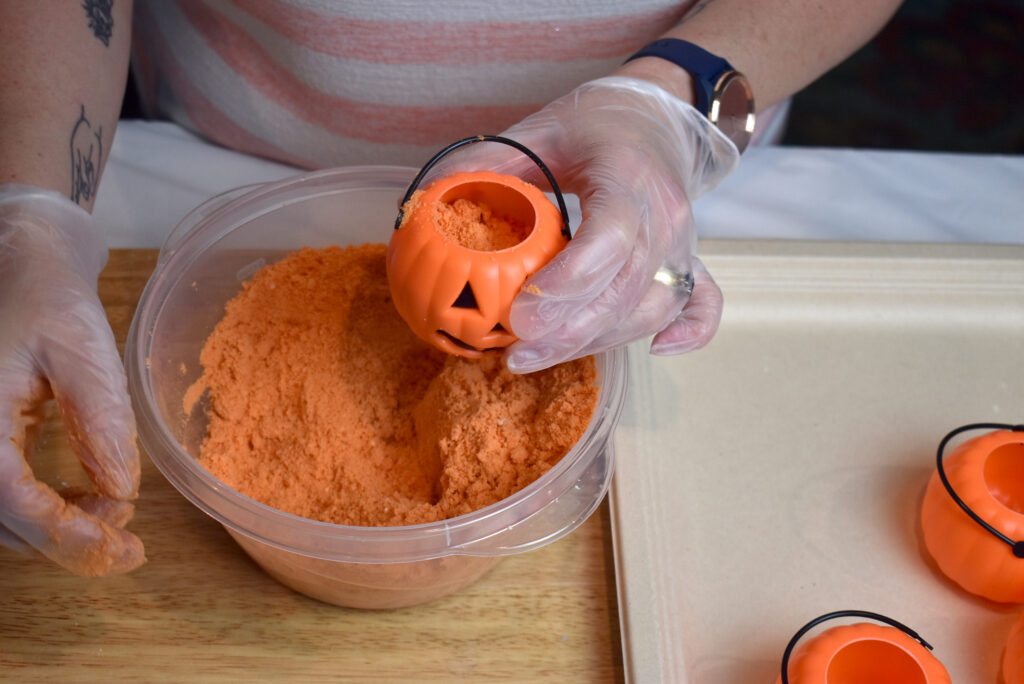
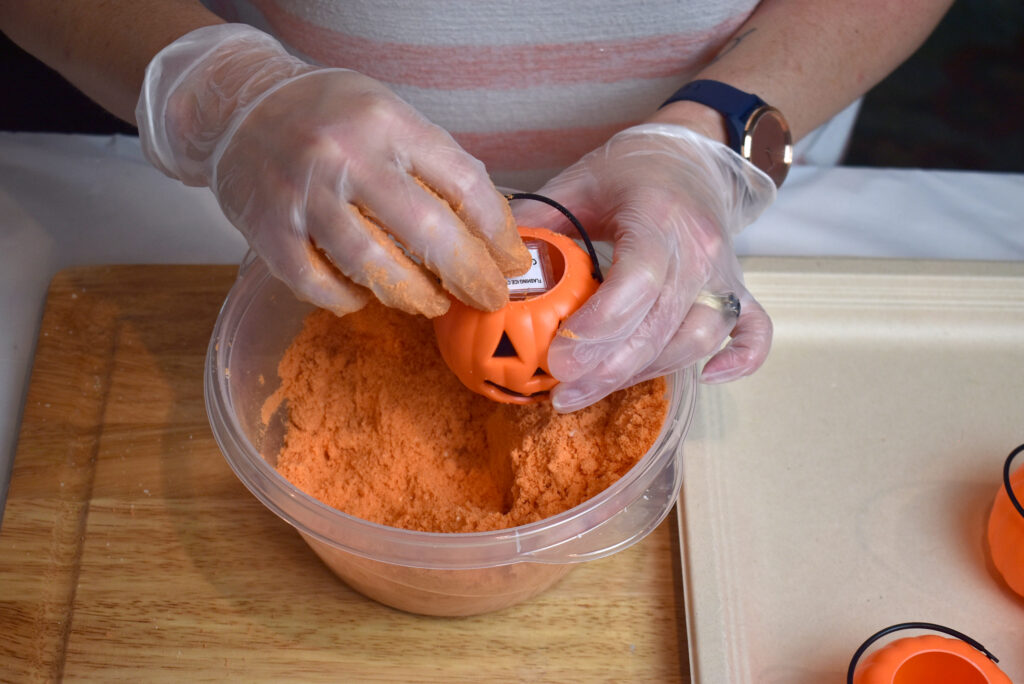
Step 3: Fill your pumpkins loosely about 3/4 of the way full!
Step 4: Insert a light cube, sensors up. You want the sensors to be up so the water touches them to activate them sooner than later.
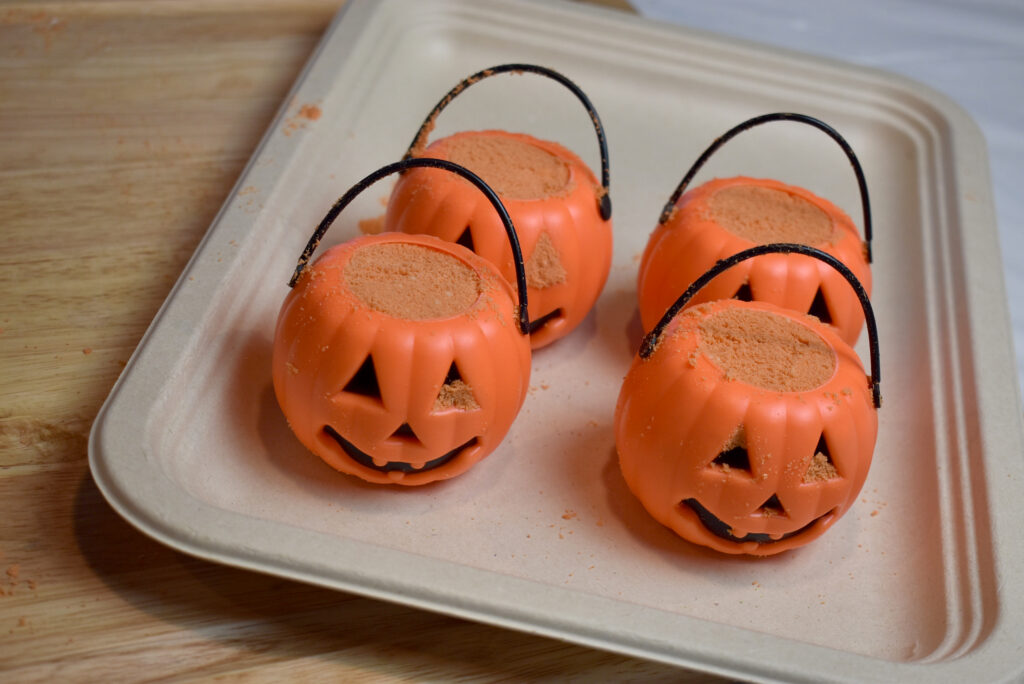
Step 5: Add more mixture until your bath bombs is completely full!
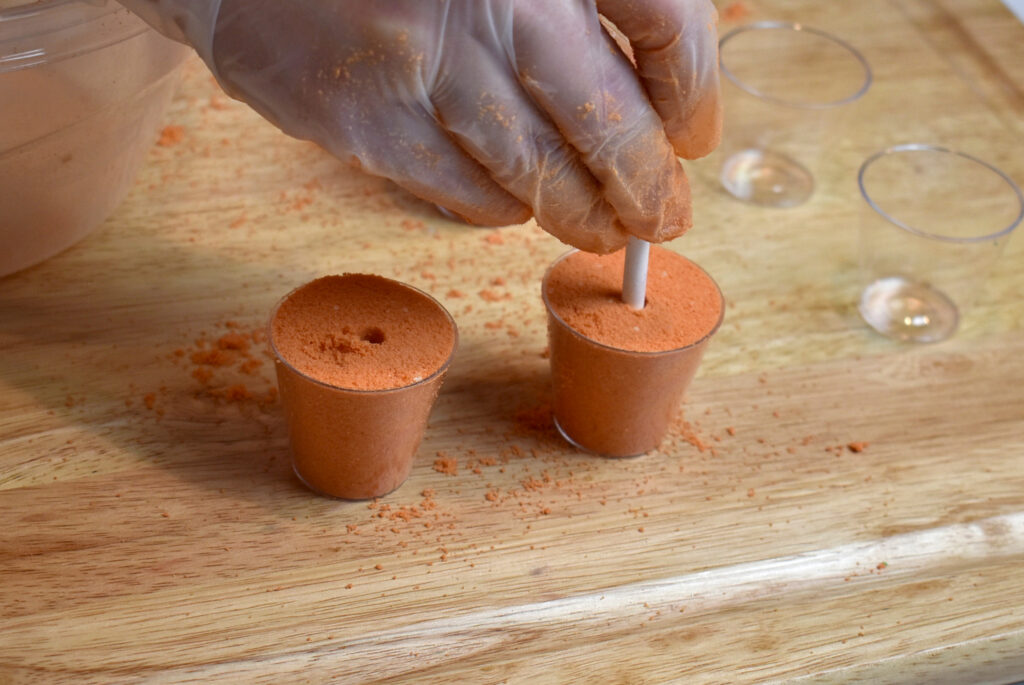
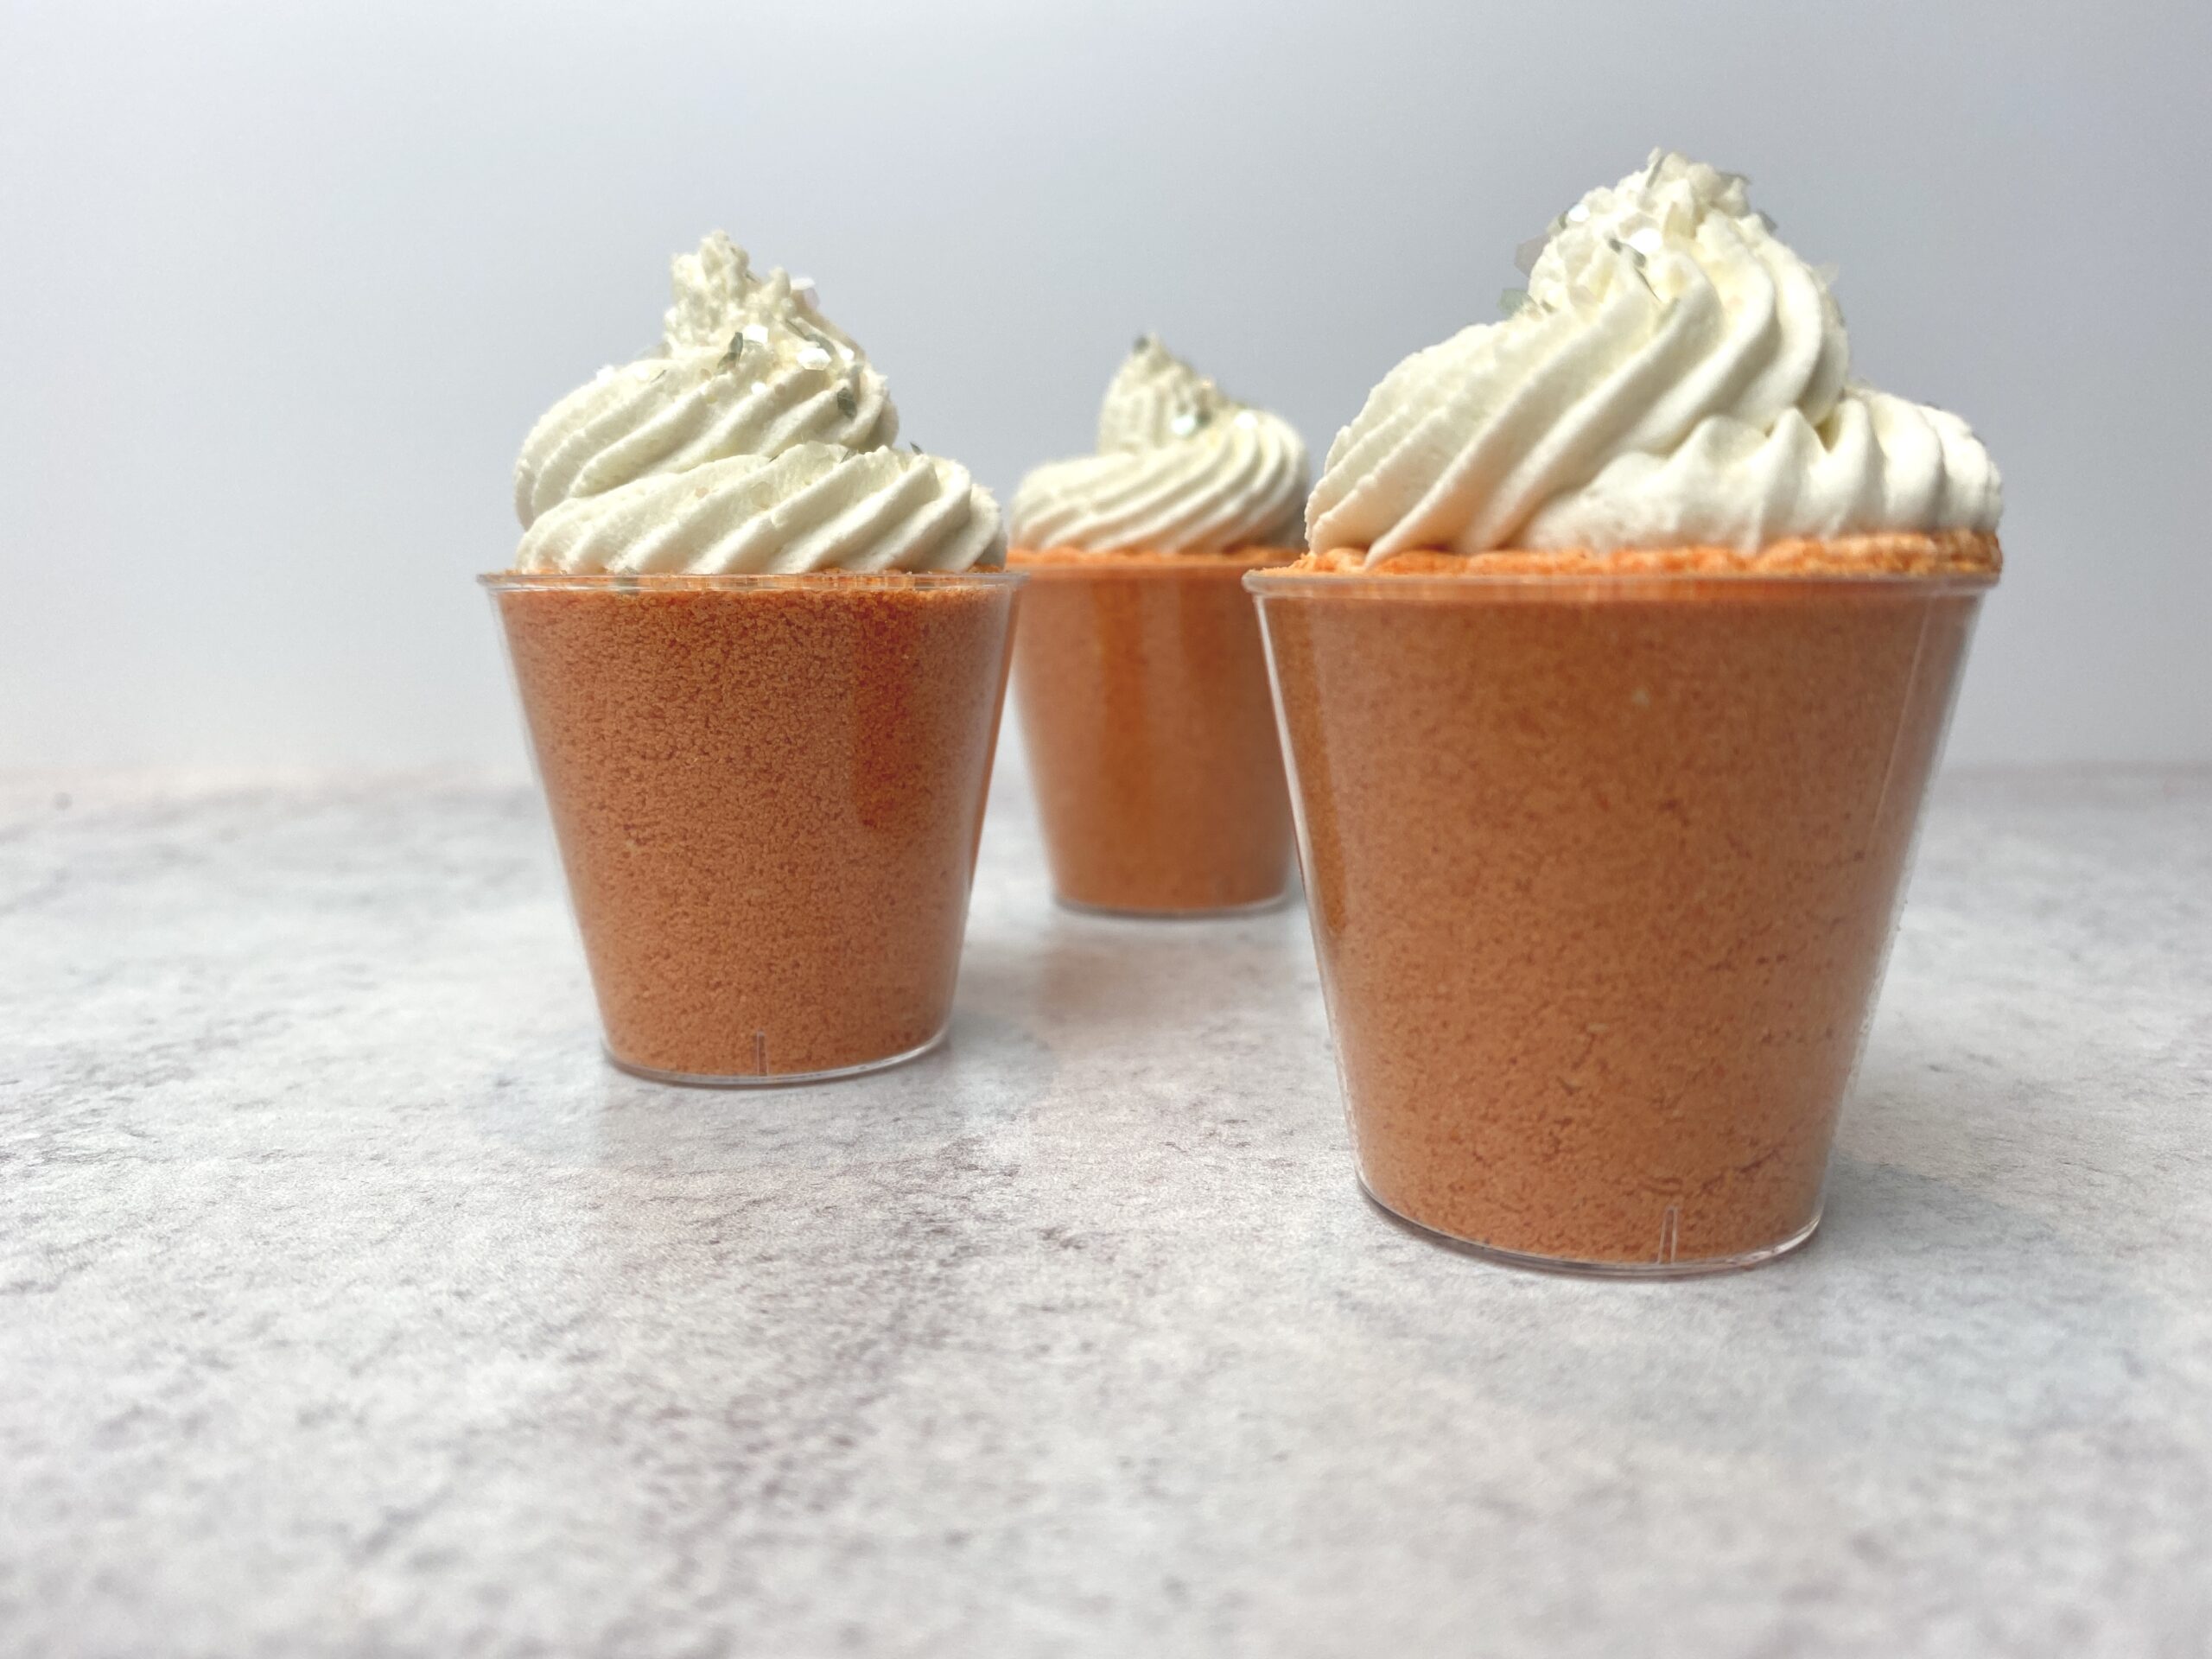
We ran out of pumpkins and light cubes so we simply made some bubble shots with the leftover! 🙂 Easy peasy! When making bubble shots, be sure to poke a hole in your shots so that the bath bomb doesn’t crack the cup when they dry. They can easily crack hard/brittle plastic.
Step 6: Dry your bath bombs before decorating. Depending on how humid it is where you live, you might need to dry them 1-4 days. I dry in a room with a dehumidifer running and mine only need about 24 hours to dry (even in humid Florida!).
TIP: Drying your bath bombs: The best way to quickly dry your bath bombs is to place them in a room with a dehumidifier running. If you have no humidity where you live, then you probably don’t have to do this. But if you have any humidity, I highly recommend investing in a dehumidifier. Even if you don’t have high humidity, it can help your bath bombs dry quickly so you can decorate and package even faster! I like this dehumidifier from Homelabs on Amazon.
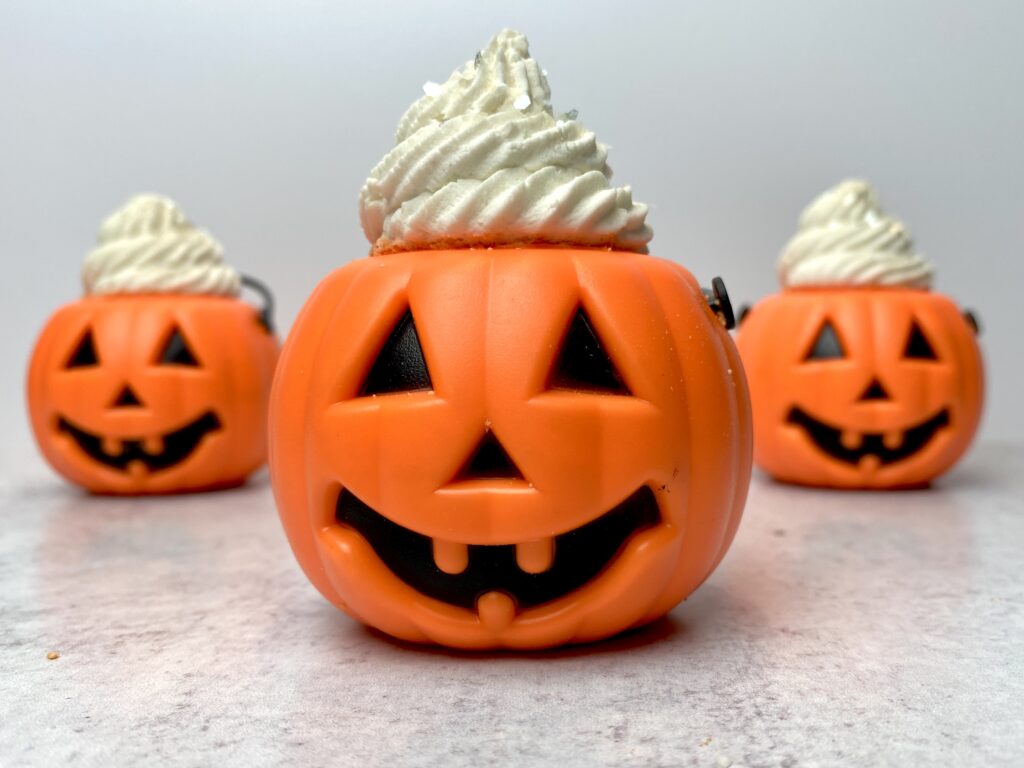
Once dry, you can decorate!
You’ll need some Wonder Bar to pipe onto the top! You don’t have to make a whole batch, because then you’d have to much left over. You can simply grab some from a masterbatch. Check out this blog post where we talk about how to masterbatch Wonder Bar.
We made a whole batch of Wonder Bar and simply left it white and then piped these adorable Ghost Bubble Wands with the leftovers. So simple! We used an Ateco 866 French Pastry tip.
When you use them and the water activates the sensors, the light turns on! I’ll demo one in the group soon and update this post with what it looks like! 🙂
And here are the cute bubble shots!
Allow your pumpkins to dry completely! Once dry, you can package in shrink wrap. (Yep! Wonder Bar gets hard enough to shrink wrap!)
To use a pumpkin, you simply let water run over the bubble bar topping to create a bath full of bubbles and then dip the bath bomb into water, lifting up and out. It is fun to watch the fizzing bath bomb mixture spill out like the pumpkin is bubbling over.
Happy Bubble Making!
Robyn & Amanda
Wonder Bar Bubble Bar Recipe + Process Guide
Get one recipe to make it all! Make bubble bar scoops, rolls and bubble frosting, using just ONE recipe! Get Wonder Bar here.
Robyn’s Humid Weather Bath Bomb Recipe
Making bath bombs in wet, rainy weather can be so frustrating! If you live in an area with constant high humidity, then you’ll need a recipe that can hang day in and day out without failing, warting, cracking or crumbling. Check out Robyn’s Humid Weather Bath Bomb Recipe!