If you haven’t checked out the cosmetic sprinkle recipe, check it out! Learn how to make adorable cosmetic sprinkles to use in your bath bombs, bubble bars and other cosmetic products.
In this tutorial, I’m going to show you how to create a silicone mold in case you want to make custom shaped sprinkles! Let’s jump in!
Here are some ideas for what to use:
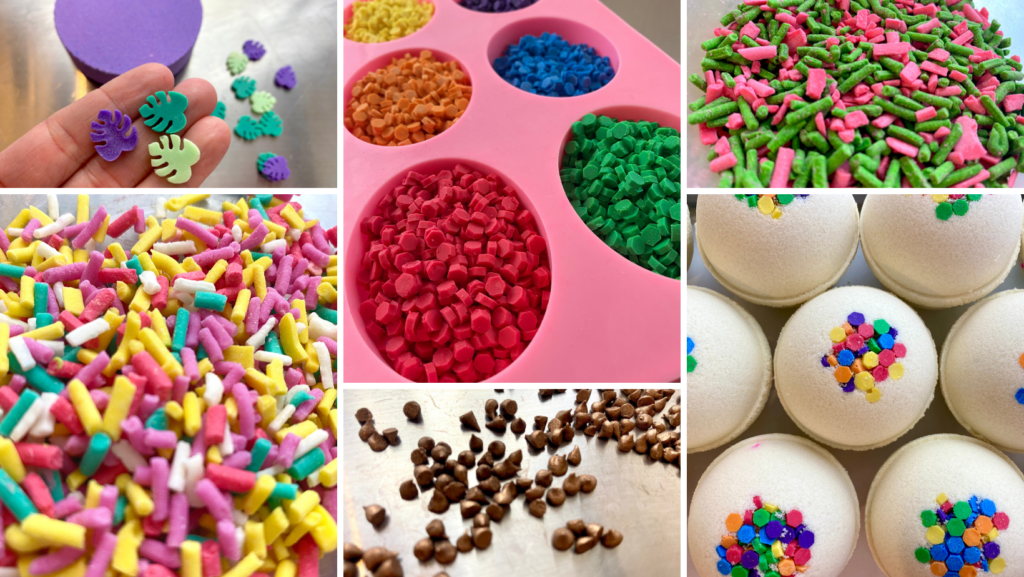
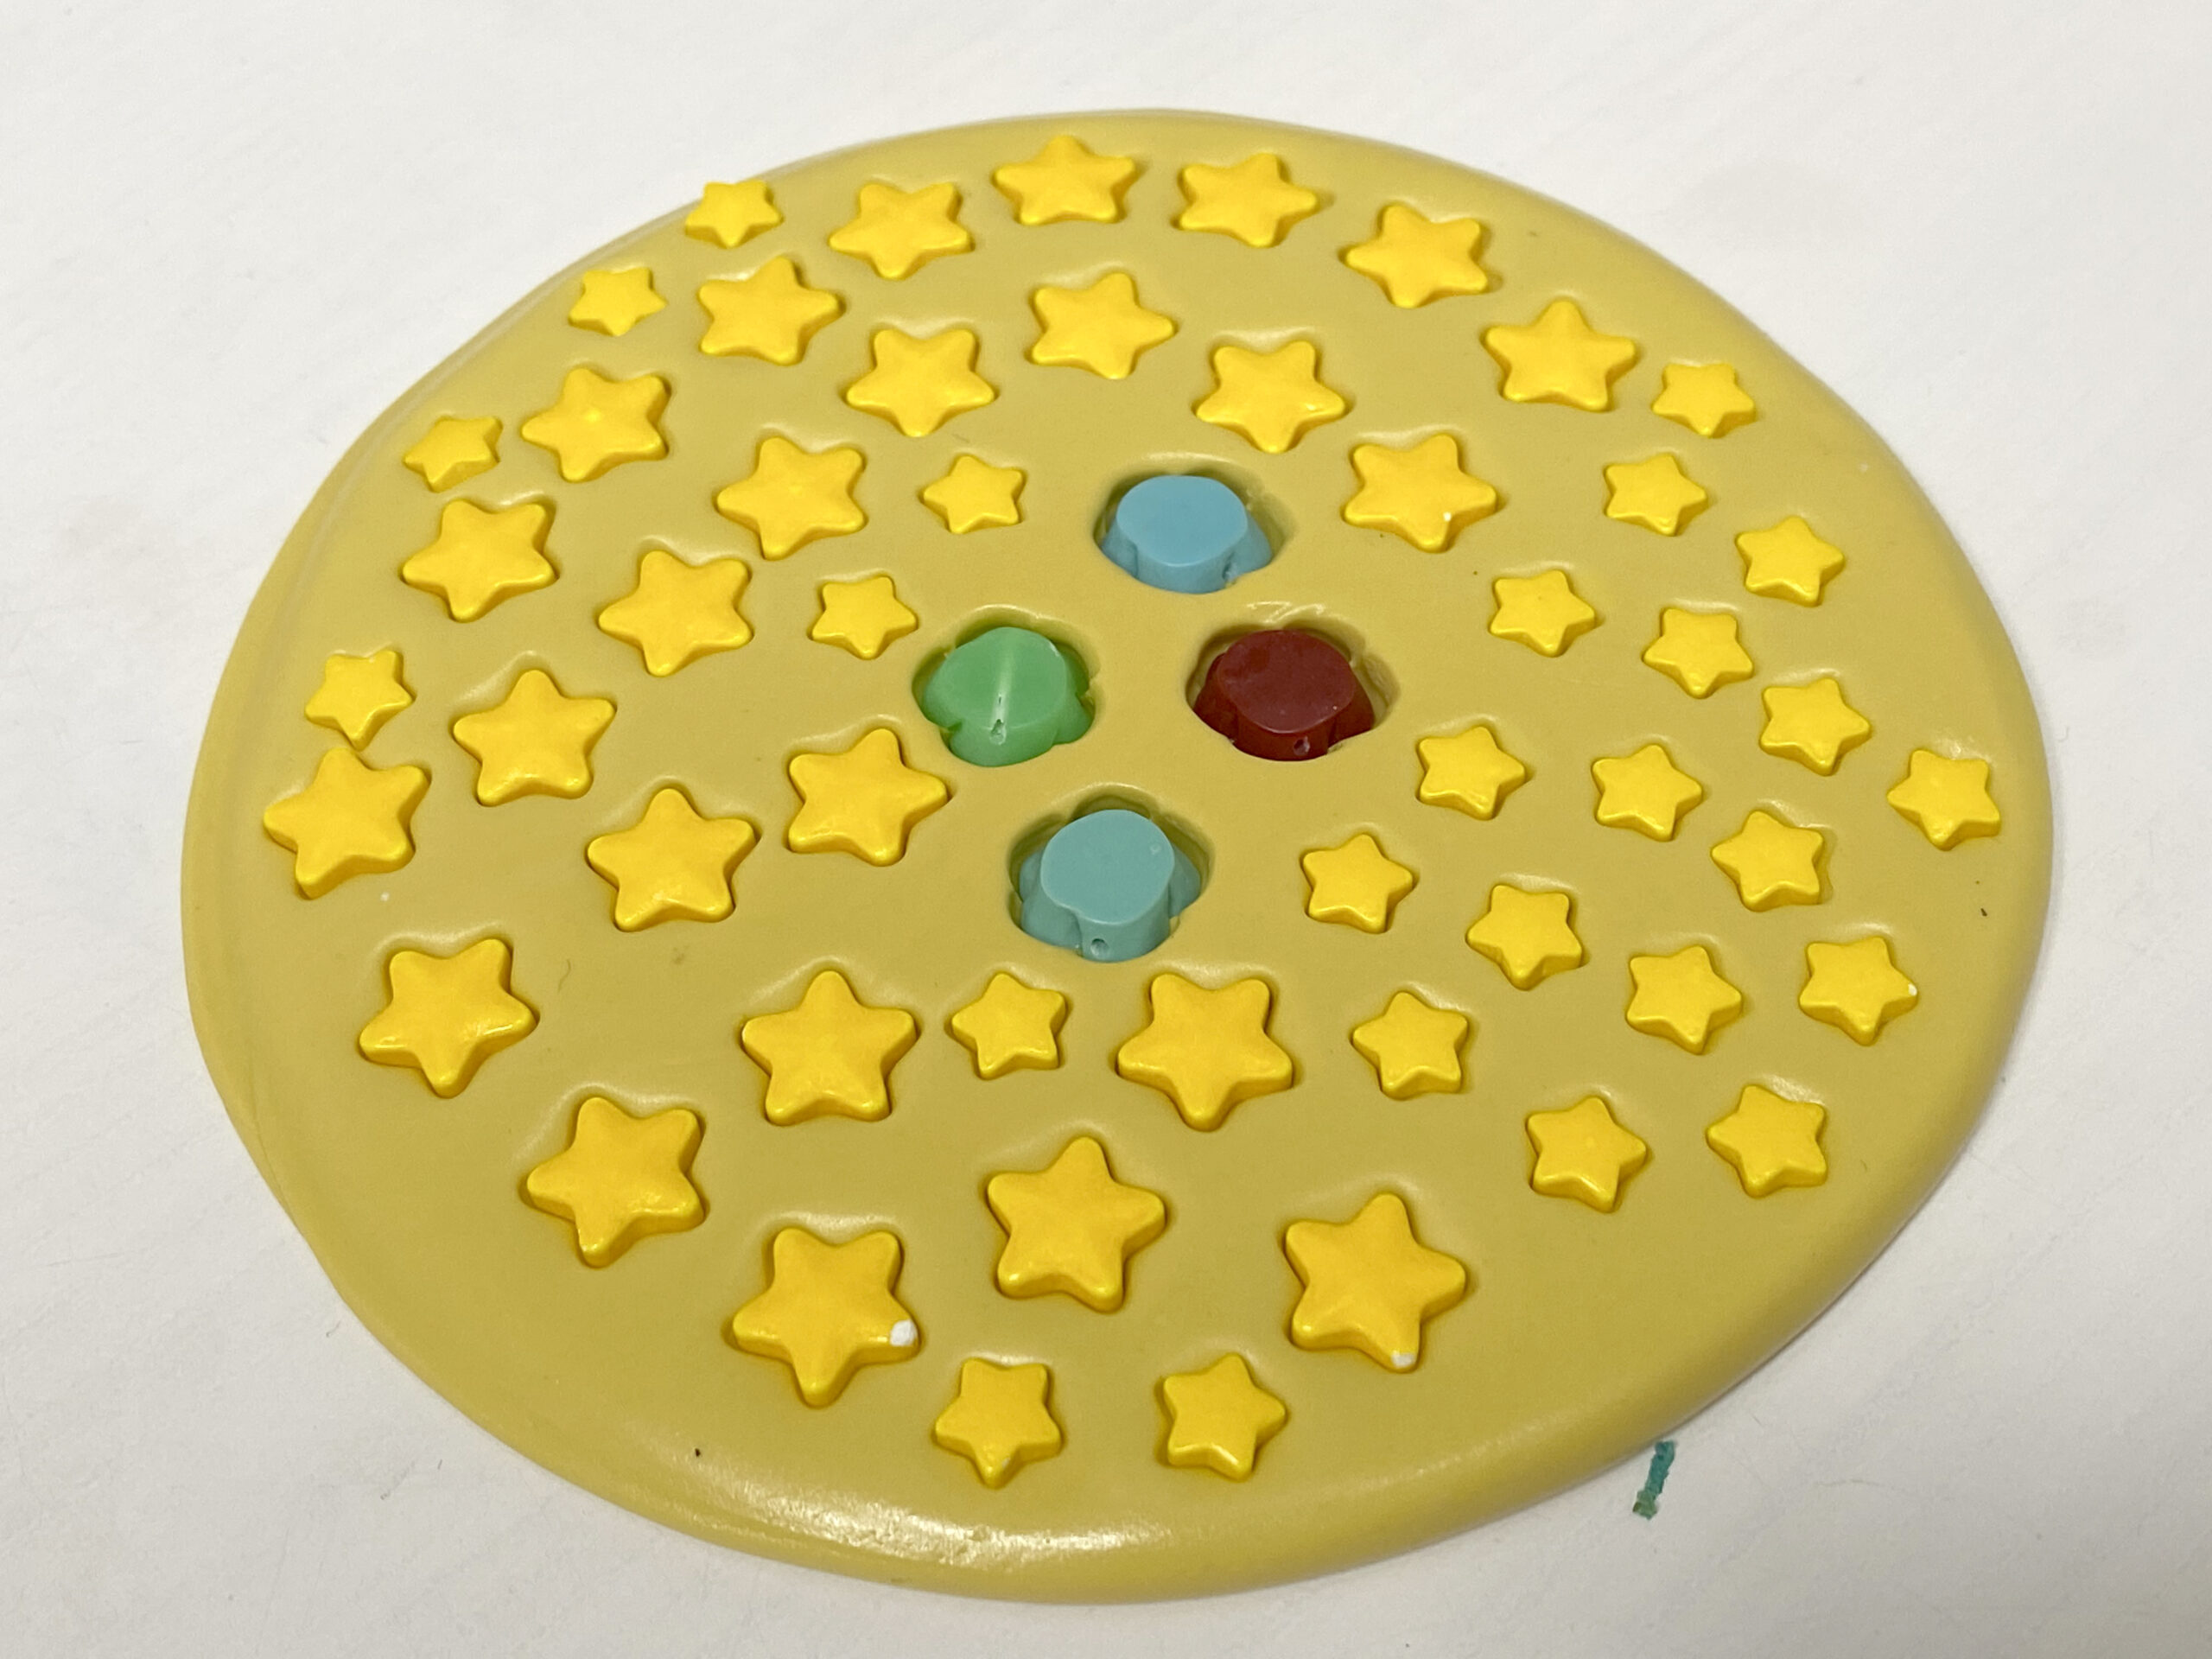
- Sprinkles! I actually bought a jar of edible star sprinkles and used them to make a star mold for cosmetic sprinkles.
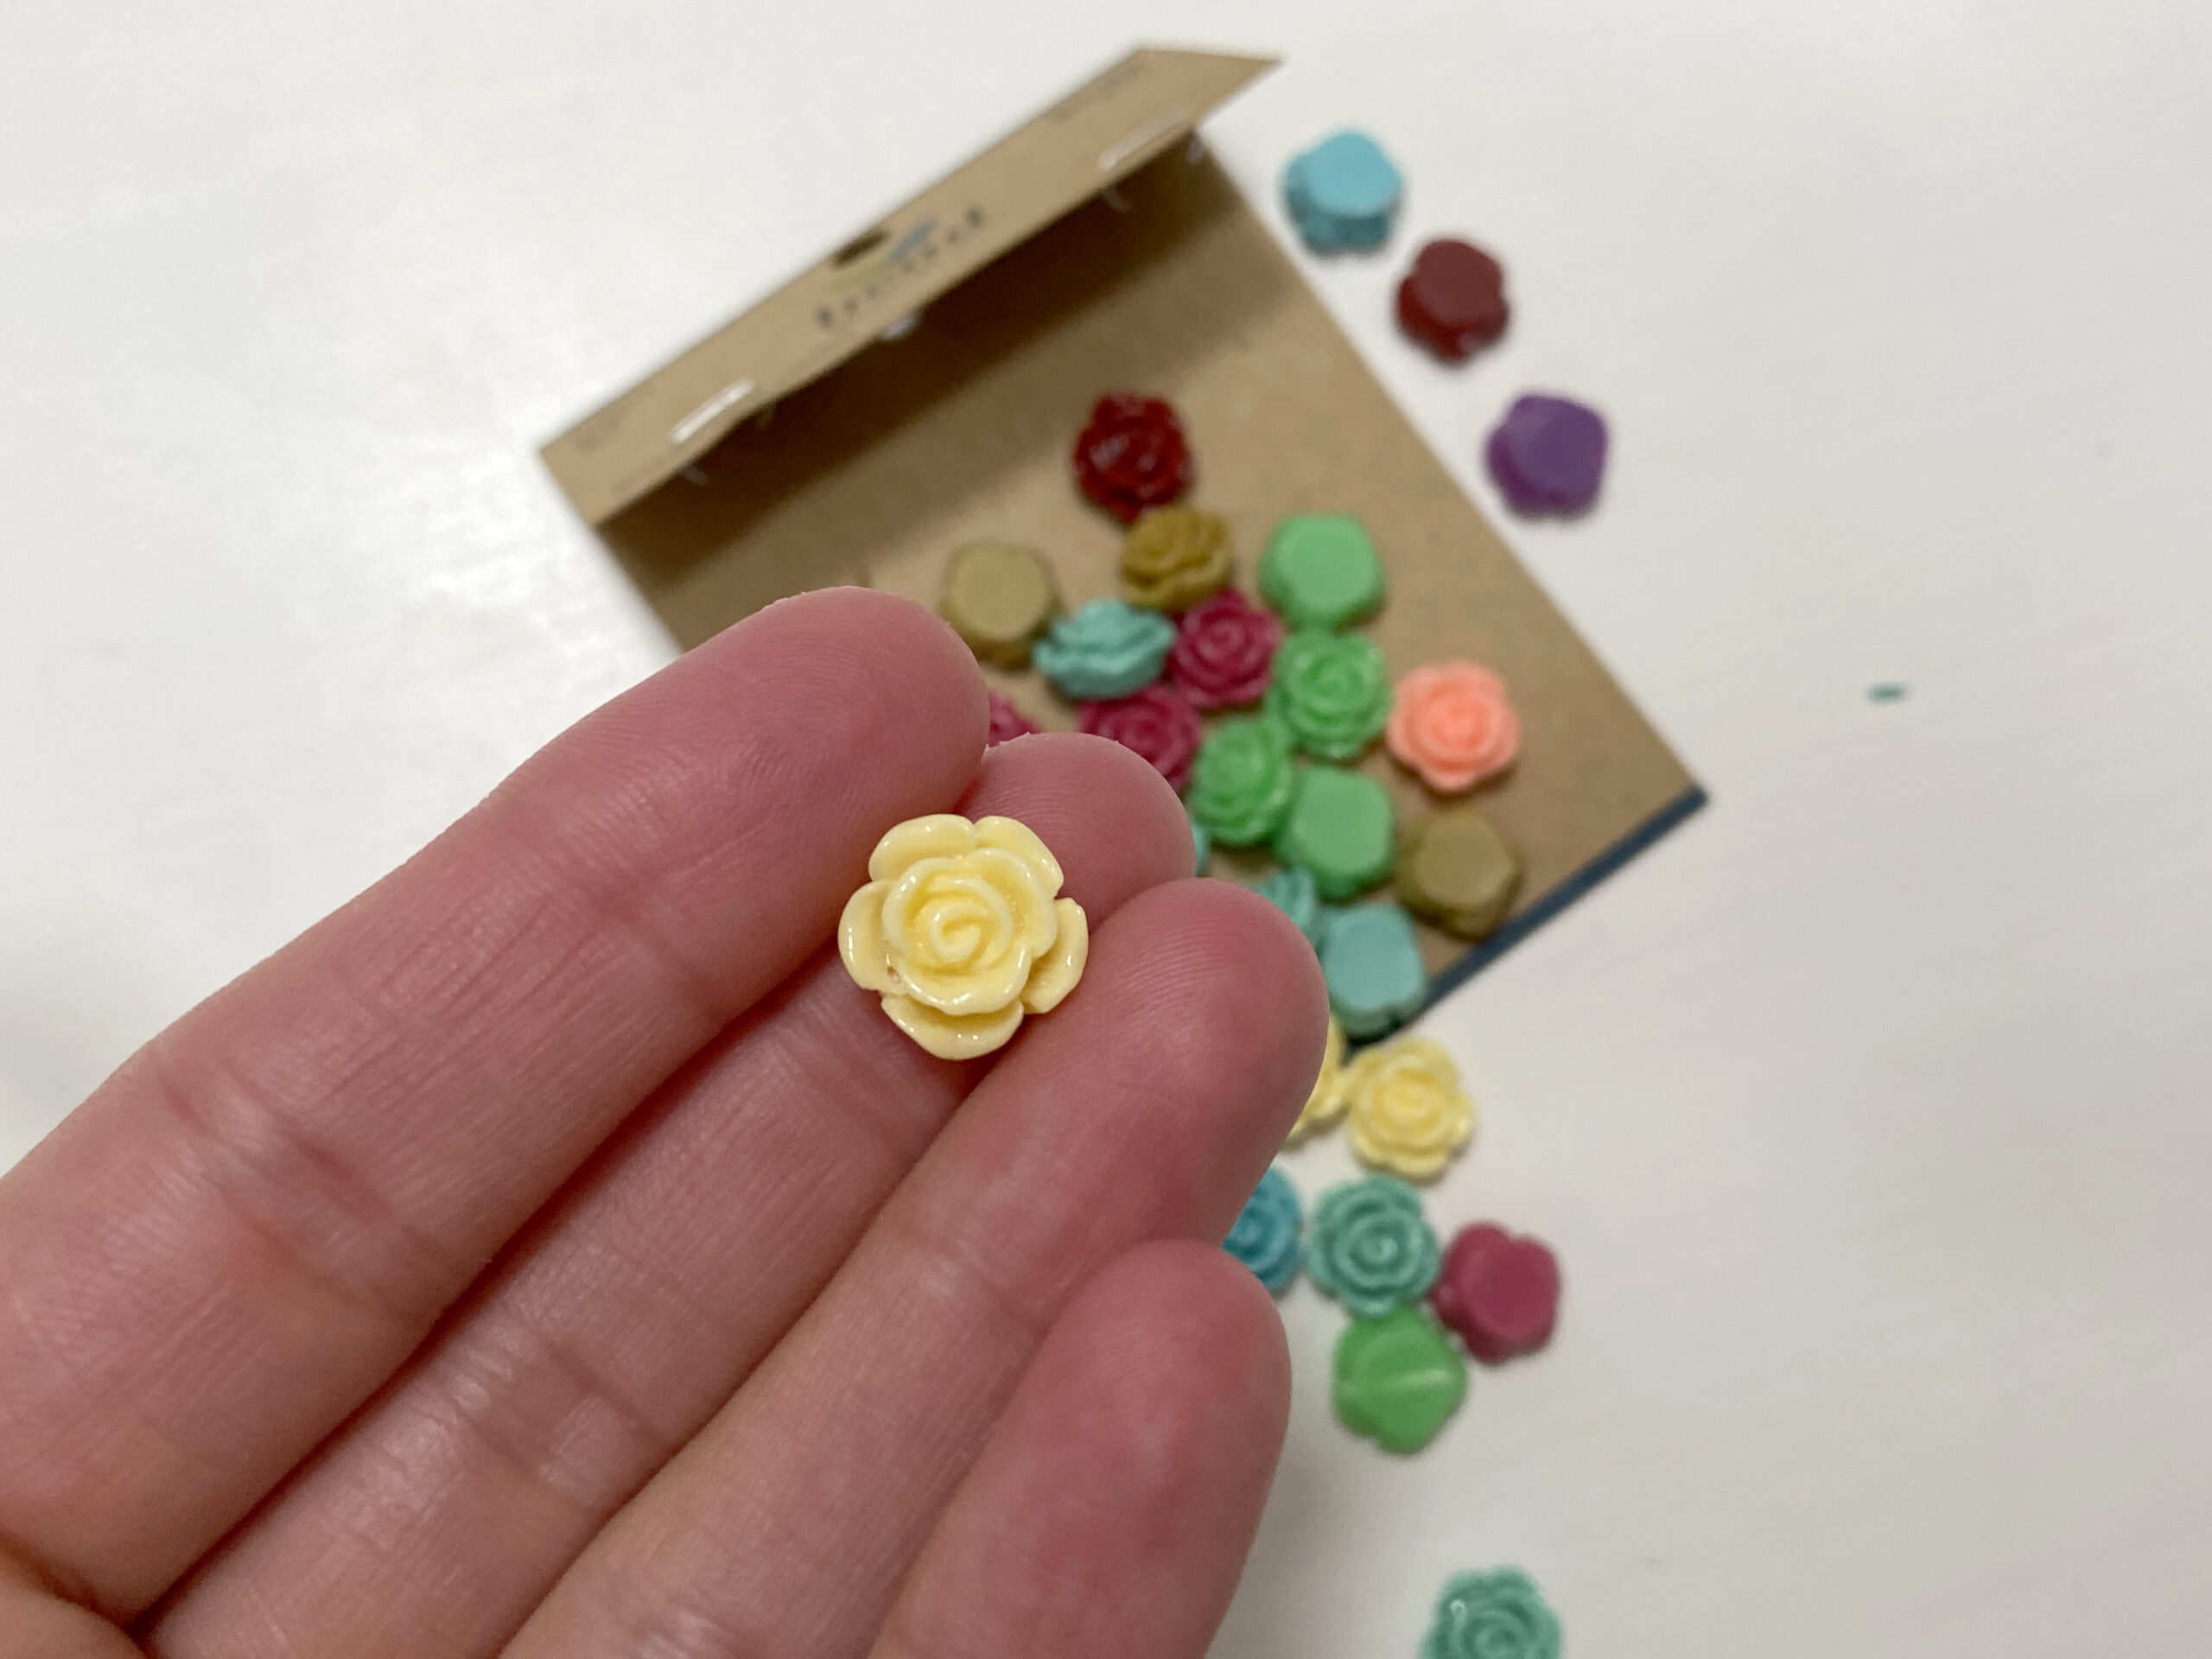
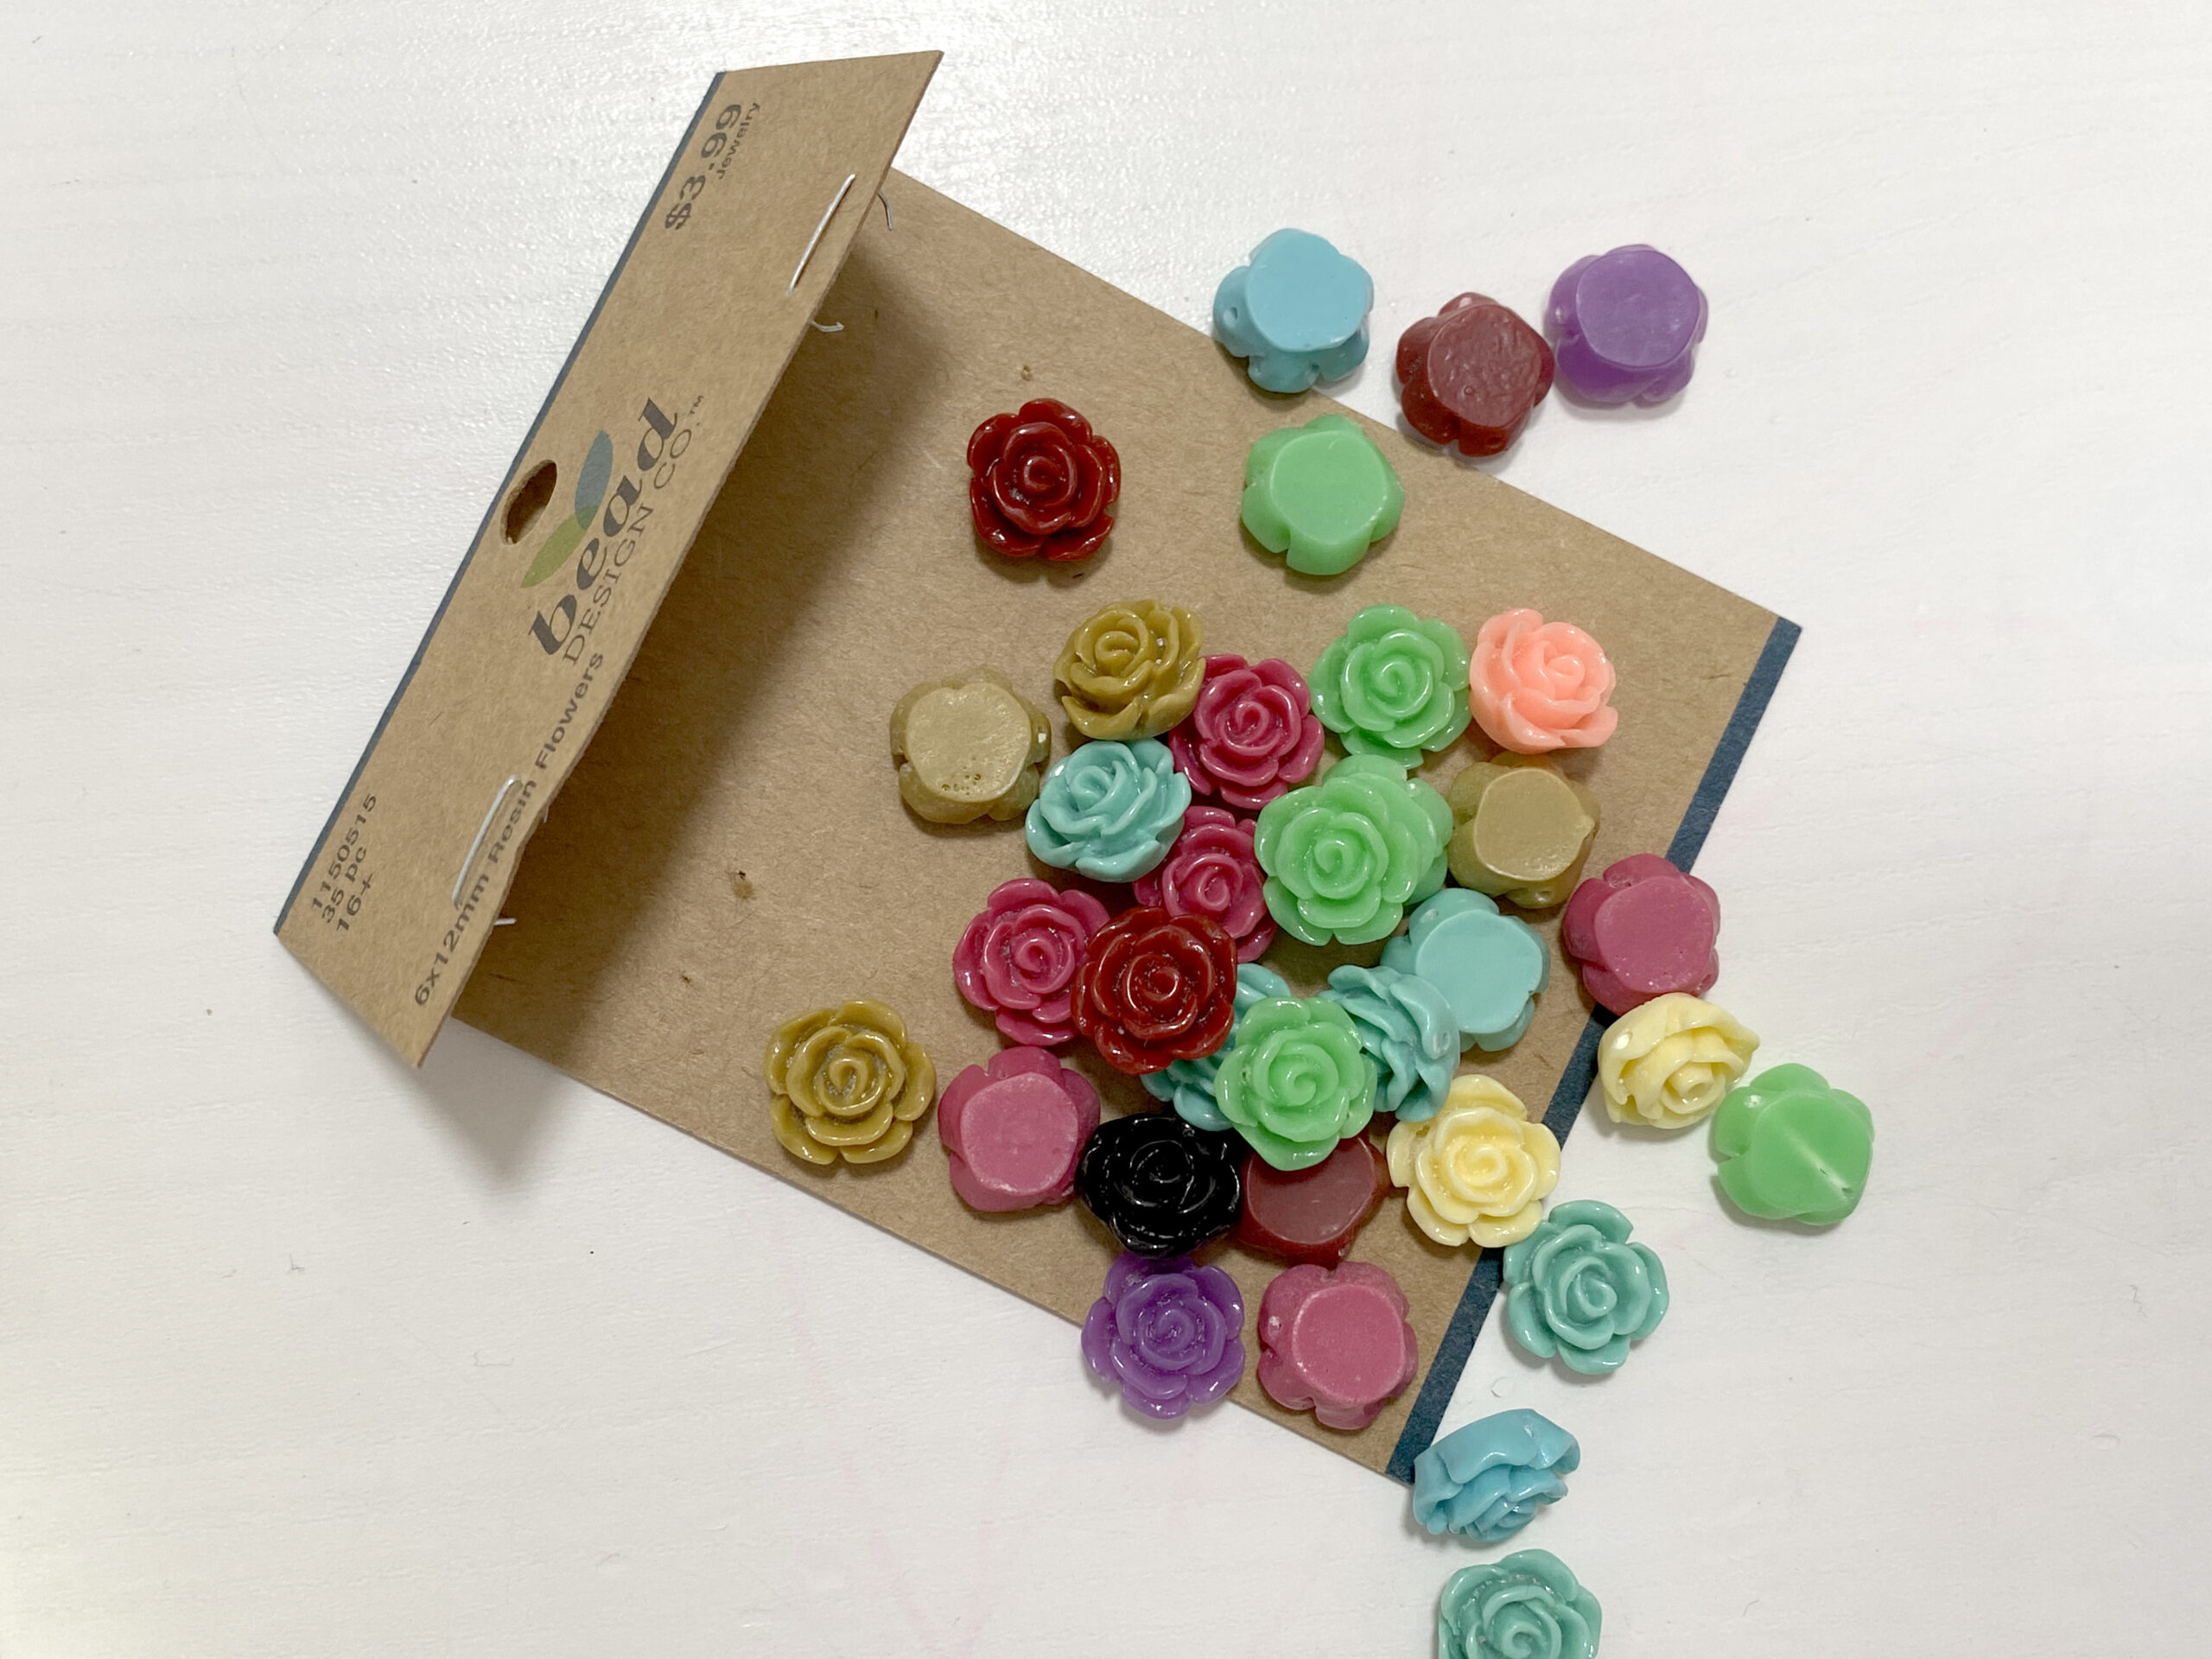
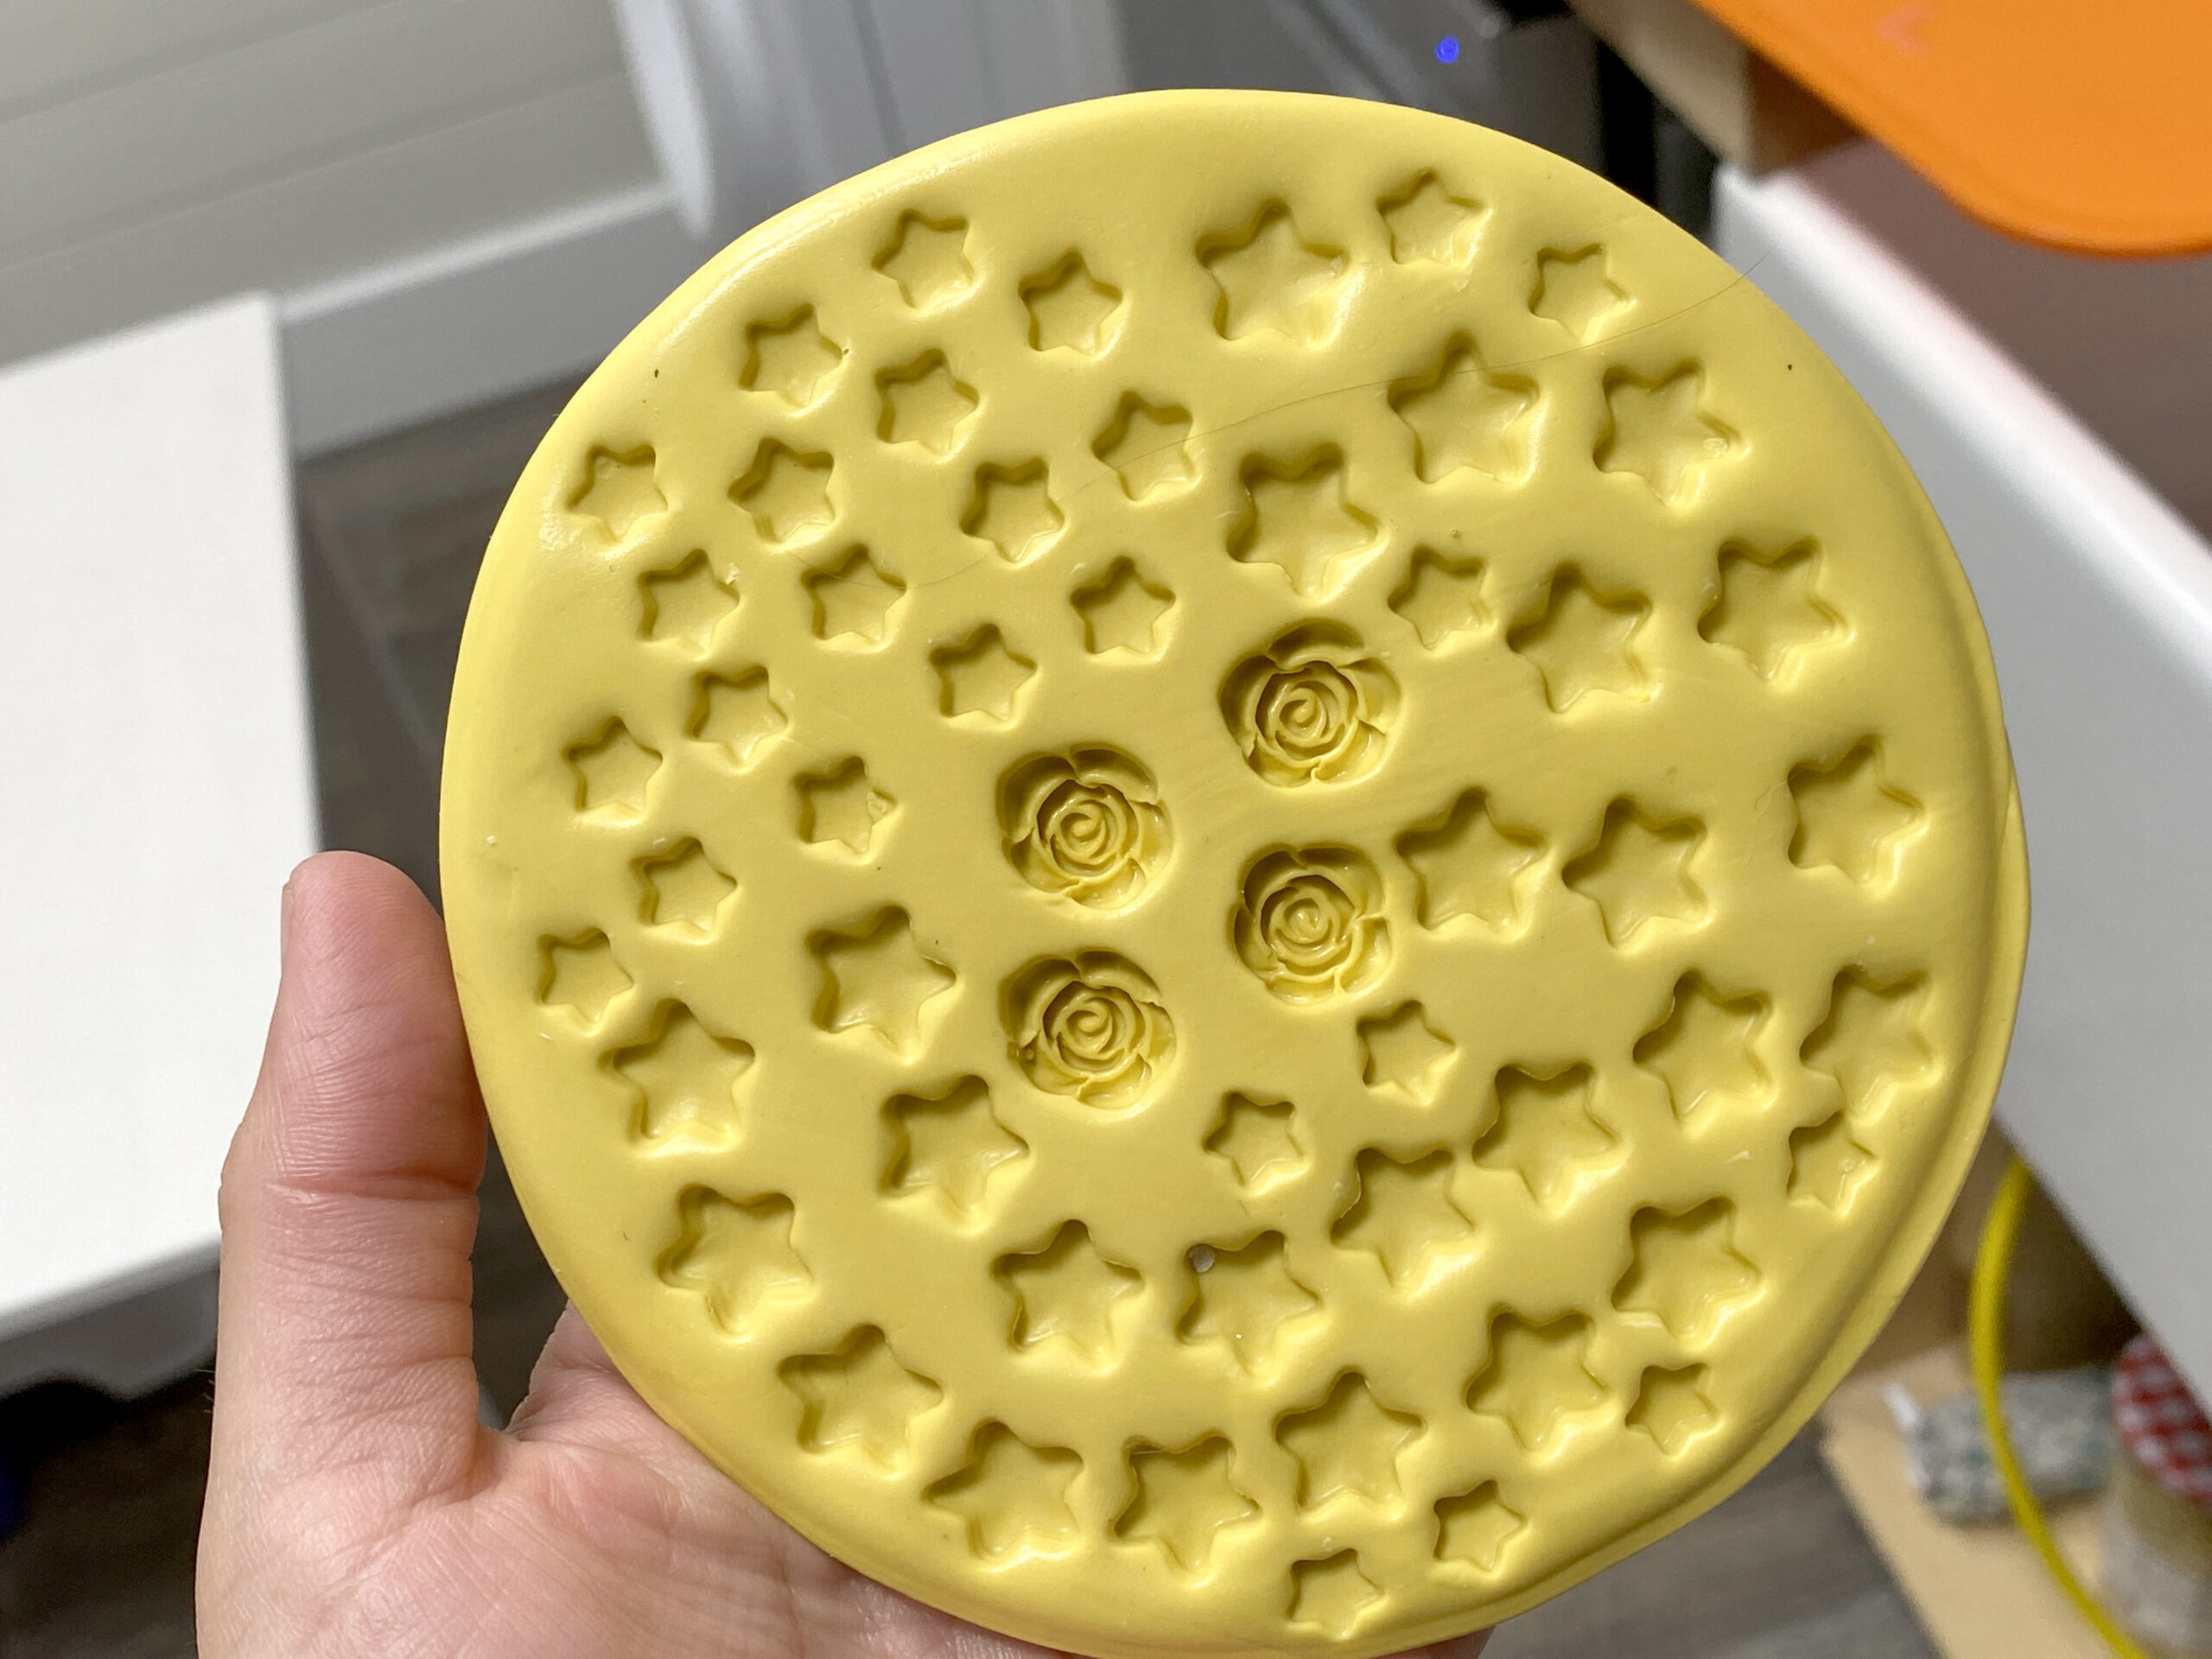
- Beads! The roses below are actually plastic beads that I found. They made the perfect little embeds.
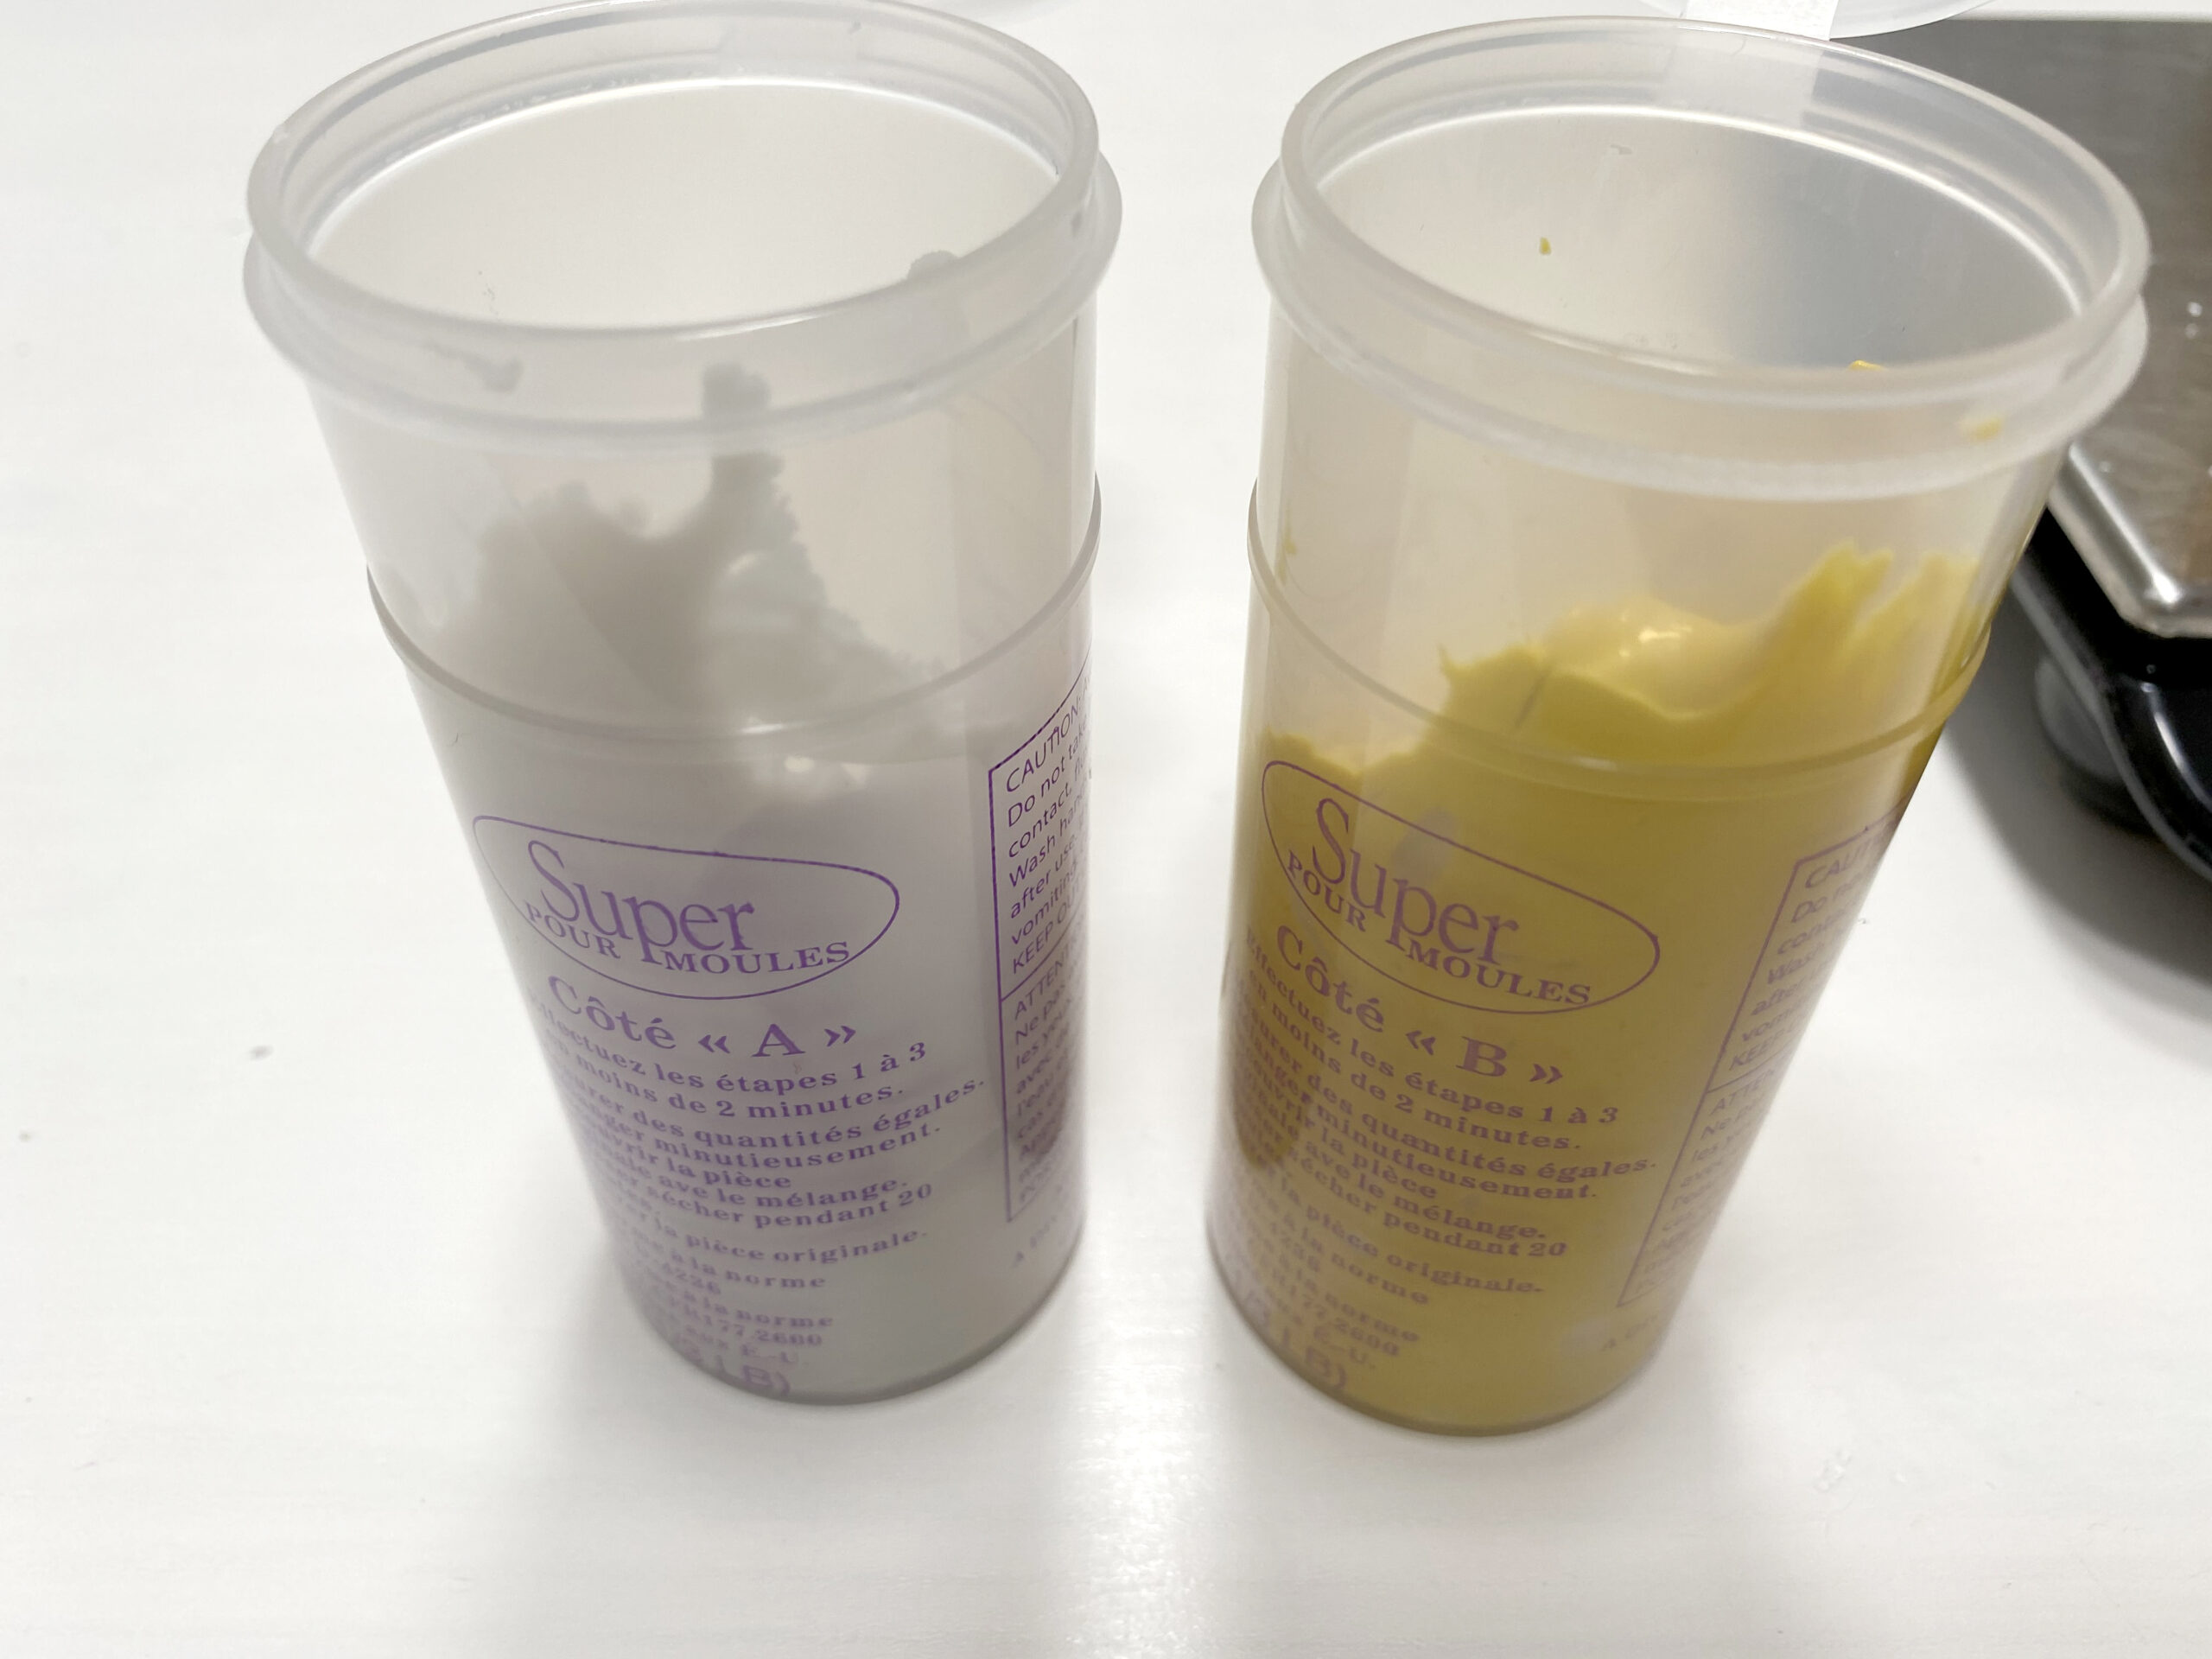
For this tutorial, you’ll need mold putty! (Note: Don’t use pourable silicone. That’s a whole different process.)
I’m certainly not an expert, but I’ll show you what I did.
Step 1: Read your instructions for mold putty! Some mold putties require an email amount of part a and part b. Some require 1 part of part a to 10 parts of part b. Read the directions so you get the ratios correct! This one is easy…you use equal parts of each.

Step 2: Measure out each part! I measured out 50 grams of part a and 50 grams of part b.
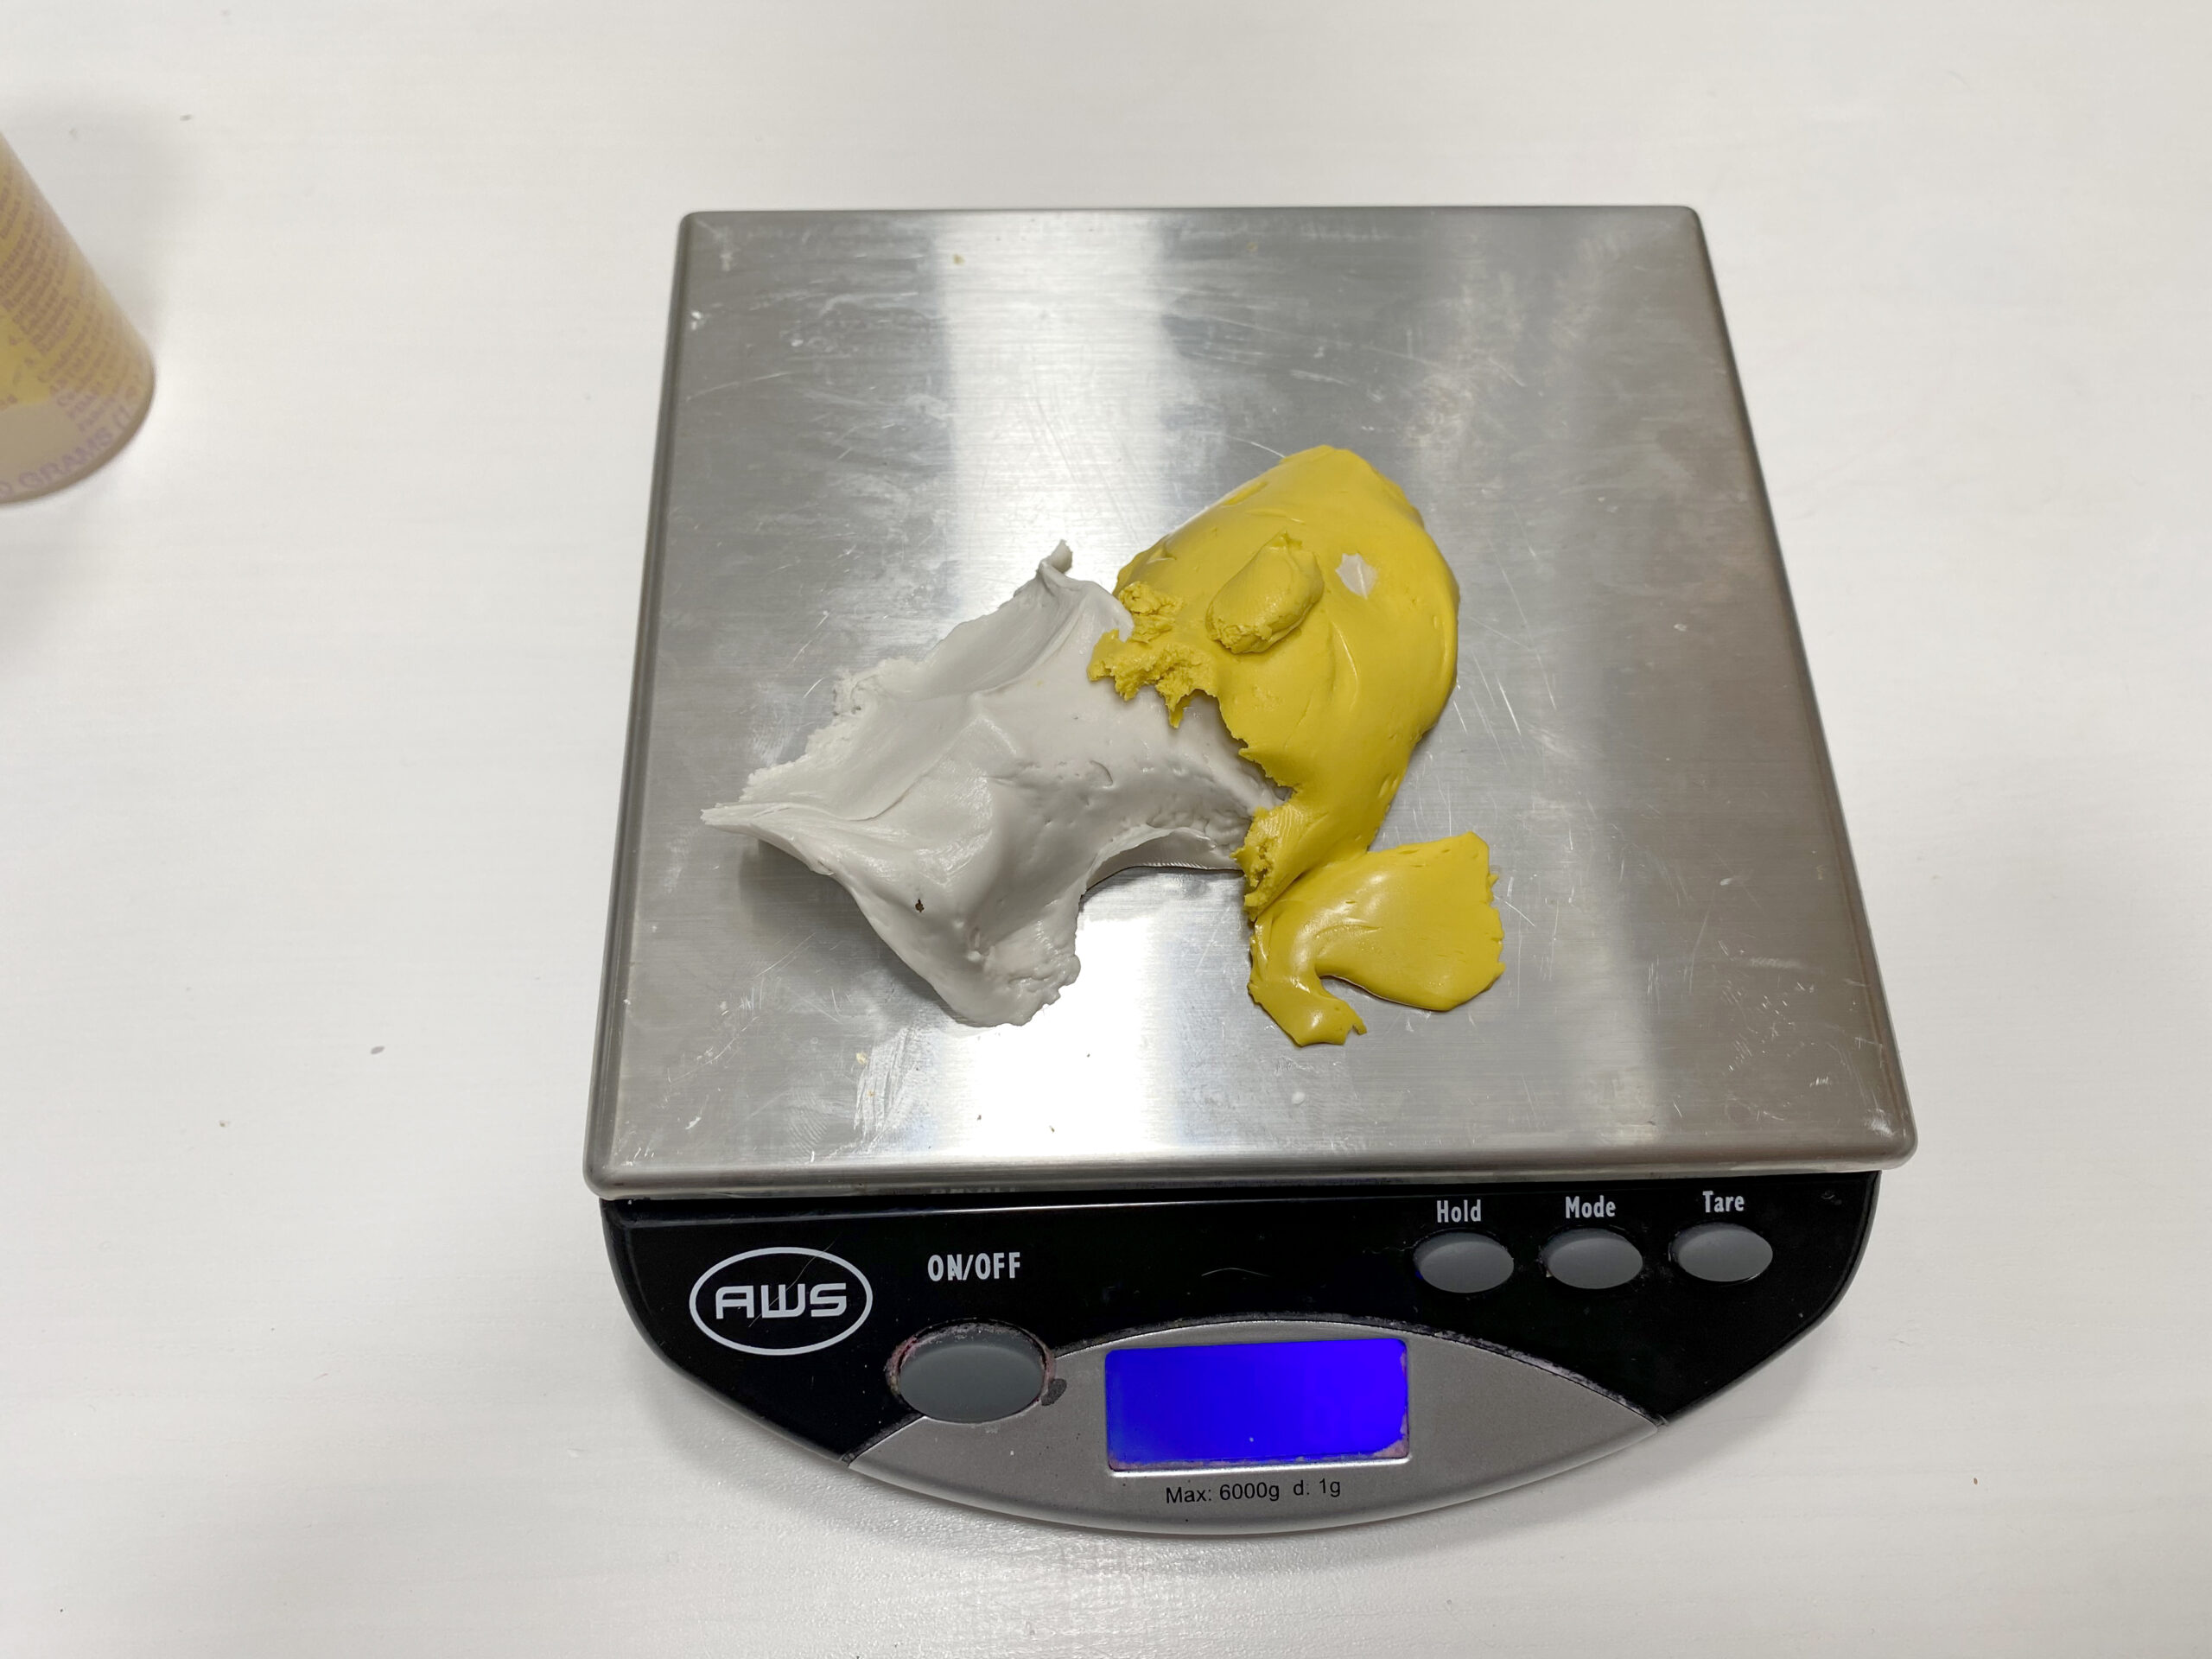
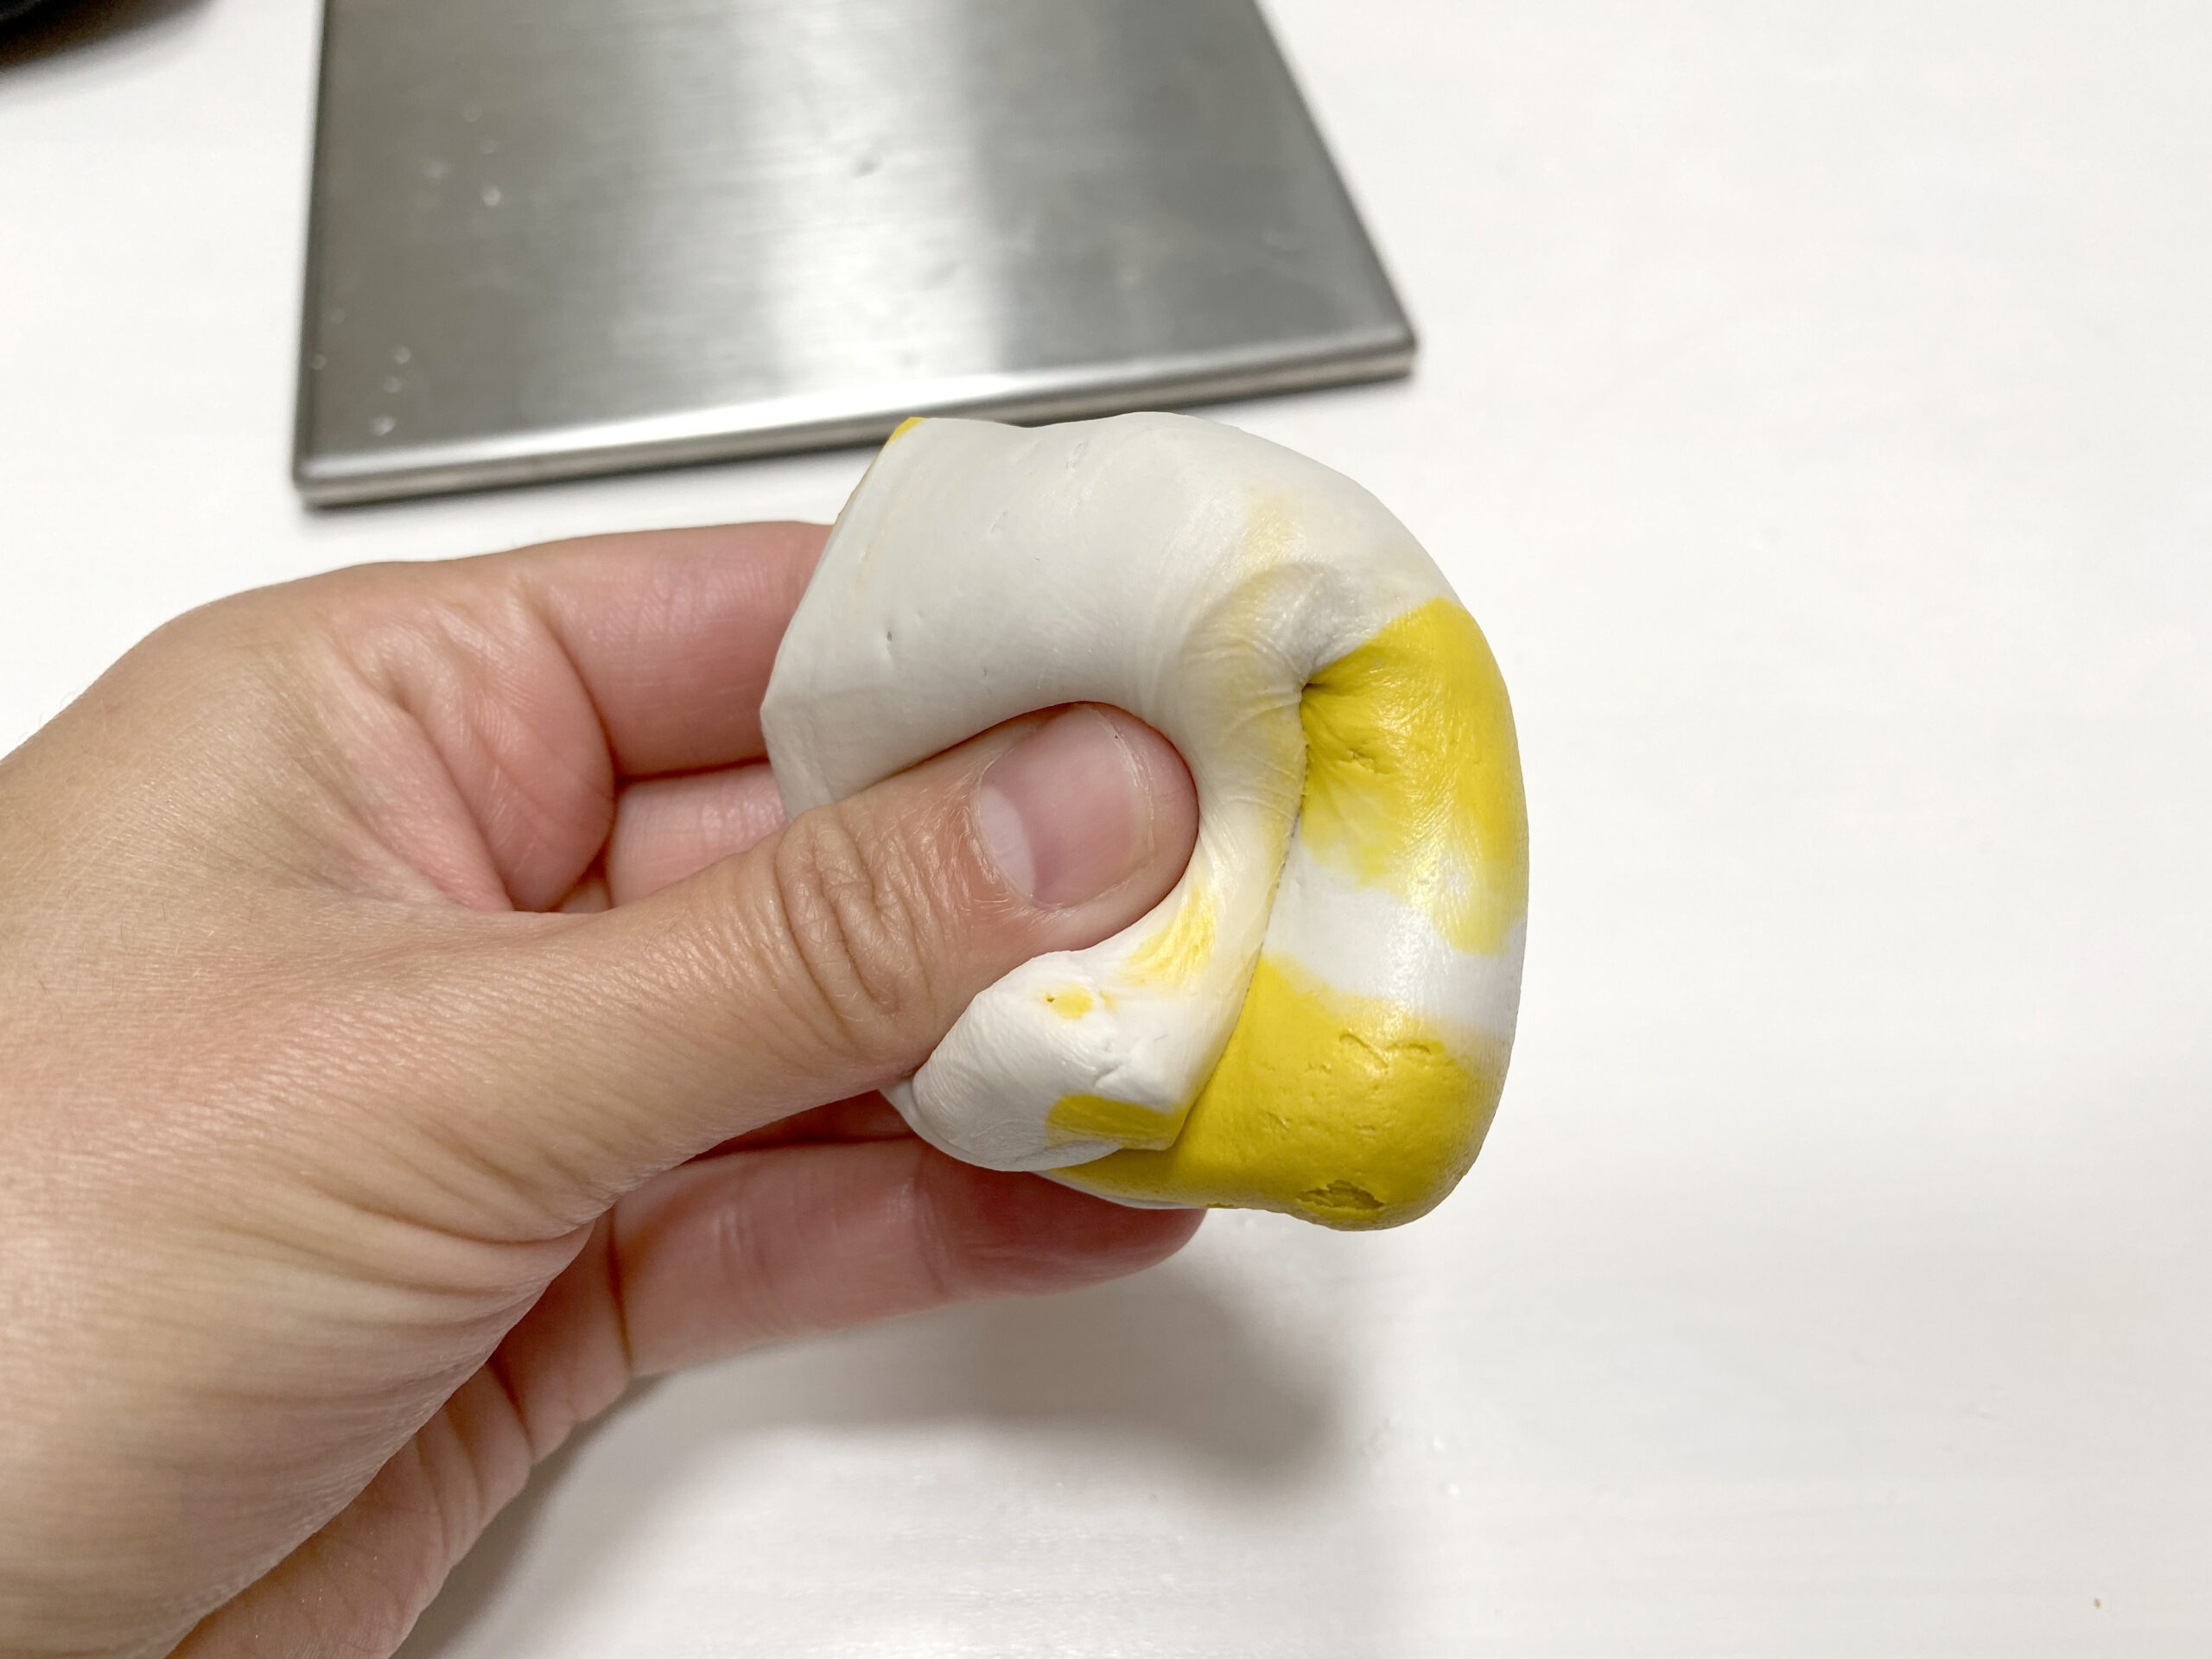
Step 3: Mix together until it is consistent in color. NOTE the time allowed to mix! This putty had a working time of about 3 minutes. That goes fast! So, you have to mix and make your mold pretty quickly. I tried to get mine mixed within 1 minute and the mold created within 1.5 minutes.
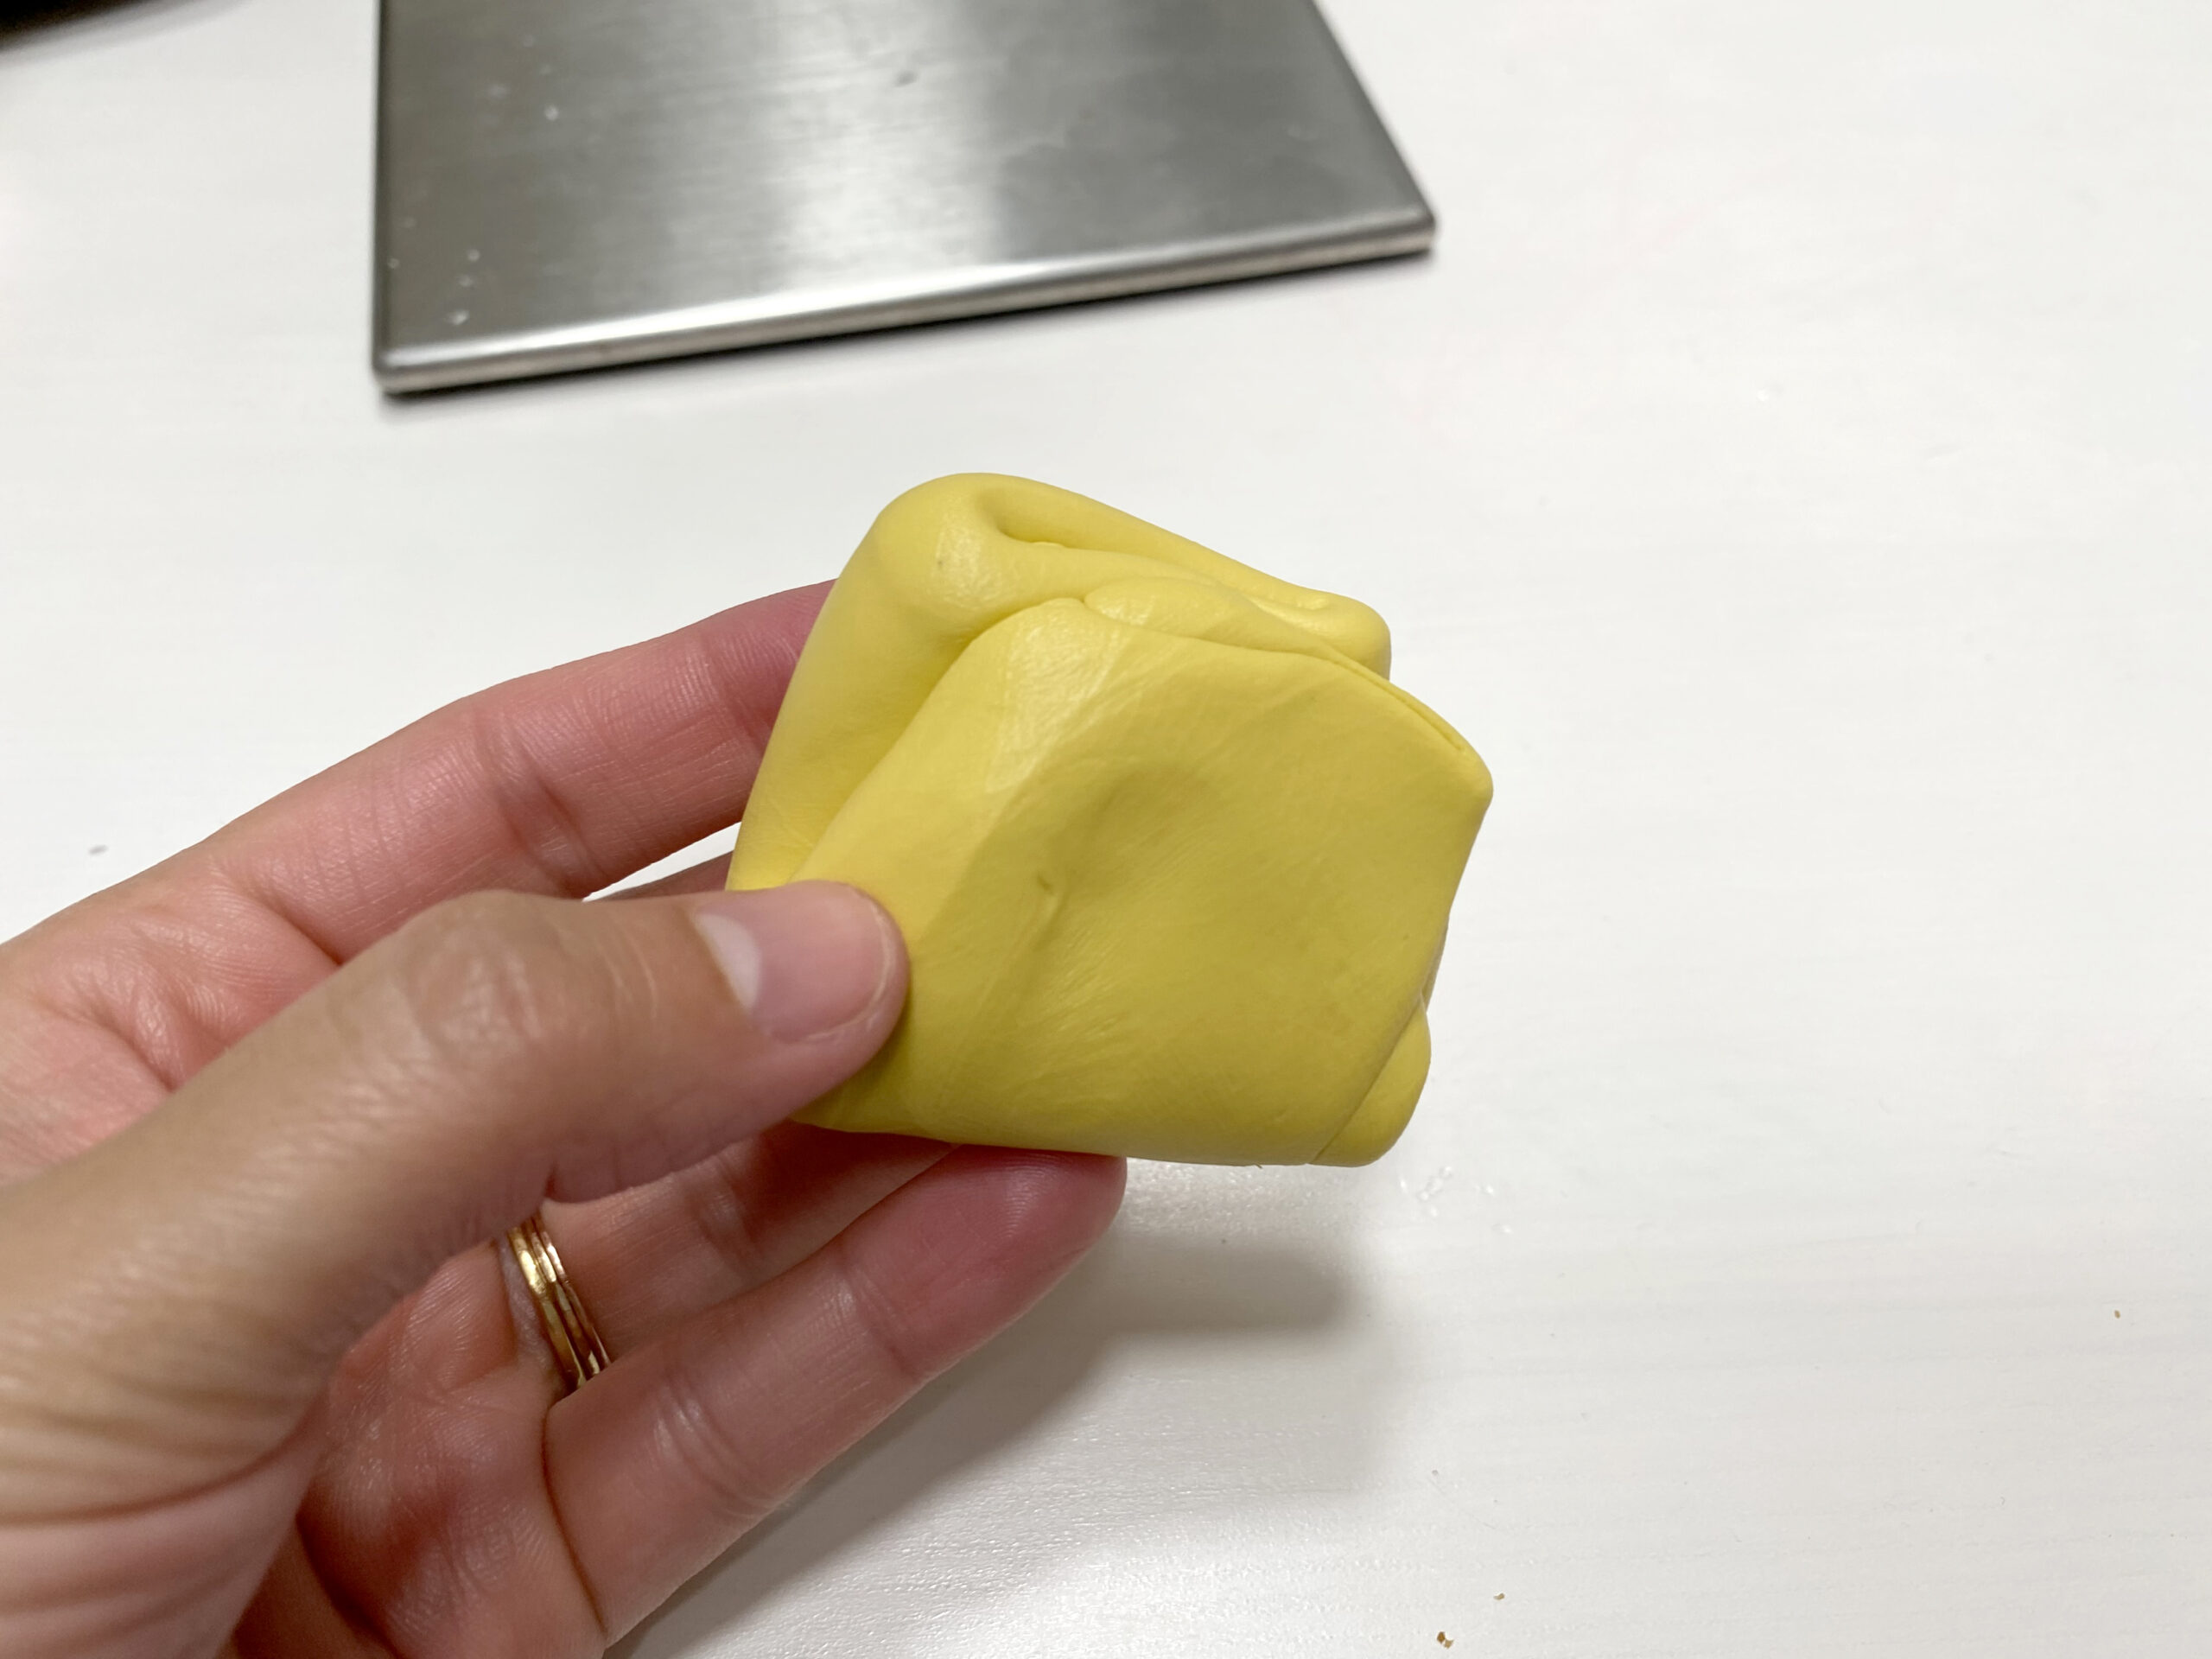
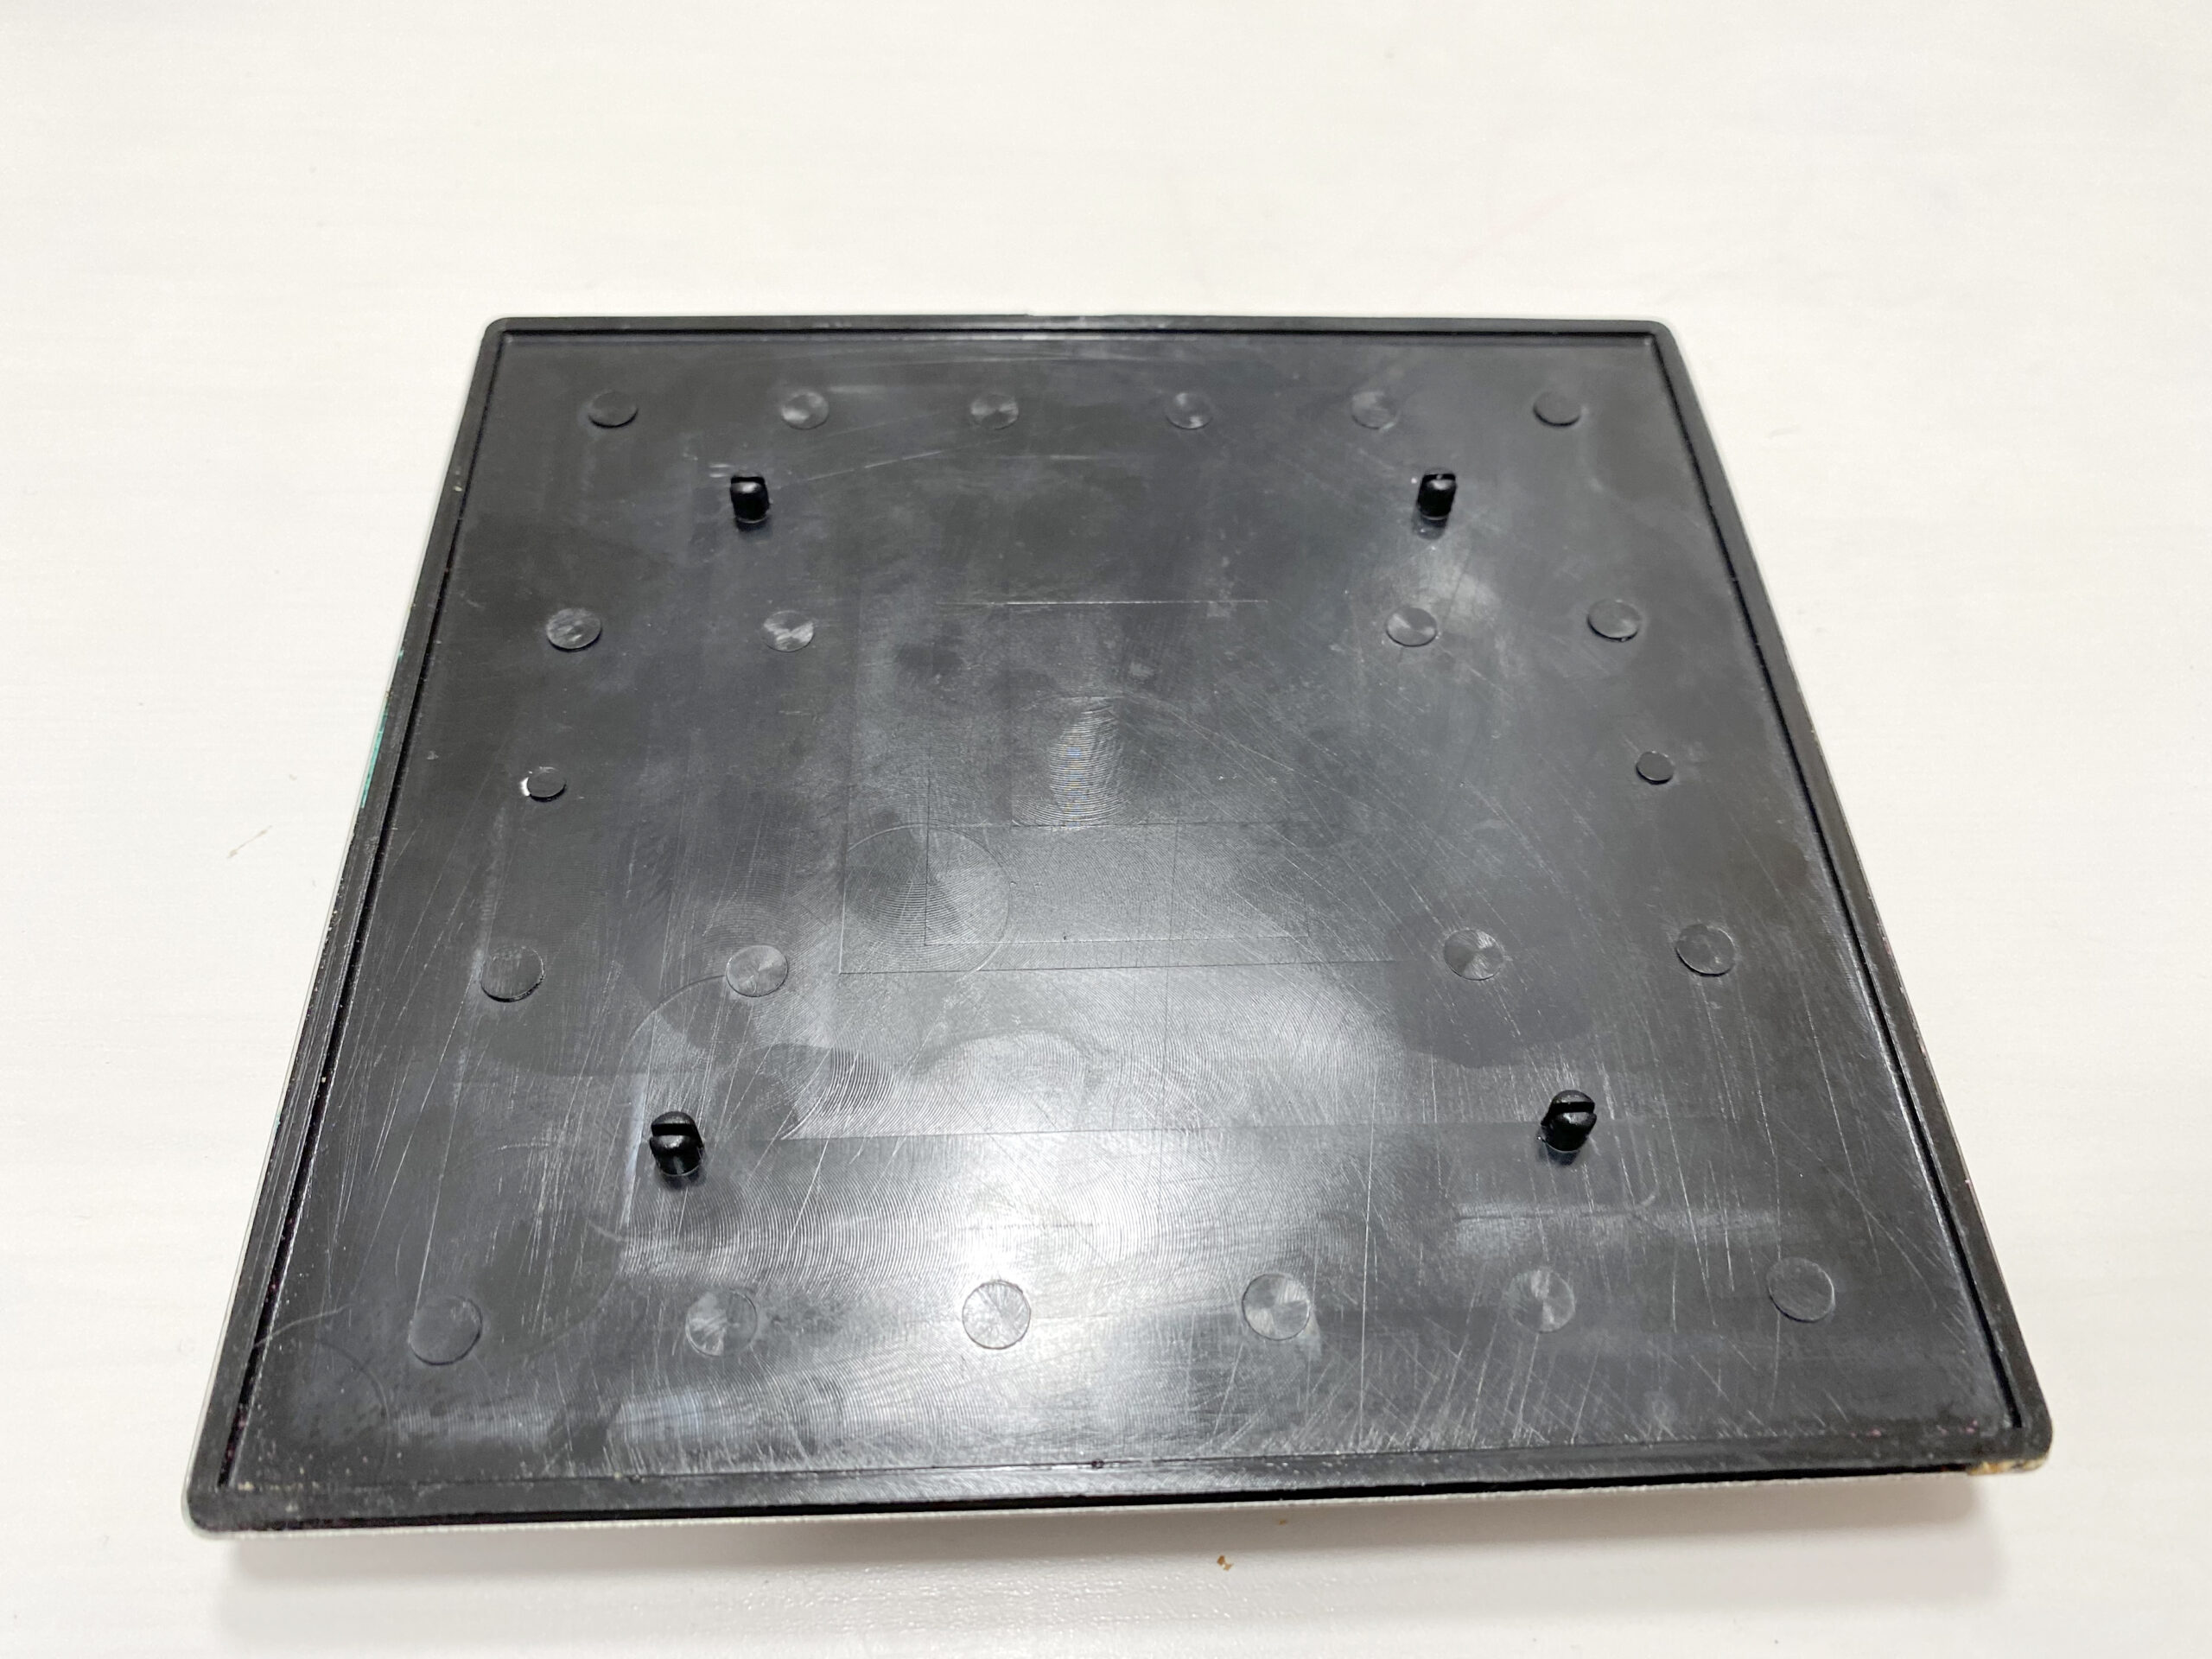
Step 4: Roll your mold putty into a ball and flatten lightly. I used my scale plate to flatten.
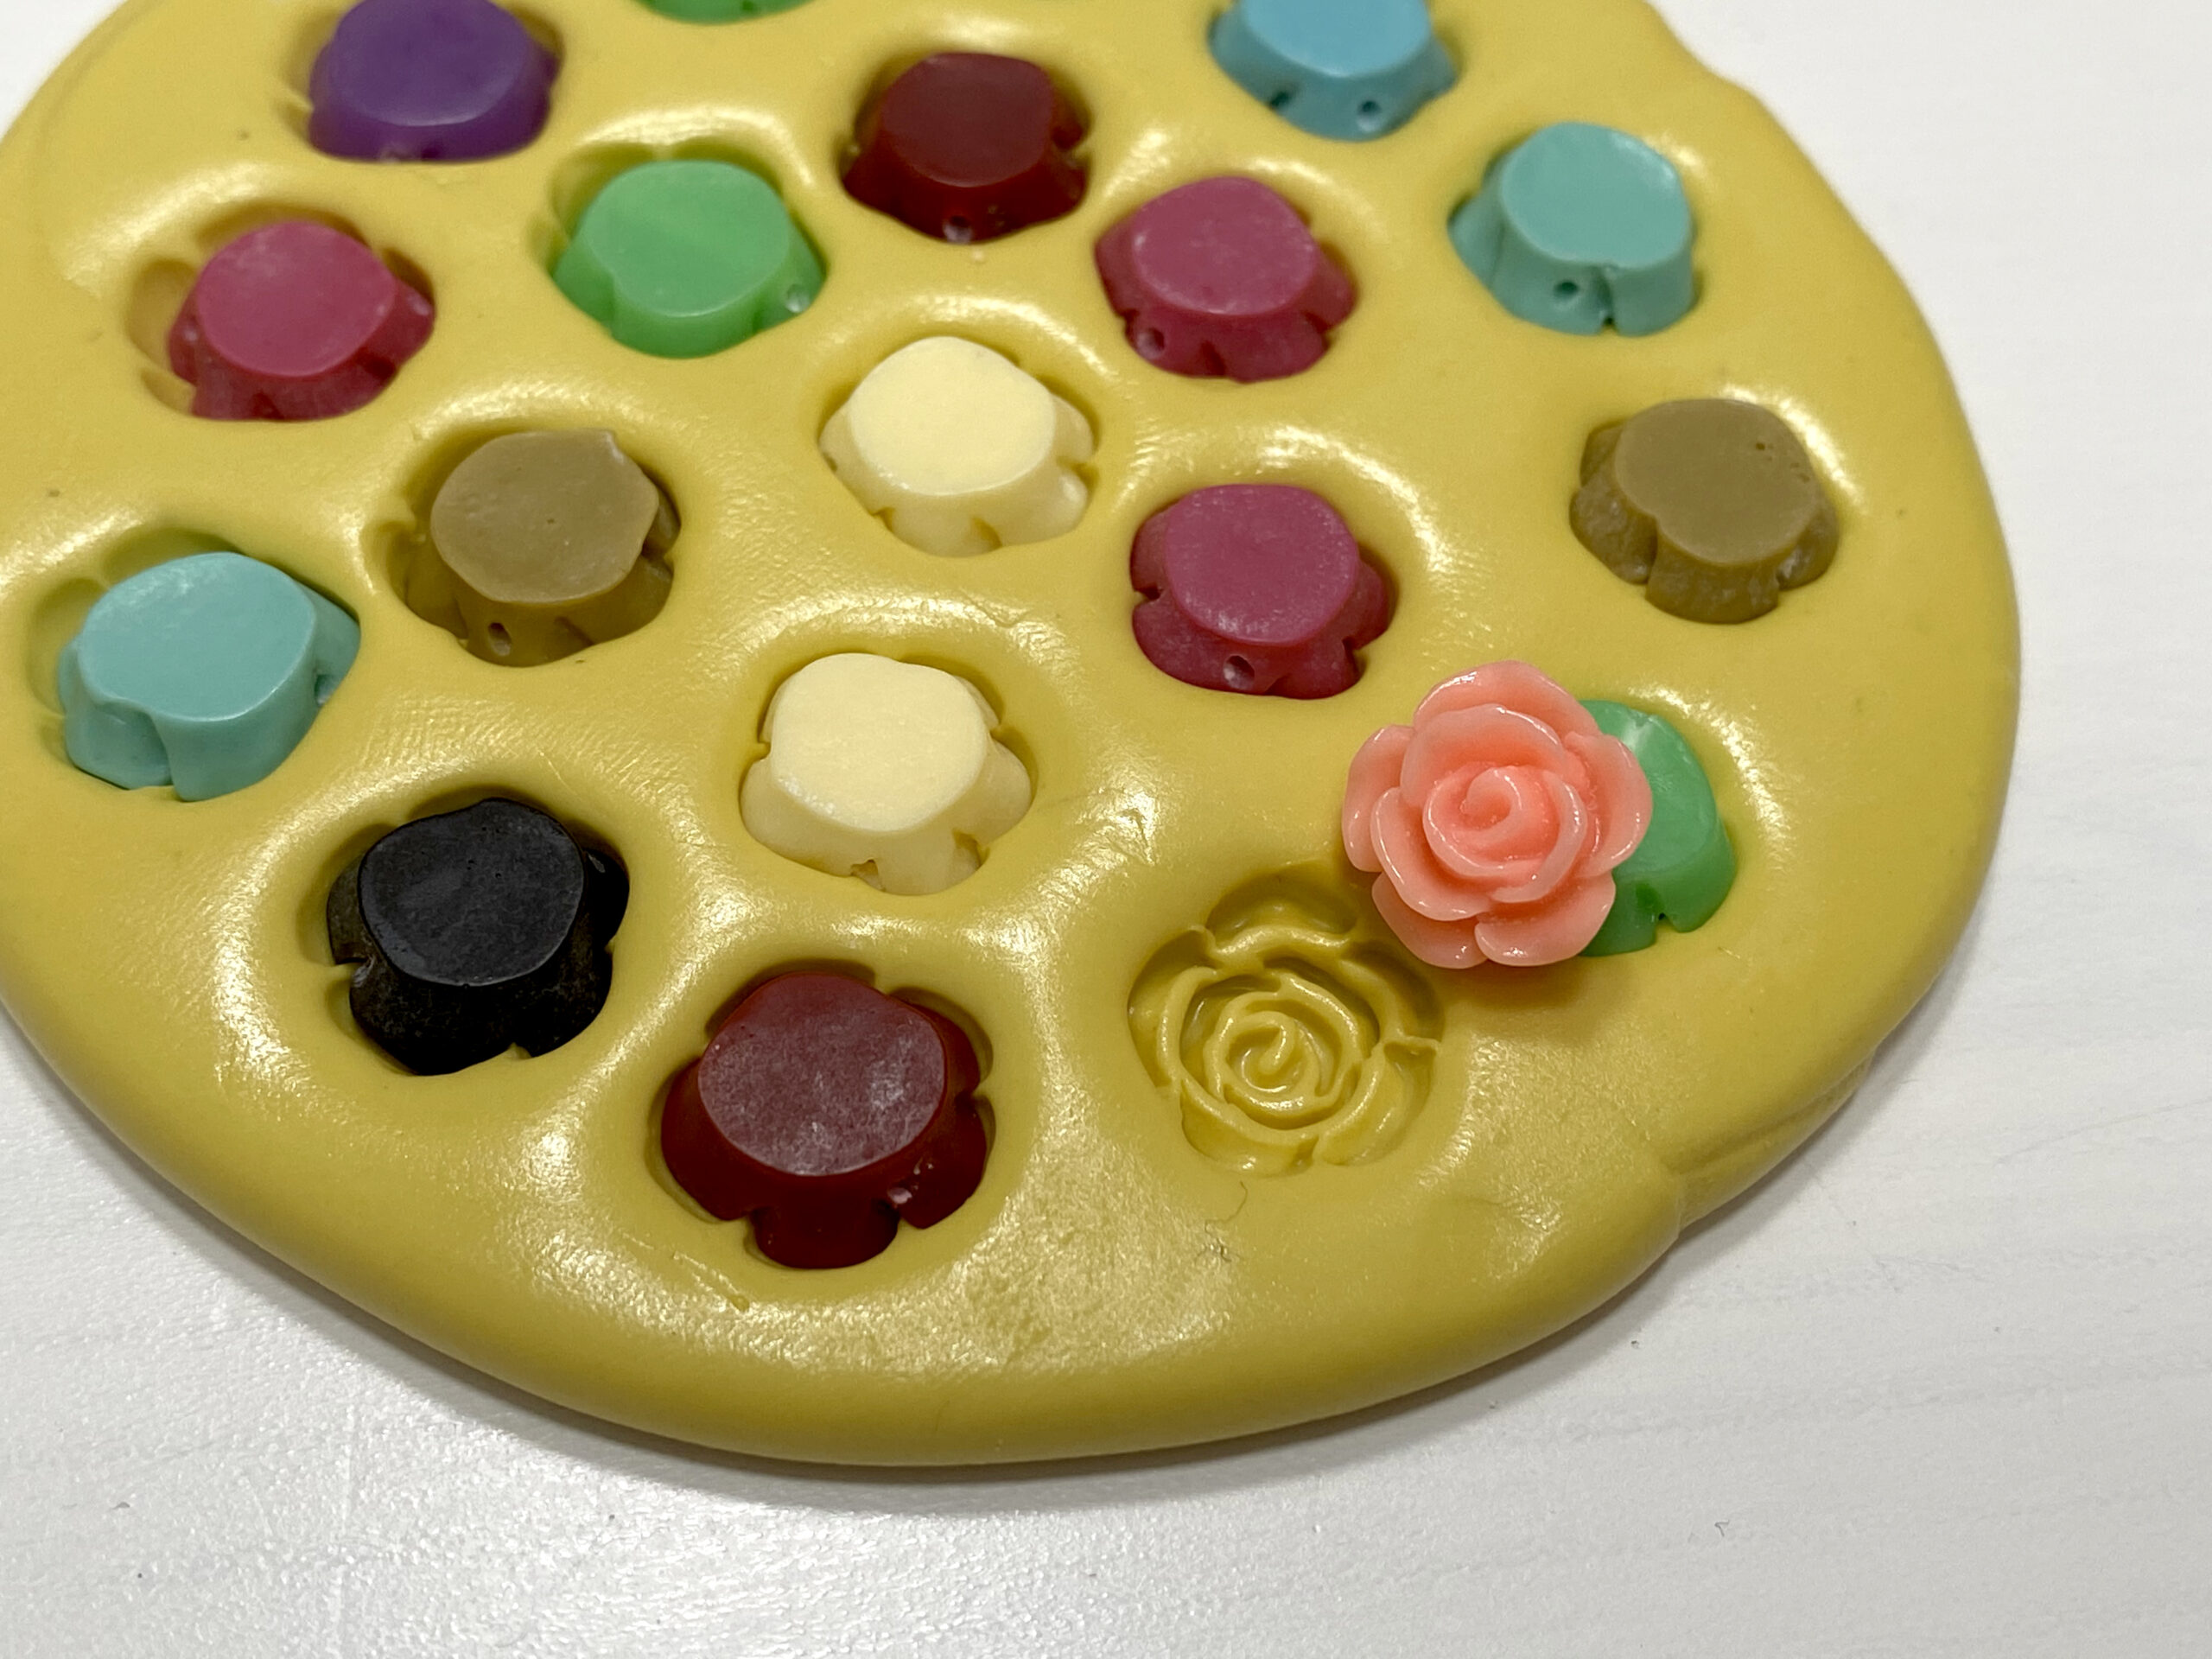
Step 5: Press in your shapes! I’m using rose beads.
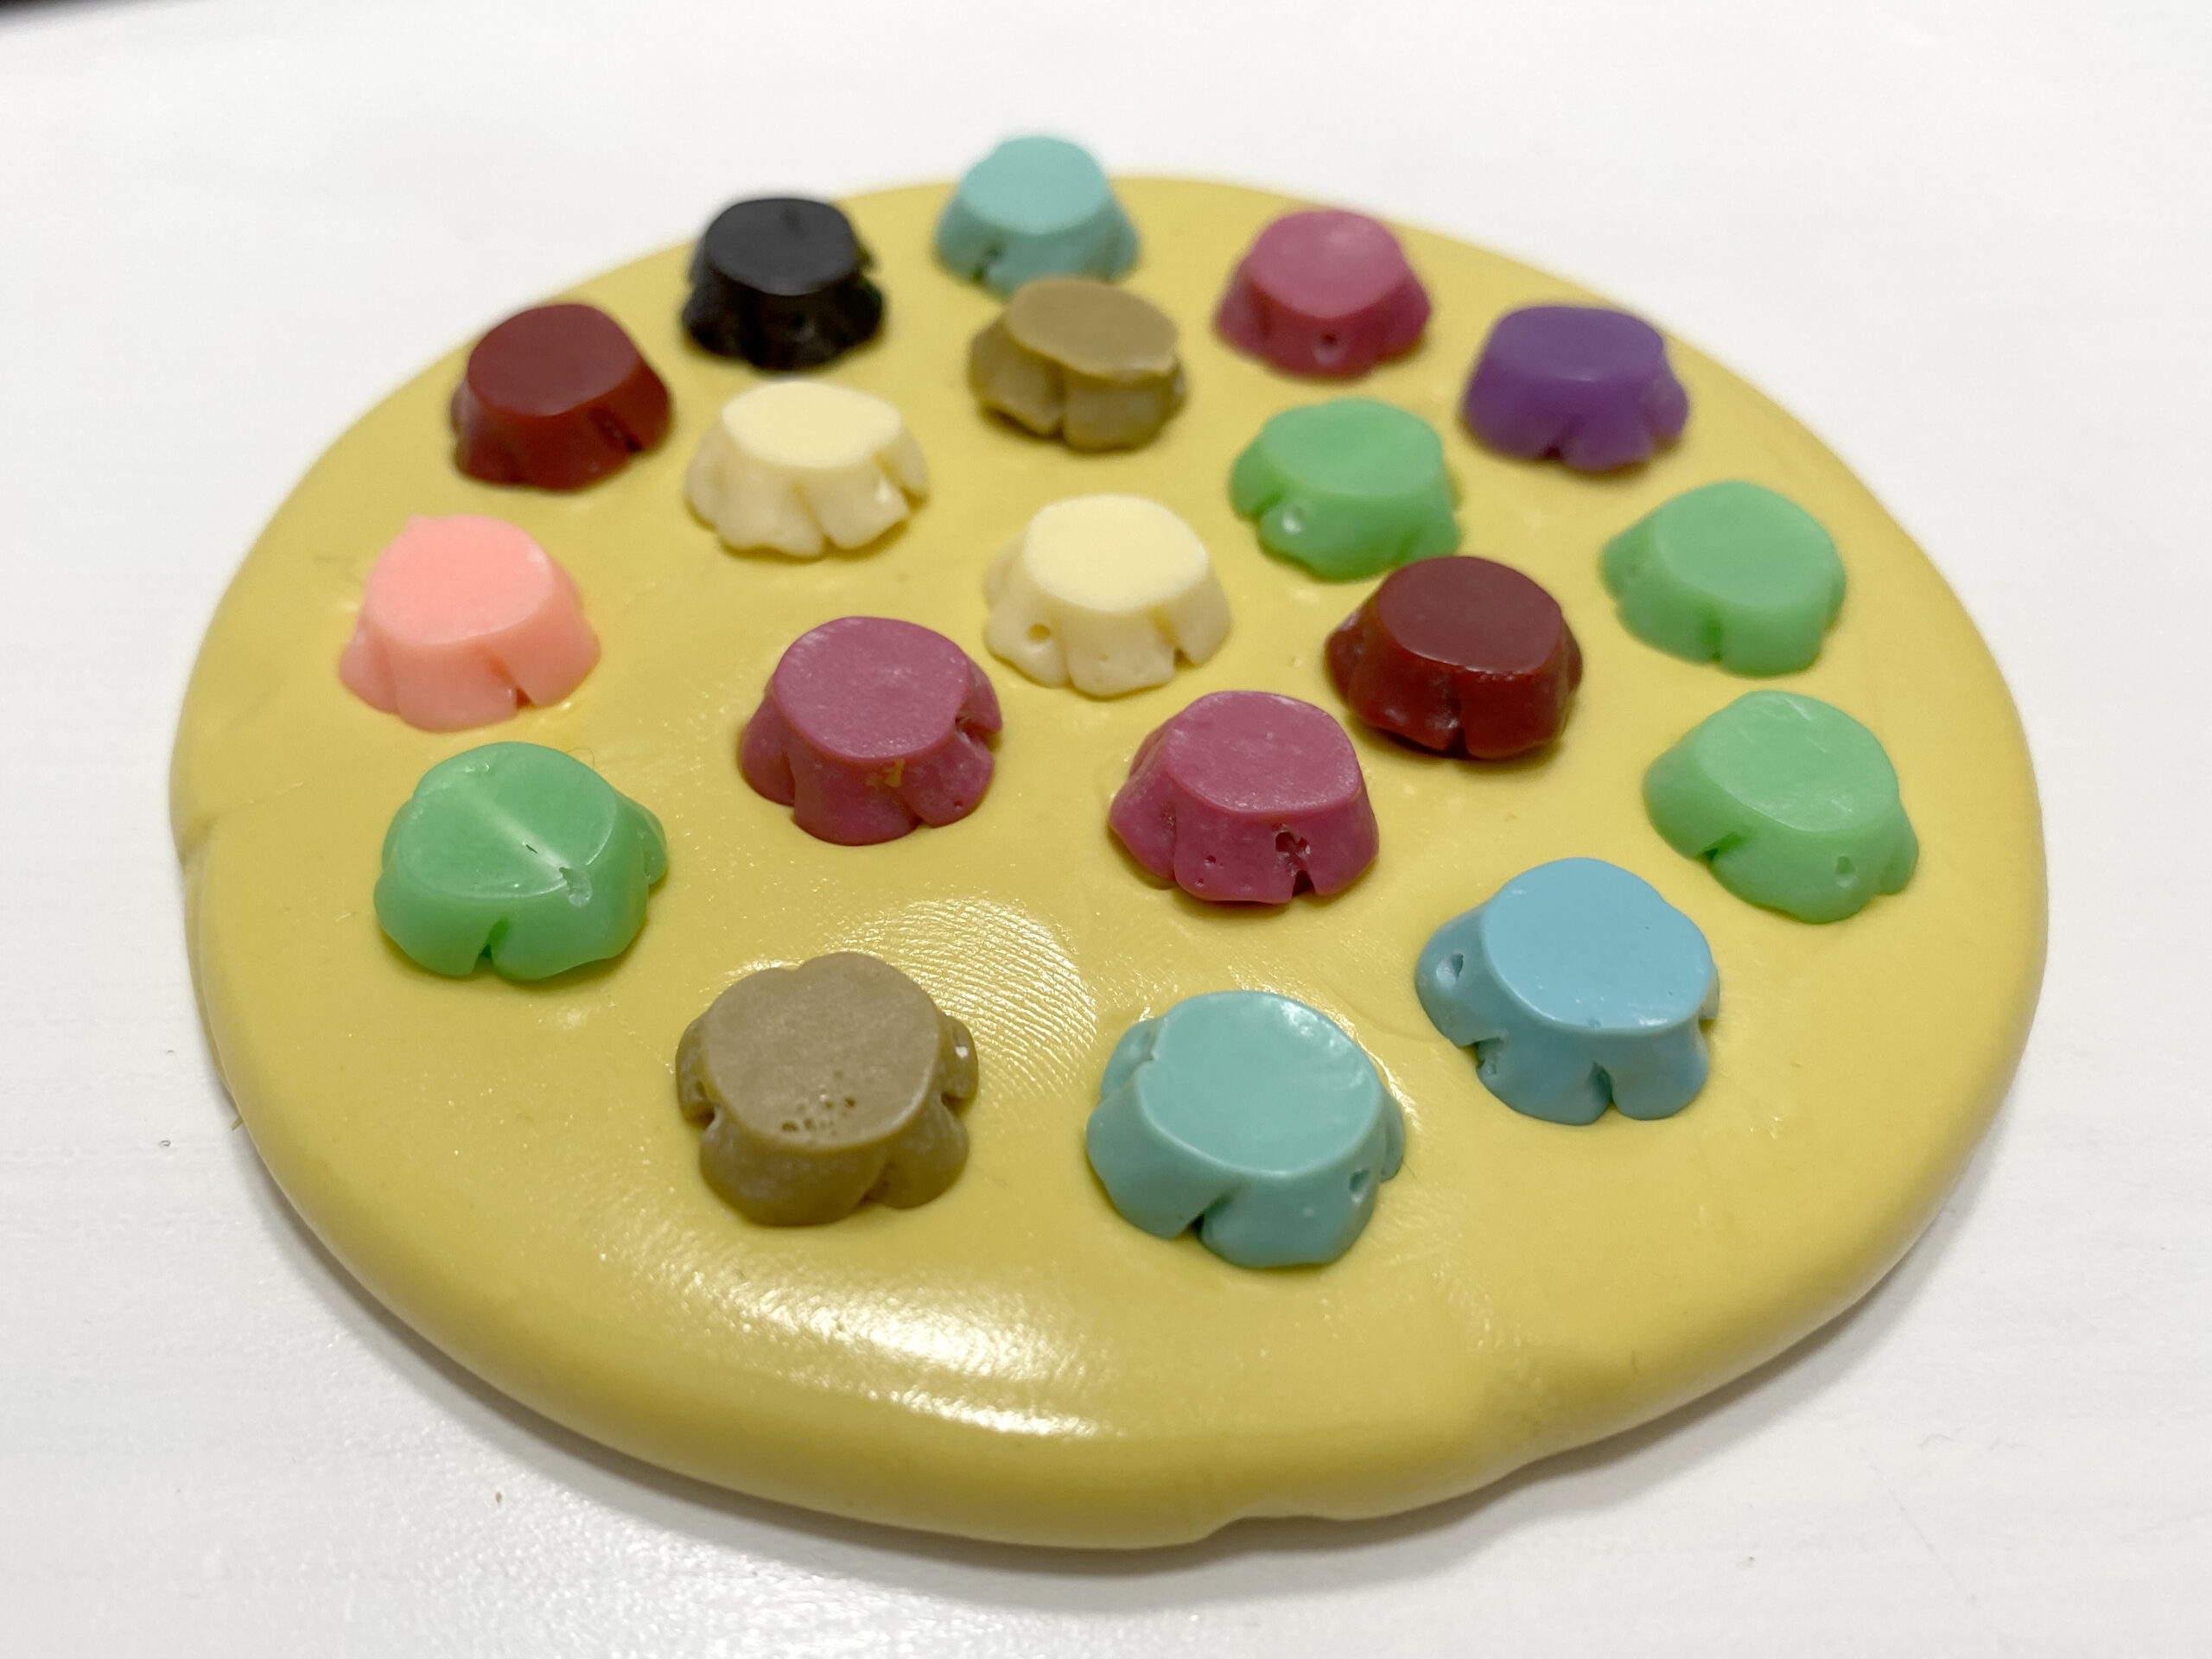
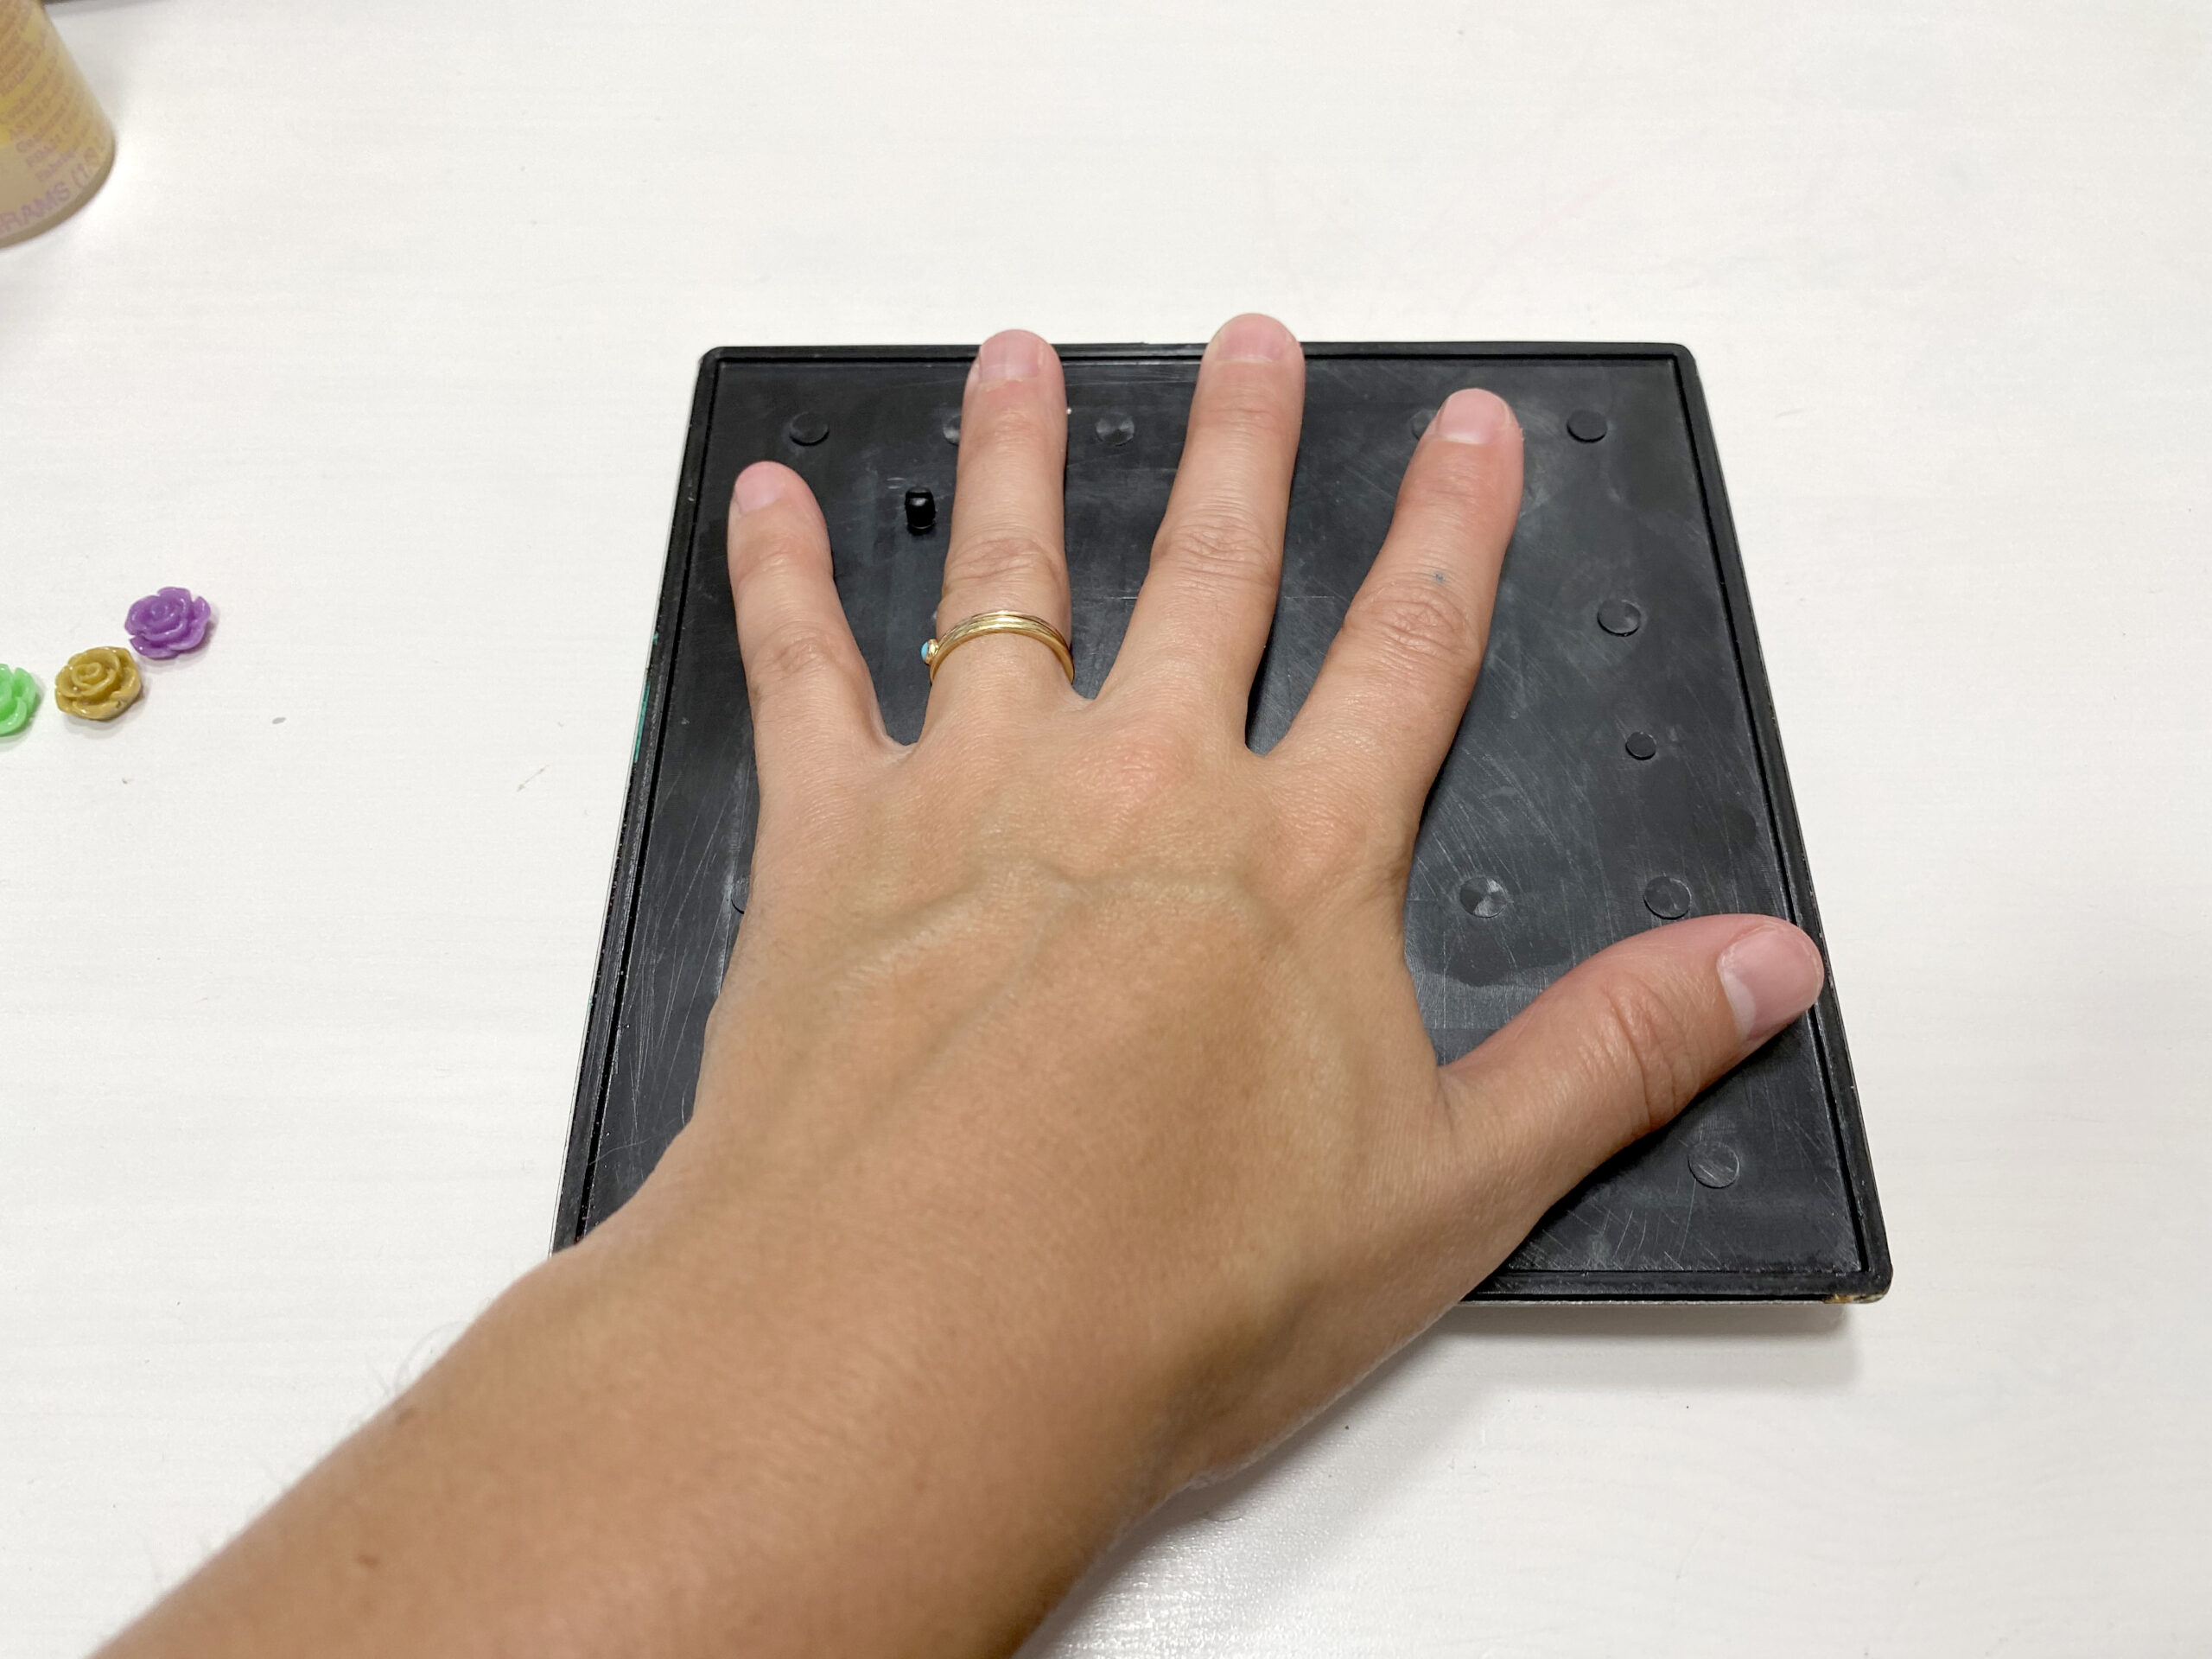
Step 6: Press the shapes even more, evenly into mold putty using something flat! I used my scale base again. Don’t press too hard! You don’t want your objects to hit the bottom of the mold putty.
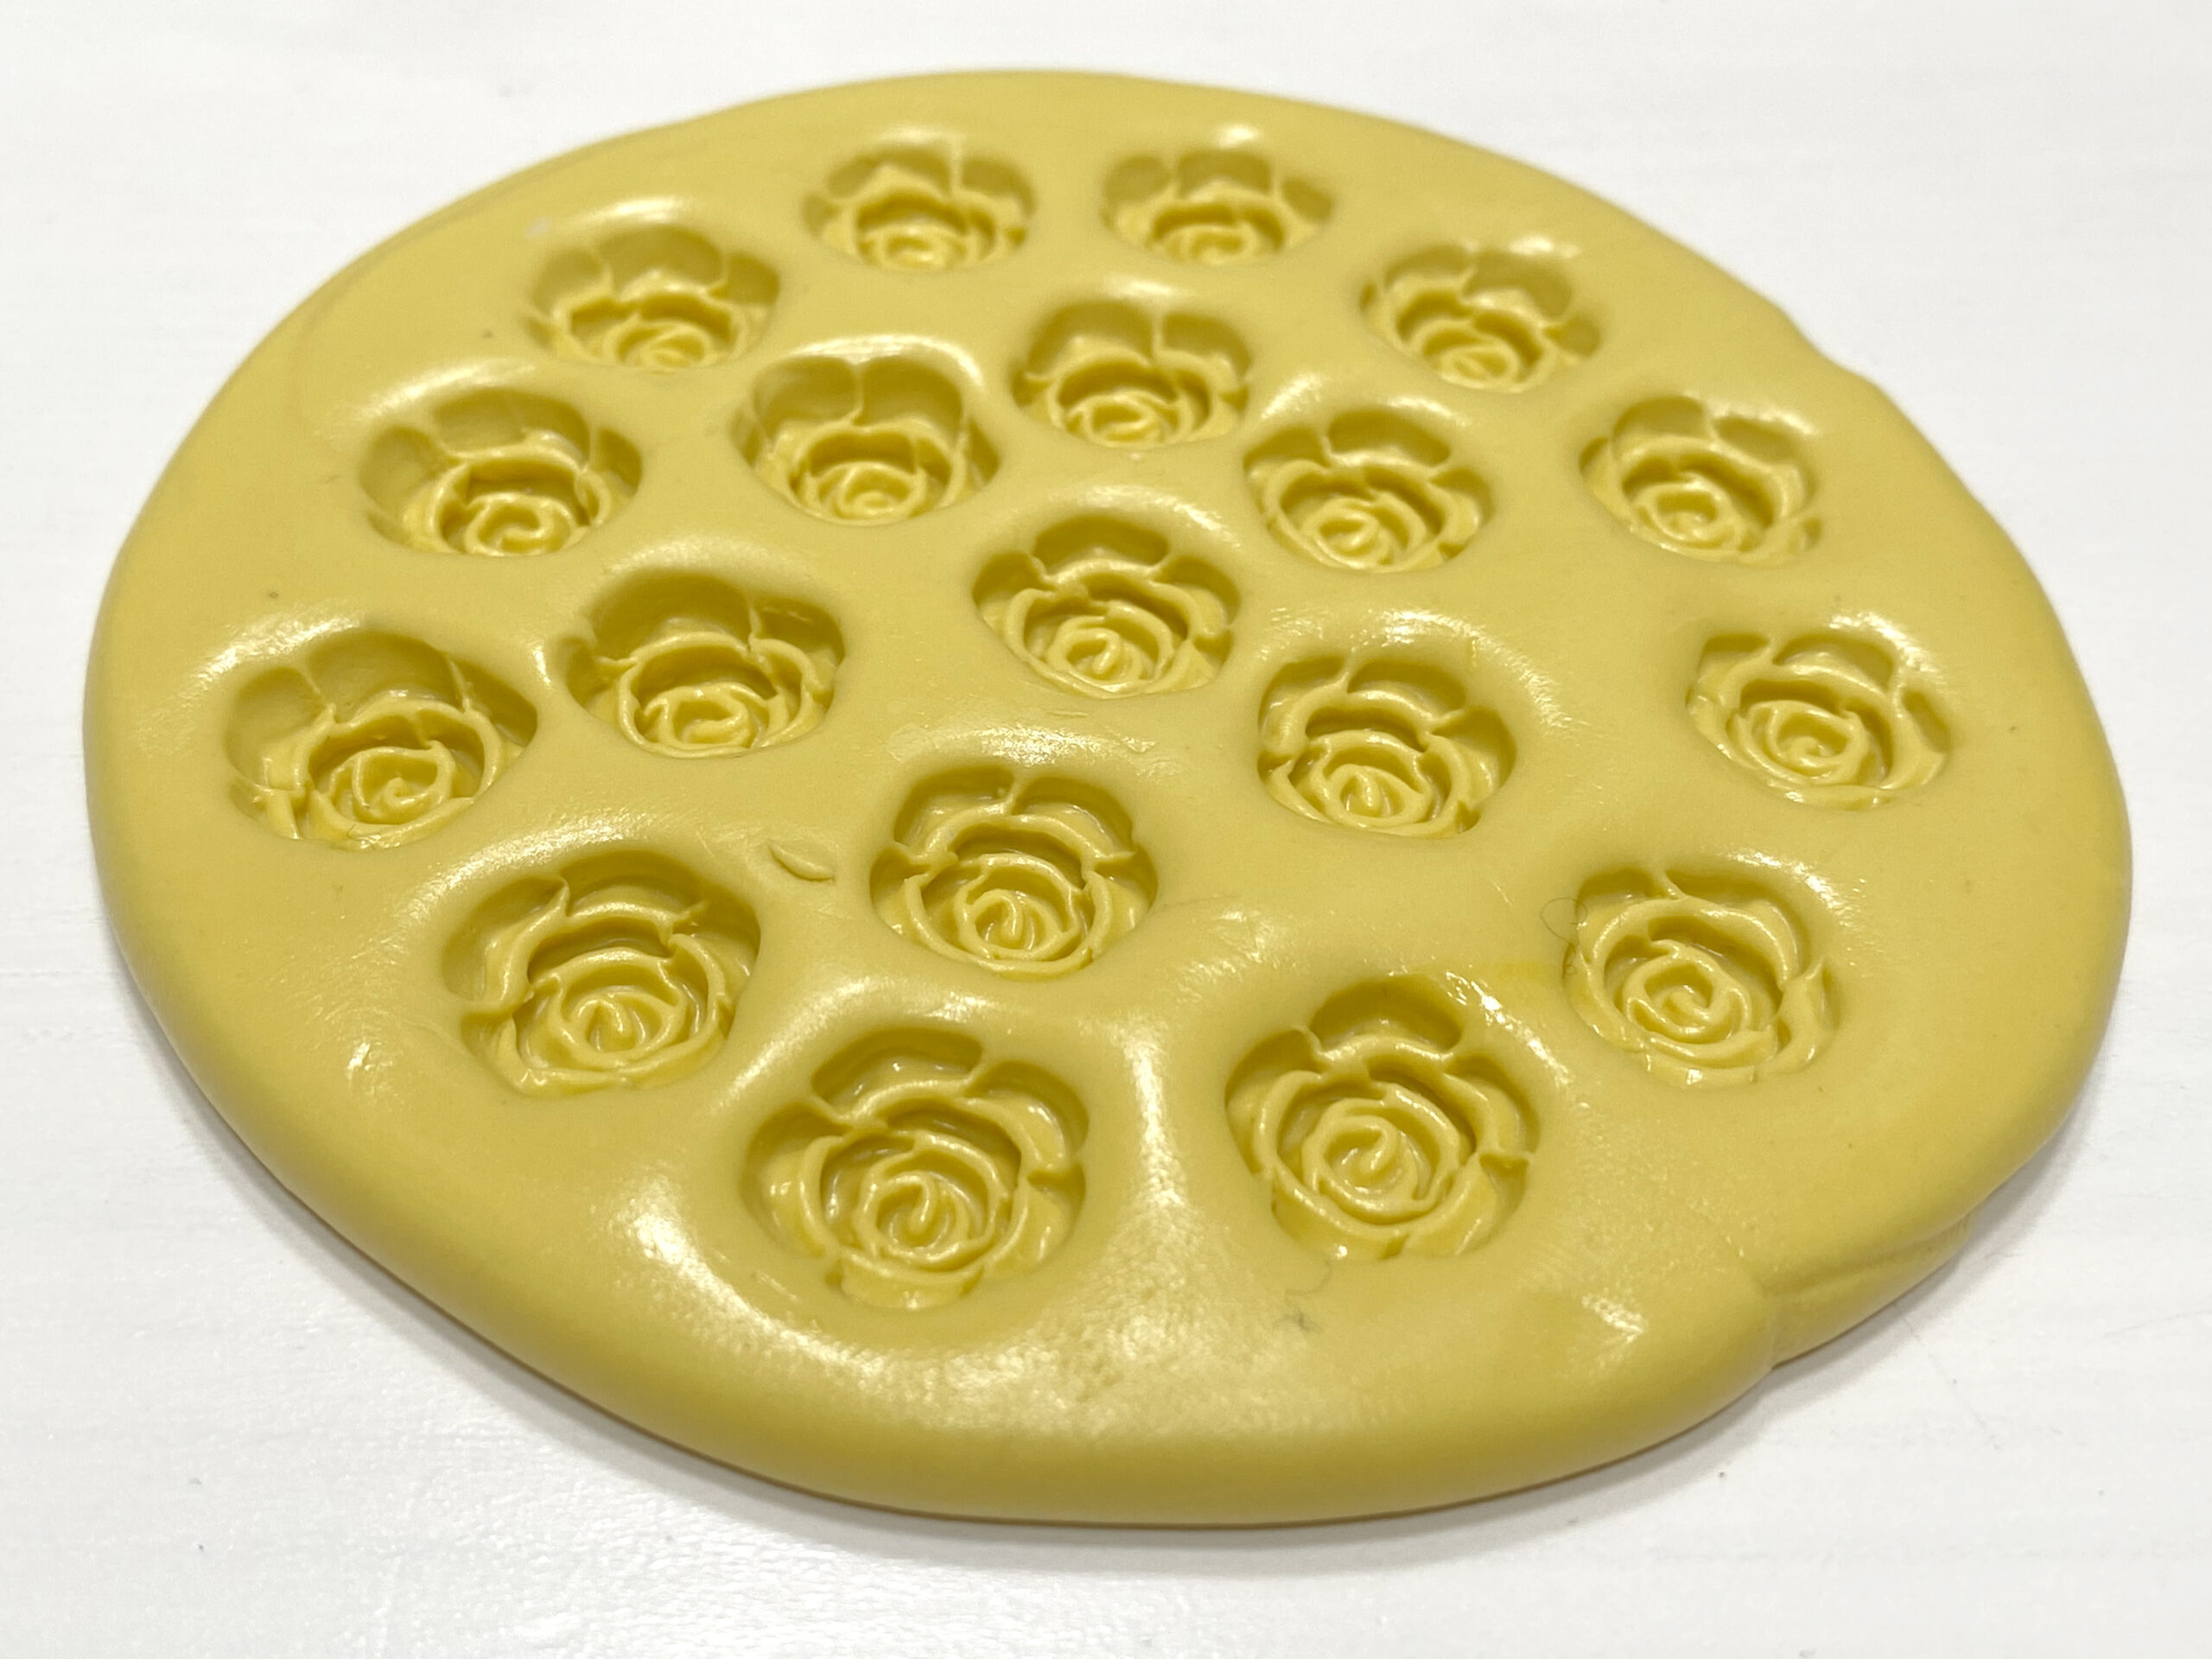
Step 7: Follow instructions on unmolding. This mold putty required that you wait 15-20 minutes to unmold your shapes. This allows it enough time to harden up.
Step 8: Follow instructions on cure time! Some silicone require that you wait a certain amount of time before using your mold. This is called the cure time. The cure time on this putty was immediate. You can use it right away.
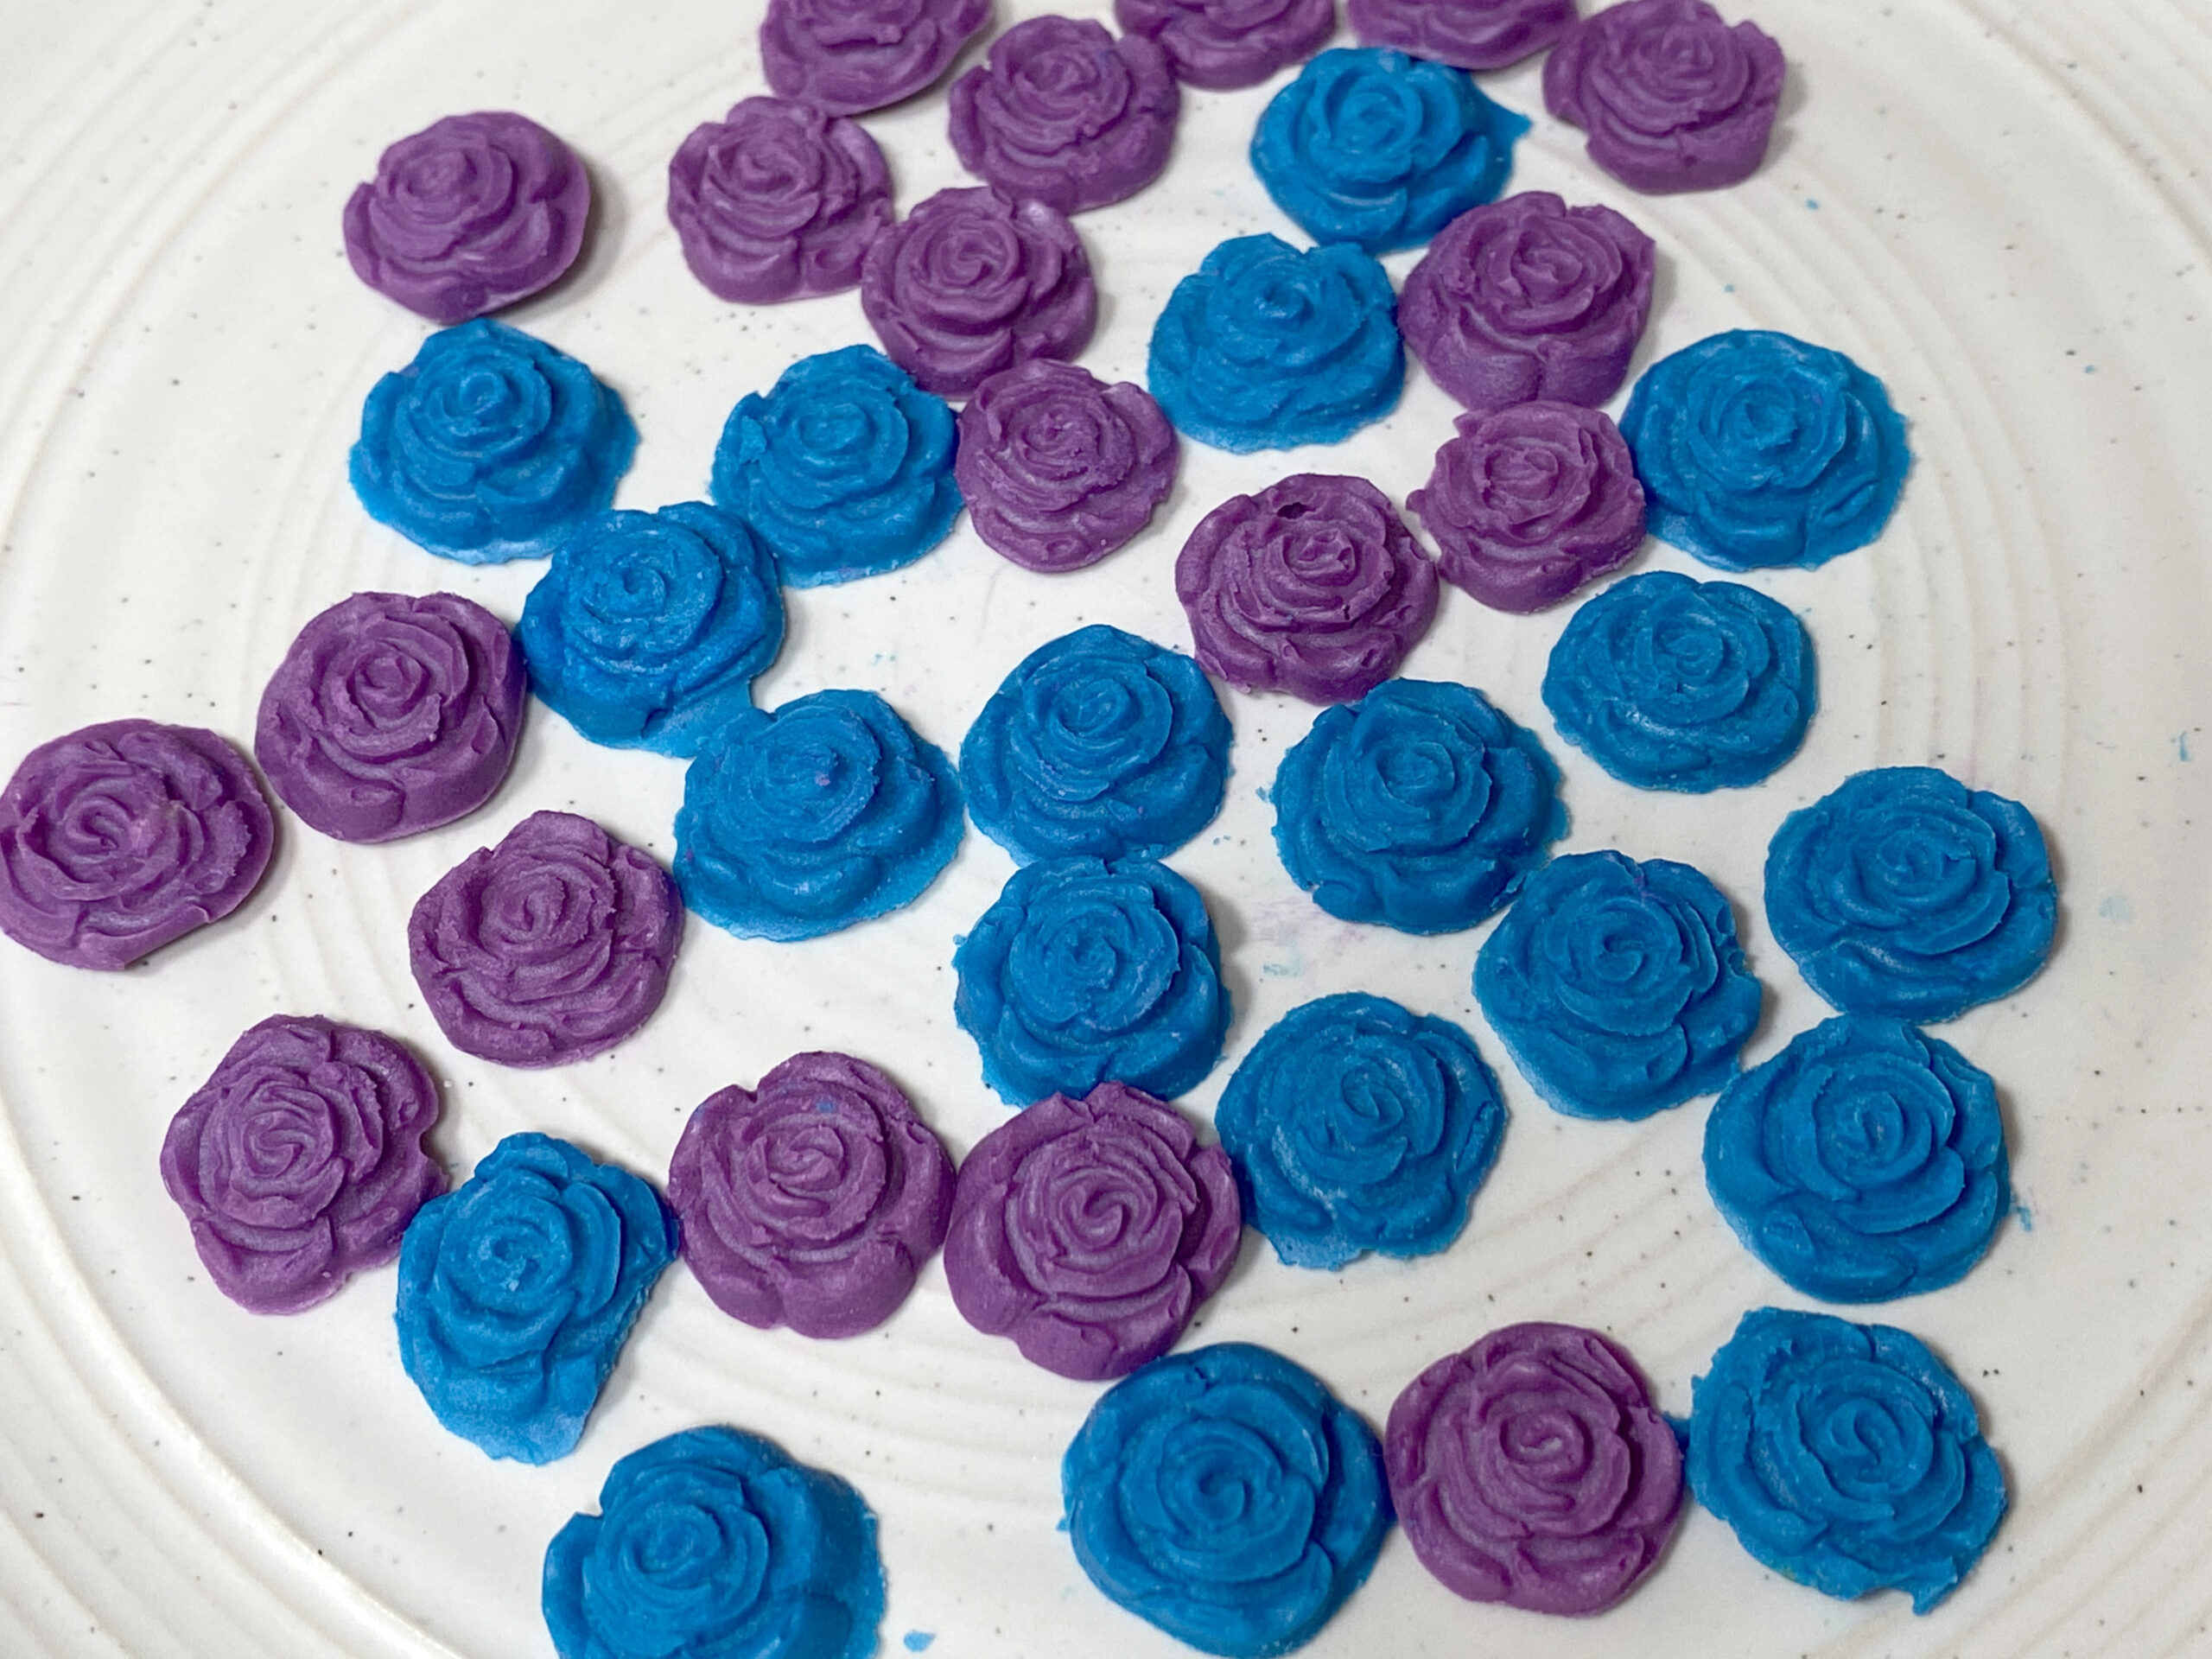
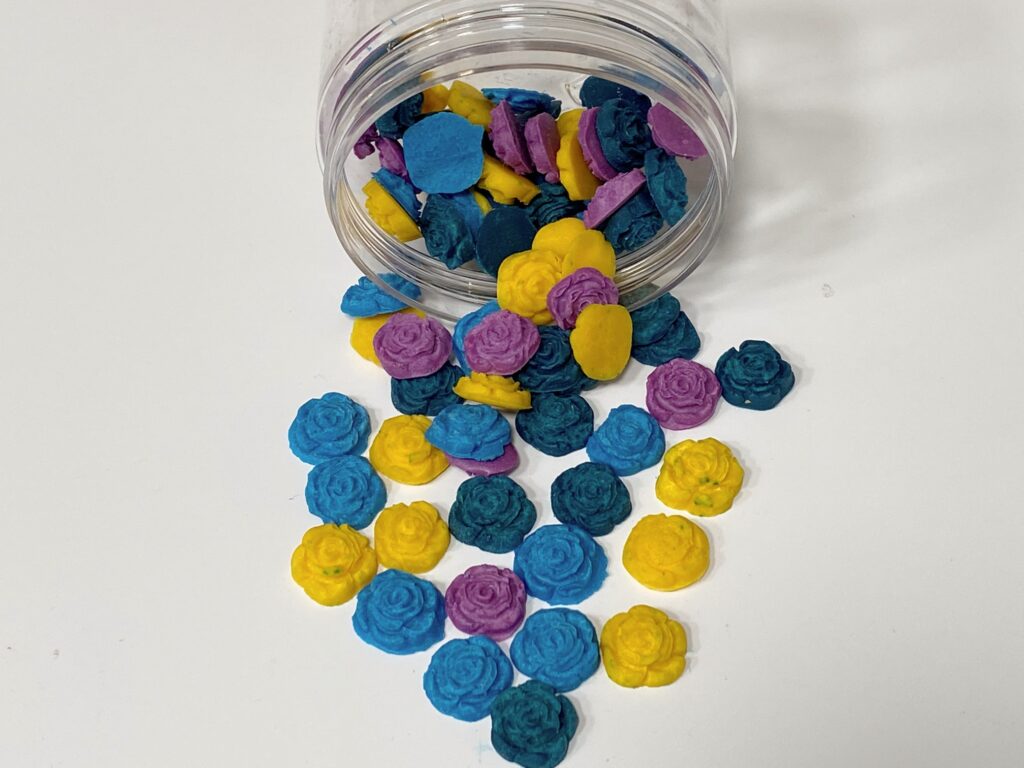
Here are the roses that I made using the Sprinkle Recipe. I’m going to embed them into a bath bomb (so you can see it peeking through).
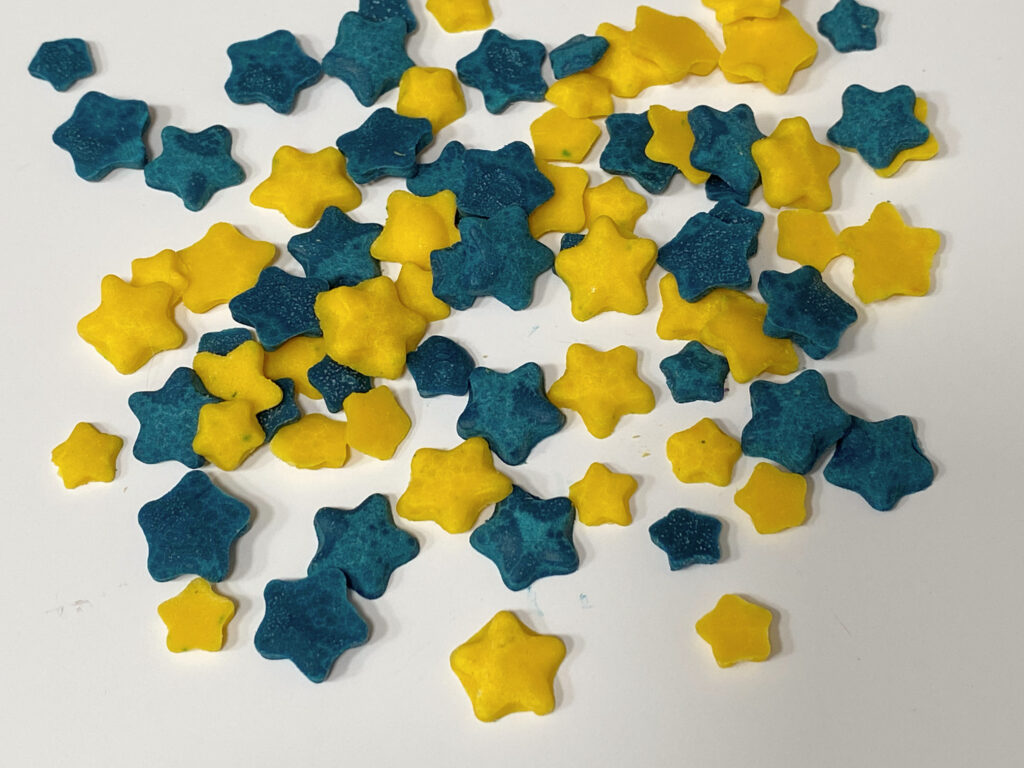
I also made stars from star sprinkles!
I hope that helps if you want to make your own custom sprinkles!
Happy Sprinkle Making!
-Amanda
Genius!!!! I am loving the sprinkle recipe, and love the idea of creating some fun shaped-sprinkles!!!
Thanks for sharing this! There’s a company on Etsy who makes these molds and I always wondered how they did it. Now I know and can make a mold for anything!
How many molds do you think you can get from the kit 🙂
Loved the recipe of sprinkle making .Thanks