So you’ve mastered the art of making bath bombs, (or at least feel like you have a firm grasp on the process!) and you’re ready to move on to some more advanced techniques. Might I suggest you investigate painting? This month on Patreon we are focusing on painting bath bombs and I figured it would be a good opportunity to make a blog post about it!
Painting bath bombs is probably easier that you think, but it does take practice!
What you’ll need:
- Plain white bath bombs– you can paint colored bath bombs too, but its easier to start with white ones first!
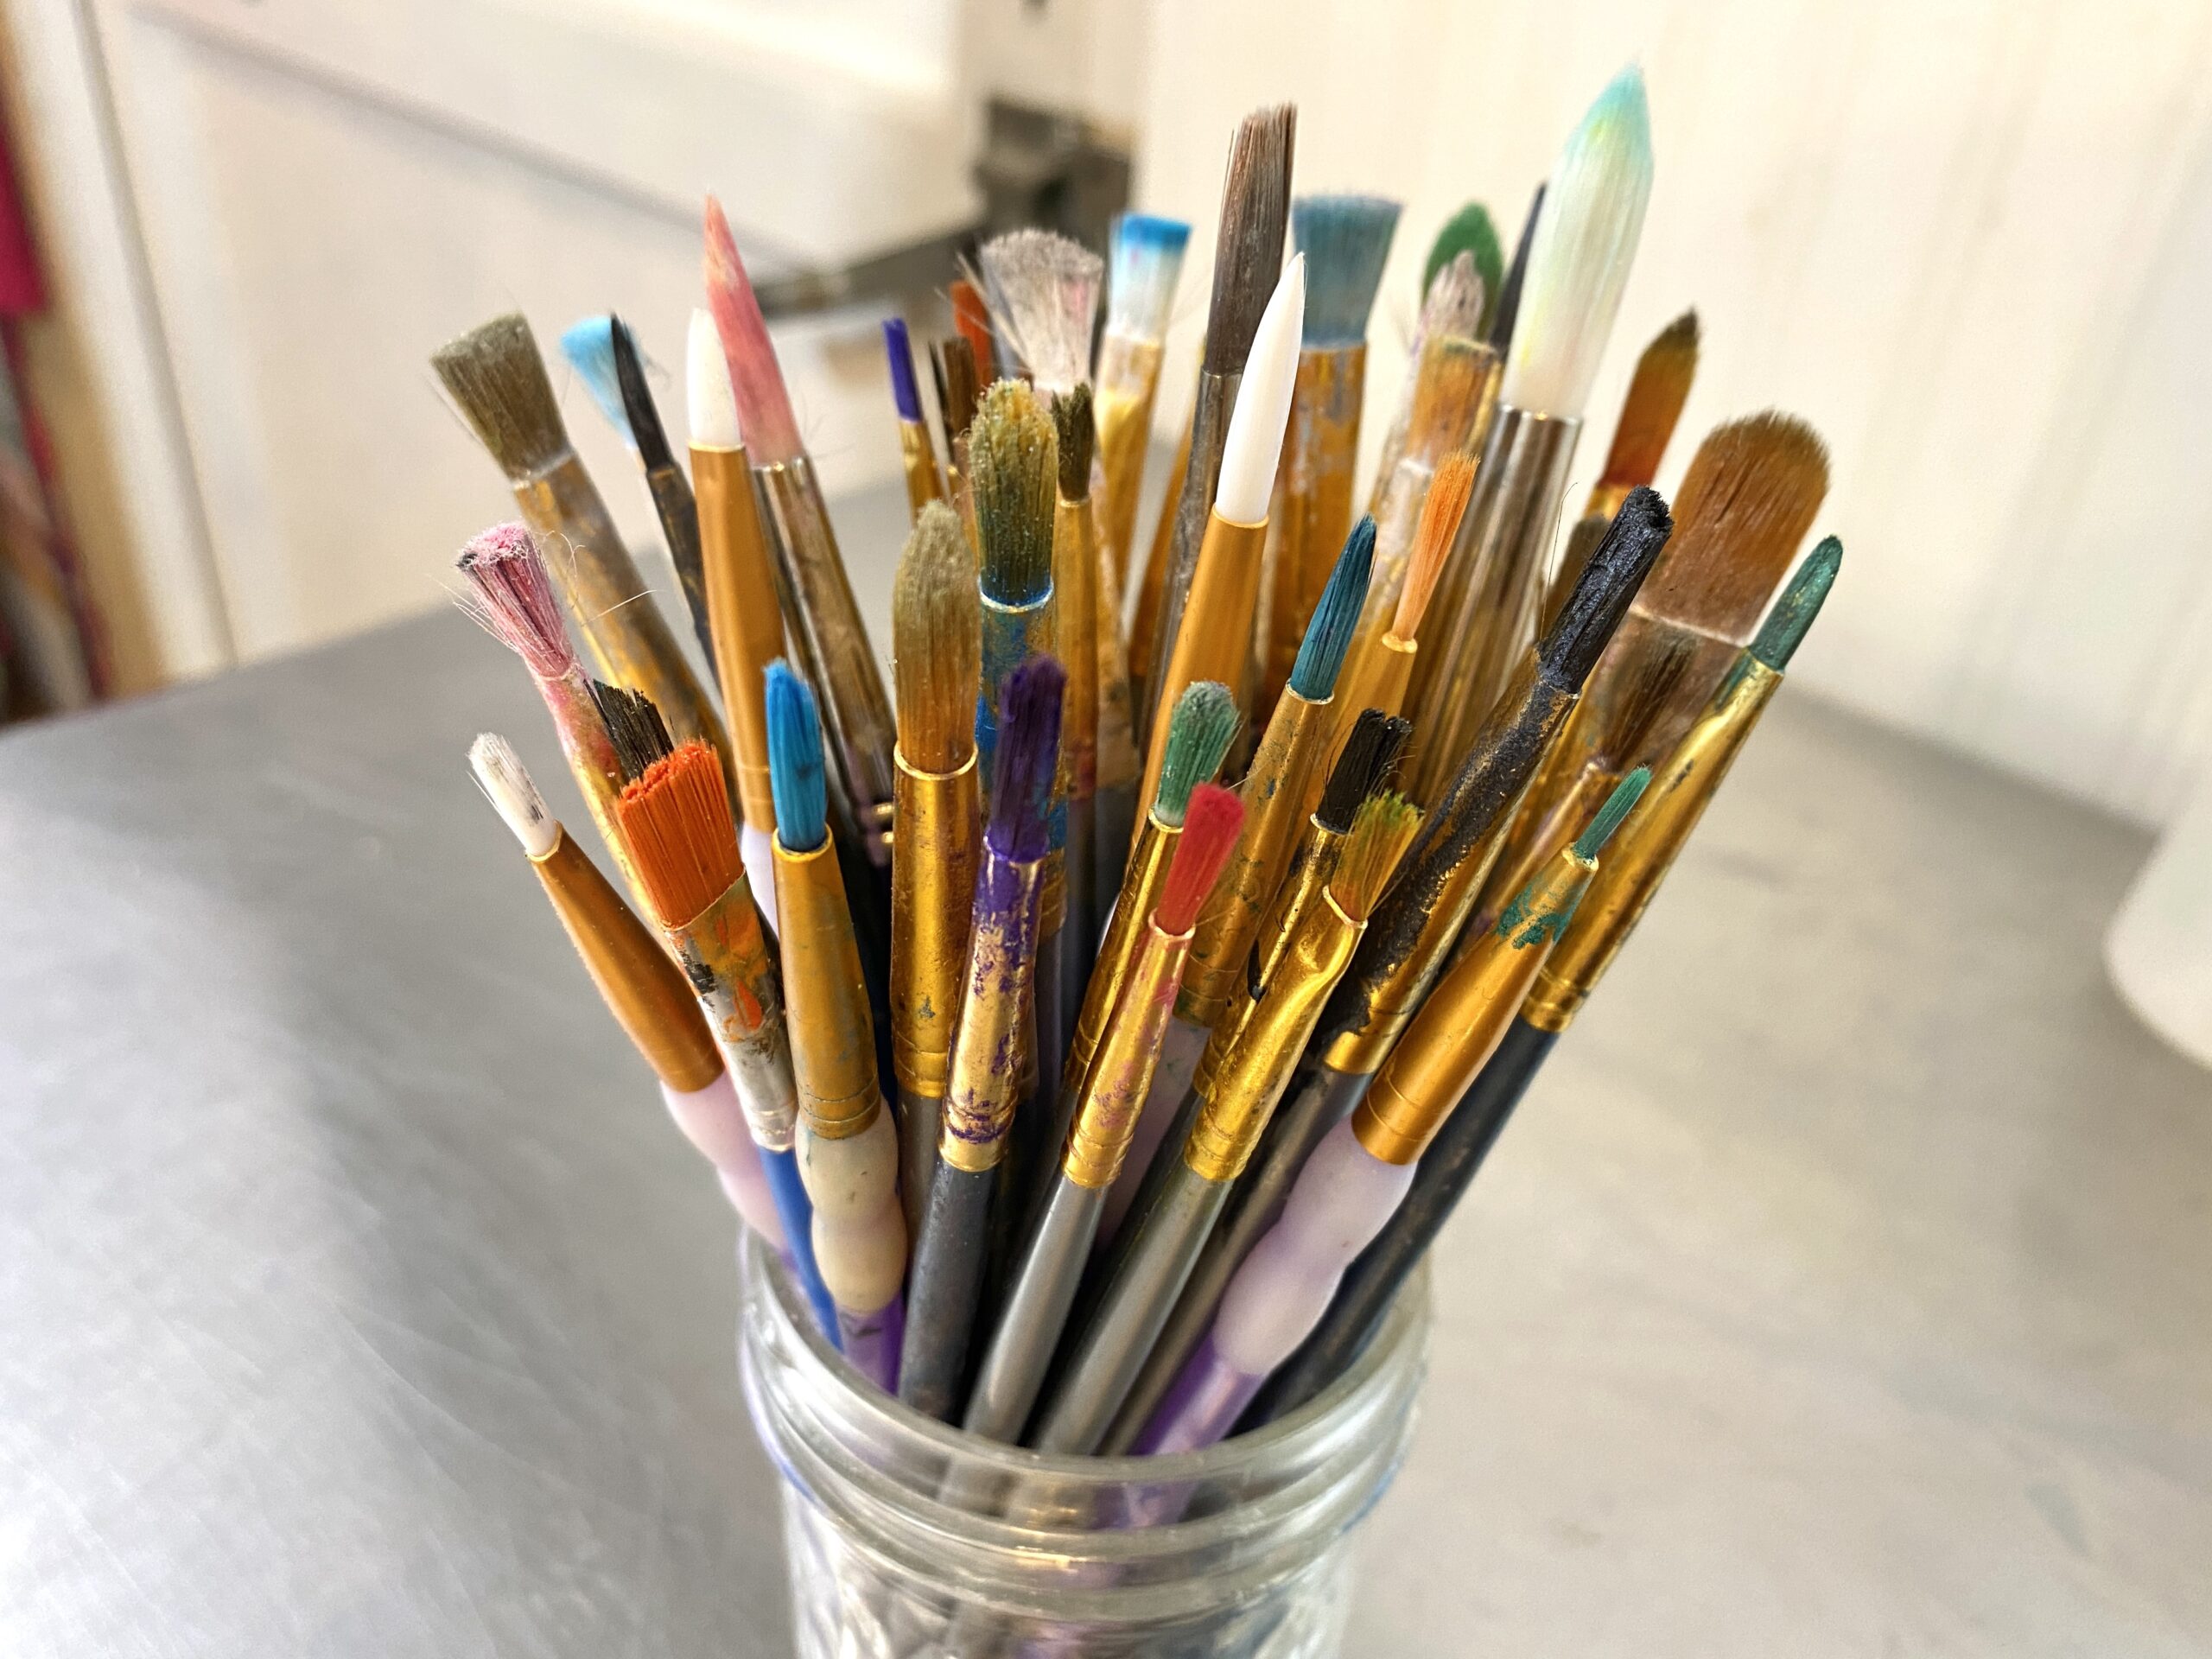
- Paint Brushes– these don’t have to be expensive! Look for a variety of shapes and sizes
- Mica– choose bath bomb safe micas! These will be marked as safe for use on lips! Avoid glitters and large micron size mica as these provide a spotty coverage
- Container– I’m a fan of silicone cupcake liners, but you can choose any small container you want!
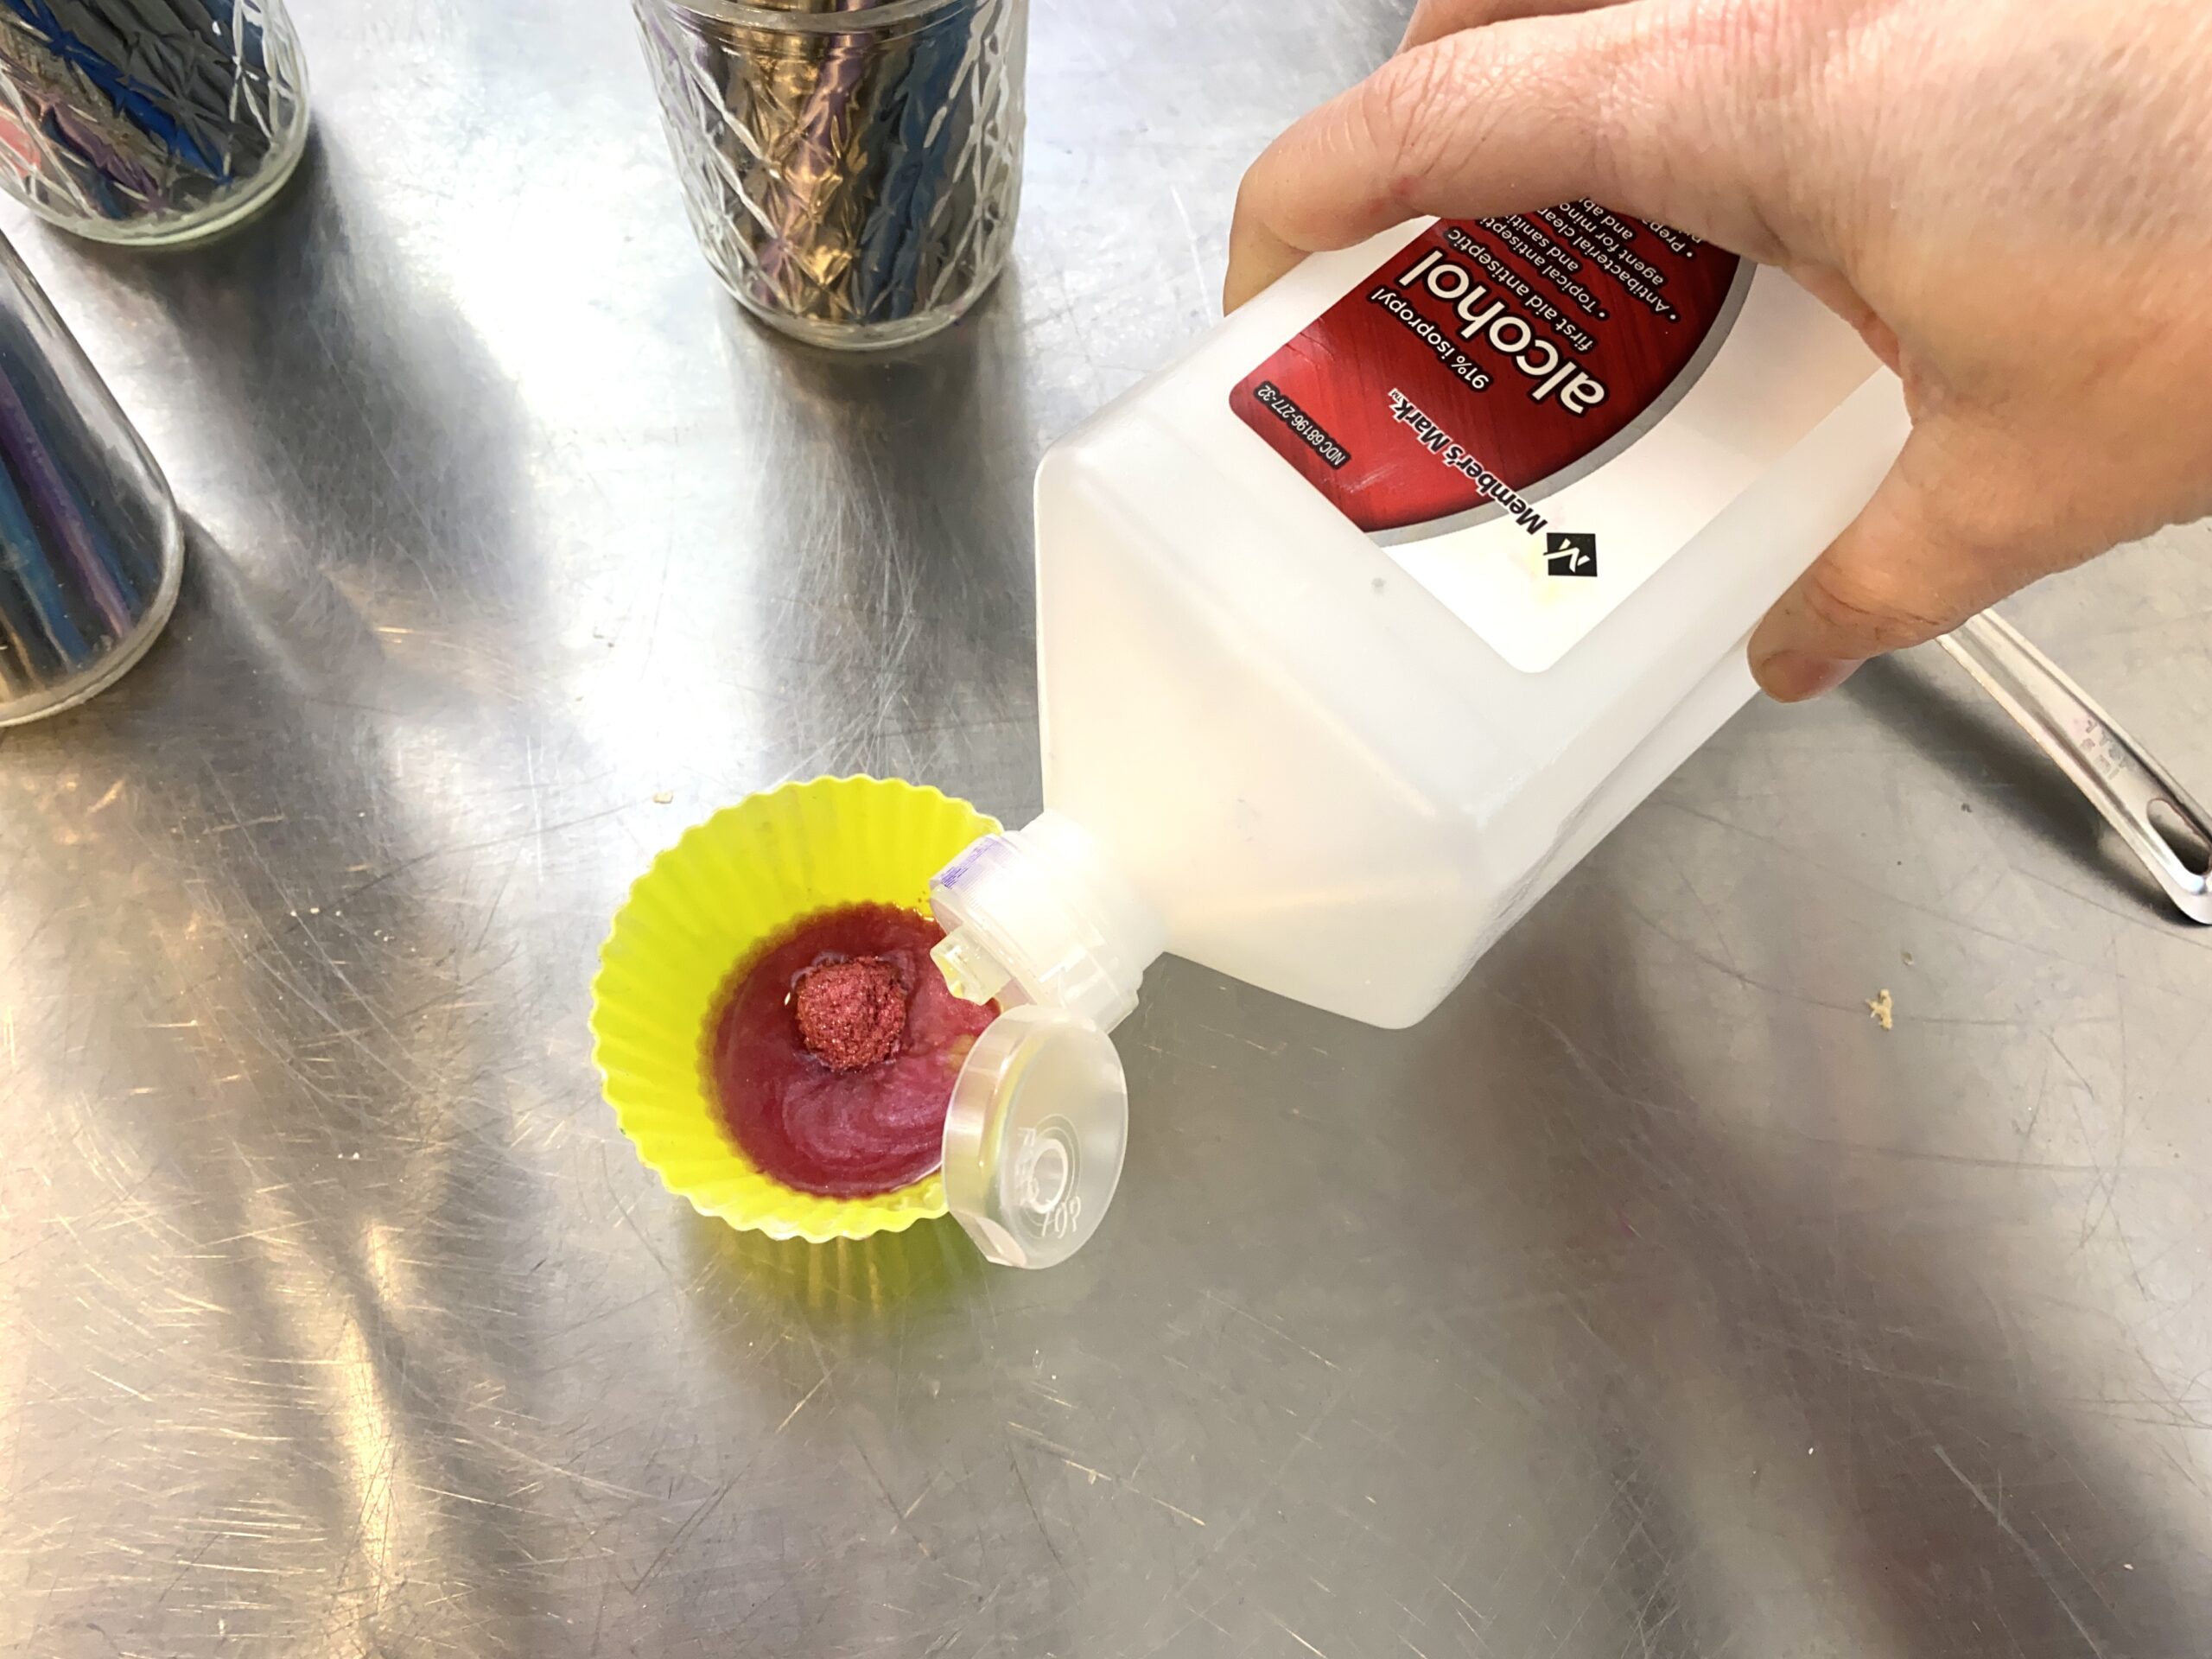
- Rubbing Alcohol– 91% isopropyl alcohol (or 99% also works it just evaporates faster!)
- Spray Bottle with rubbing alcohol to lightly spray the bath bombs! This helps the mica paint soak in quickly and evenly


Let’s do this!
- Make sure your bath bombs are at least 24 hours old! If you paint them any earlier then you run the risk of them activating!
- Take a small scoop of your mica and put it in your container
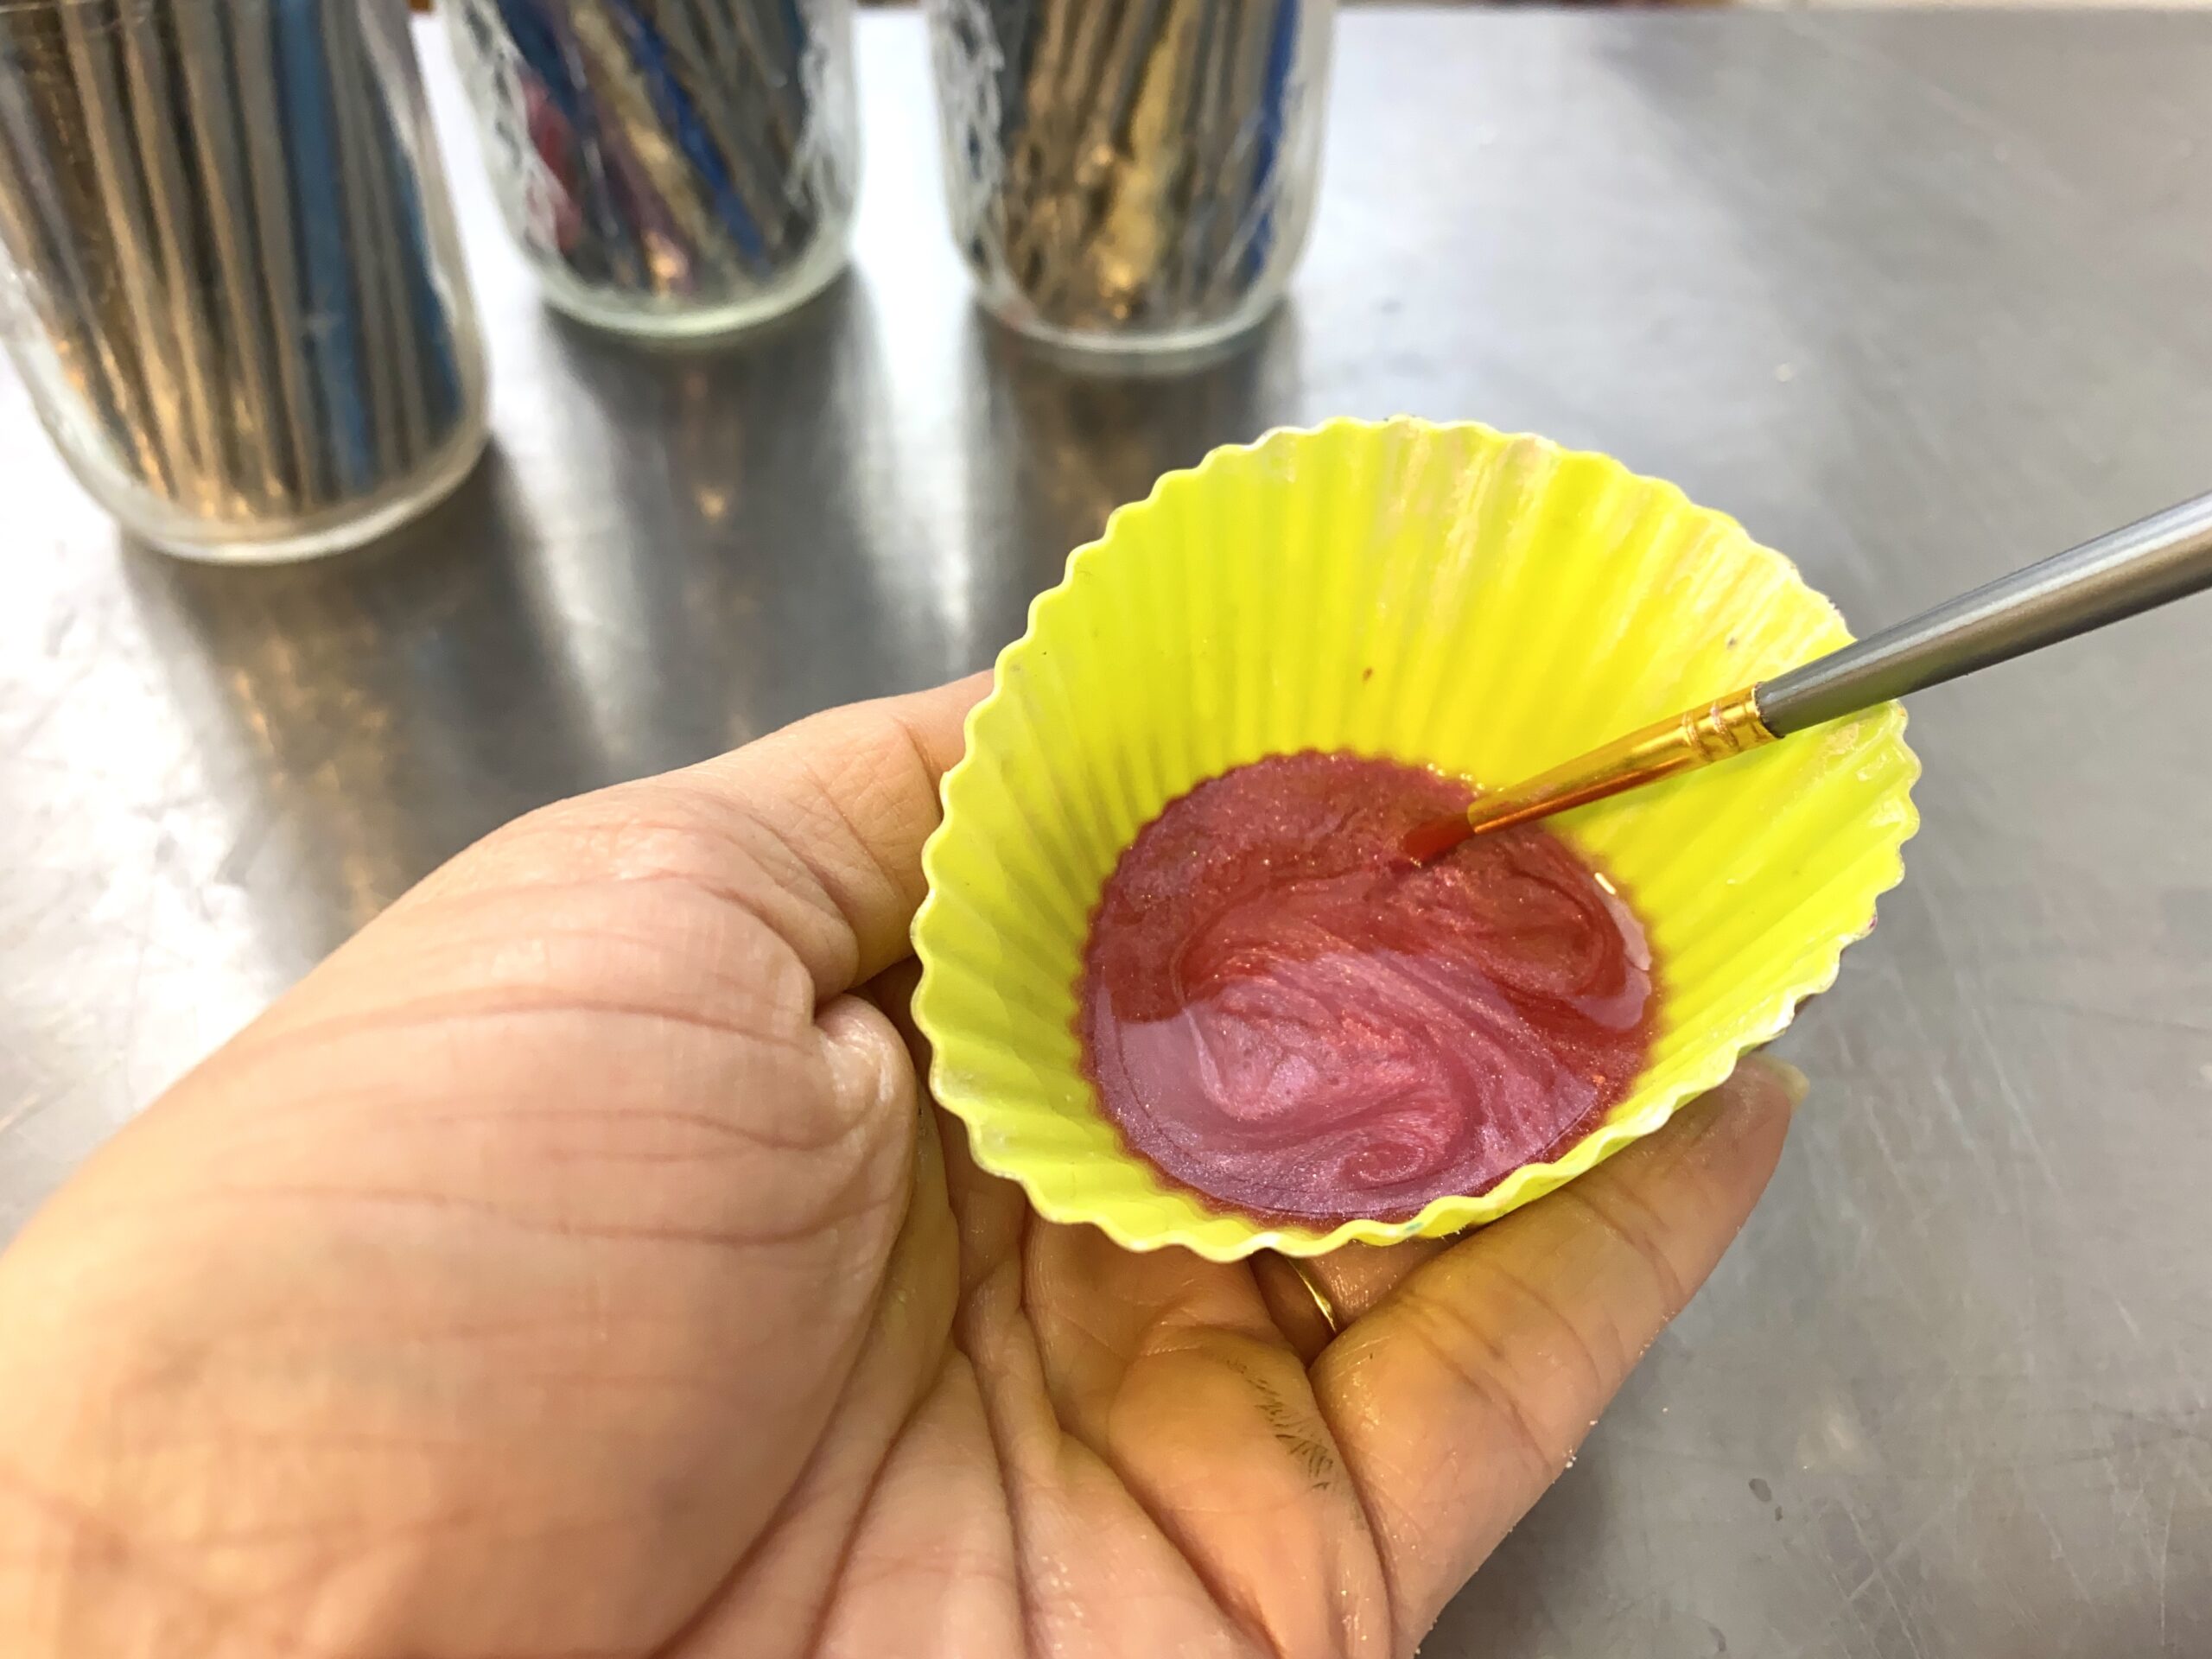
- Add a small amount of rubbing alcohol to the container and use your brush to stir the paint
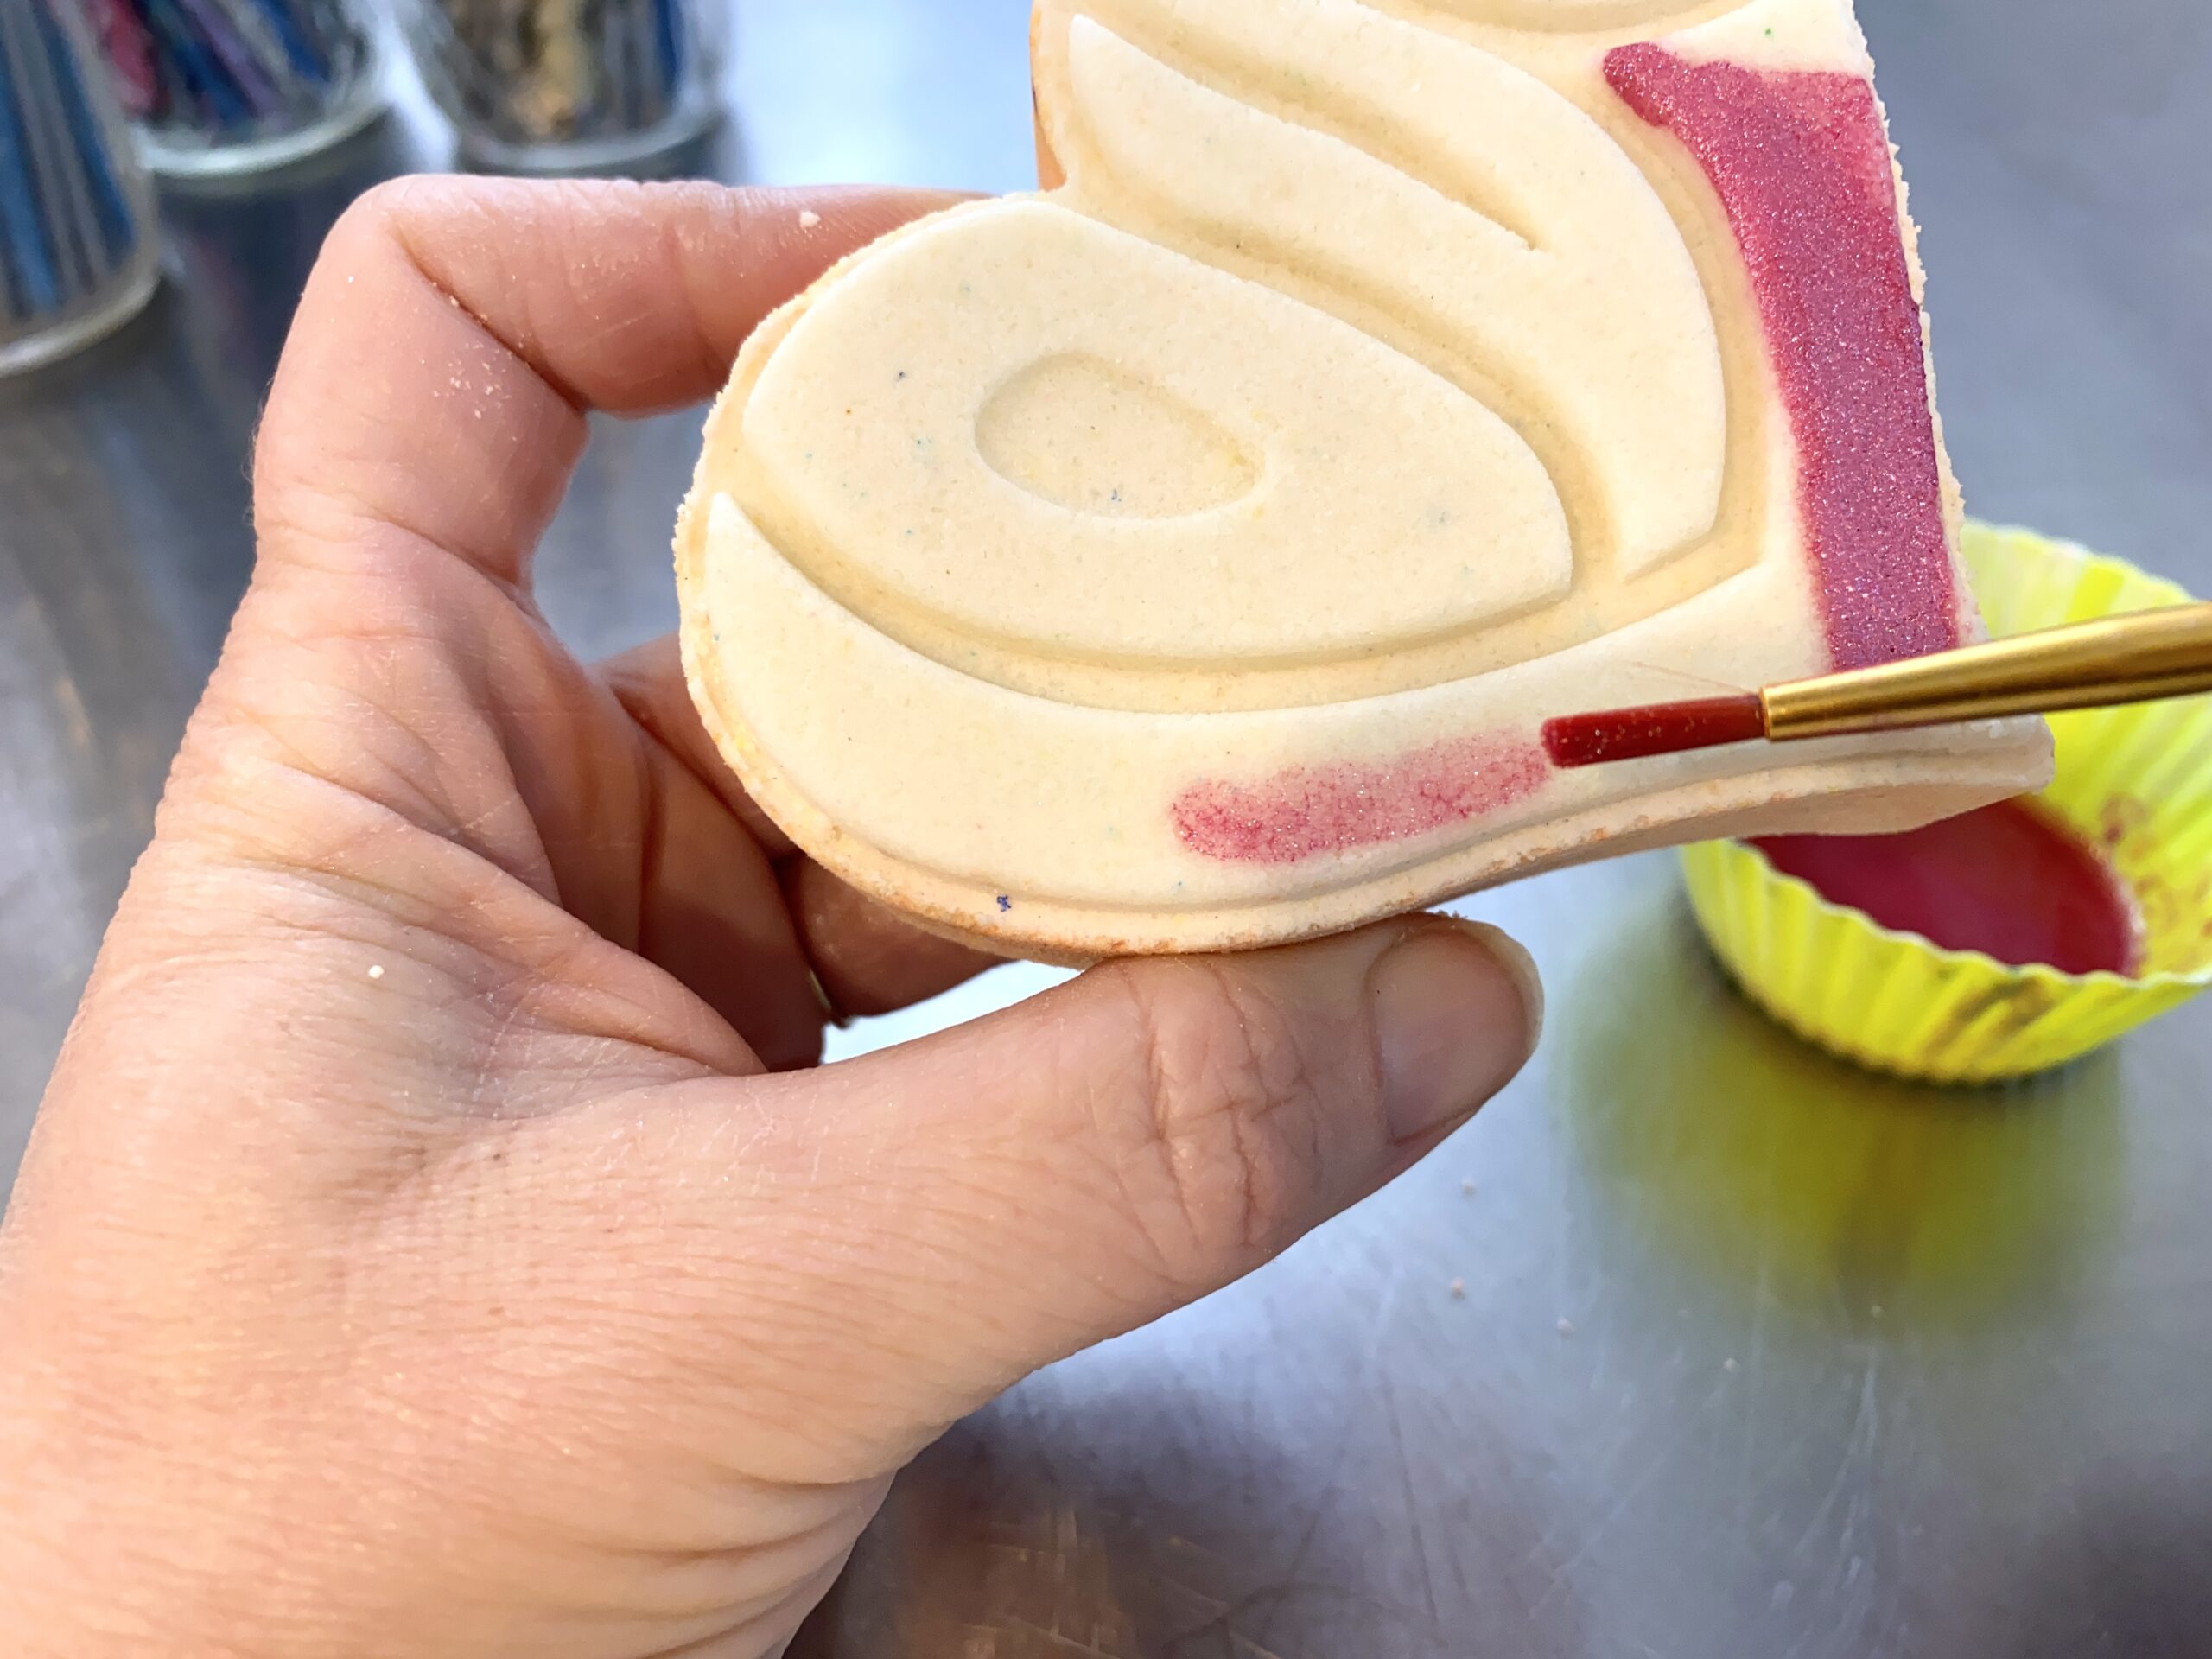
- When you’re ready, lightly spray the bath bomb with rubbing alchol then begin painting!
- If the paint is too thick, add a little extra rubbing alcohol to thin it out! If it’s too thin you can let the rubbing alcohol evaporate a bit, or add a little more mica!
- Make sure you stir your paint often as you go, since the mica will settle at the bottom over time!

Unfortunately there is no hard fast rule for how much mica and rubbing alcohol to use! Each mica will have a different consistency–for example, white micas tend to be thicker while black micas tend to be thinner even when used in the exact same amounts. Furthermore, the rubbing alcohol will gradually evaporate as you paint, meaning you’ll need to keep topping off your paint as you go!
Instead look for a mix that swirls when you run your brush through it, but doesn’t clump up on the bristles. If the mica paint is too thin, then the coverage will be spotty and weak. If the coverage is too thick, then the mica paint will build up on the surface of the bath bomb and get smeared when it’s wrapped. if you’re at all nervous about this, then try painting on broken or old bath bombs first. They can be a great canvas for practicing on!
When You’re Done…
When you’re done painting, allow the painted bath bombs to dry at least 24 hours before wrapping to help prevent smearing. If you notice the paint smears try letting them dry longer or next time make sure you work with thinner paint!
Painting bath bombs might seem like it will take years to master. If you’re interested in an in depth look at painting, you might consider joining our Patreon. As a way to say thank you to our amazing supporters, each month we do a deep dive into a topic that is relevant to handmade cosmetic makers. From planning projects, to understanding business branding, our subscribers have access to my day to day processes, successes, failures and behind the scenes action, and we’d love to see you there!
Here’s a link so you can find out more! if you’re not ready to take that step, then you could always join the Bath Fizz & Foam Facebook Support Group which is free and full of helpful, considerate, and friendly makers who constantly amaze me with their kindness and willingness to give advice! It’s a great place to learn how to be a Happy Maker!
I’ve learned so much from you and the others on this site.
Love your site and NEED this mold for a teen class! Where can I purchase?