In this article, we’re going to talk about how to make your bath bombs float! This is probably one of the most asked questions that Robyn and I get in our group and during our bootcamps. We have people that have purchased Robyn’s Humid Weather Bath Bomb Recipe and immediately ask if they float.
Let’s talk about it!
First of all…I want to just say…bath bombs don’t have to float! Just because your bath bombs sink, doesn’t make them a fail. Floating is a matter of preference for some makers because it does look cool and can disperse color/embeds in a more pleasing way than if they simply sink. So, if you want your bath bombs to float, here are some things to try!
RECIPE/INGREDIENTS
Most people assume that ingredients and recipes are what make a floating bath bomb. Although ingredients do play a role, it is a minor one. Floating is more about the packing of your bath bomb, which we’ll talk about in just a bit.
Some websites claim that surfactants (SLSa or even a liquid surfactant) make bath bombs float because of the foam that they create; but I’ve experience mixed results with that. Some do and some don’t.
You can also focus on ingredients that are less dense than water. Here is the density of water and various ingredients. Please note that densities can vary based on temperatures and other factors. But this gives you a good idea. SLSa varied greatly in it’s density, so I just used the average of what I found.
- Water density = .999 g/cm³
- Baking soda density = 2.2 g/cm³
- Cornstarch density = .54 g/cm³
- Citric acid density = 1.66 g/cm³
- Cream of tarter density = 1.05 g/cm³
- Kaolin clay density = 2.65 g/cm³
- Cocoa butter density = .94 g/cm³
- SLSa density = 1.09 g/cm³
You can google your ingredients and density if you use other ingredients not listed.
The idea here, is to formulate using ingredients that are less dense than water, so that they have a better chance of floating.
Here’s the thing. This isn’t fool proof. Most of the ingredients are more dense than water (especially baking soda and citric acid), so based on that, all bombs should sink, right?
But they don’t! You have to take into account your binder, evaporation and the air/space inside of your bombs that work together to create buoyancy (the ability to float on water).
Based on my experience (and other experienced bath bomb makers have said the same) it comes down to two other things over ingredients.
- Drying your bombs.
- Packing your bombs.
DRYING YOUR BATH BOMBS
I’ve noticed (and I know that Robyn has as well) that you have to dry your bath bombs for them to float! Again, this has to do with buoyancy. You want any water or liquid to evaporate first. If you don’t, that liquid is going to weigh down your bombs and not allow little air pockets or micro spaces between your ingredients to fill with air to give your bombs buoyancy to float in water.
You simply can’t toss a bath bomb that you just made into water and expect it to float. Give your bath bombs plenty of time to dry before you test.
Drying time will vary based on your location and humidity, but usually bath bombs dry within 24-72 hours.
PACKING/MOLDING YOUR BOMBS
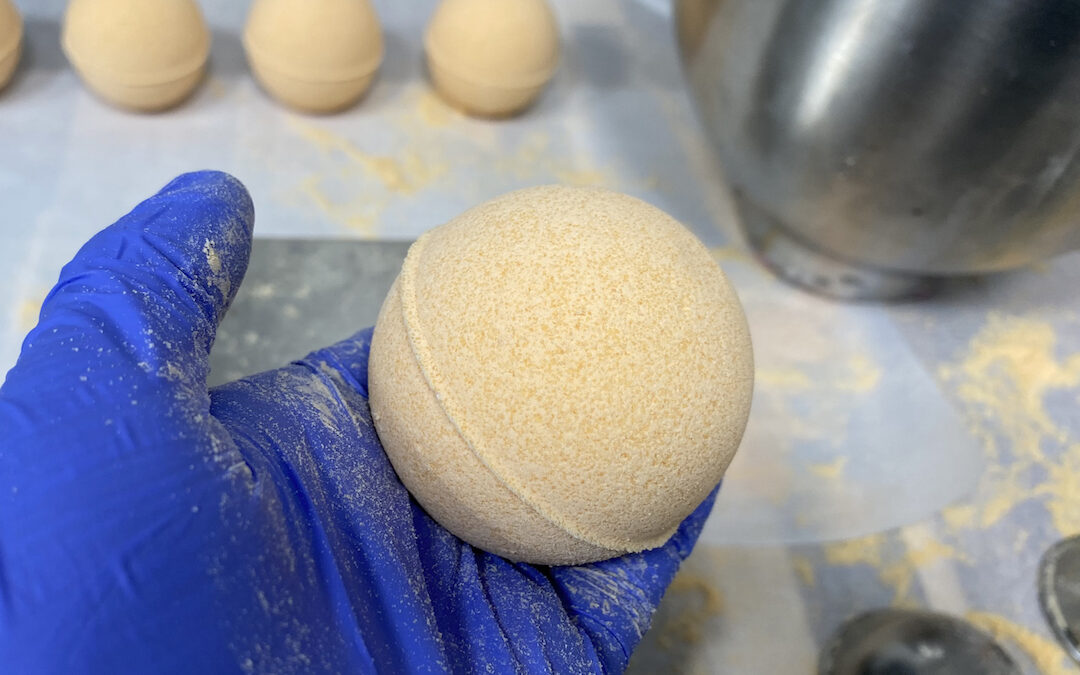
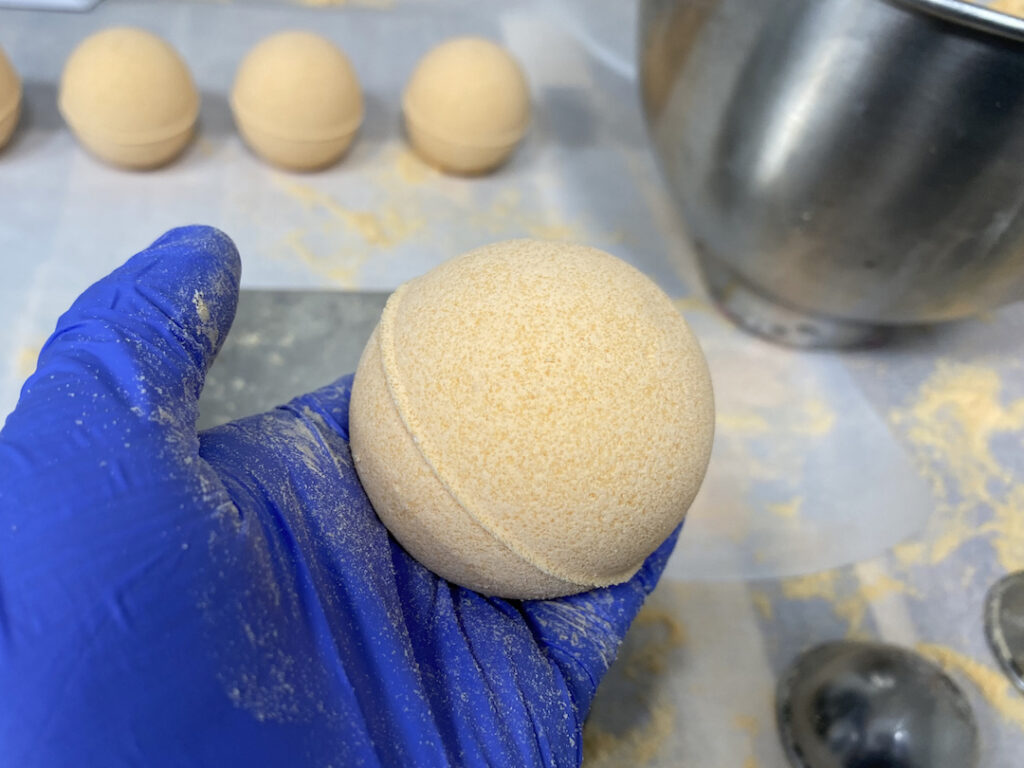
Okay, so this is where the magic happens! Loosely packing and molding your bath bombs gives you best chance for creating a bath bomb that will float.
The goal is to pack your bath bomb as loosely as you can, but enough to ensure that it stays together, in shape after you unmold! In doing so, you’re leaving more air in your mix (air=buoyancy) that creates a bomb that floats!
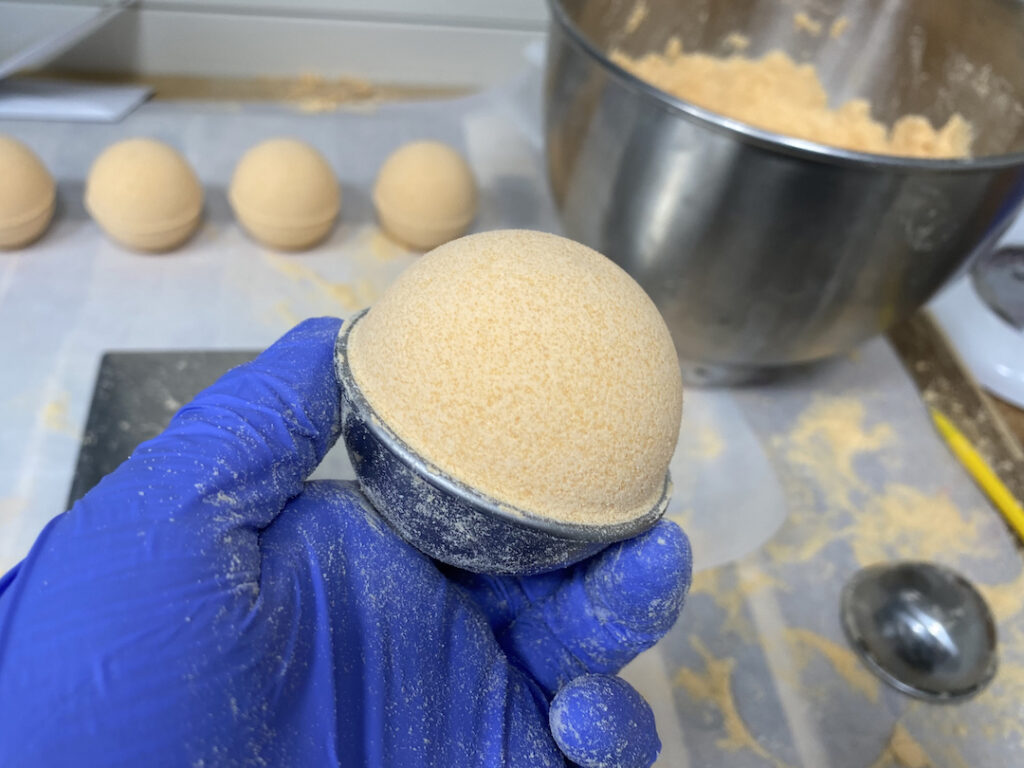
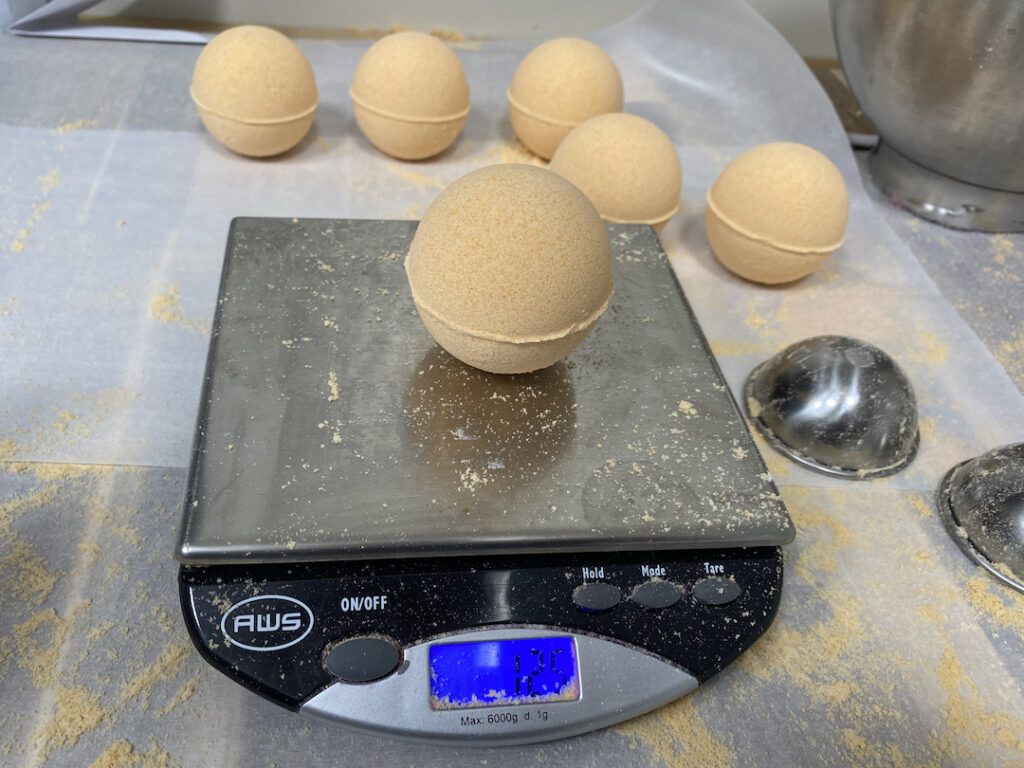
So when testing a new mold, I usually pack my mix, trying different amounts until I get it to unmold perfectly, and hold it’s shape. I make sure to weigh the mix. (To do this, place your mold on your scale and hit tare. Fill your mold and place it back onto your scale. This will tell you the weight of your mix.)
Then, I take 5-10 grams off of that weight. Make another bath bomb with this lesser amount. Does it still stay together? If it does, take off 2-5 more grams and try it again. If it doesn’t stay together, then bump your mixture’s weight back up. If it does stay together perfectly, see if you can bump even a little more off the weight.
It is all about packing your mold with the least amount of mix to where it still stays together when you unmold.
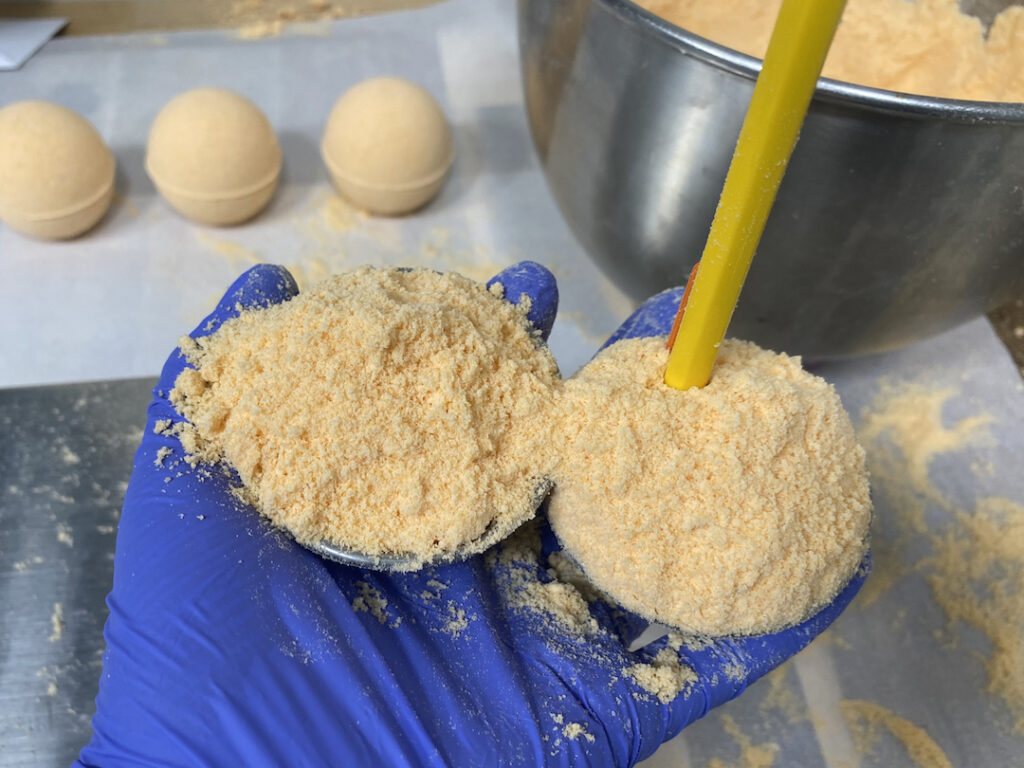
Here’s another trick when packing…you can intentionally create little air pockets in your bombs by poking a skewer or pencil into it when molding. Here is how I do it with rounds!
Step 1: Loosely fill each side of your round bath bomb. Do not pack! Overfill slightly.

Step 2: Take a pencil, skewer or something similar, and poke holes into each side.
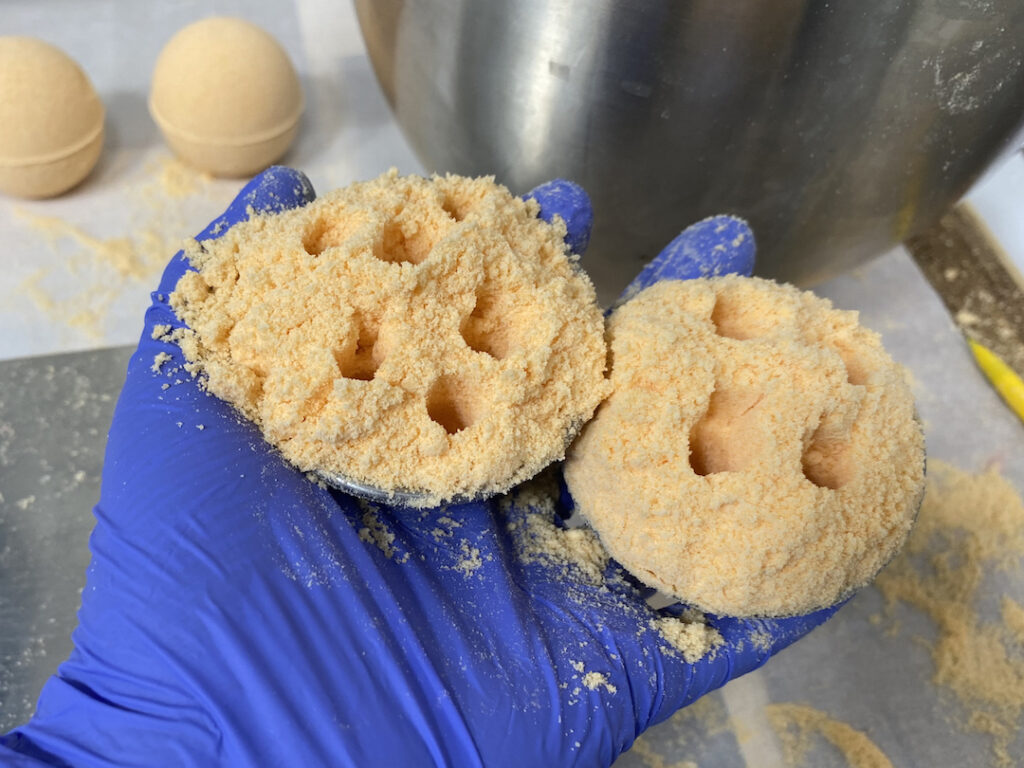
NOTE: I used a pencil and that was pushing it! If you have too many holes, or too big of holes, then your bath bomb might cave in after unmolding. These were fine…but I was pushing it! Ha!
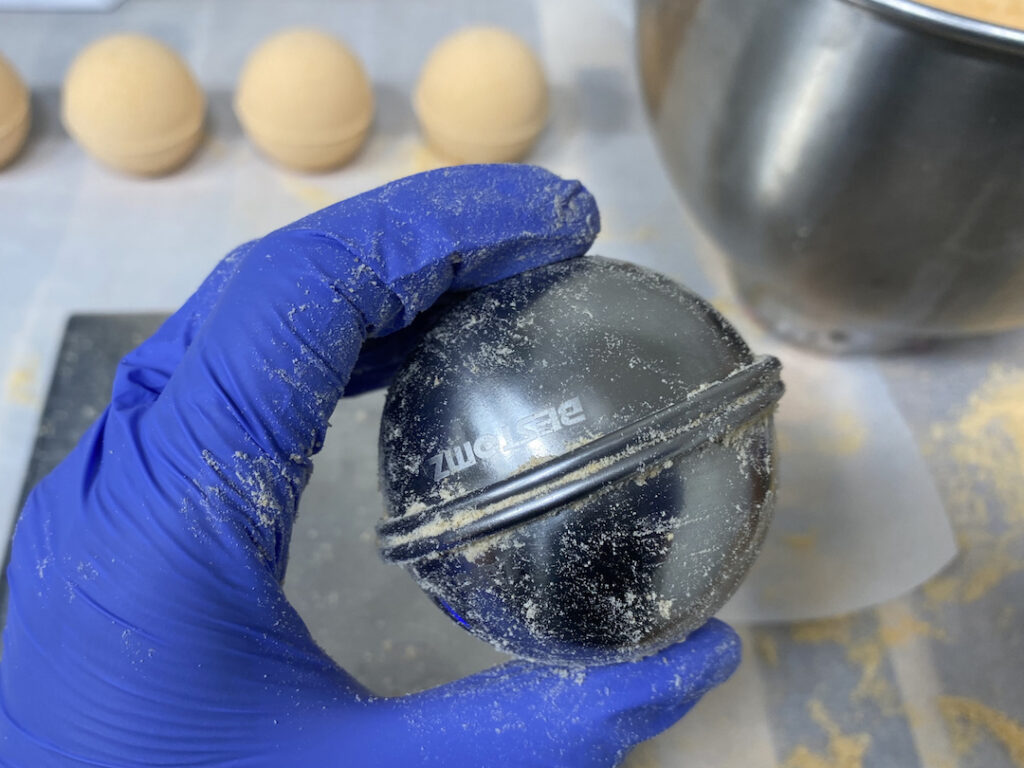
Step 3: Press your sides together and mold/unmold as usual!
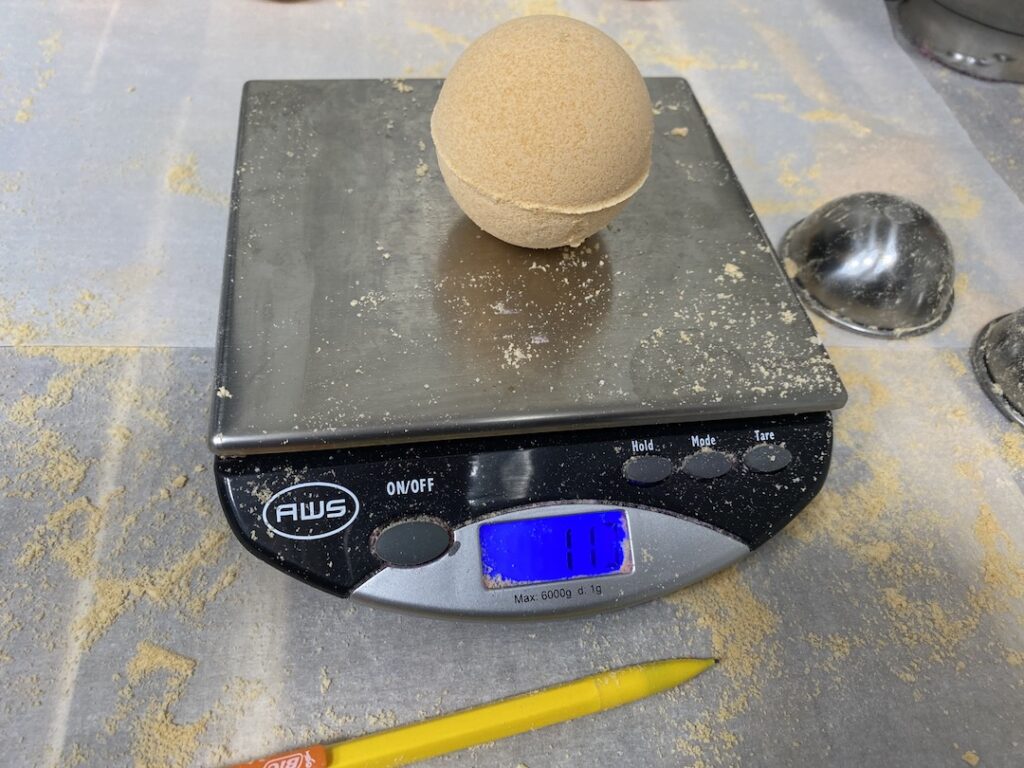
I made a few with air pockets and a few without, just to do a side by side test. I weighed them first to see the difference in weight.
With pockets weighed about 113 grams and without weighed about 125 grams. 12 grams is quite a difference! I used the same mold so they were the same size. You can see how much more air is in the one with air pockets.
So, let’s test them out! I did a side by side in my sink. Granted, it is a bit hard to see what is going on but I reached down to the no air pockets bomb and it was sitting on the bottom of the sink and I poked at the air pockets bomb and it was floating!
Air pockets bomb is on the right. It is floating at the surface and is releasing a nice show of foam and color (granted my bombs were very lightly colored).
No air pockets bomb is on the left. It sunk! It appears to be sticking out of the water more but that is just the water being pushed up by the fizzing action! It isn’t the bomb!
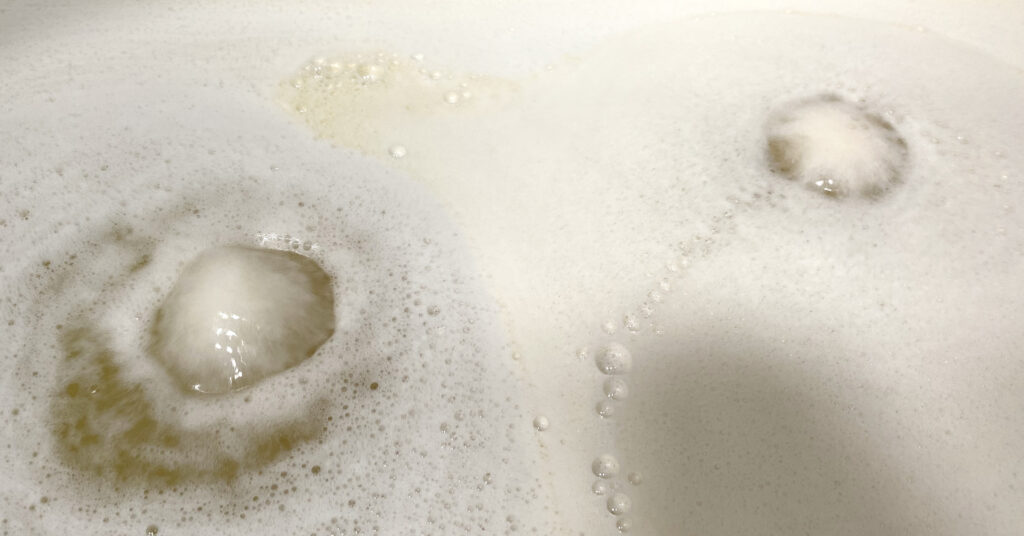
What you can see in the picture above (and I’m kicking myself for making such a boring bath bomb) is that the foam and color (what little I used, darn-it!) is coming off of the floating bomb more evenly and thicker.It is spreading nicely on the surface of the water. It doesn’t have to push color and foam from beneath the water like the sinker, so the show payoff is nicer! Now imagine that with embeds shooting off bright colors…ahhhhh! Perfection!
So, is a bath bomb that sinks a fail?!? Heck no! But hopefully these tips will help you create a floater if that is what you’re wanting!
Below are some beautiful floaters by Robyn!


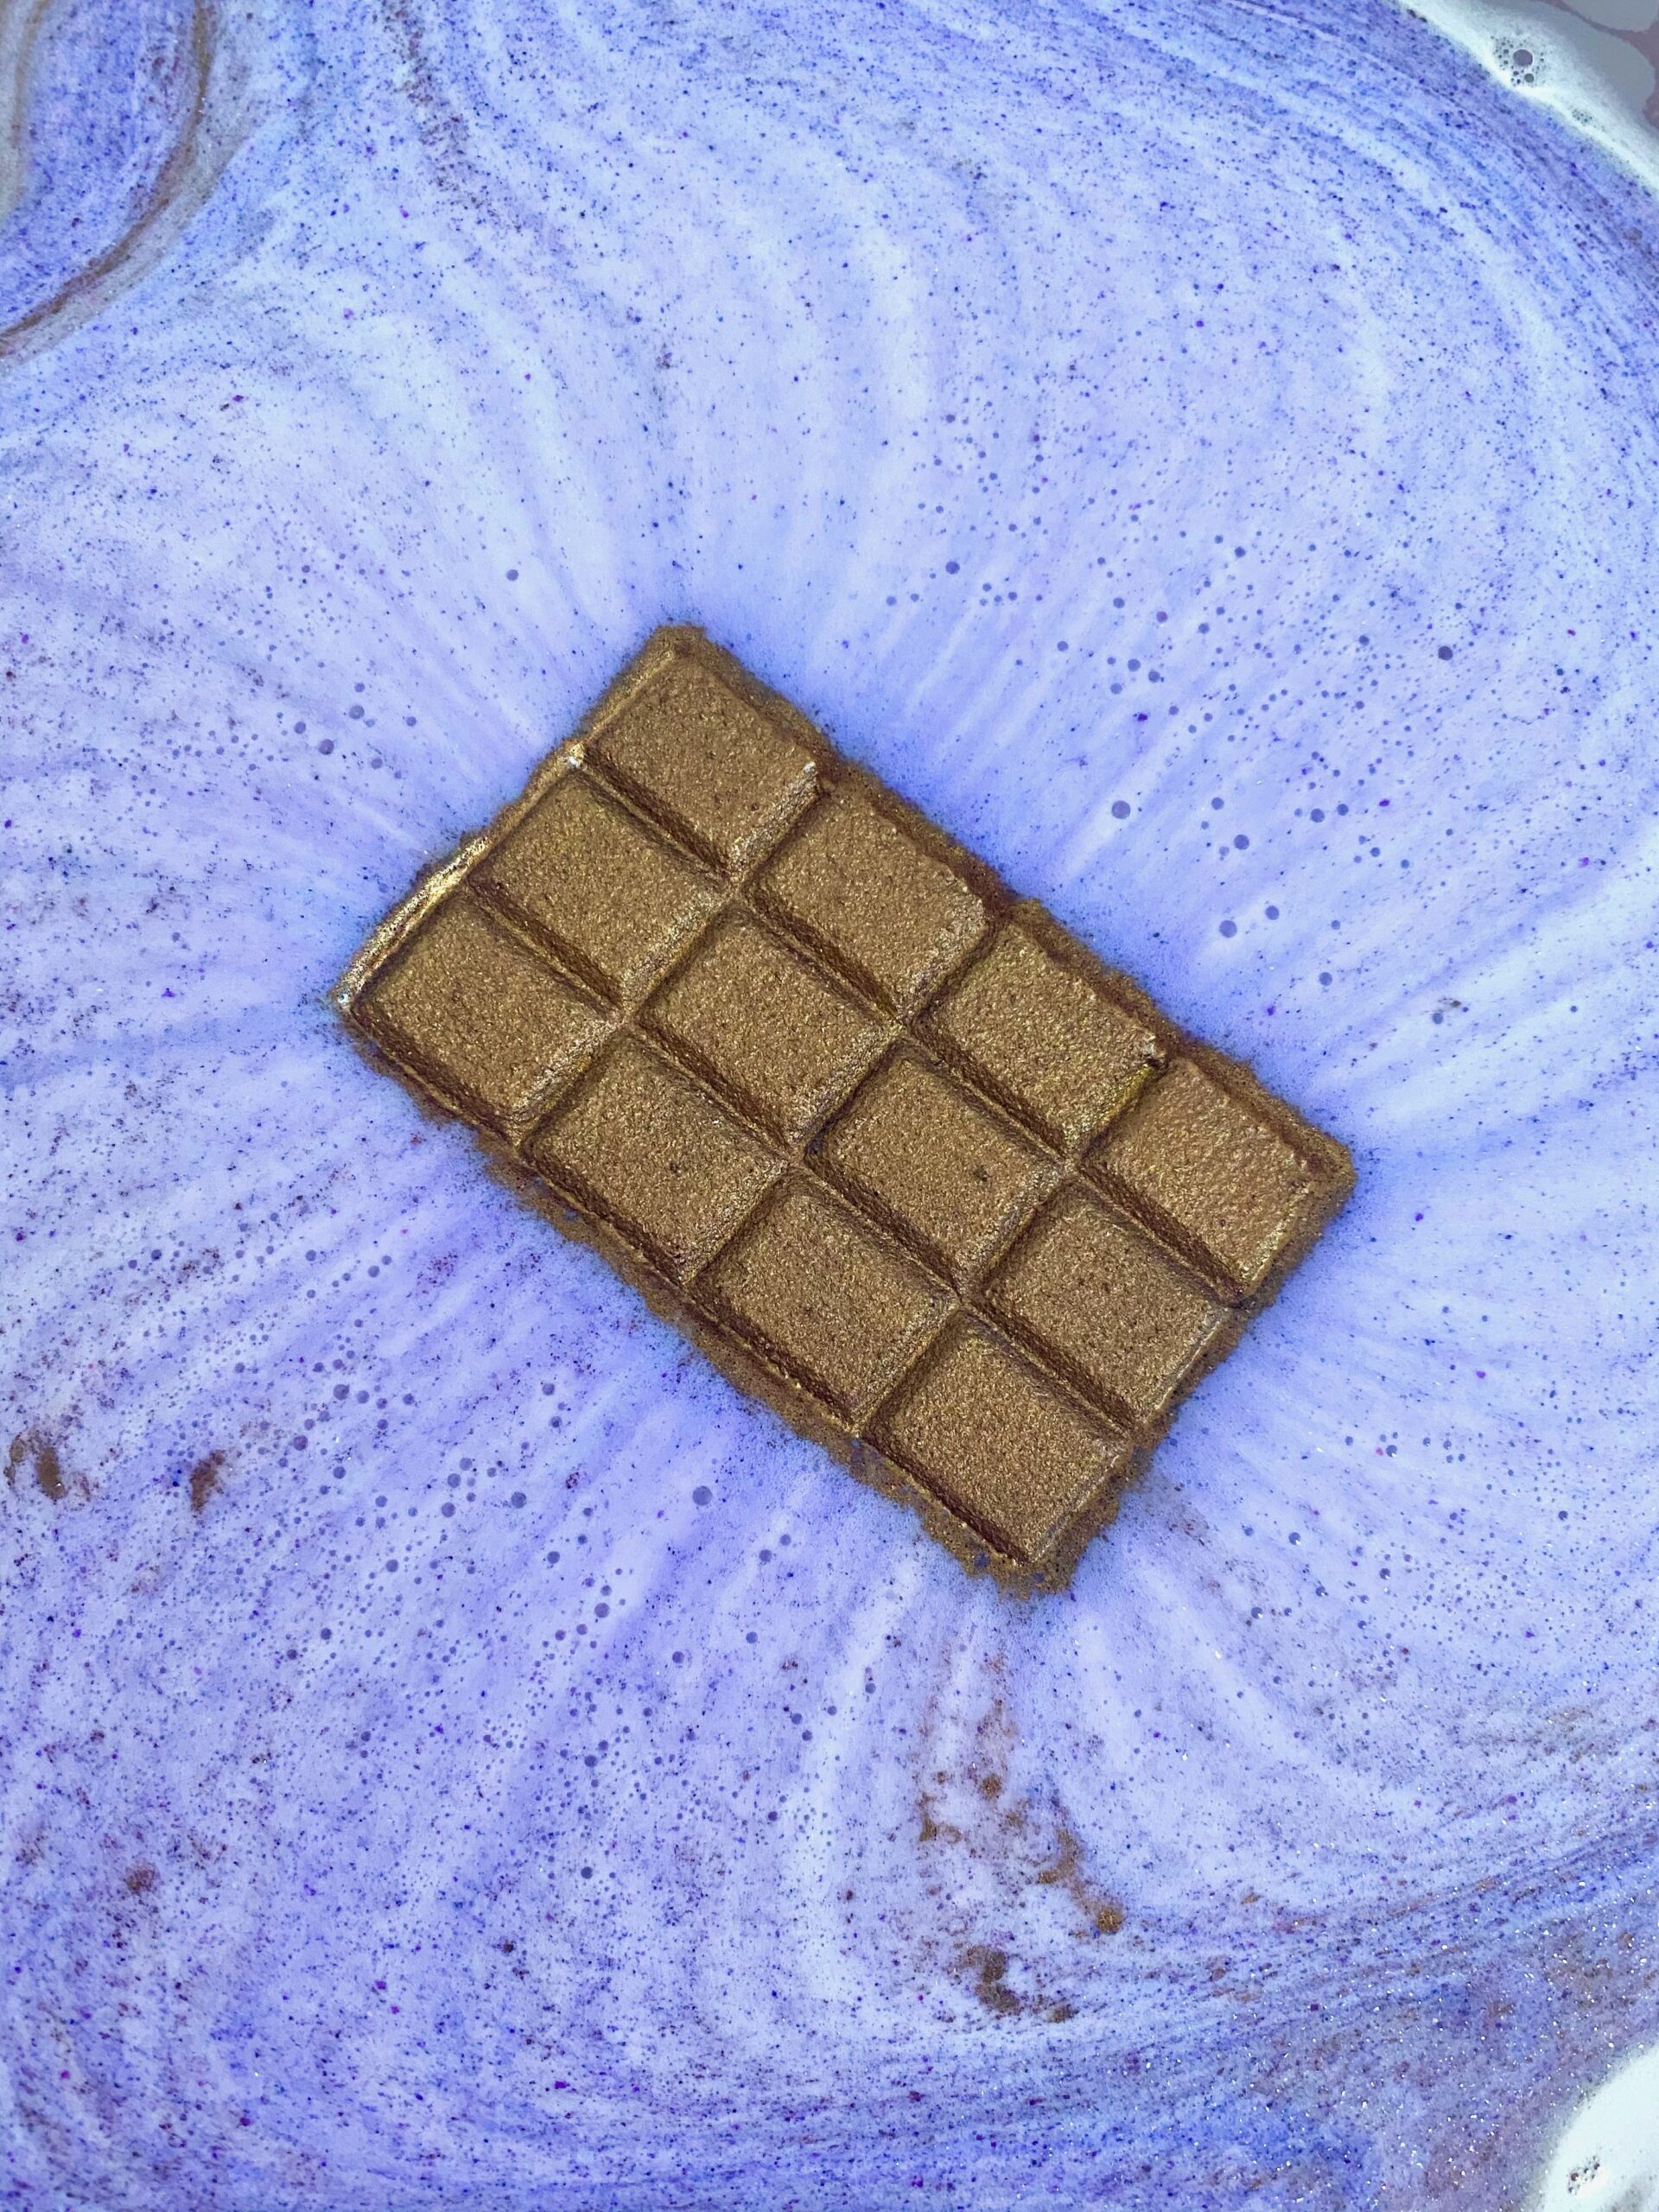
Do you want a nice mix of fizz and foam? Check out Robyn’s Humid Weather Bath Bomb Recipe!
Happy Bath Bomb Making!
-Amanda
Hello,
I’m interested in a recipe for “Guide to Floating Bath Bombs”, you have something like that
Thank you
Marian B
I would love to use this info in a post on my blog, with your consent and all permissions etc to you guys
Thank you
Hello,
You have a recipe for whipped cream cakes. Cream should not be made of soap. A whipped cream that dissolves like a bath bomb.
Waiting for your answer