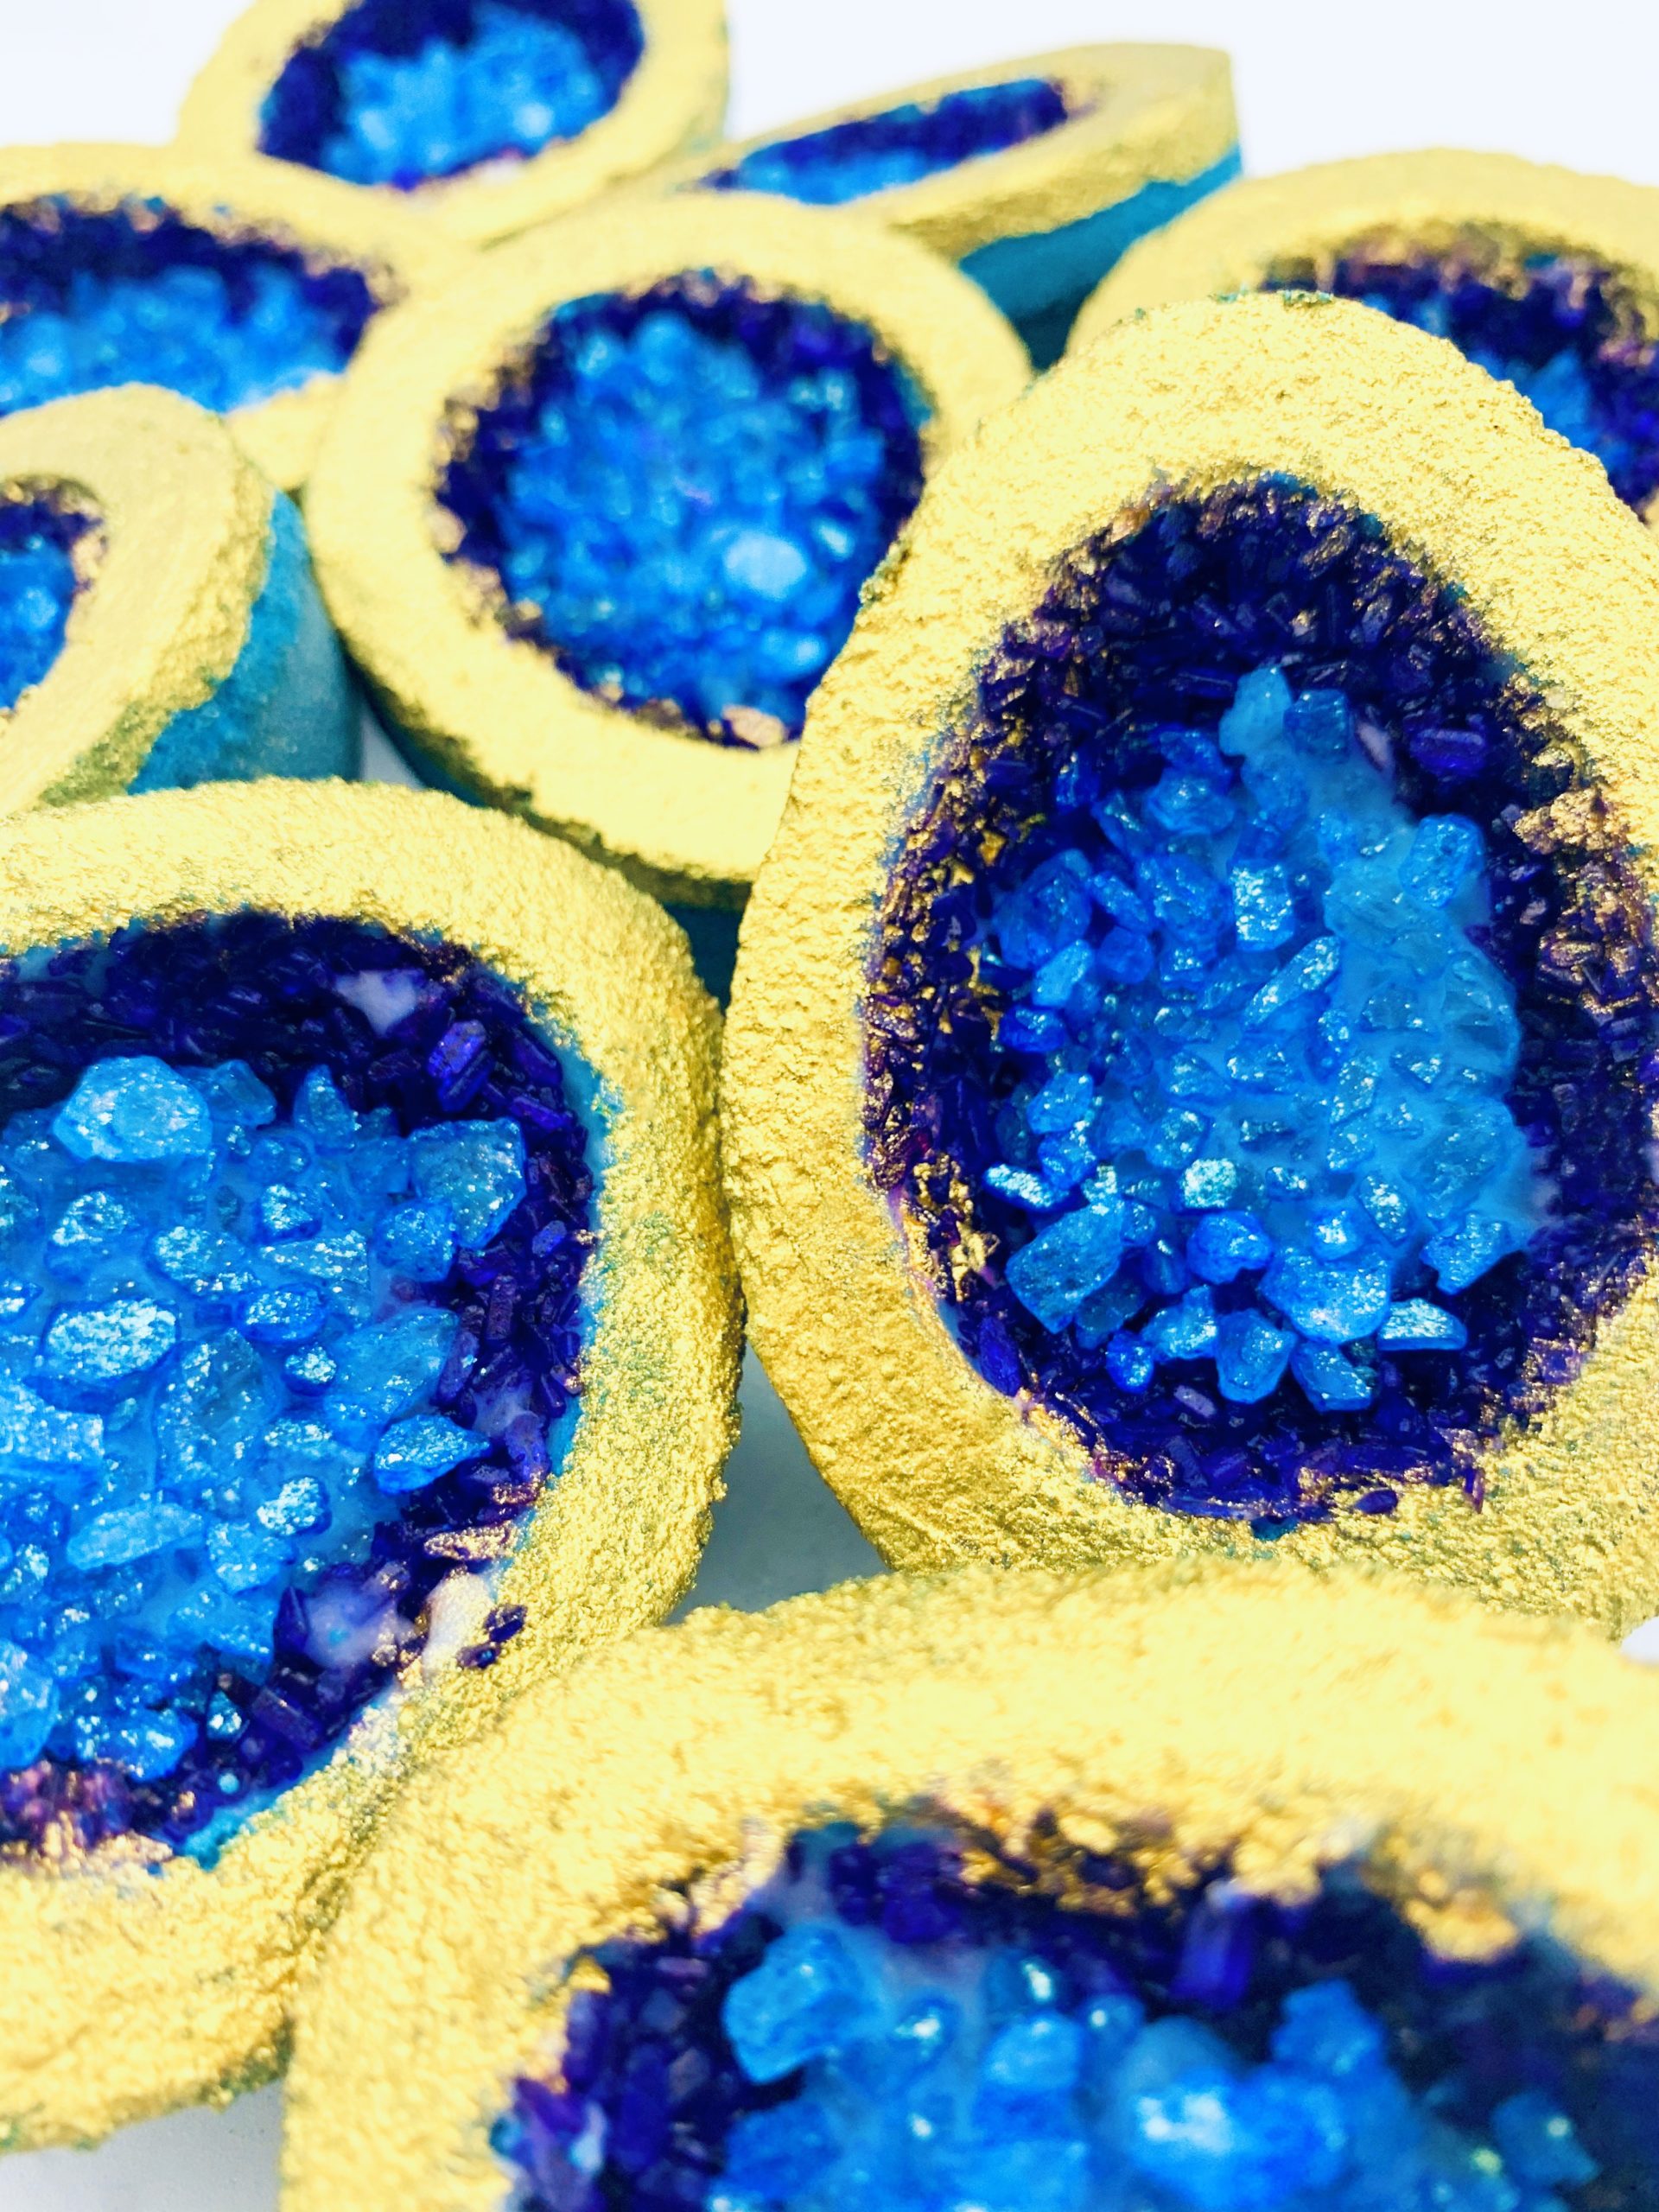
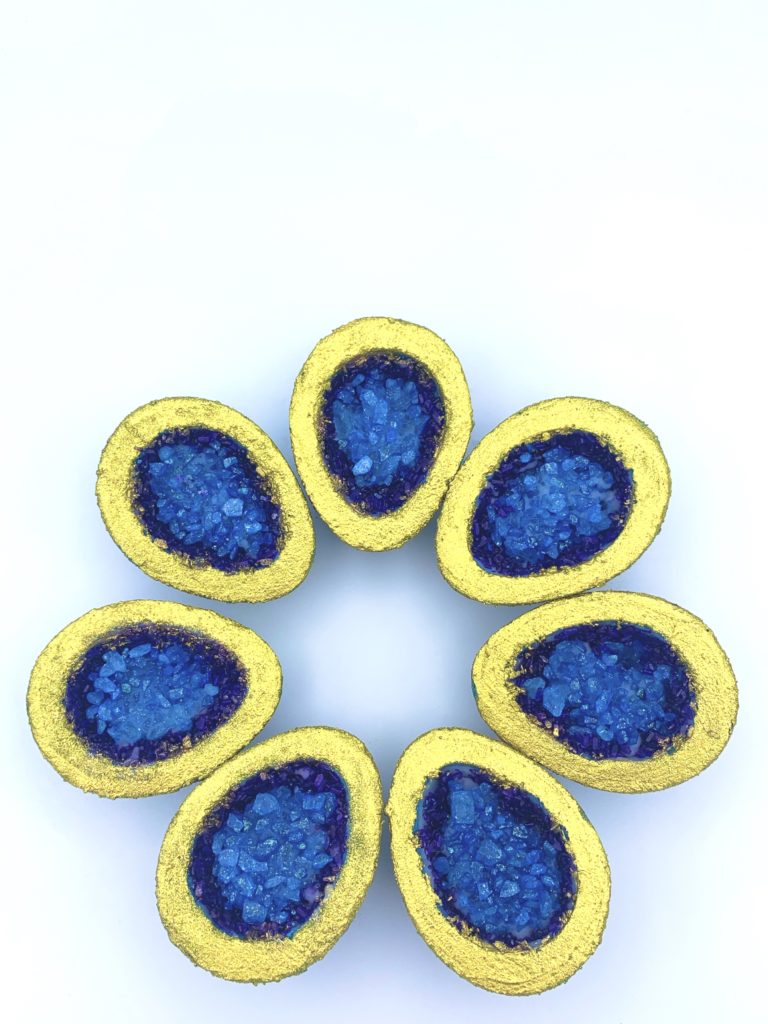
Continuing on the pursuit of amazing and unique geode bath bombs this week, I decided to try to make a geode egg! My original idea was that I would glue the two halves of the egg bath bombs together and customers could crack them and see the crystals inside. Once I actually made them though, I was happier with leaving them open so customers could see how cool the design looked.
These were designed using a 3D mold from Chunkadust. This egg geode mold is super affordable and a great option for someone looking to start a 3D mold collection. While Chunkadust has an Etsy site, I originally bought one of her 3D whole egg molds from a destash group last year and was very impressed with the design and quality. I didn’t know who had made it, so when I stumbled on them again I was really excited. They are a new little shop and just starting out, but have several different geode styles to choose from and are very affordable. If you want to check them out there will be a link at the end of this article!
The cool thing about geode molds is that you have a nice strong bath bomb that’s firmly pressed and you don’t have to worry about it being too fragile and breaking! I also like that this particular mold is a 3 piece and not a 2 piece set. The Cada mold I used for the Heart geode really required a delicate balance to nail down. With this 3 piece geode mold, the shell allows you to make the lip, or the area around the edge, thicker or thinner, and is probably easier for a beginner (or butterfingered pro like I am on occasion) to manage!
MAKING THE BATH BOMBS:
Amanda has a great basic recipe for making bath bombs and you can find that here, or use your own favorite recipe!
Bath Bomb Ingredients For Amanda’s Recipe:
- Baking Soda
- Citric Acid
- Cream of Tartar
- Kaolin Clay
- Corn Starch, Tapioca Starch or Arrowroot Powder
- Avocado Oil
- Polysorbate 80
- Fragrance Oil
- Color
- Mixing bowl
- Measuring cups/spoons or digital scale
- Hand mixer
- Spatula
- Mold
- Face mask, gloves and hair net
- Spray bottle with binder
Many people use pre-mixed Lakes and dyes to get custom colors, but I like mixing my own! To make this gorgeous Teal color with Lakes, I used a 8:1 ratio of Blue 1:Yellow 6 which translated to 1 tsp of Blue 1 and ⅛ tsp of Yellow 6 for a batch that makes 12 full sized bath bombs (6.5 ounce). If your standard batch size is smaller, then start with less colorant at the beginning (you can always add more, but you can’t take it away!)
I like to get my lakes from (affiliate link) MakeYourOwn.buzz.
Making Bath Bombs:
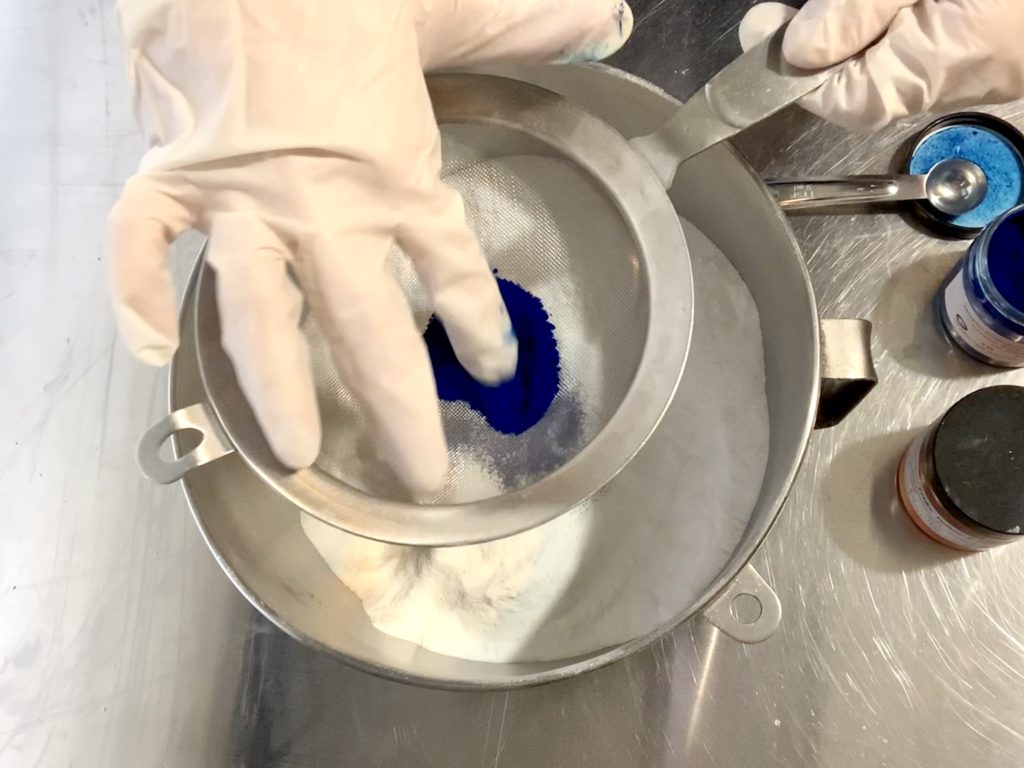
Step 1: Measure out dry ingredients–except Citric Acid–and thoroughly combine. It’s a good practice to sift your ingredients as you add them to your mixing bowl.

Step 2: Since this batch is a single color, now is a great point to add your Lake or Dye to your dry mix! If you’re using Dyes, you might have already bloomed them in baking soda. If not, incorporate 1-2 microscoops, according to your suppliers recommendations. If you’re using Lakes, press them through a very fine sieve and mix into dry ingredients.
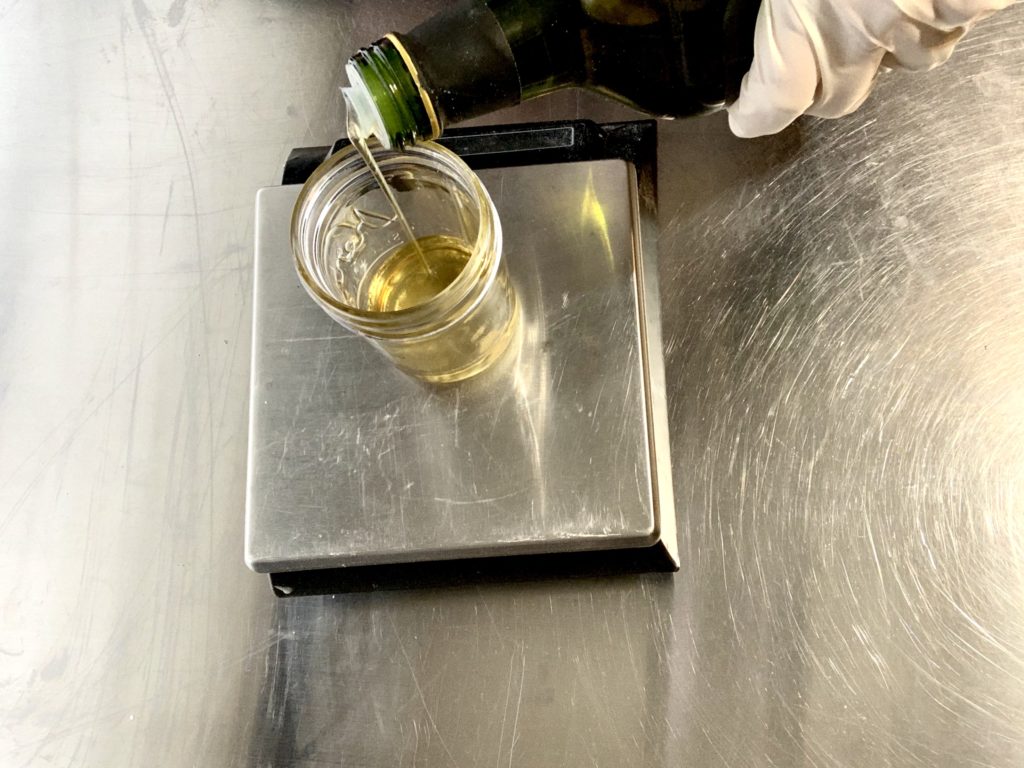
Step 3: In a small, separate container, weigh wet ingredients and blend well before adding to dry mix.
Step 4: If you’re using a stand mixer you can use a paddle attachment to fully incorporate the wet and dry. If you’re hand mixing, then make sure to continually sift the ingredients, breaking up clumps as you find them. Use a spatula to scrape the sides of your bowl as needed.
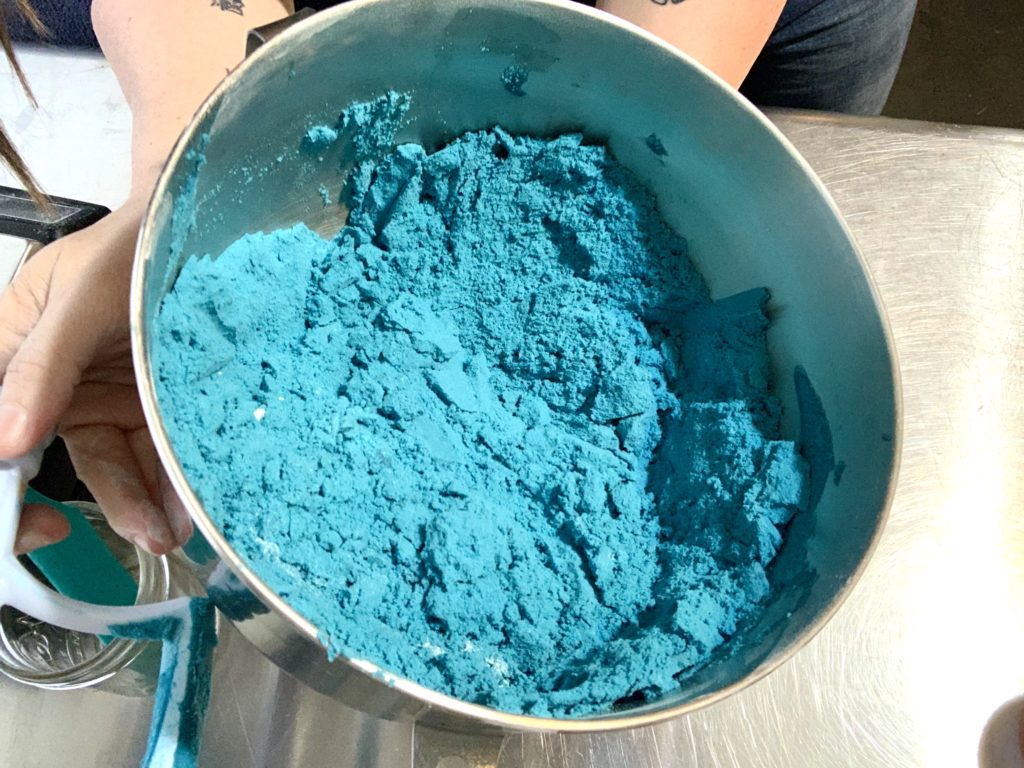
Step 5: Once the wet and dry are combined, you can incorporate the Citric Acid. Doing this last helps prevent any accidental reactivity, and helps prevent spotted colors. A good mix will hold its shape when squeezed and dropped.
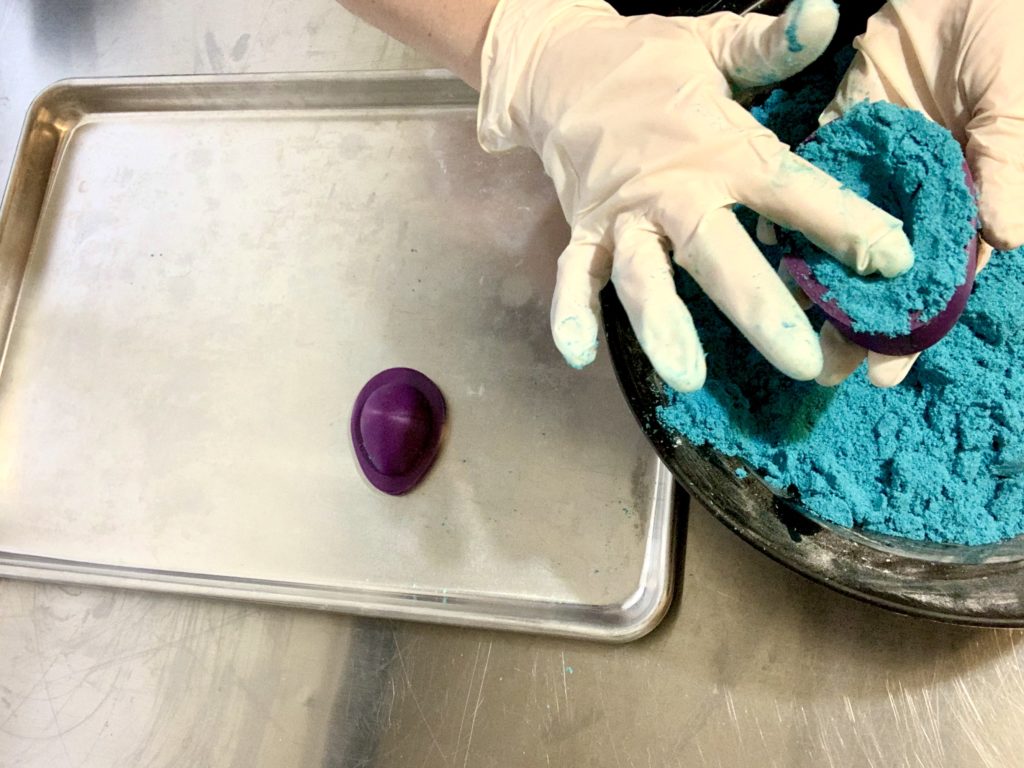
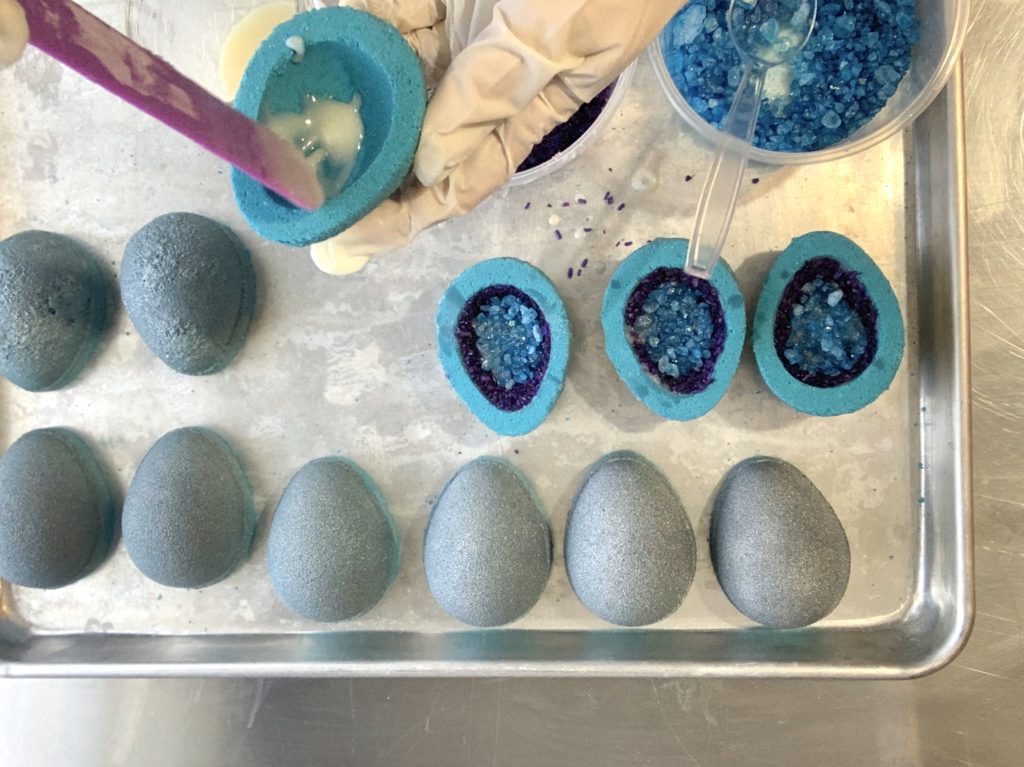
USING INDENT MOLDS
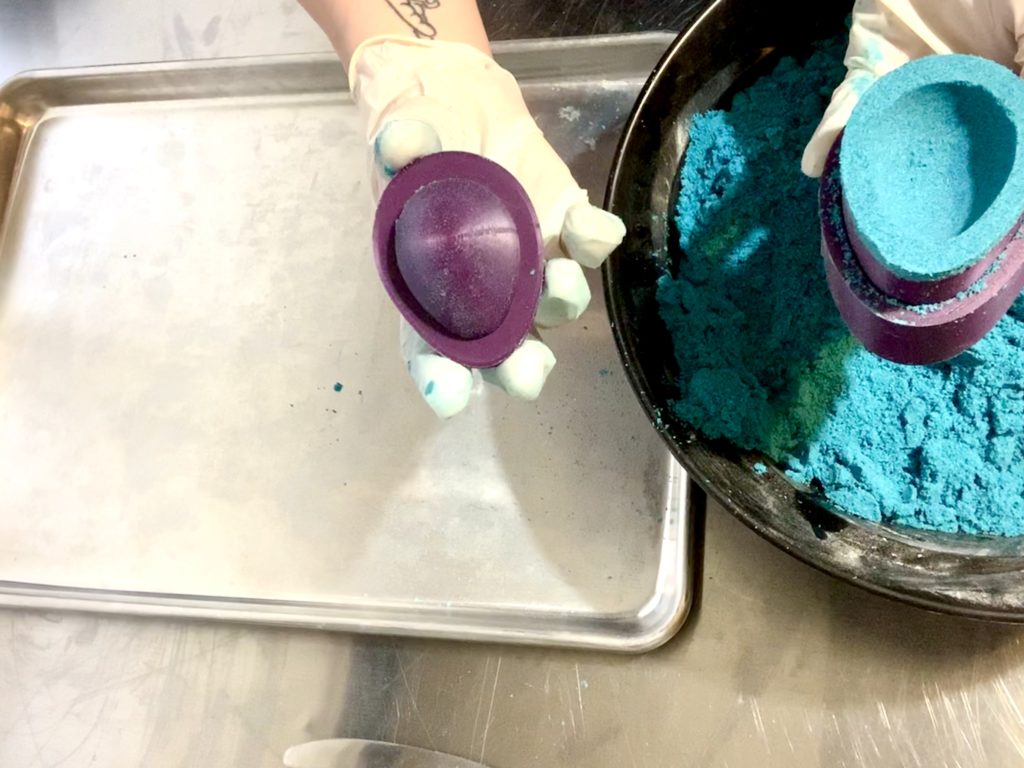
Set the egg part of your mold into the outer shell. If you want you can hold the mold in your hand and allow the egg portion to drop down a little–this is how you can have a thicker edge, or lip, like I talked about earlier. Begin adding bath bomb mix to the mold. Fill and pack lightly.
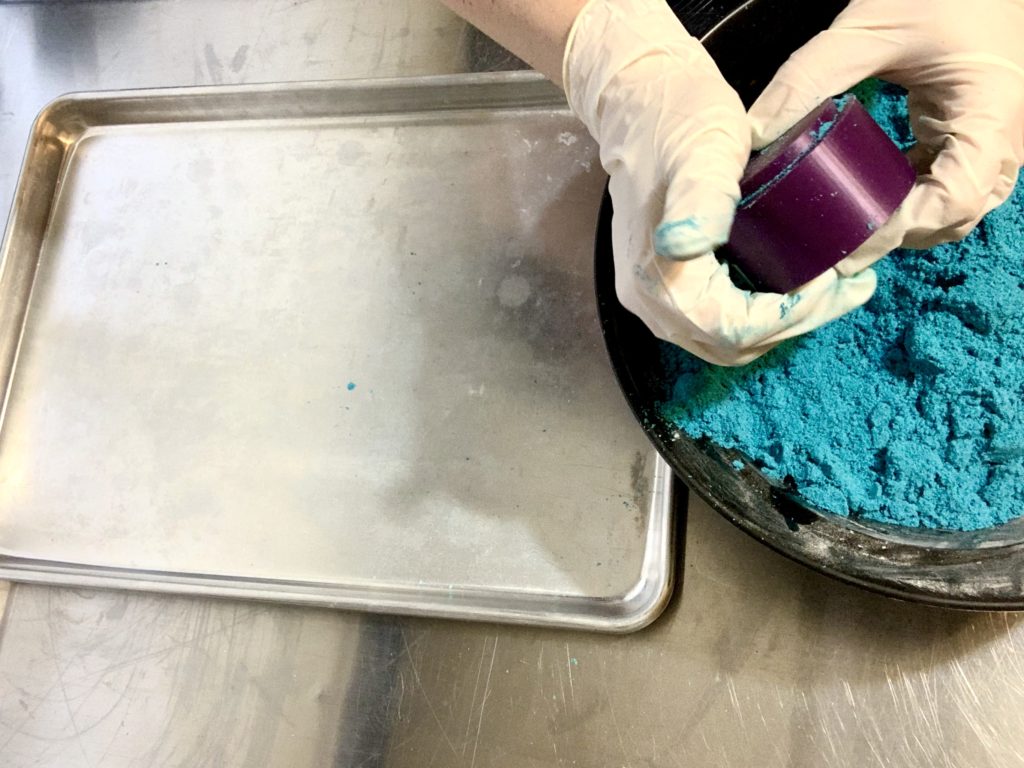
Next, line the indent section up with the outer shell, and press it in. The indent section can fit inside the shell with this mold, so it’s pretty easy to line up!
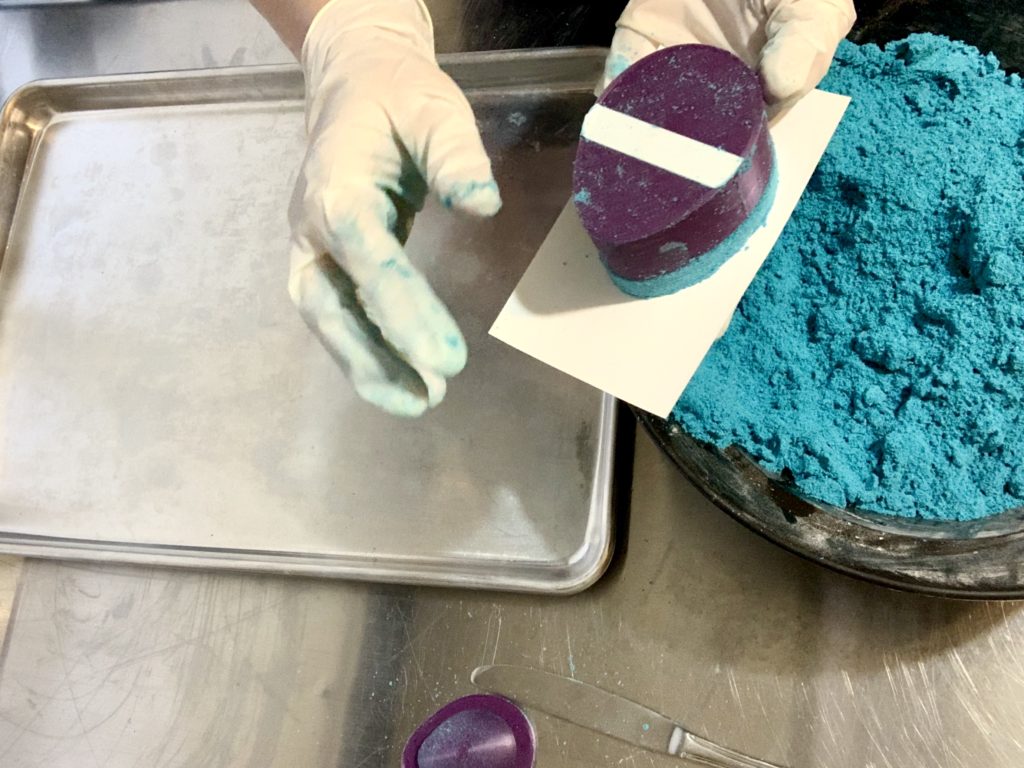
Once the indent is pressed in, gently tap your mold with a spoon, and push the mold out of the shell with the indent section on top. Press it out just enough to gently tap on the indent and pull it straight off your bomb before pressing the rest of the egg portion from the mold.
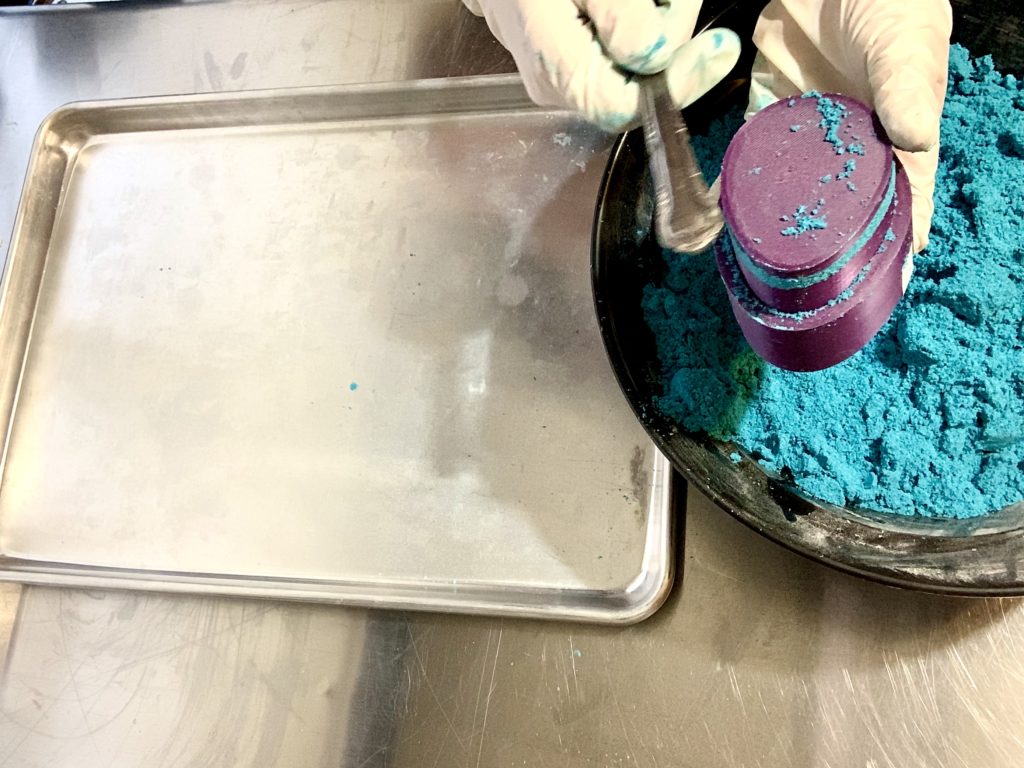
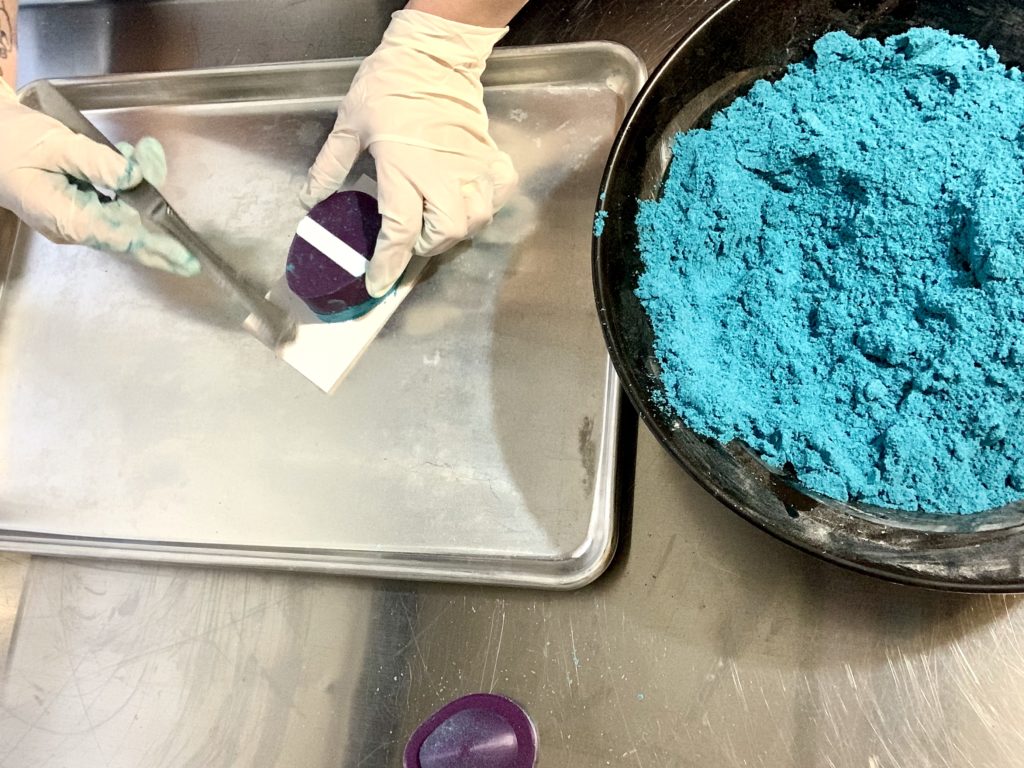
Place a piece of bubble mailer or cardboard on top of the bath bomb and flip the entire piece over onto a pan or tray. Gently tap again to release the outer shell of the mold. Keep going until you’ve used all of your mix!
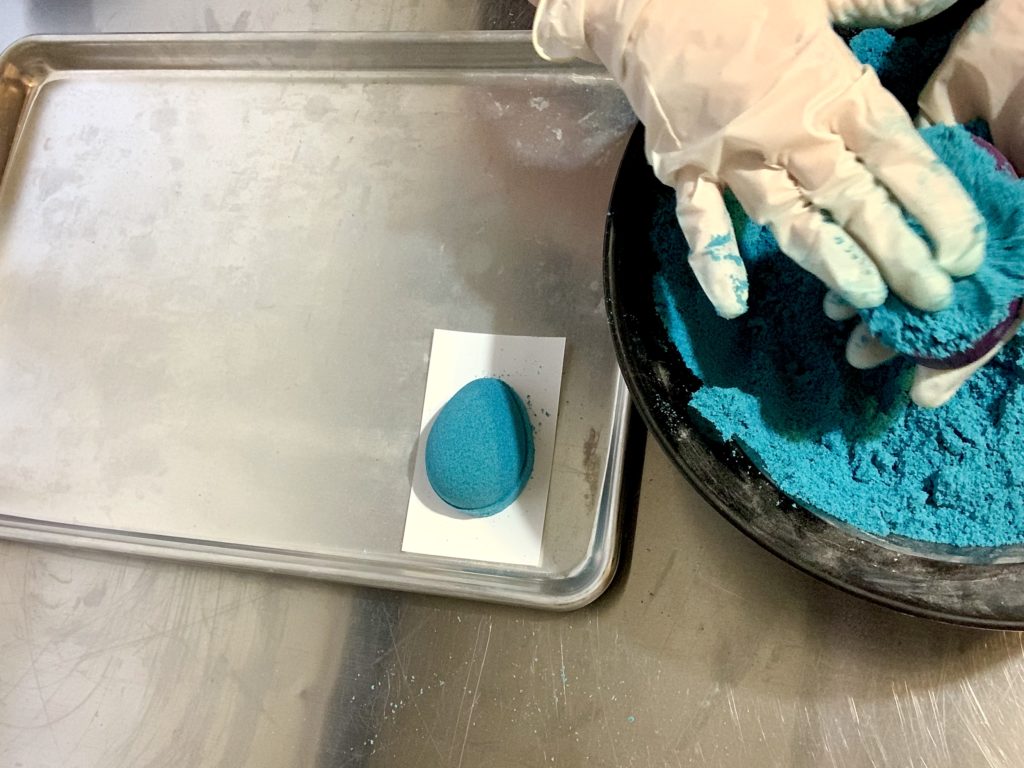
You’ll want to make sure your bath bombs are fairly and dry before continuing to the next step, preferably 1-2 days.
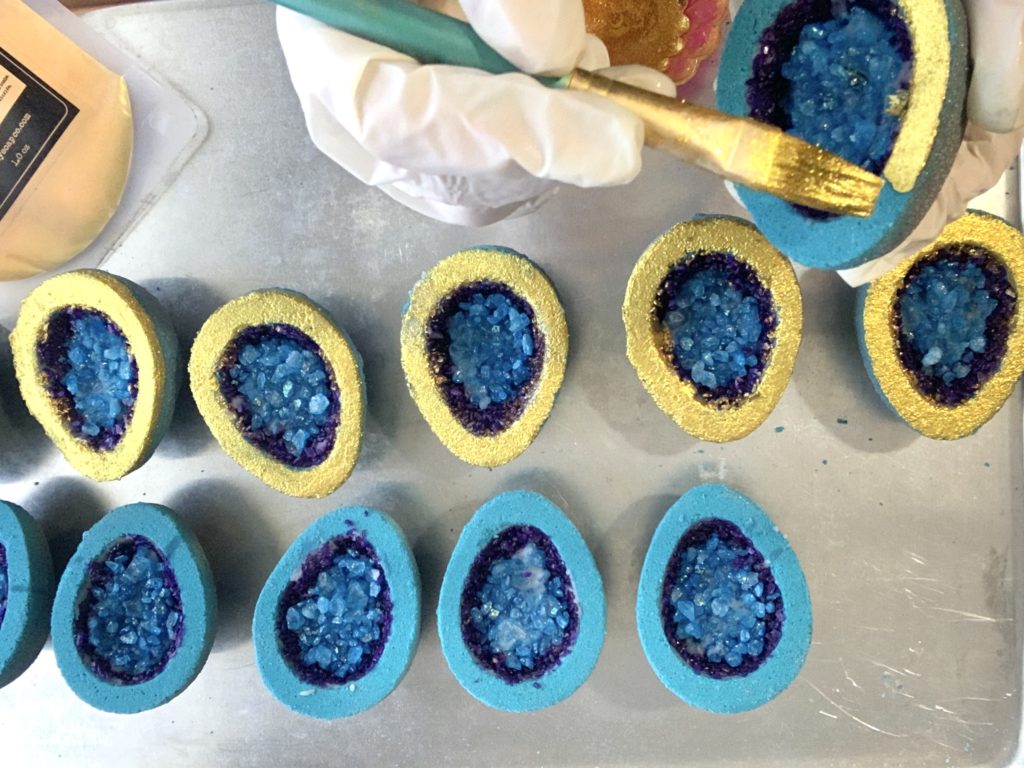
DECORATE:
When the Bath Bombs are dry it’s time to airbrush, add bath bomb drizzle, colored bath salts, and some paint!
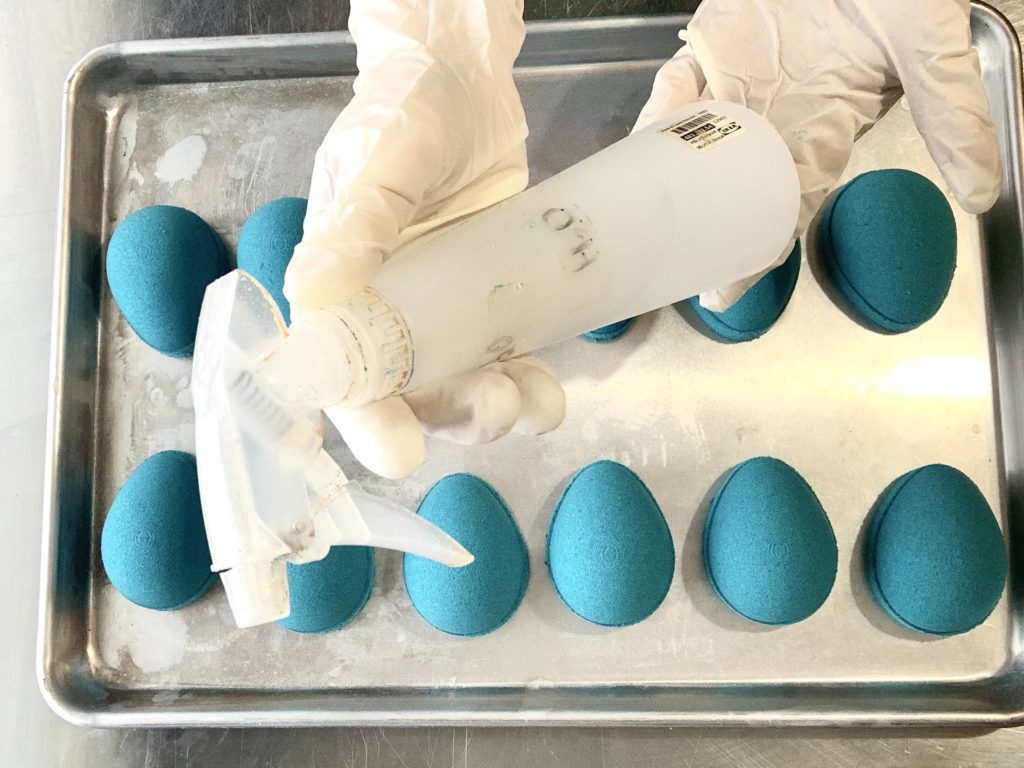
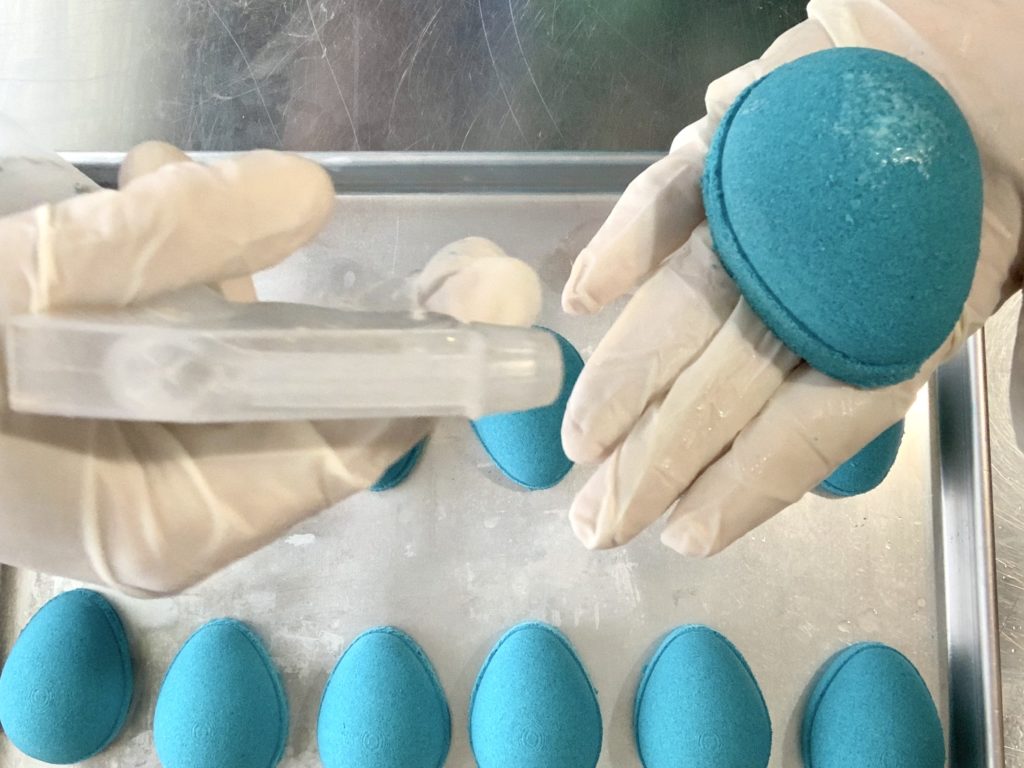
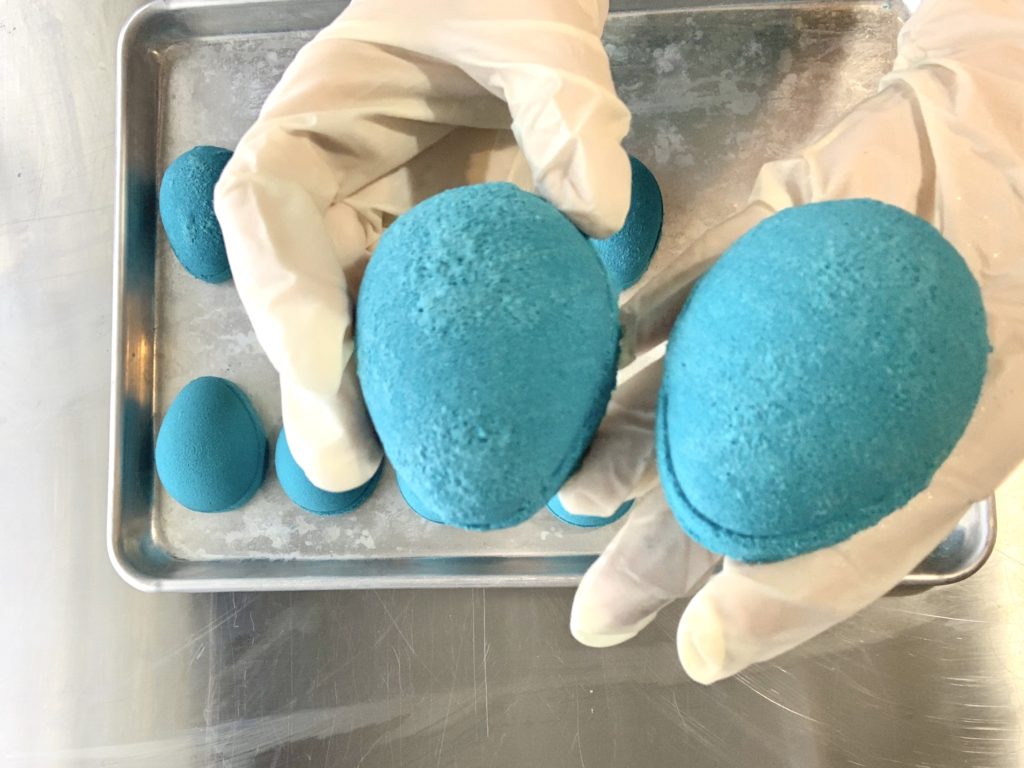
TEXTURIZE
I decided to try something a little different with these. I sprayed half of them with a few squirts of water to activate them a bit. It made them look like rocks and I really like it! It did add an extra day to the process though because I had to let the bombs dry before I could airbrush them. As much as I like it, I don’t know if the finished product is worth those extra time. The smooth bath bombs ended up looking just as good as the rocky ones. Either way, it’s a cool technique that I plan to explore further!
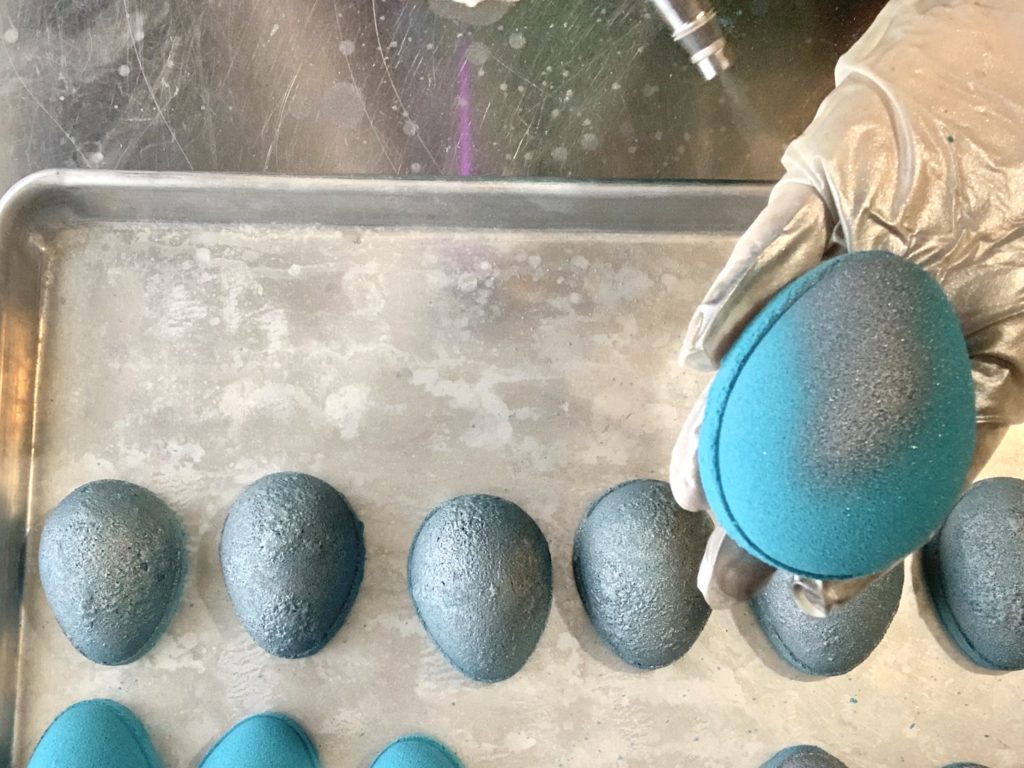
AIRBRUSH
This airbrush is pretty cheap and I got it off Amazon. It really kicks butt though and gets the job done for me! To airbrush these I used 91% Isopropyl Alcohol and Neutral Gray Mica from Nurture Soap Supply! Learn more about airbrushing in my Decorating Bath Bombs eClass either by itself or as part of Bubble Bootcamp!

COCOA BUTTER DRIZZLE
Once the airbrushing is dry I added cocoa butter drizzle to the center of the eggs. To make a fantastic cocoa butter drizzle that dissolves quickly in the tub, leaves no residue, and hardens really well, I suggest you check out Amanda’s Cocoa Butter Drizzle recipe from her book Bath Fizz and Foam. In lieu of that, you can use just a basic recipe of equal parts melted cocoa butter to baking soda, but be aware that if you don’t incorporate a surfactant or emulsifier, there is the potential for a slippery tub!
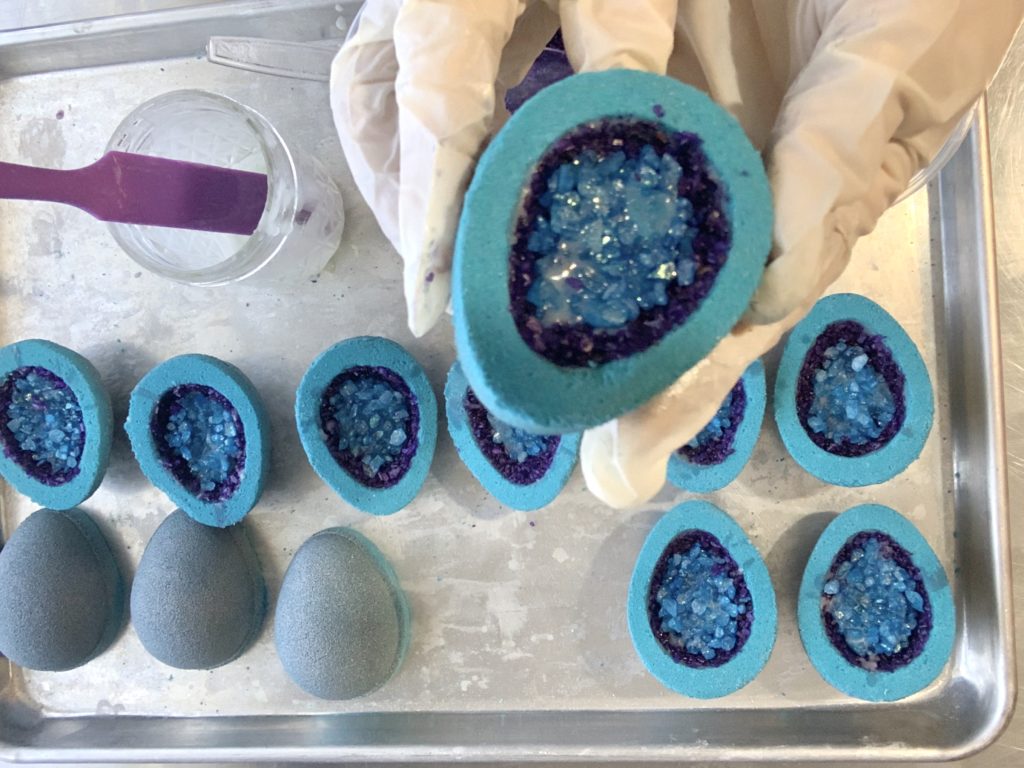
SALTS
To make my colored bath salts I used Epsom Salt for the outer rim and Ice Cream Rock Salt for the center. I’ve used Ice Cream Salts before and I love their big chunky texture on bath bombs. I also colored these with Lakes! Since most blue micas aren’t approved as a bathbomb colorant I wanted to show y’all how well lakes worked! I also added some Polar Lights Mica from Muddy Soap Co to make sure the crystals shimmered and shined!
Purple Salts
- 4 tbsp Epsom salt
- 1 micro-scoop of Blue 1 Lake
- ⅛ tsp Red 27 Lake
- 5-6 drops of Polysorbate 80
Blue Salts
- 8 tbsp Ice Cream Salt
- ⅛ tsp Blue 1 Lake
- ¼ tsp Polar Lights Mica
- 5-6 drops of Polysorbate 80
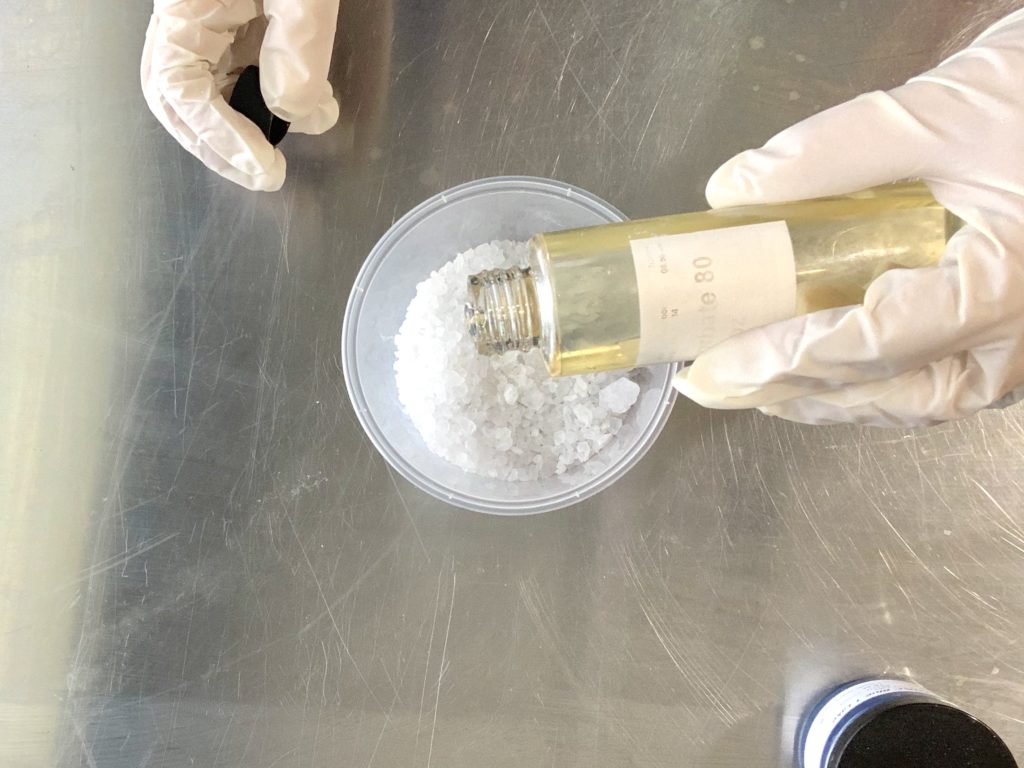
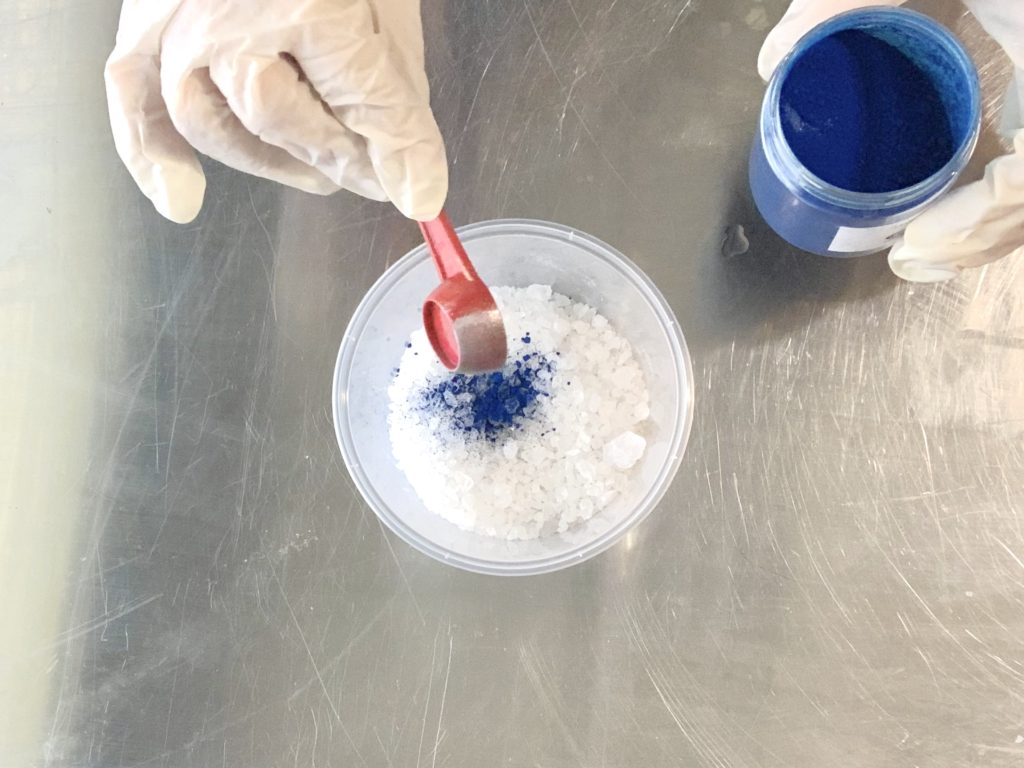
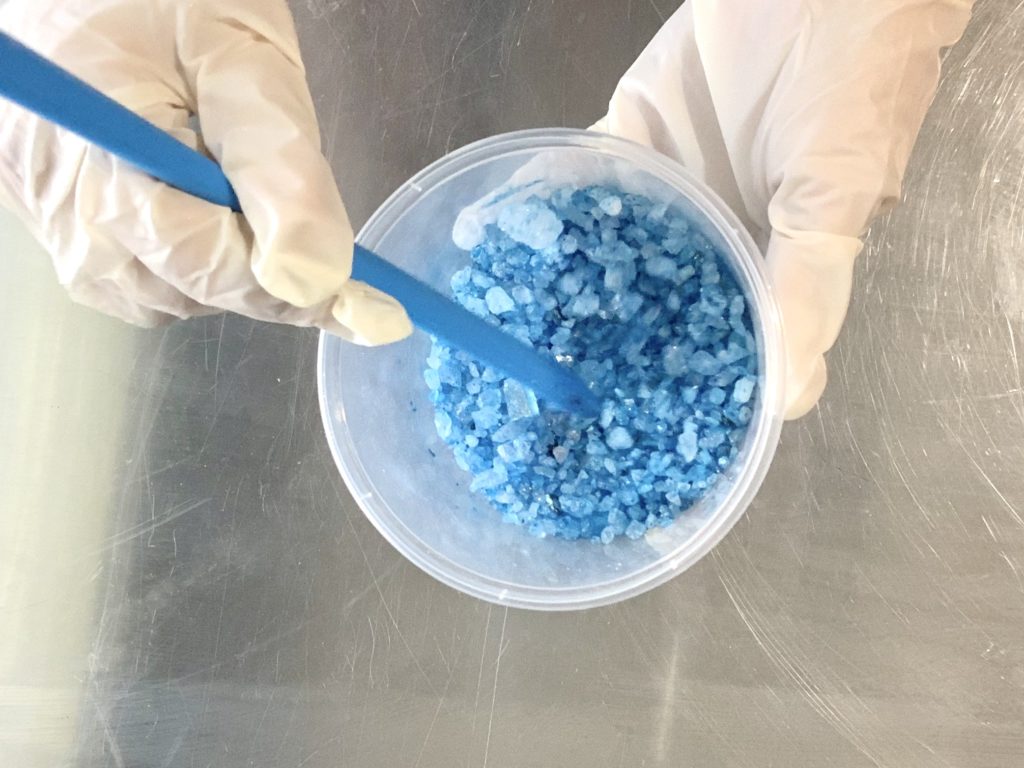
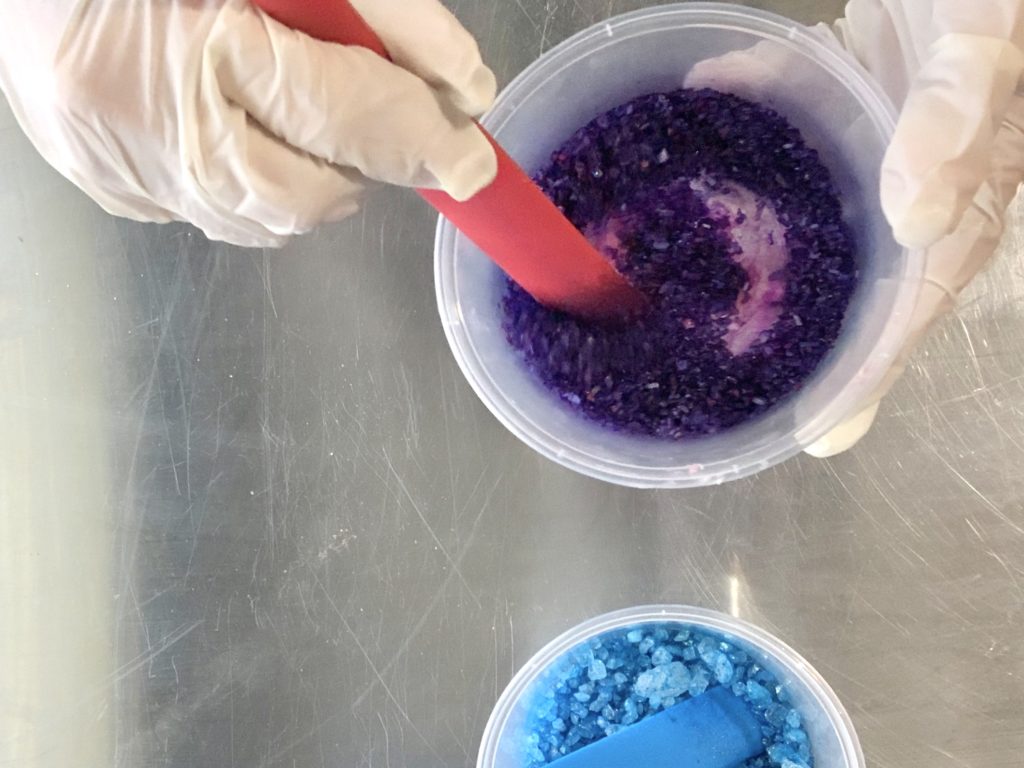
Mix the salts Lakes and Poly 80 well. Pour some Cocoa butter drizzle into the indent in the bath bomb, make sure the entire area is coated with drizzle, then use a spoon to add the purple salts to the upper sides of the Bath bomb first.
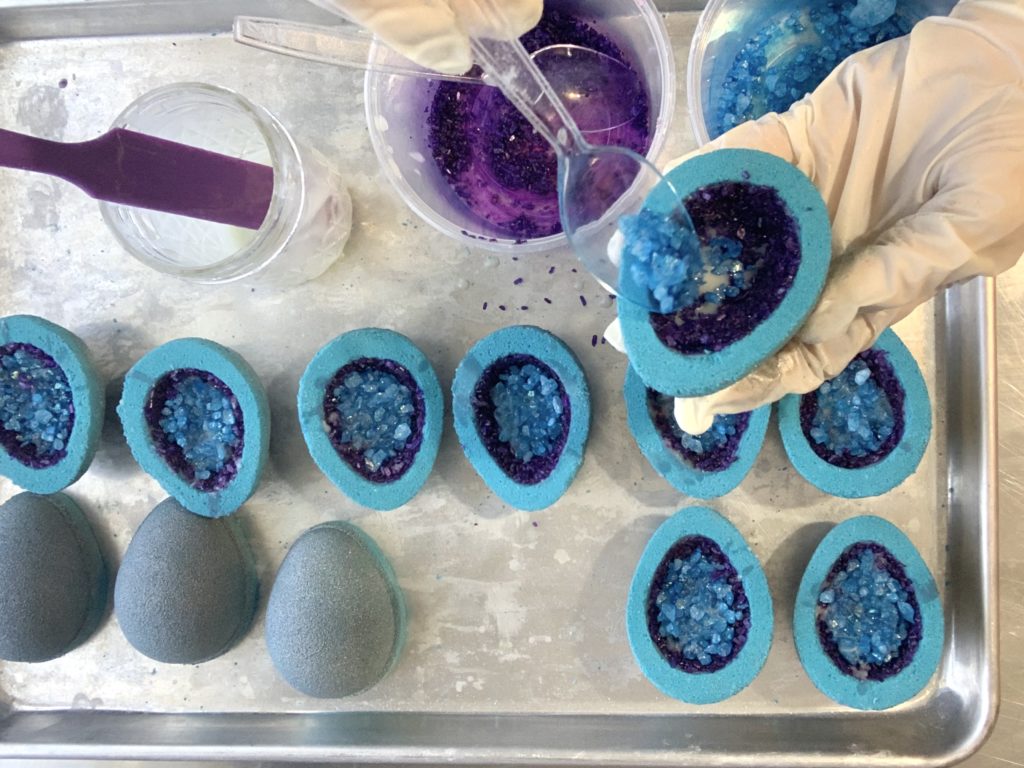
Next fill in the center with the dark blue rock salt. If any cocoa butter drizzle comes down the side of the bath bomb it’s a good idea to scrape it off now before it hardens!.
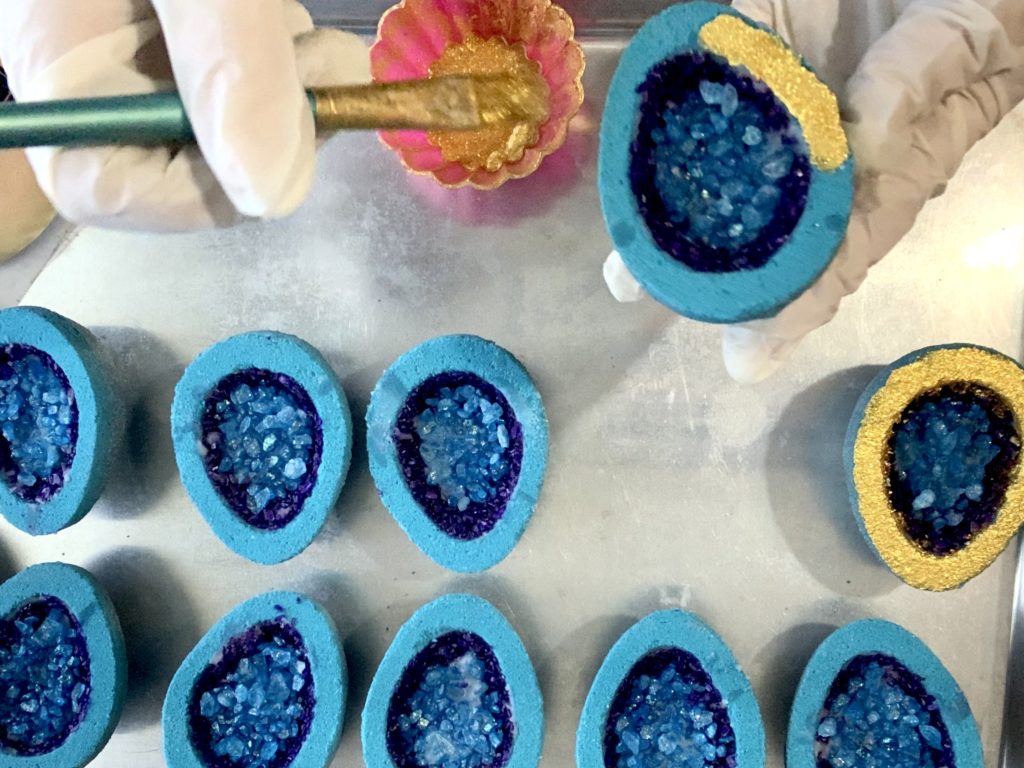
PAINT
When that has set up a bit you can add the gold mica details. You can use rubbing alcohol, oil, or even polysorbate 80 for painting with mica. For the gold I used Lannister Gold from Muddy Soap Co. It’s so bright and its yellow tones perfectly compliment that blue color palette!
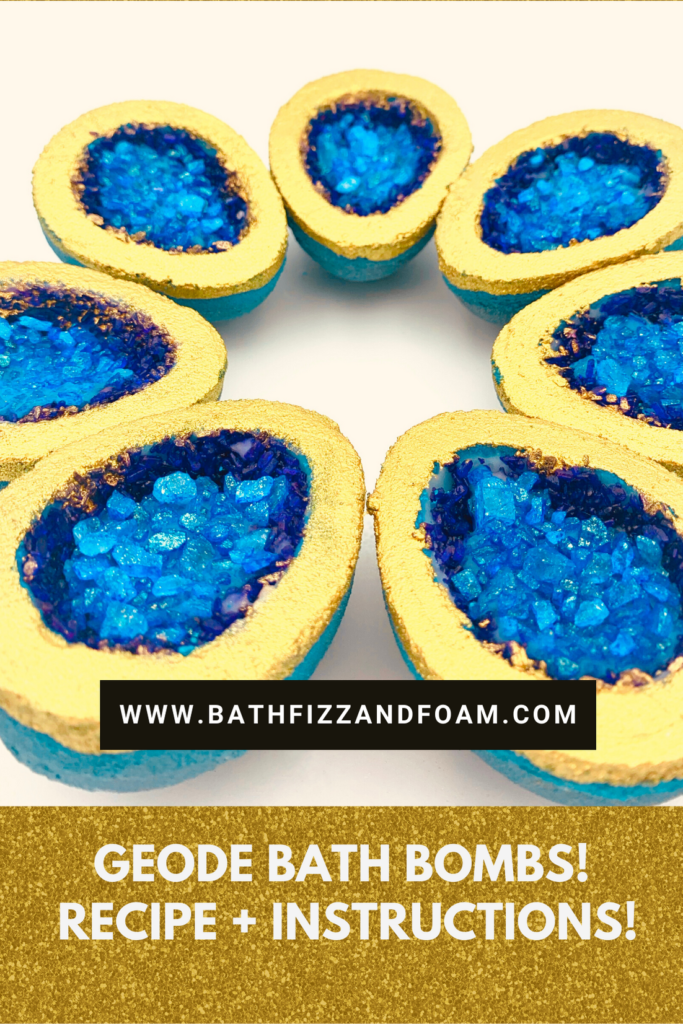
FINISH!
Let your bath bombs dry for a few more days before packaging! Enjoy creating your Egg Geode Bath bombs and I can’t wait to see your awesome interpretation of this technique!

https://www.etsy.com/shop/Chunkadust
Please share on Pinterest if you’d like! 🙂
About Robyn French Smith

My name is Robyn French Smith! I studied fine art at the University of St Thomas and the Glassell School of Art in Houston TX, and graphic design at The Art Institute of Houston. I started dabbling in DIY bath and body products over 10 years ago after moving to Alaska. While I knew how to make basic soap for several years, I didn’t start looking at it as an art form until about 4 years ago when a neck and shoulder injury made it almost impossible for me to draw and paint. I needed a place for all that creativity to go, and I found it in soap. I received my Basic Soapmaker Certification from the HSCG in 2019 and plan on pursuing further levels of certification.
Find me online at scandaloussoap.com and Facebook!
Hi there
Could you tell me how big your airbrush nozzle was/ is. Thank you