
When I created the Cosmetic Sprinkles recipe I took a side quest into the process of how glitter is made. For months afterward I wanted to give DIY glitter a shot, and when I finally got around to it I loved the results and I knew I would have to share it with you guys.
The process is so simple, and the ingredients are so basic that you will be able to start making your own plastic-free, aluminum-free glitter in no time!
Now there are eco-glitters that currently exist on the market, our favorite being The Good Glitter Company, and I don’t think that this DIY glitter will ever really replace them. The range of colors, shapes and sizes of glitter made by professional companies is really hard to replicate (unless you happen to have a really fancy glitter cutter just hanging around!) And while this DIY glitter will have a nice shine to it, it doesn’t have quite the same BLING of a true aluminum glitter.
So why make your own glitter? Well first off, knowing exactly what’s in it, and being certain that it is 100% biodegradable is a huge bonus to me. There is also the issue of cost! Purchasing glitter can get expensive quick, but I’m pretty sure you’ll have almost everything you need to create this DIY glitter on hand yourself. Finally, I’m not going to lie, the whole process is really fun and enjoyable. It’s safe and easy for older kids (with adult supervision of course) so it also makes a really fun summer project!
SUPPLIES
Here’s what you’ll need to get this project going!
- Sauce pan or small pot
- Access to a stove or portable hotplate
- Silicone spatula or a regular spoon works in a pinch
- Baker’s acetate sheets for drying the glitter paste
- Coffee/Espresso grinder
- Containers for storing your glitter
- Small paintbrush (optional)
INGREDIENTS/RECIPE
- 1 tablespoon Cornstarch (or tapioca starch)
- 1 cup of Water
- Bath bomb safe colorant (I’ll talk more about these in a bit!)
*You don’t need any preservatives because the water will be completely evaporated by the time your glitter is done being made!
PROCESS
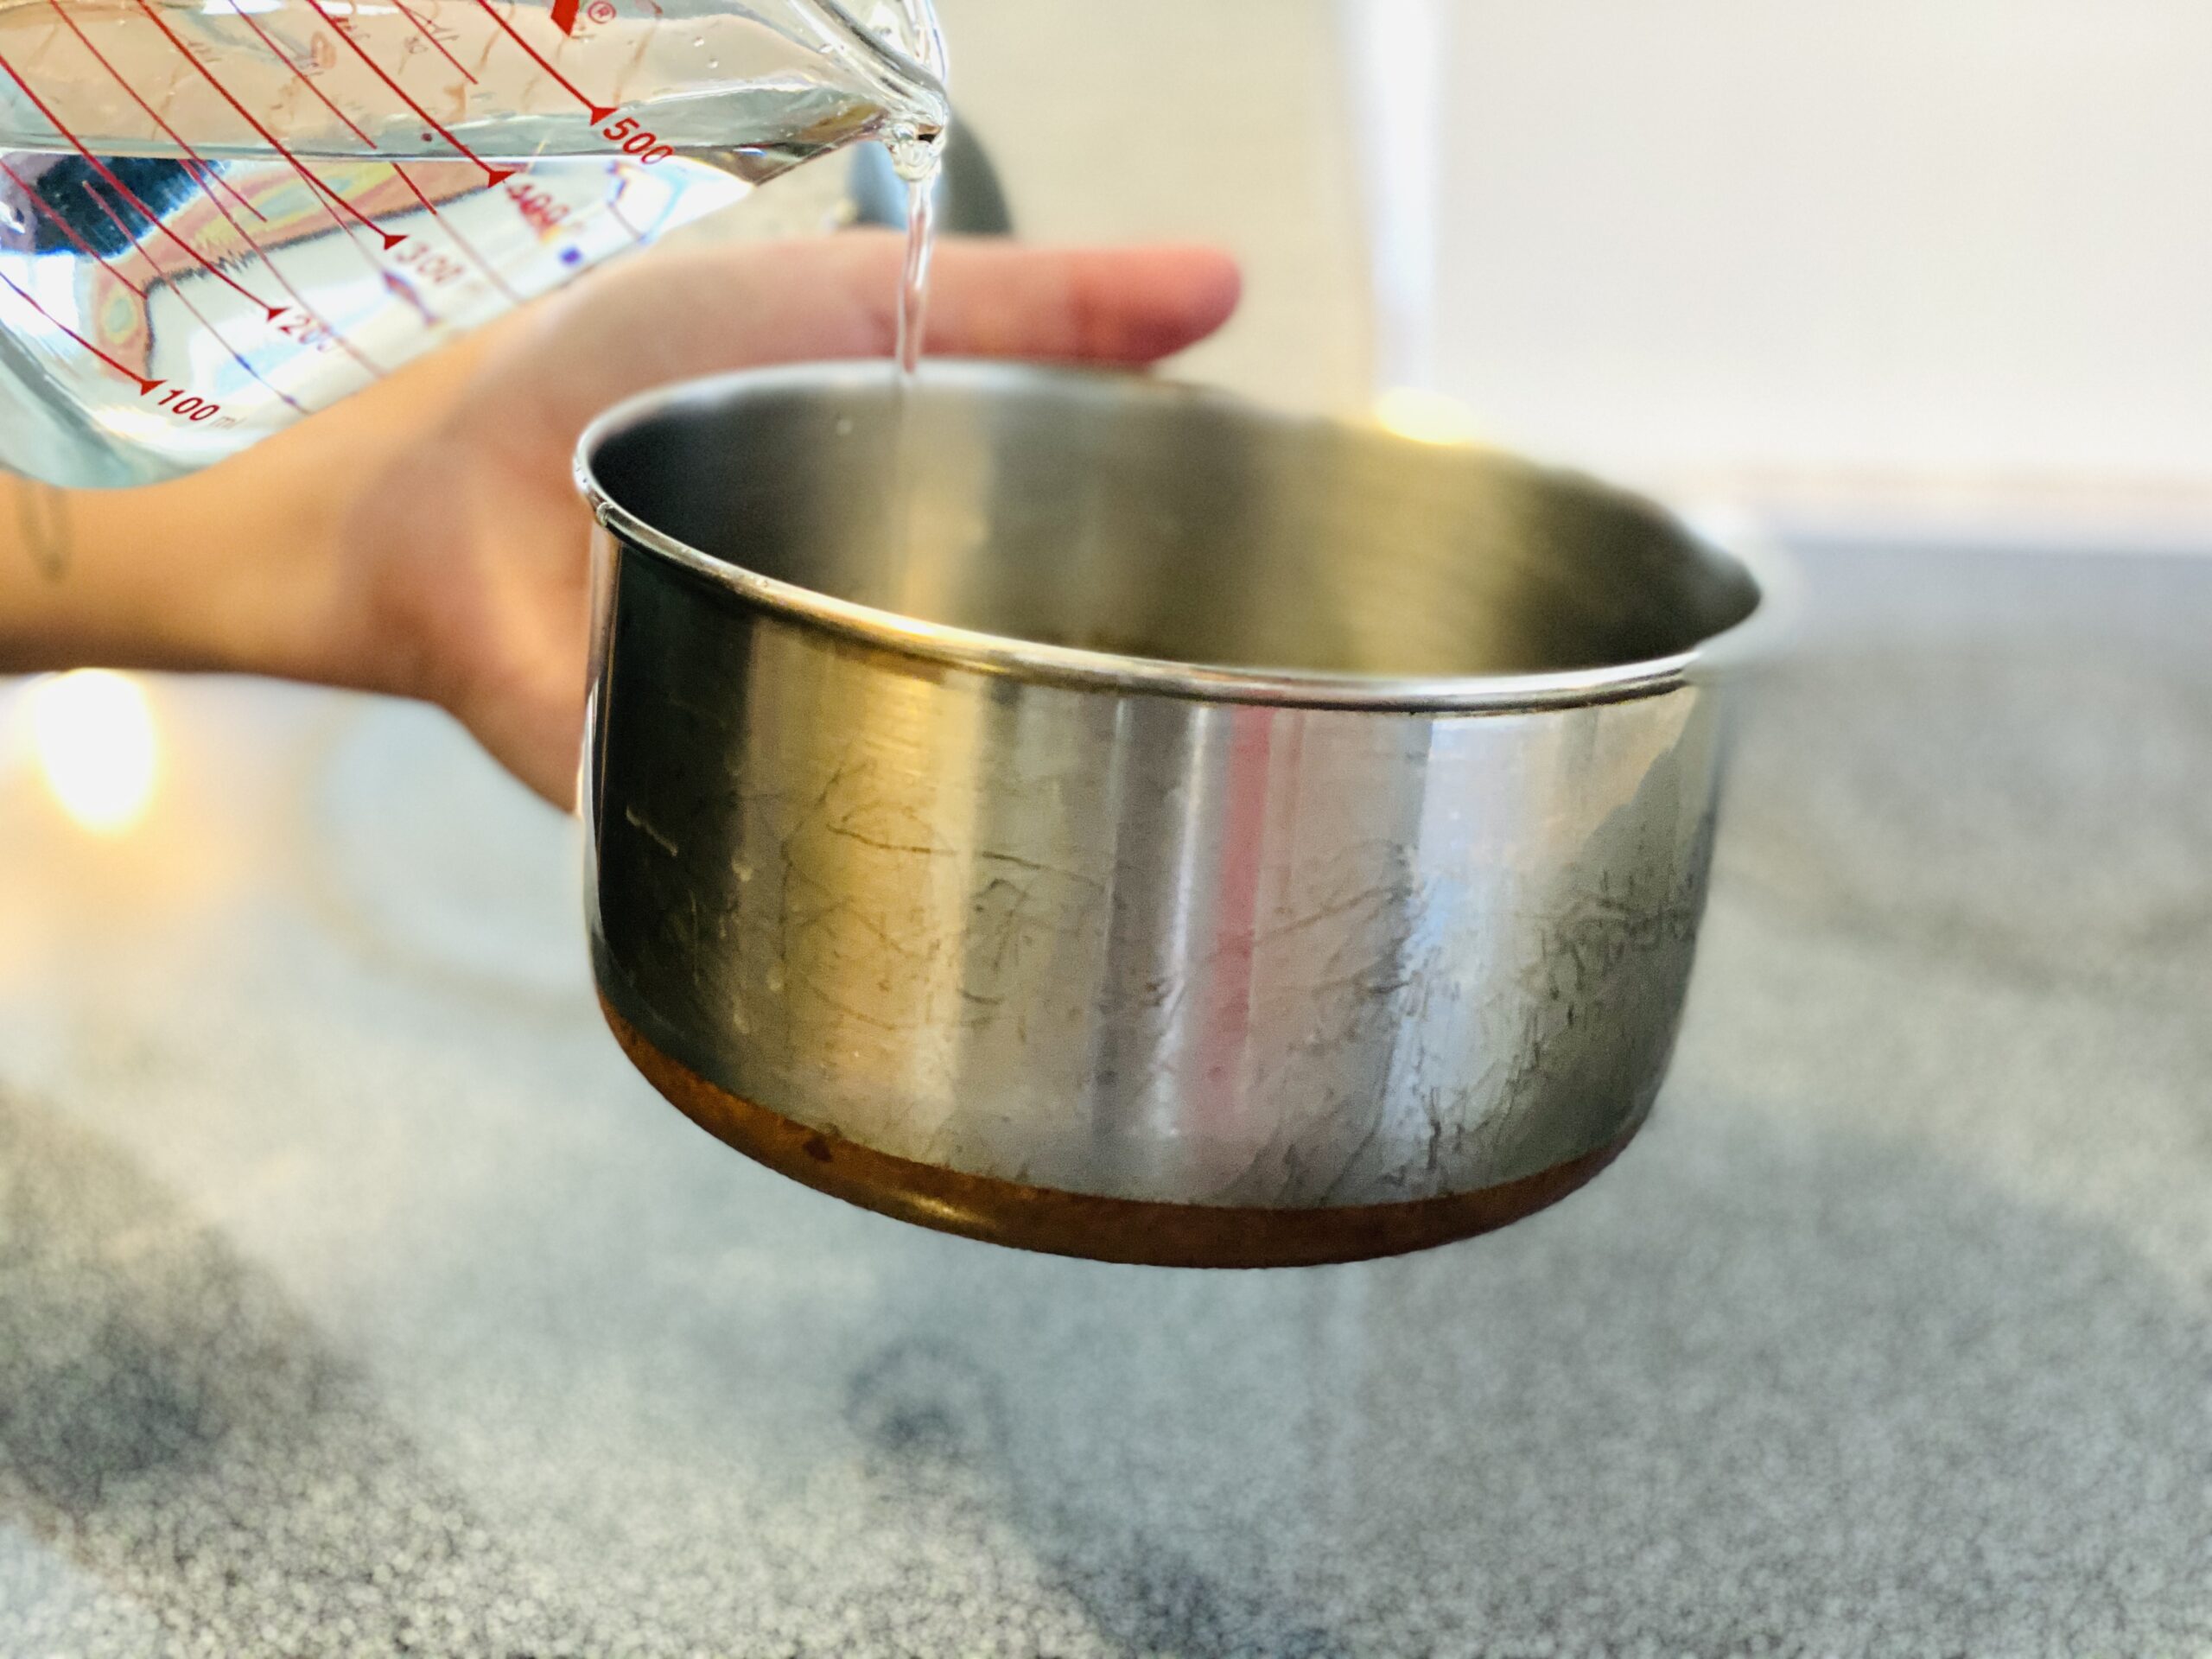
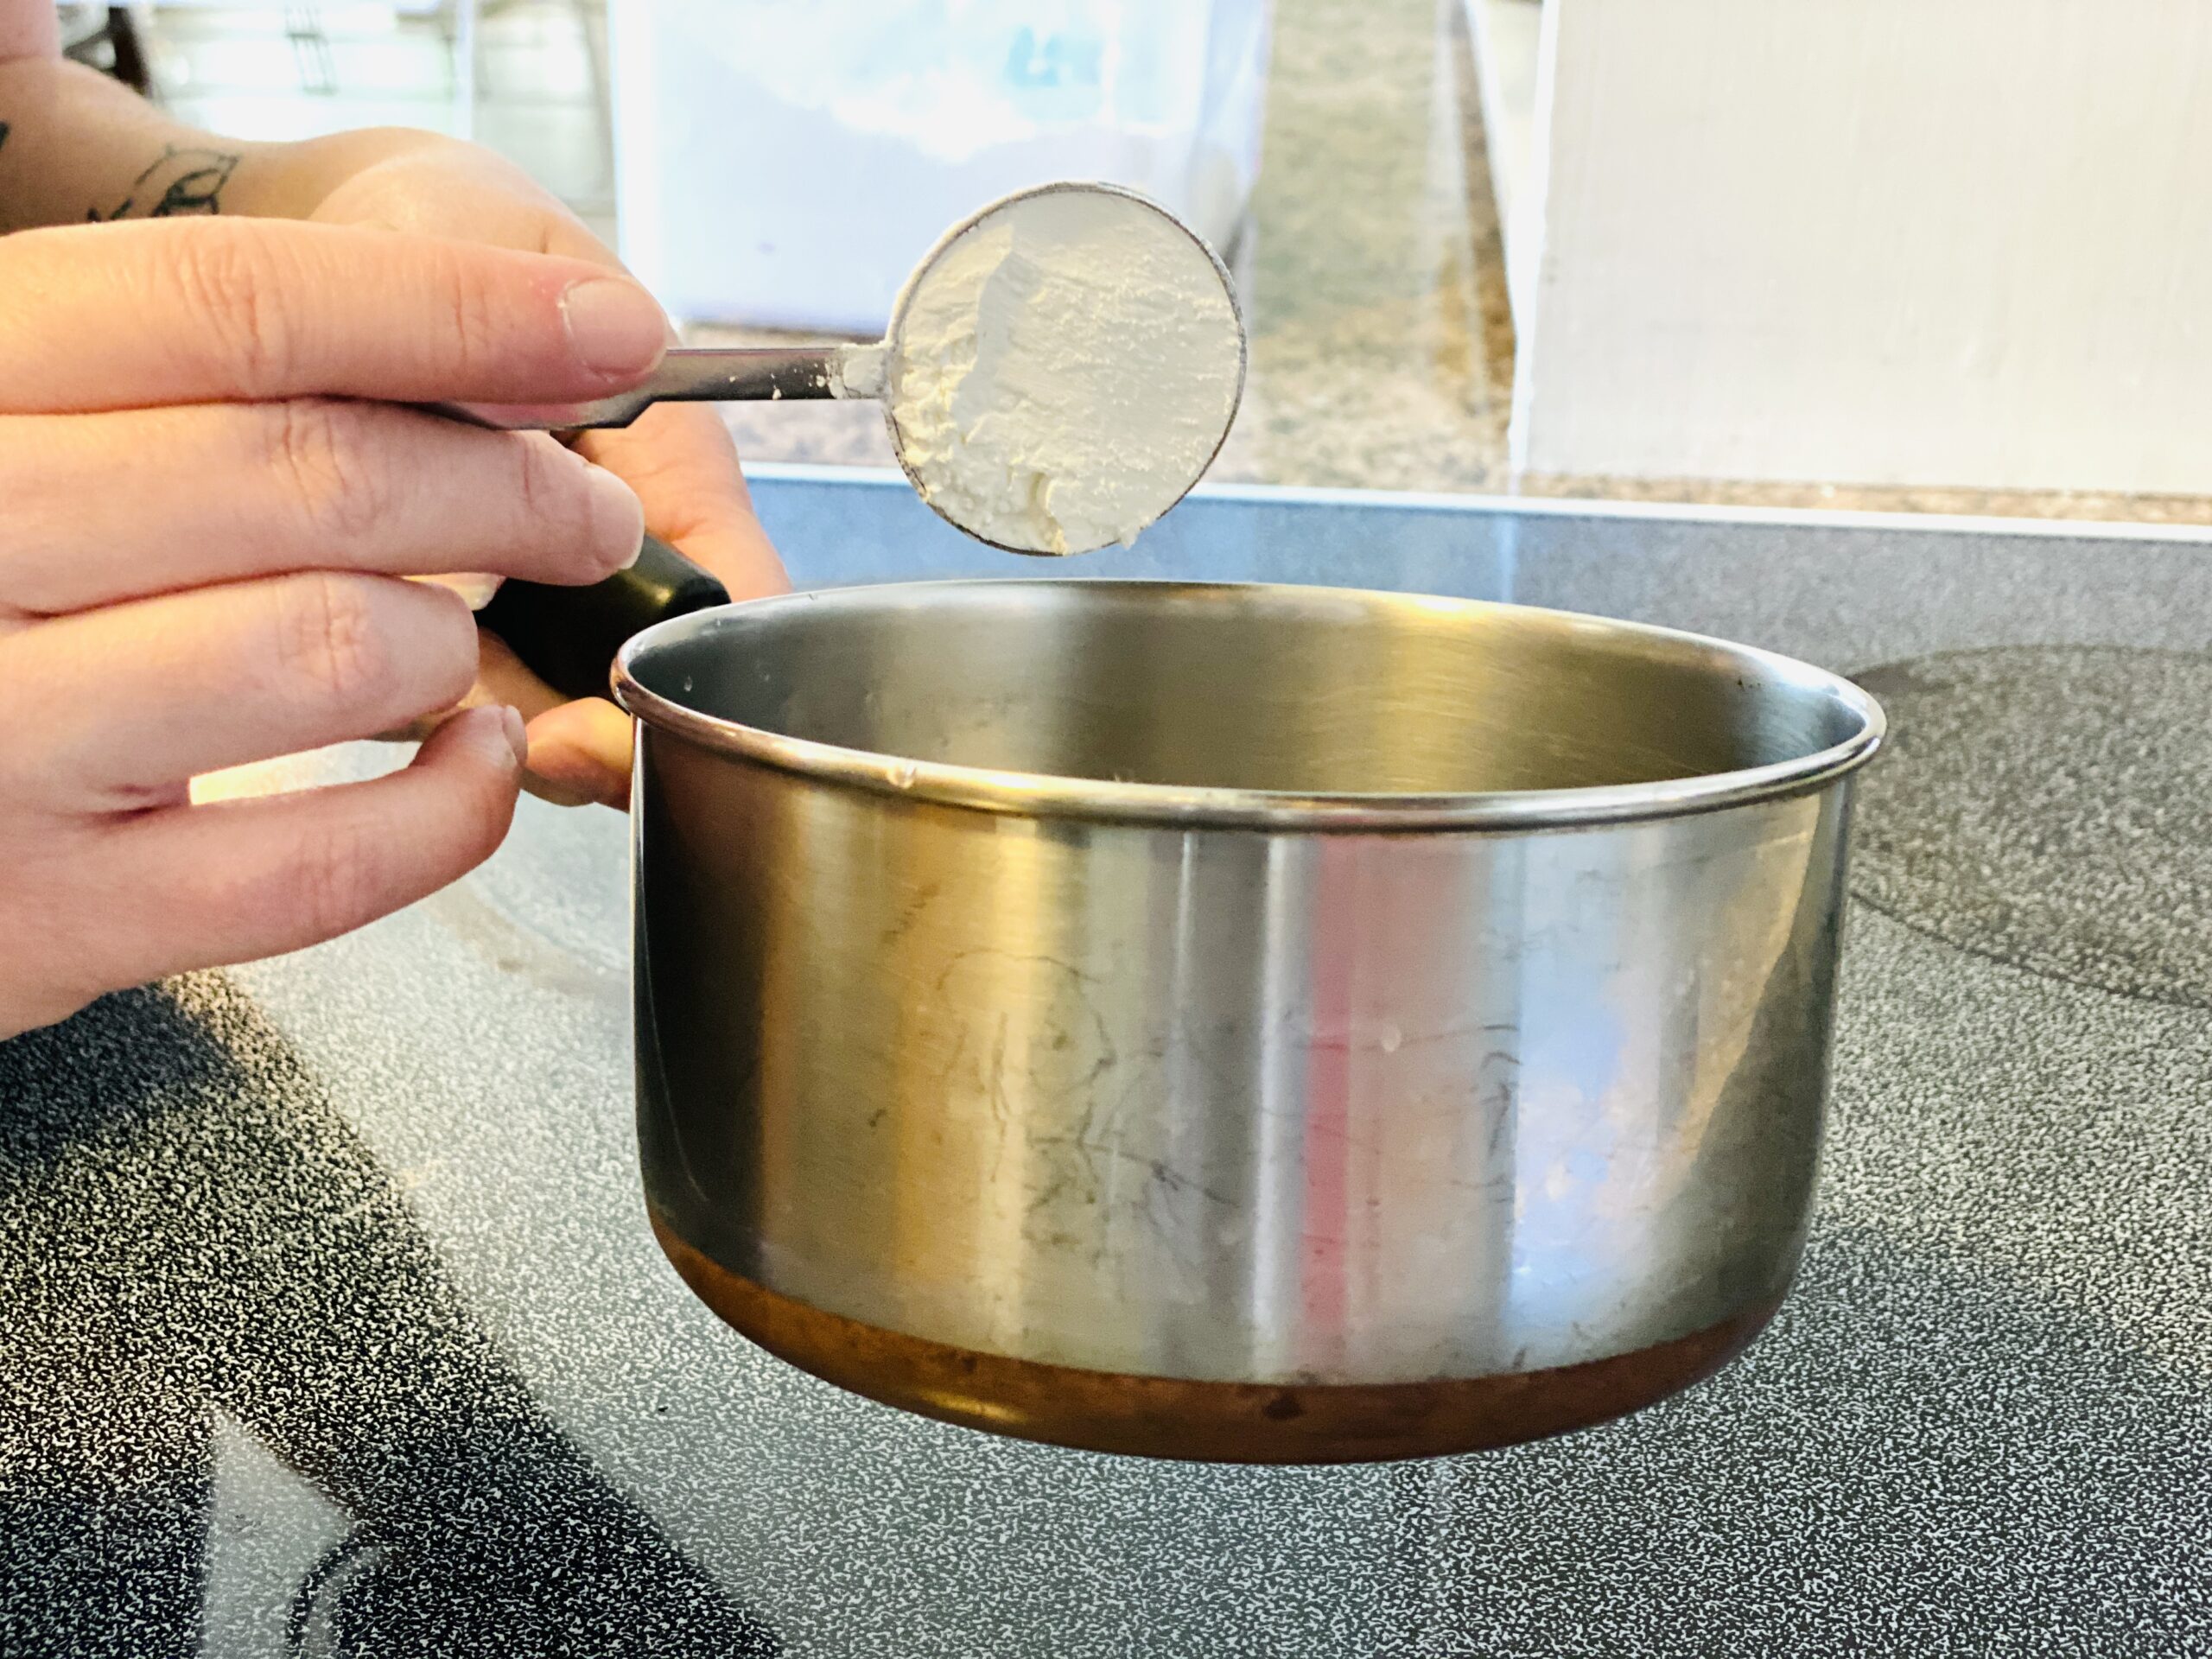
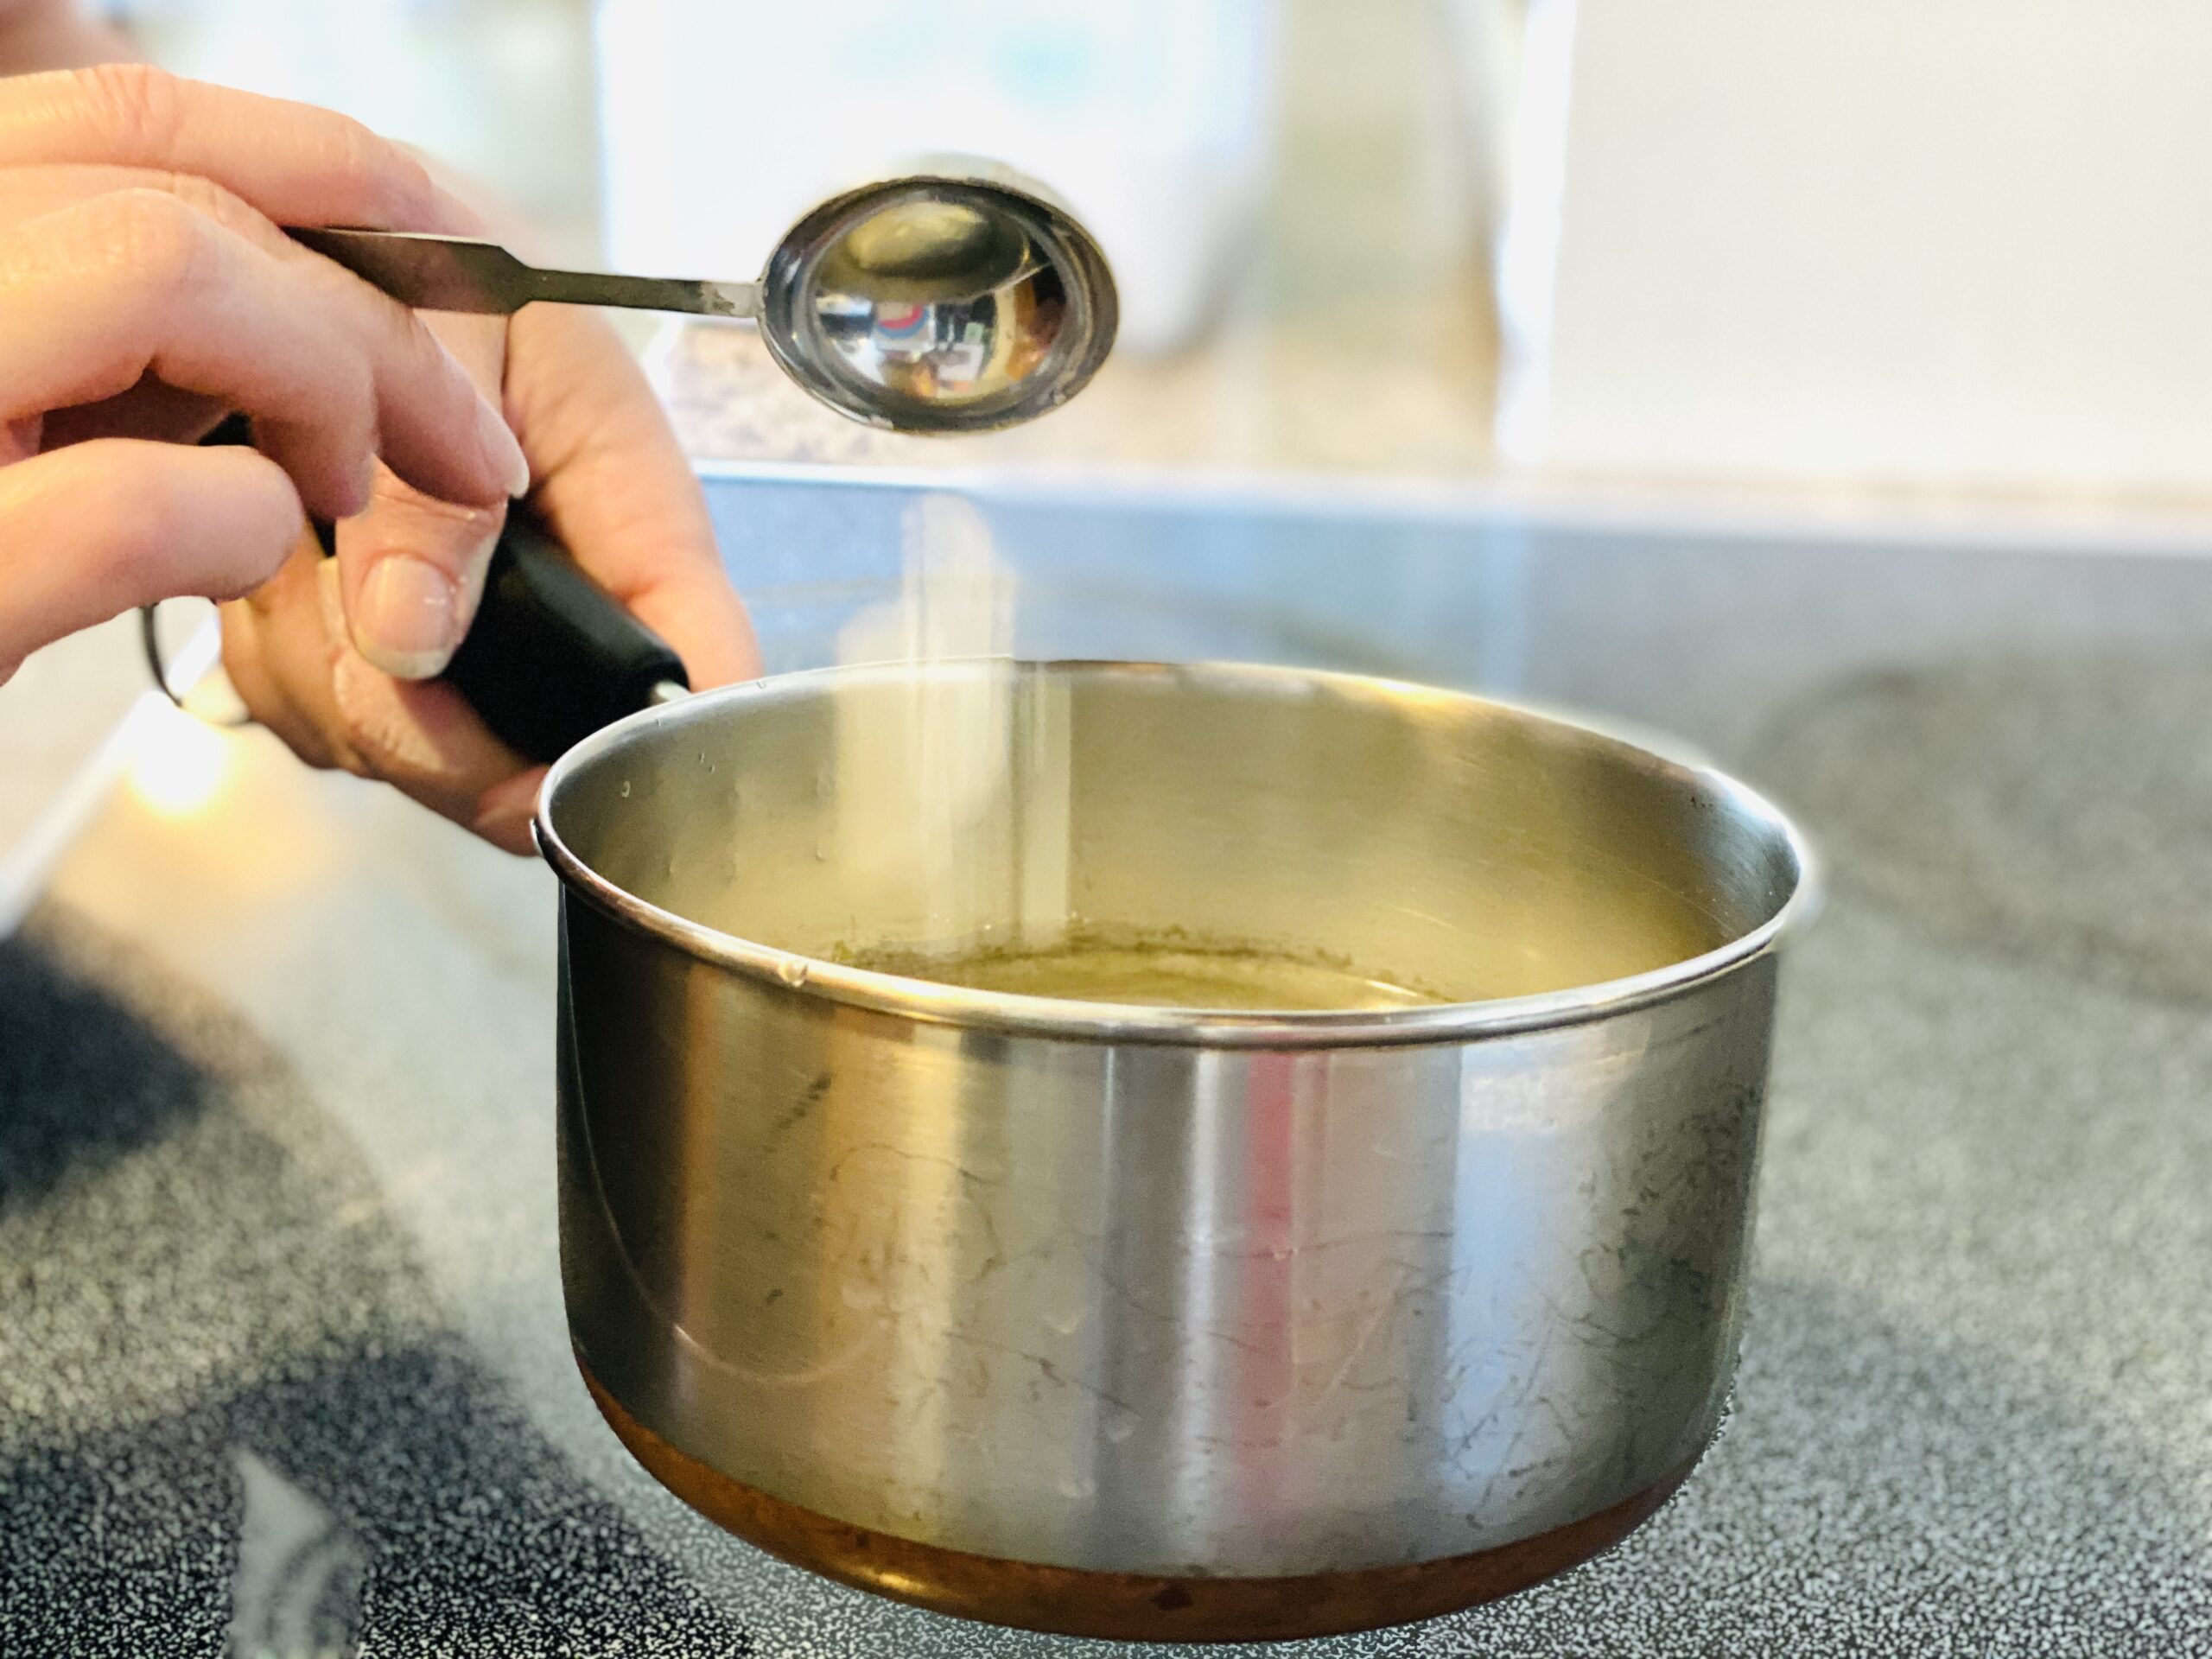
Pour one cup of water into a small sauce pan. At first I used a pot, but I actually found that pans made it easier to tell when the paste had thickened up. Add 1 tablespoon of cornstarch to your water and mix.
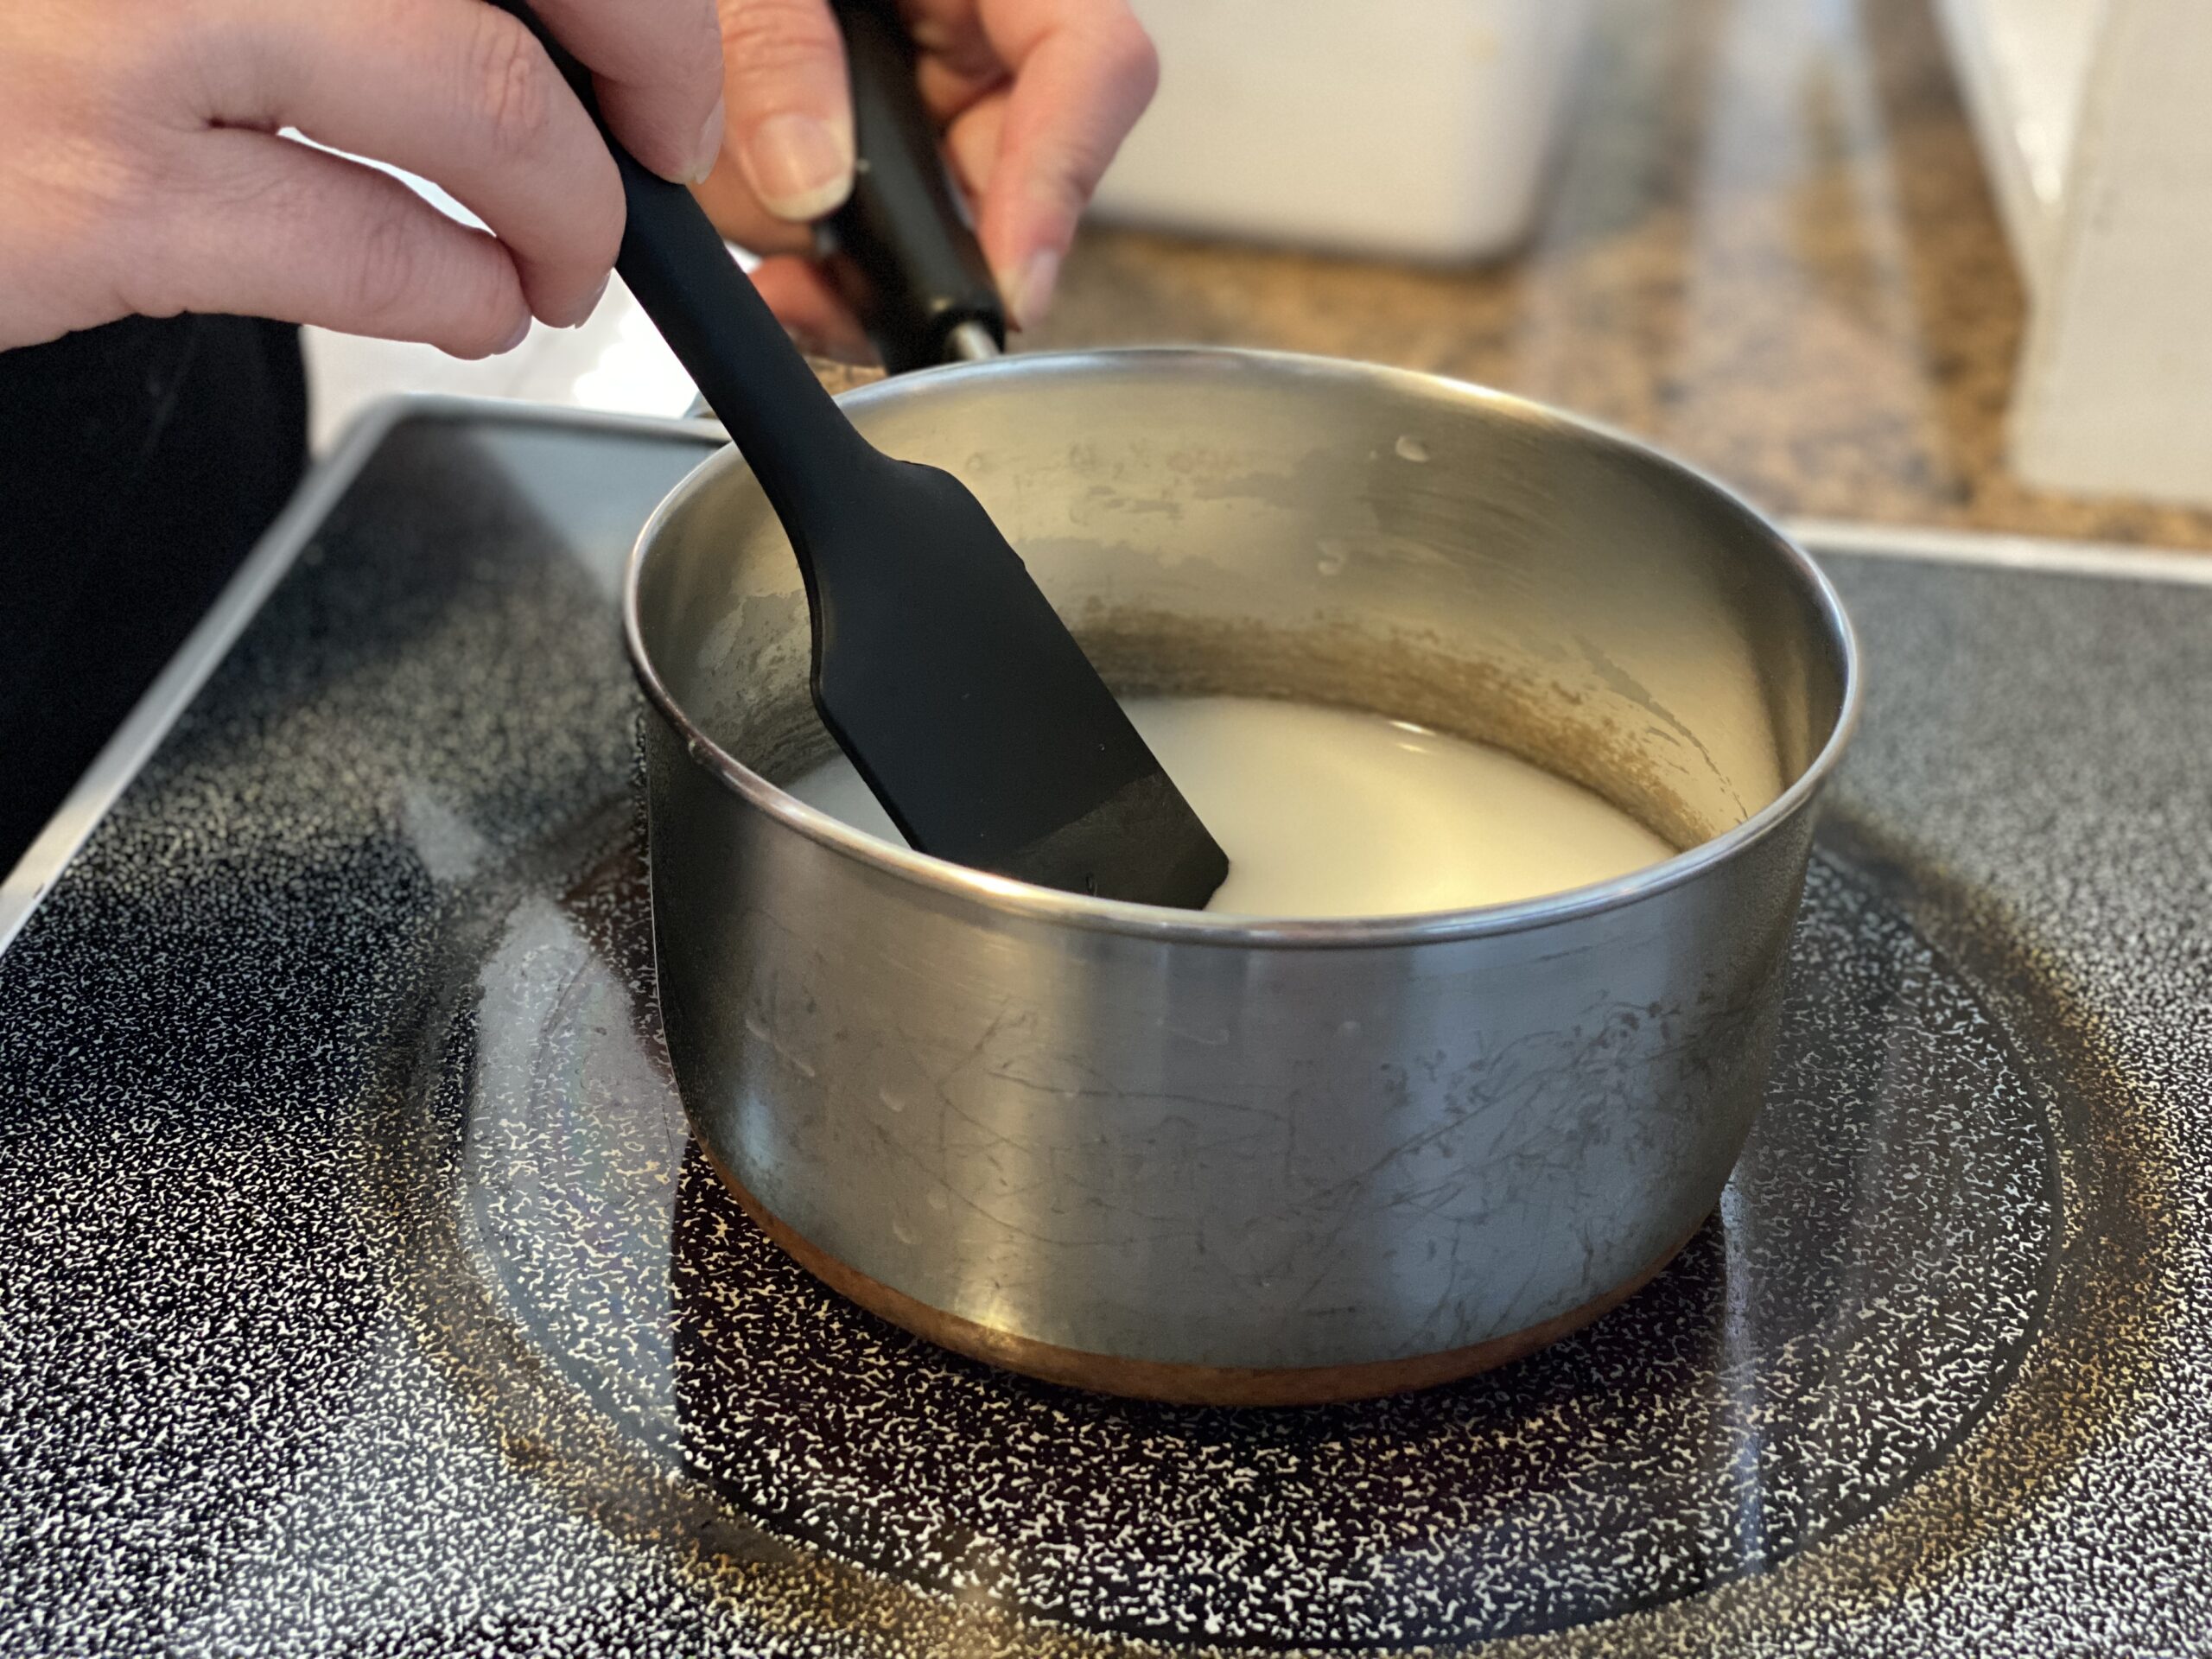
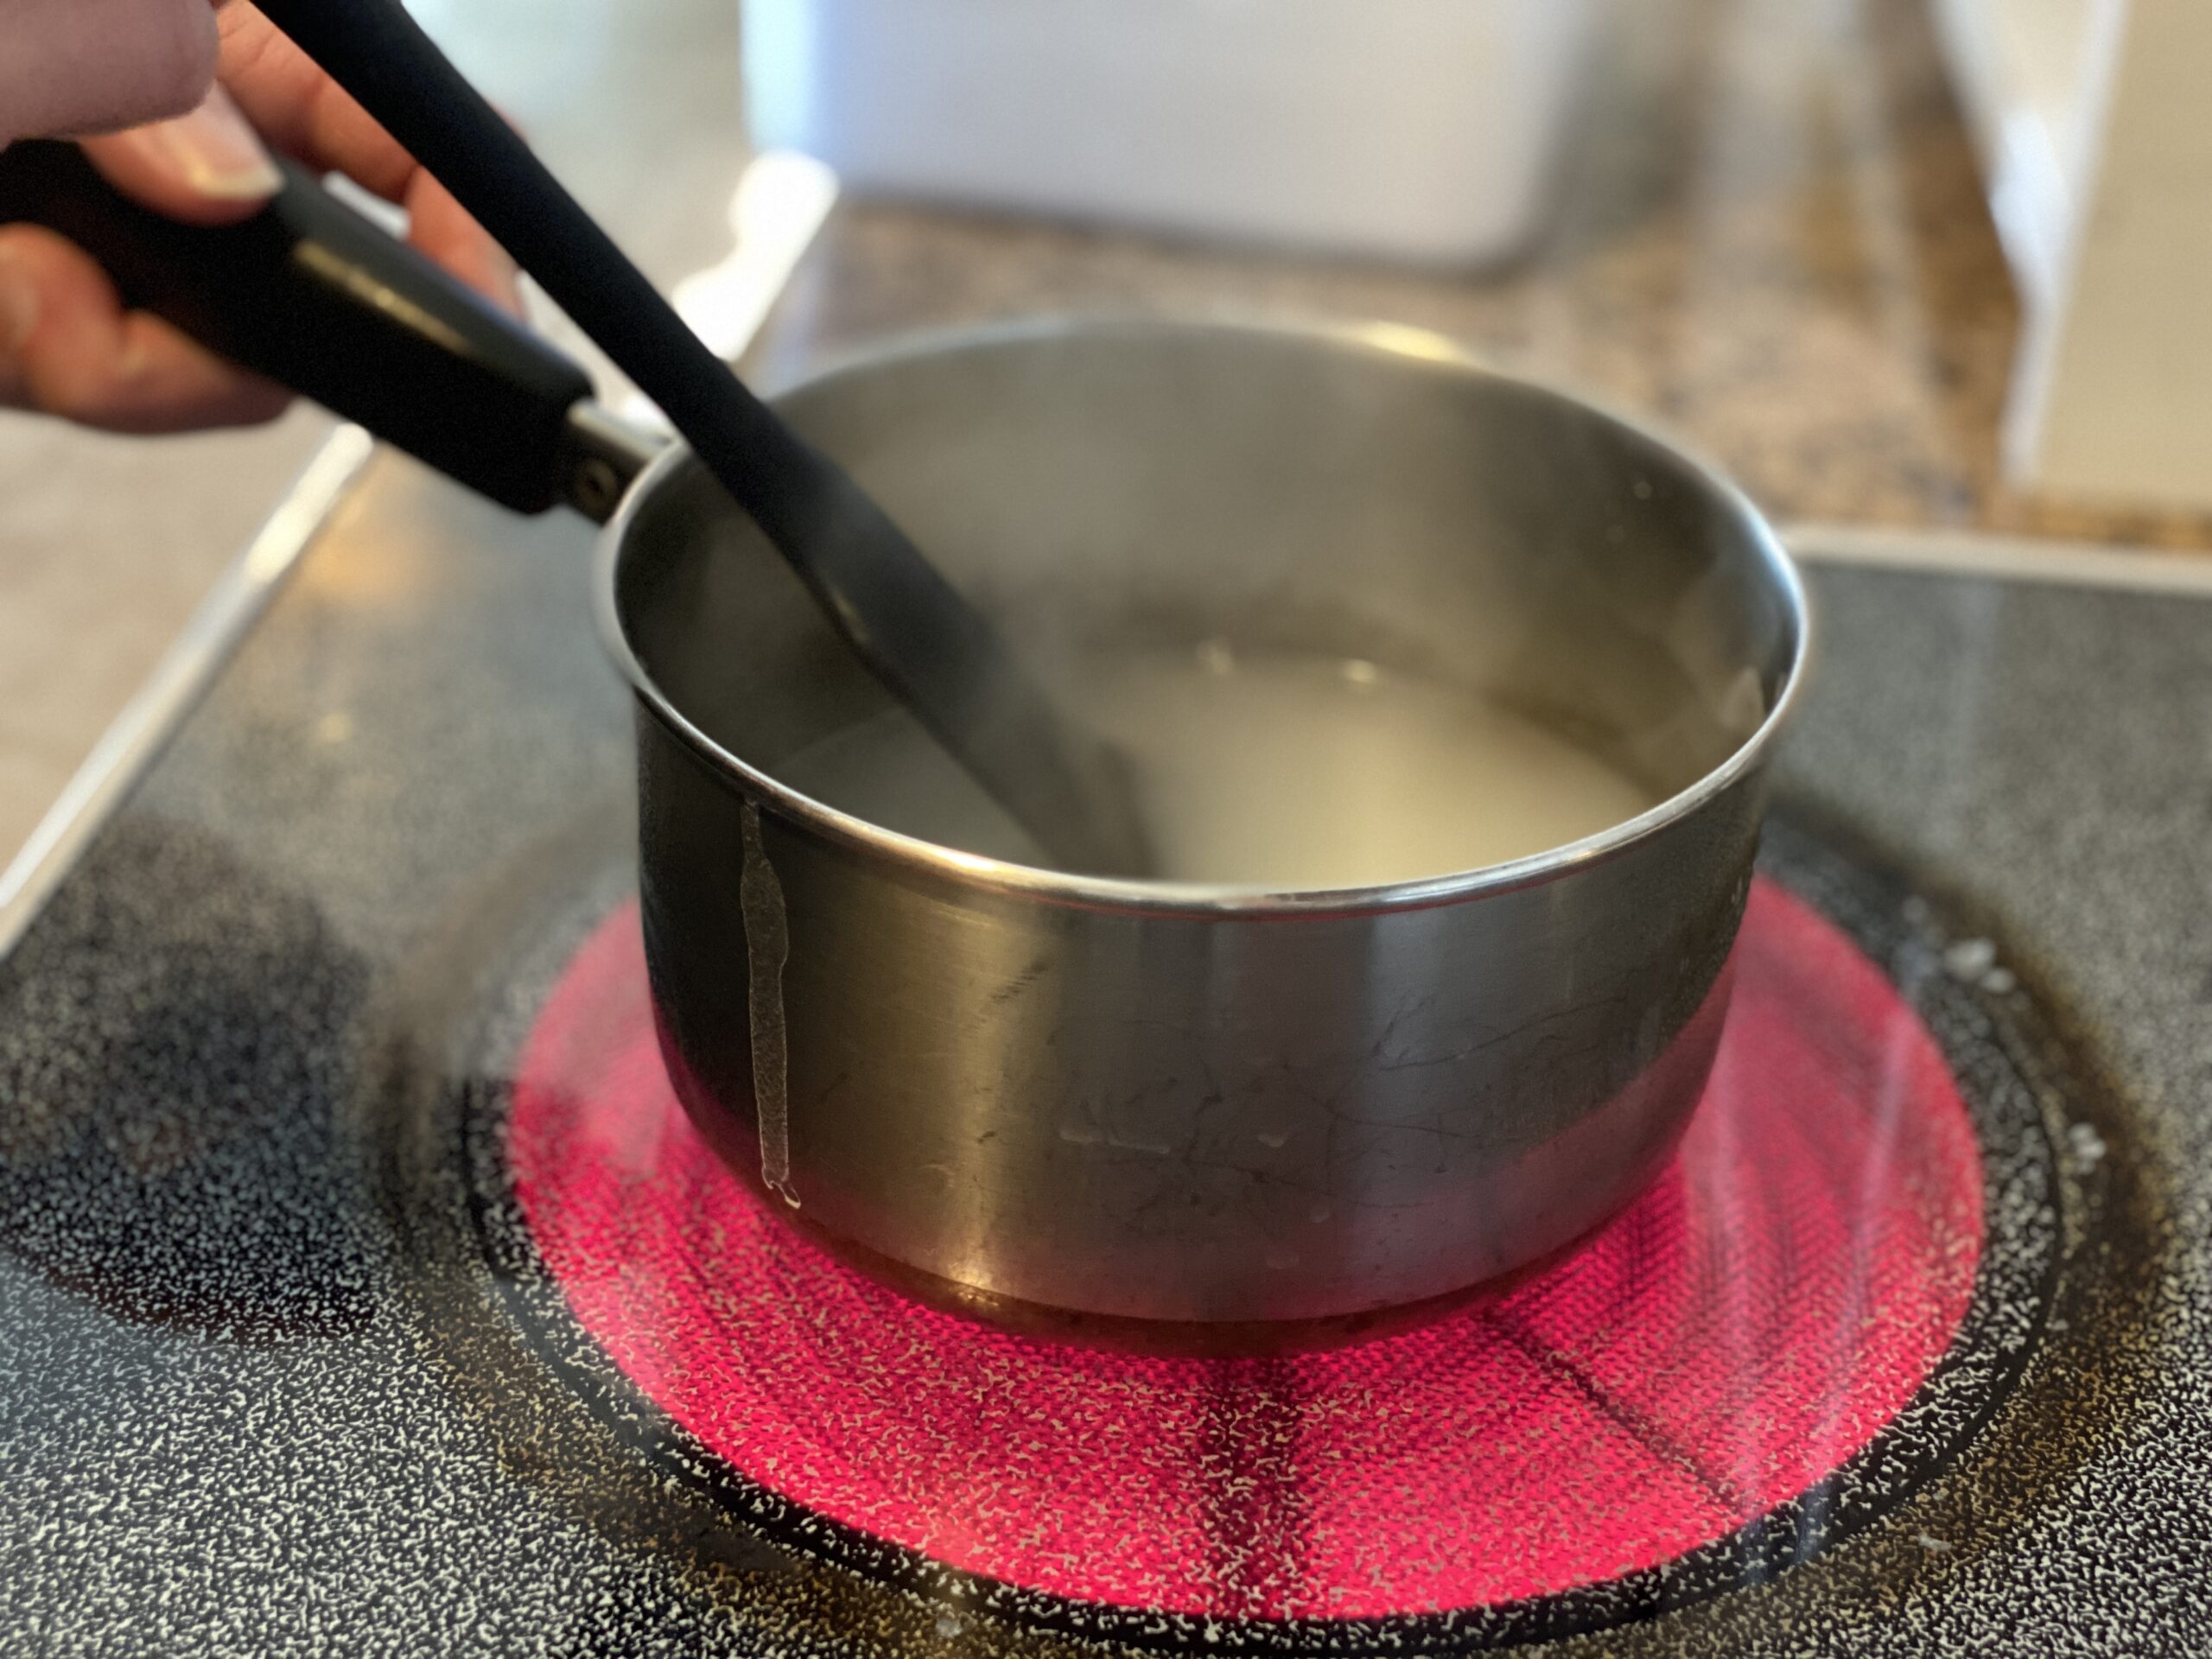
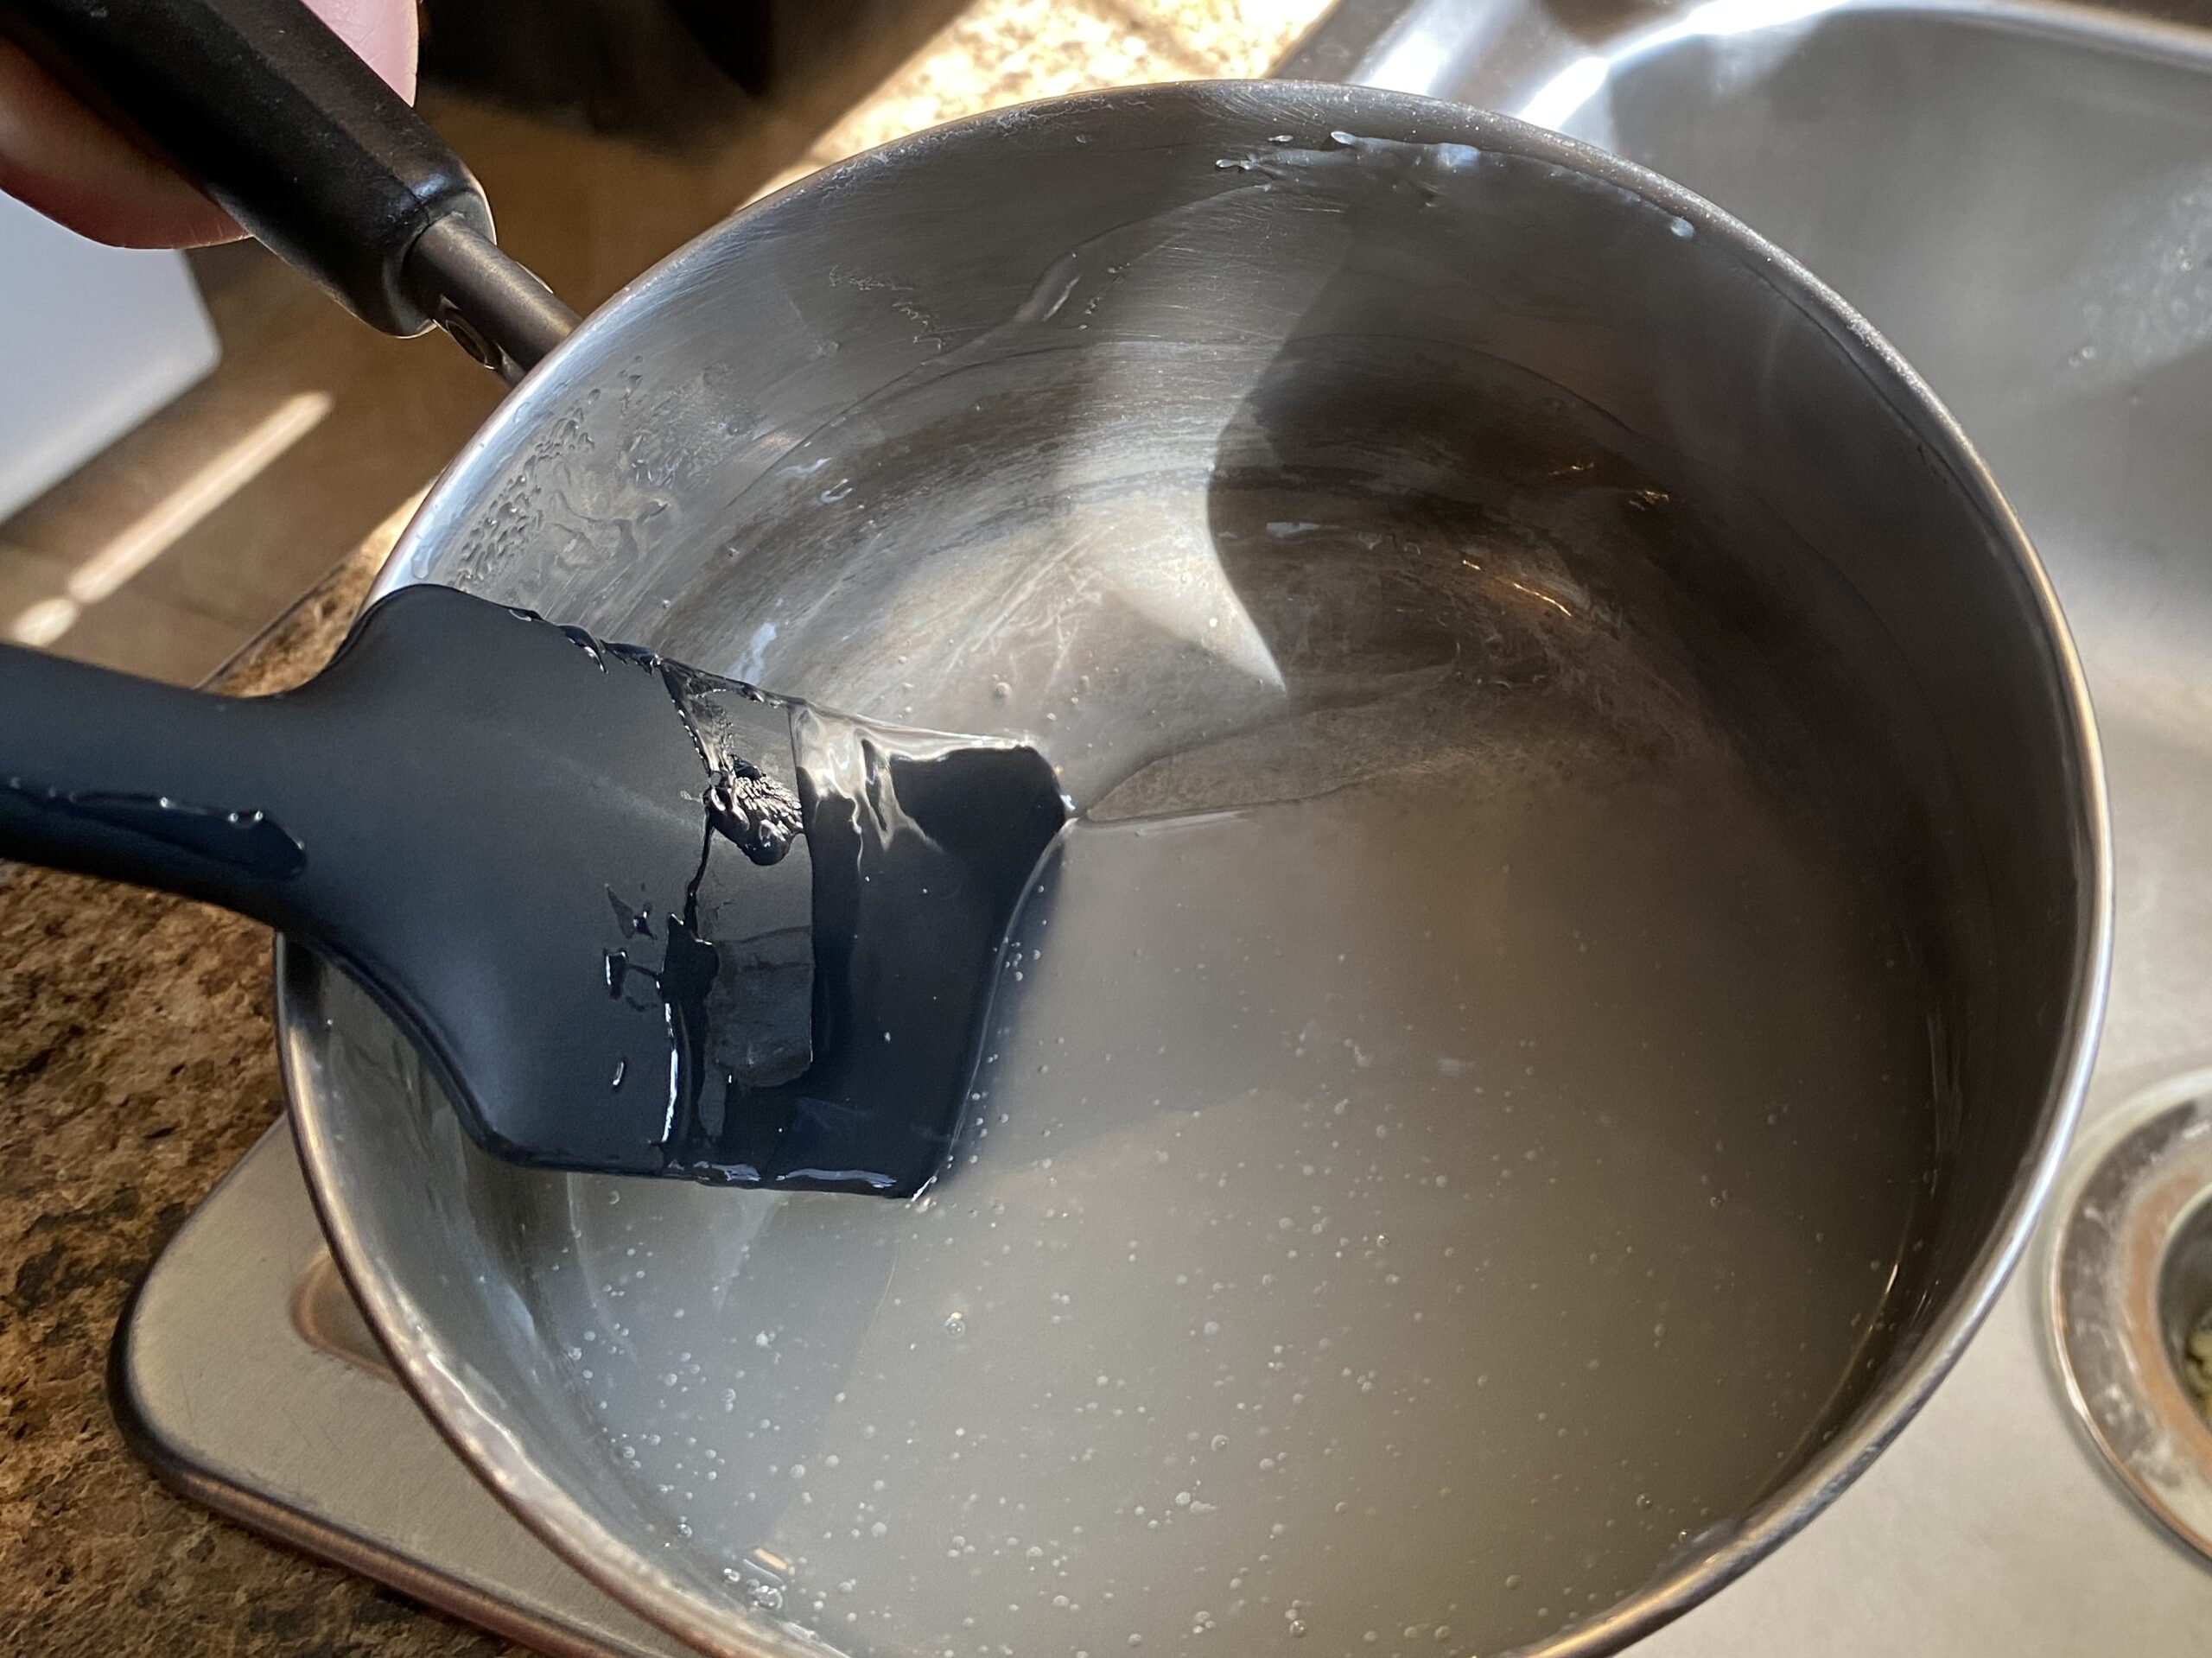
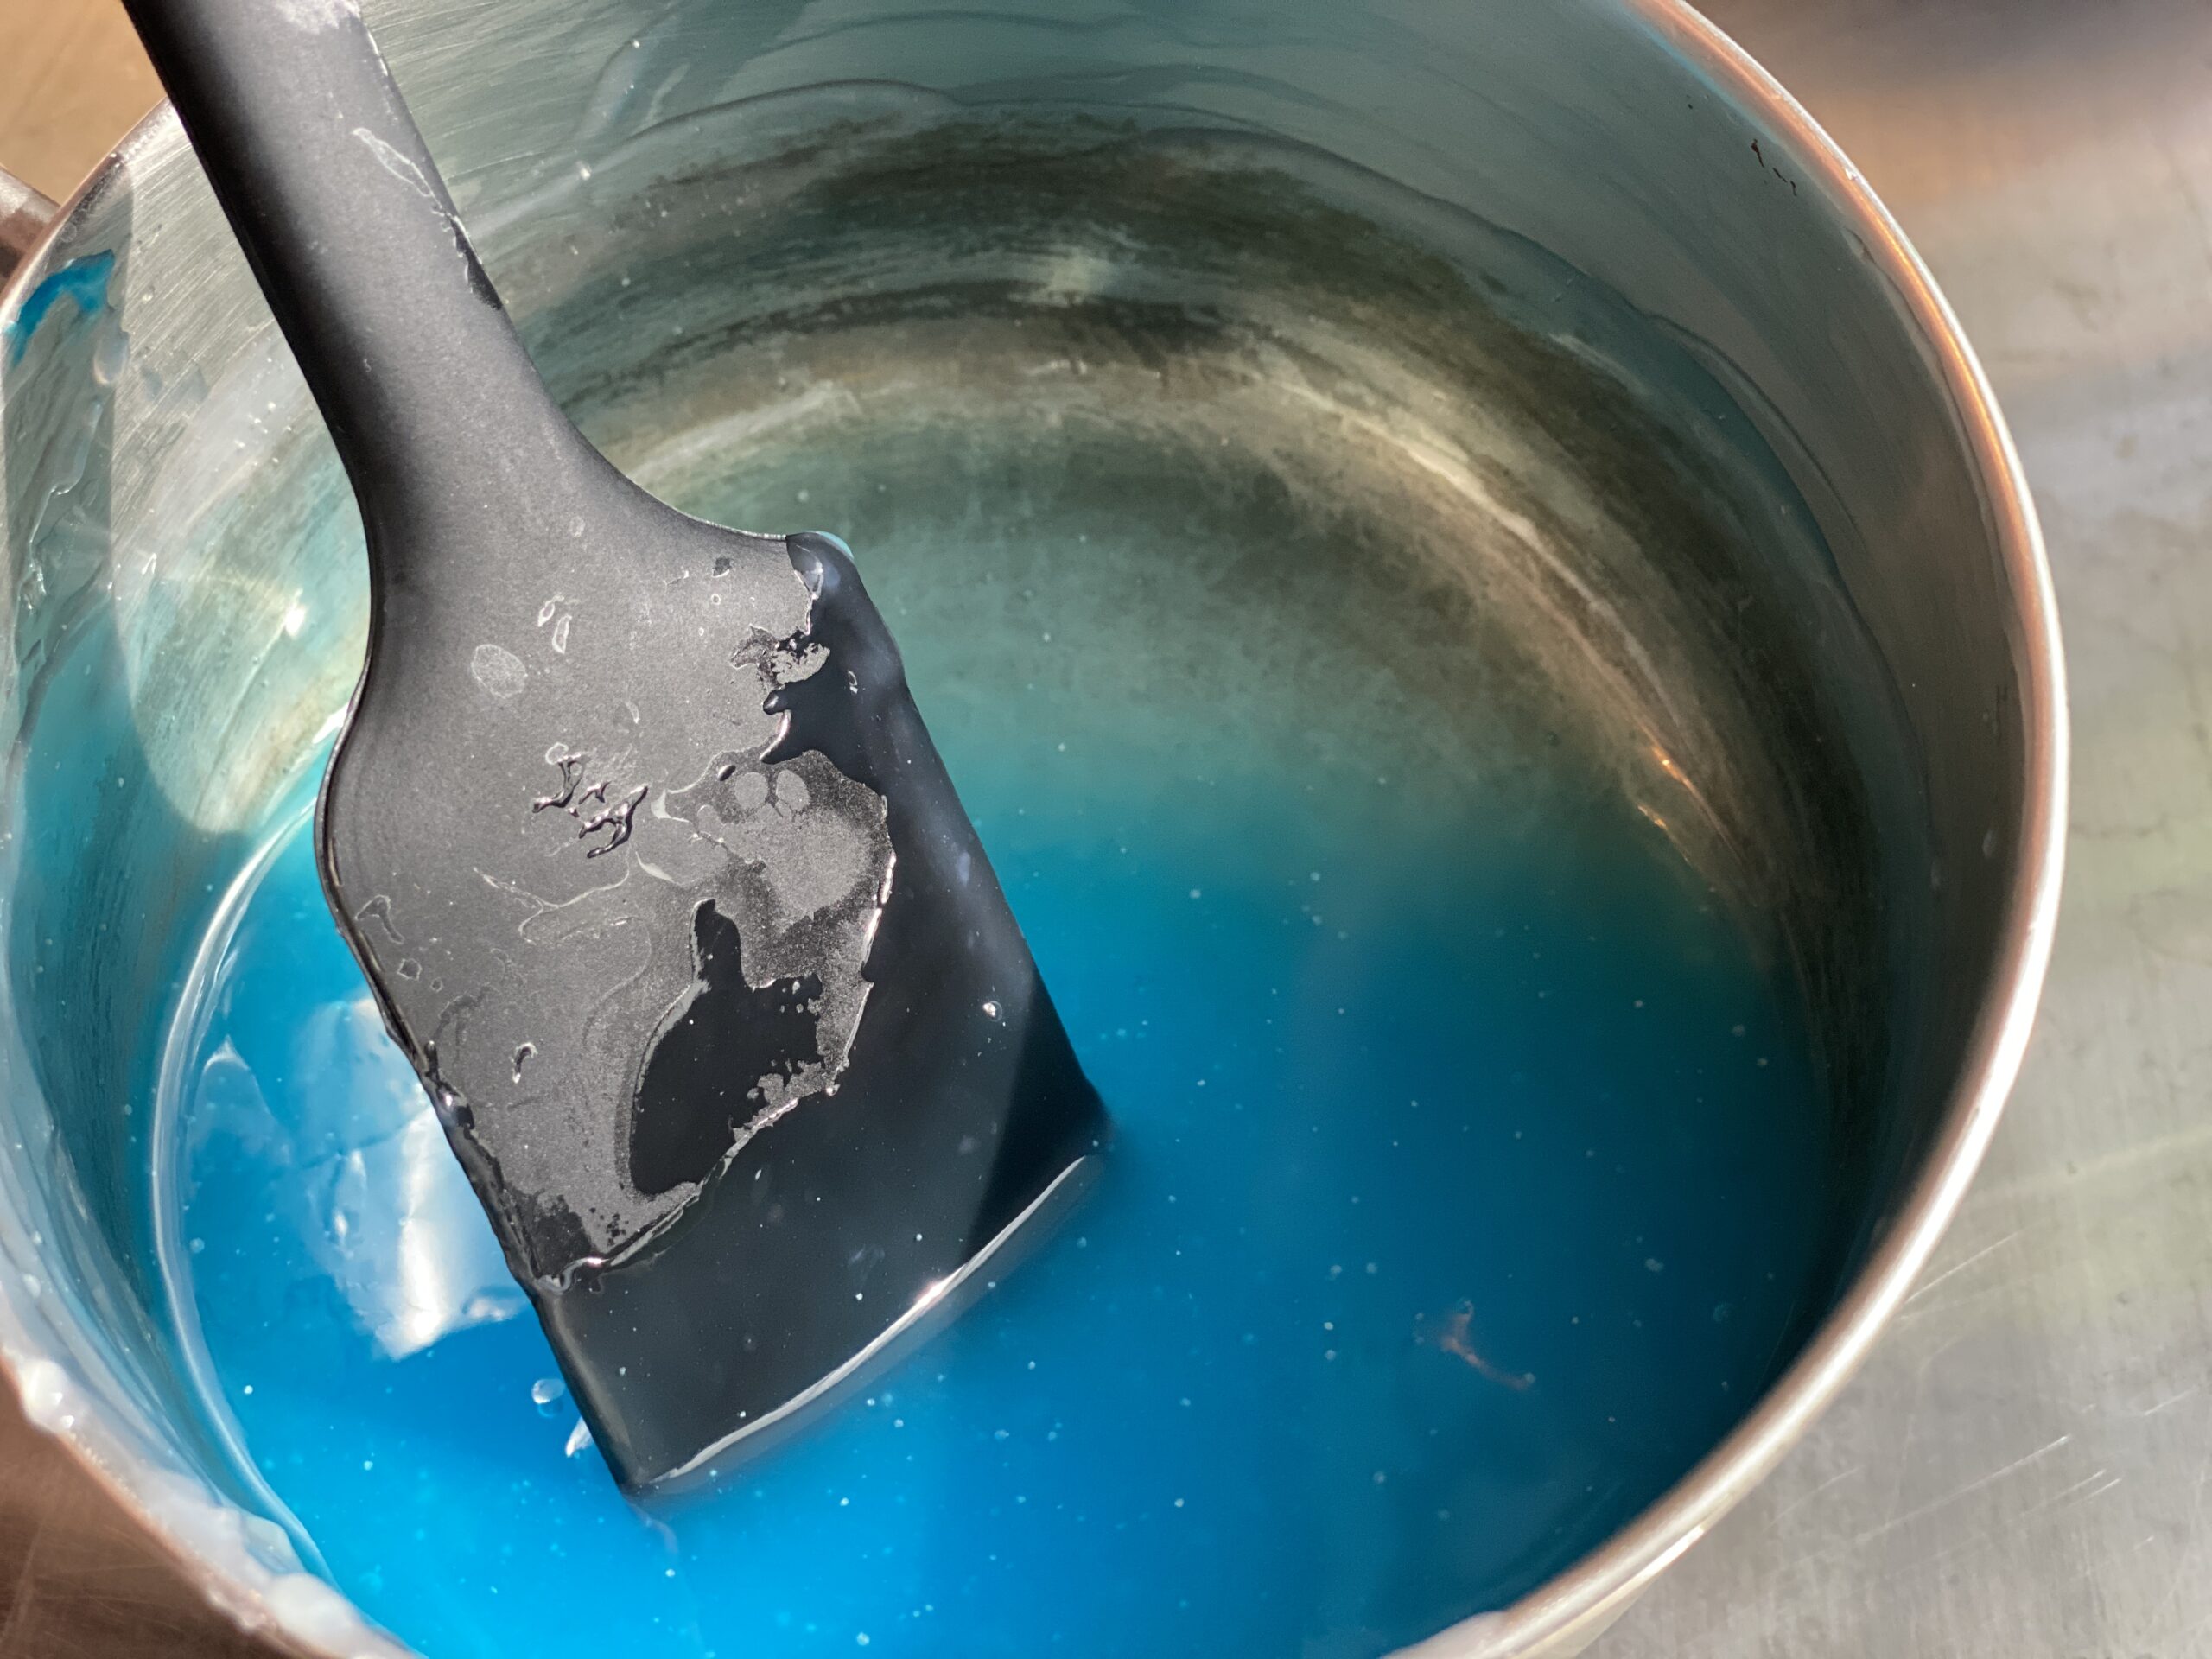
Place pan on stove and gently bring to a simmer on low heat while stirring with the spatula. The mix will begin to thicken a bit. Run your spatula through the paste–if it doesn’t immediately fill back in, then your glitter paste is ready to be colored and spread.
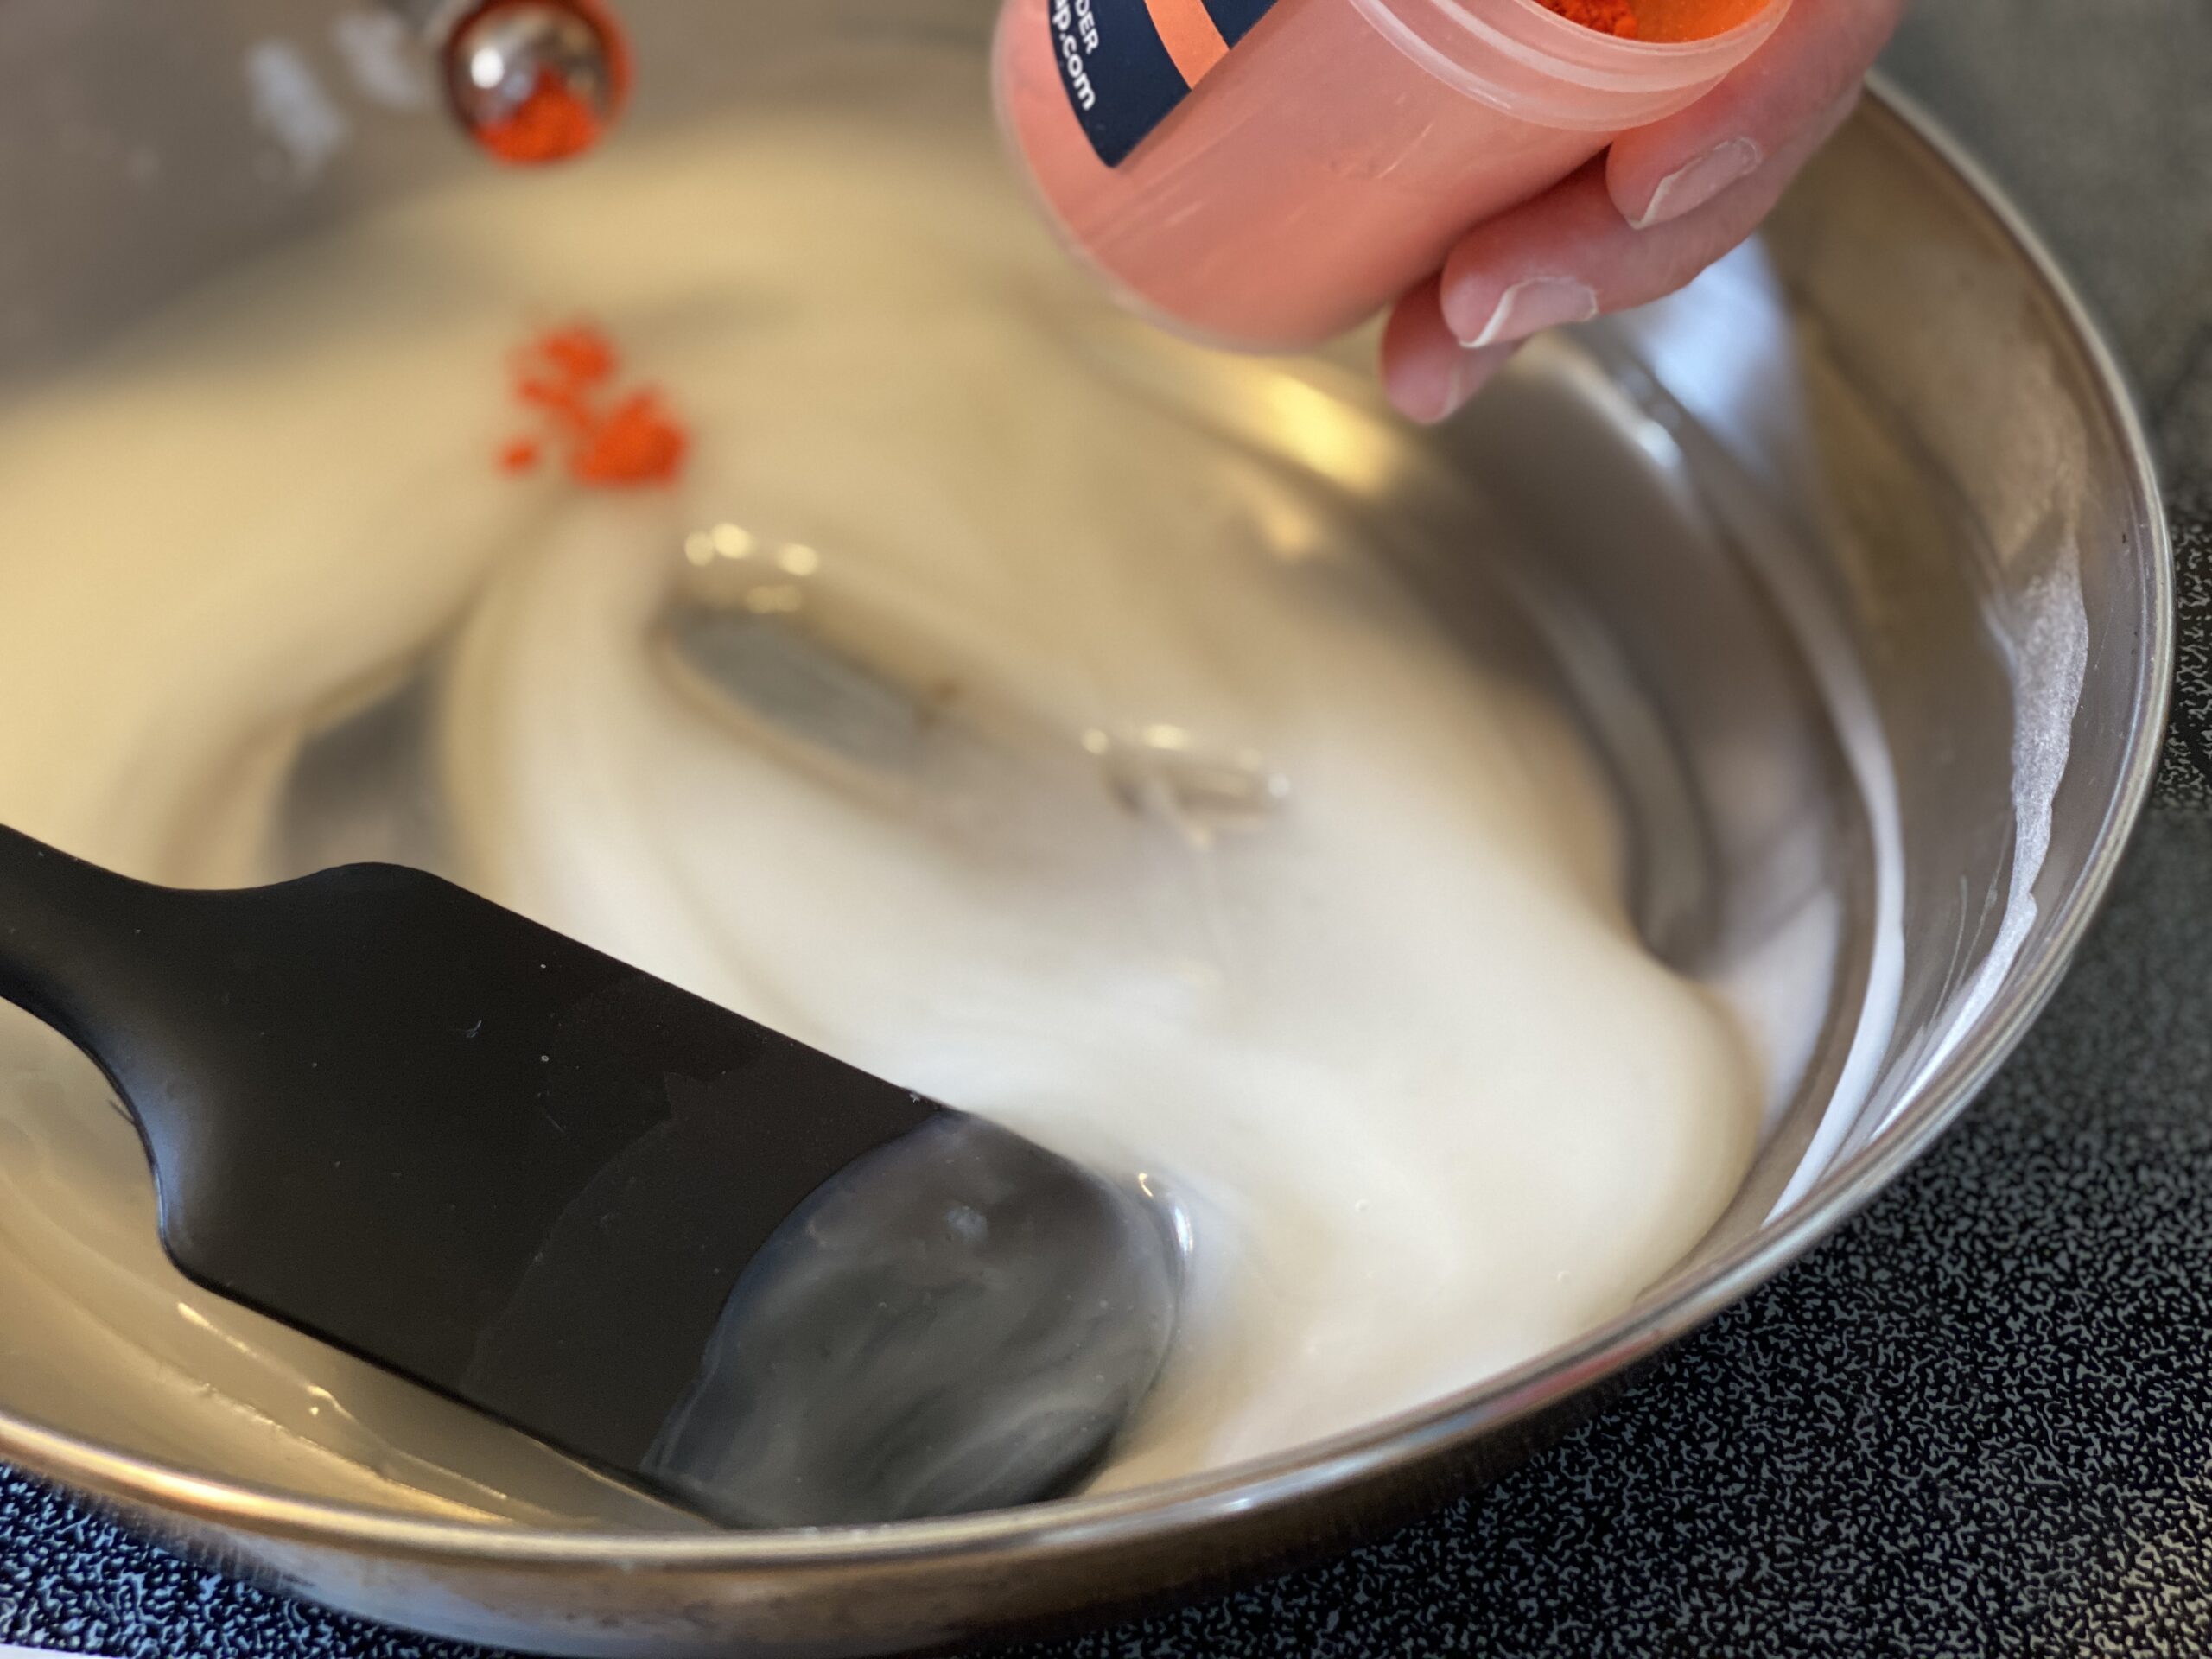
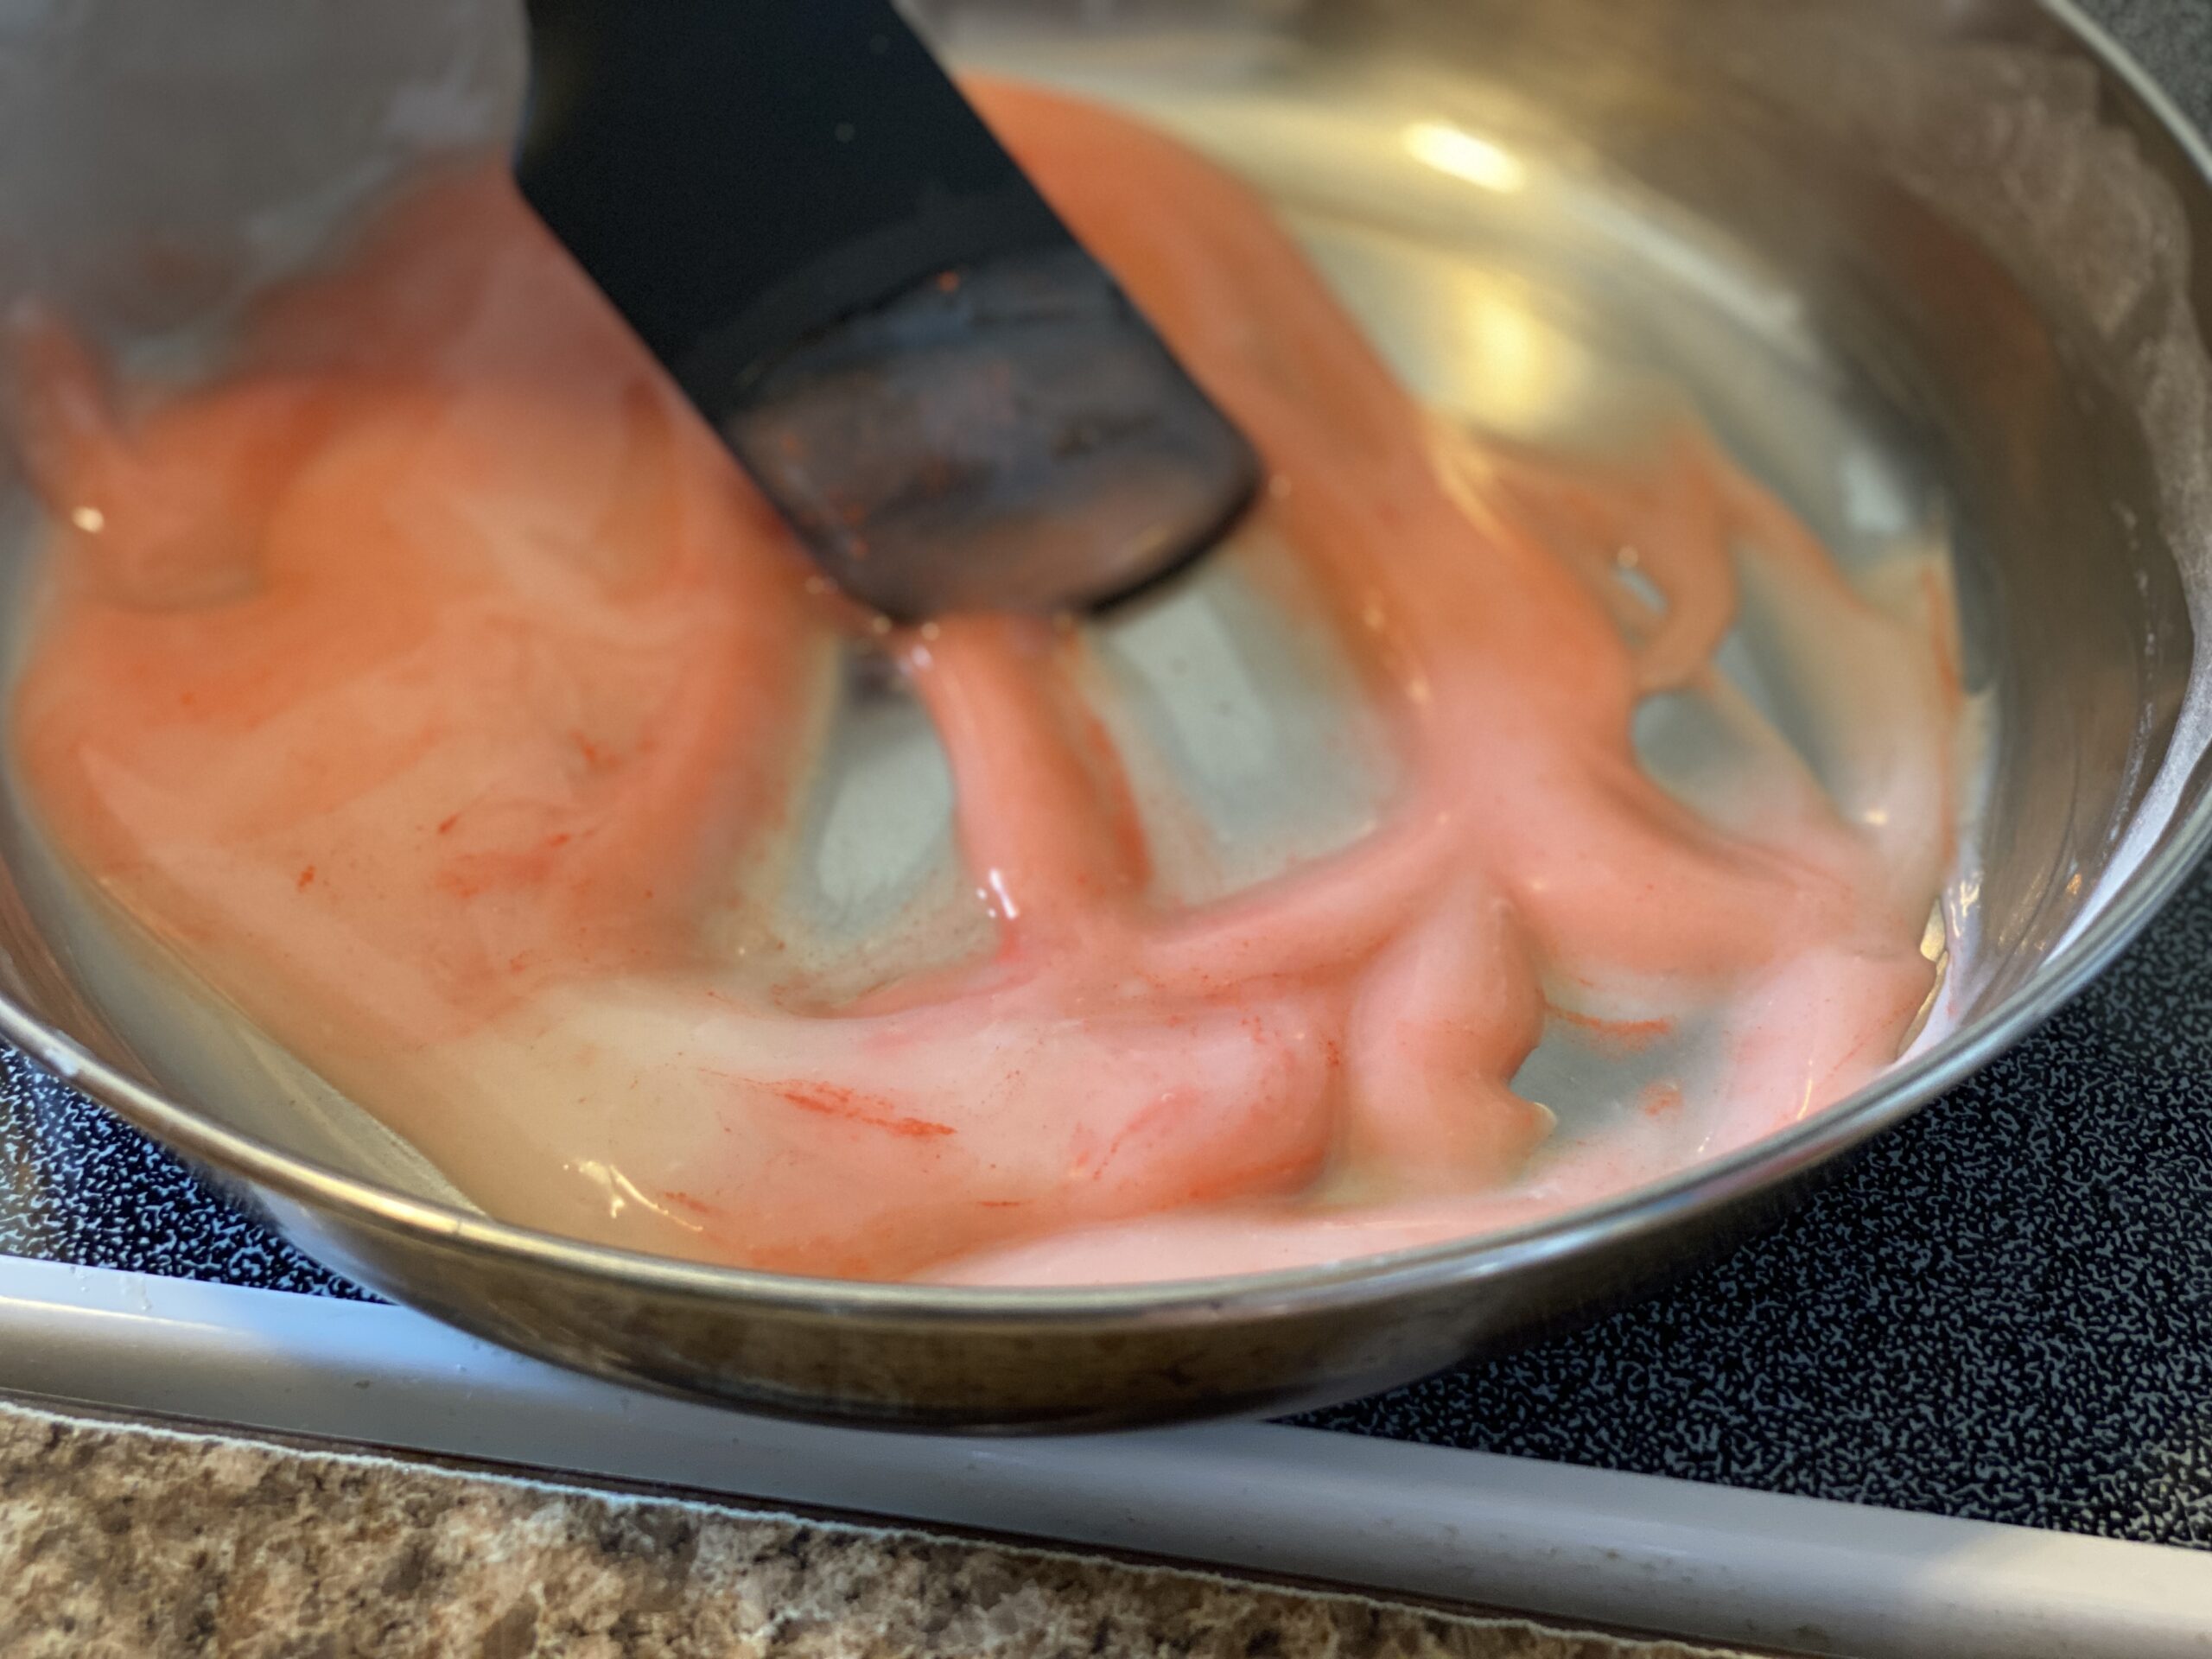
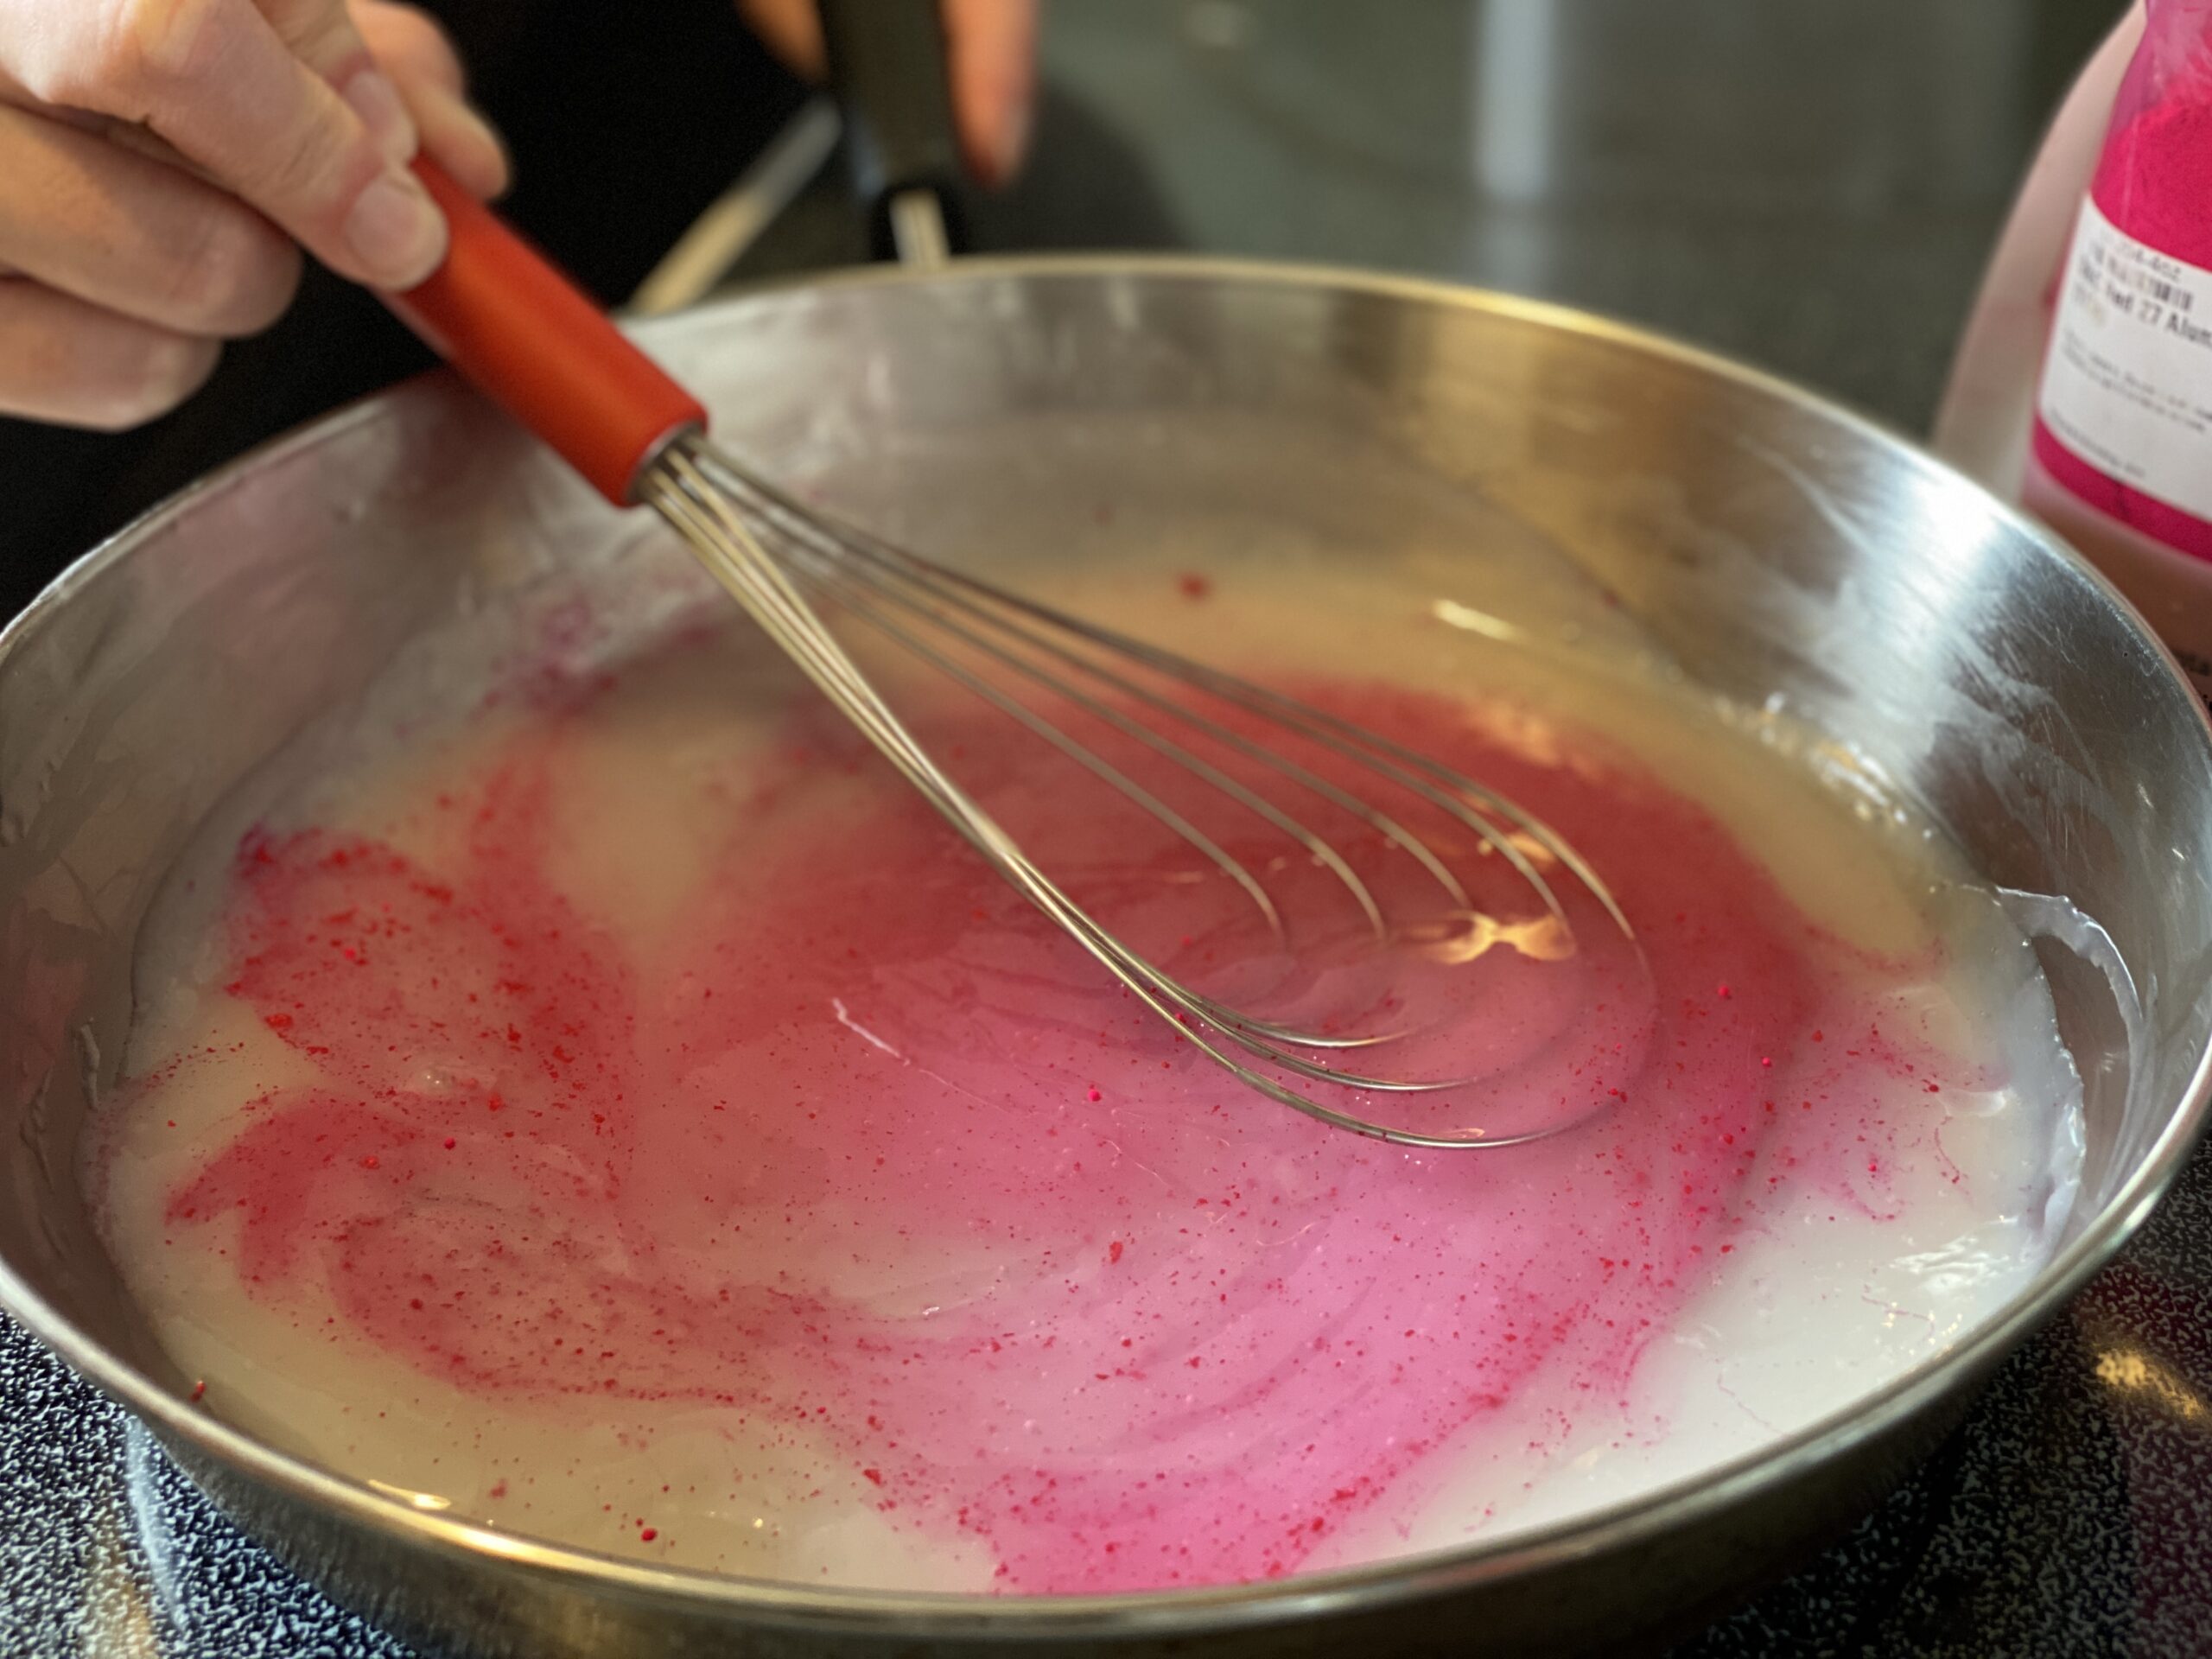
Time to color your glitter paste!
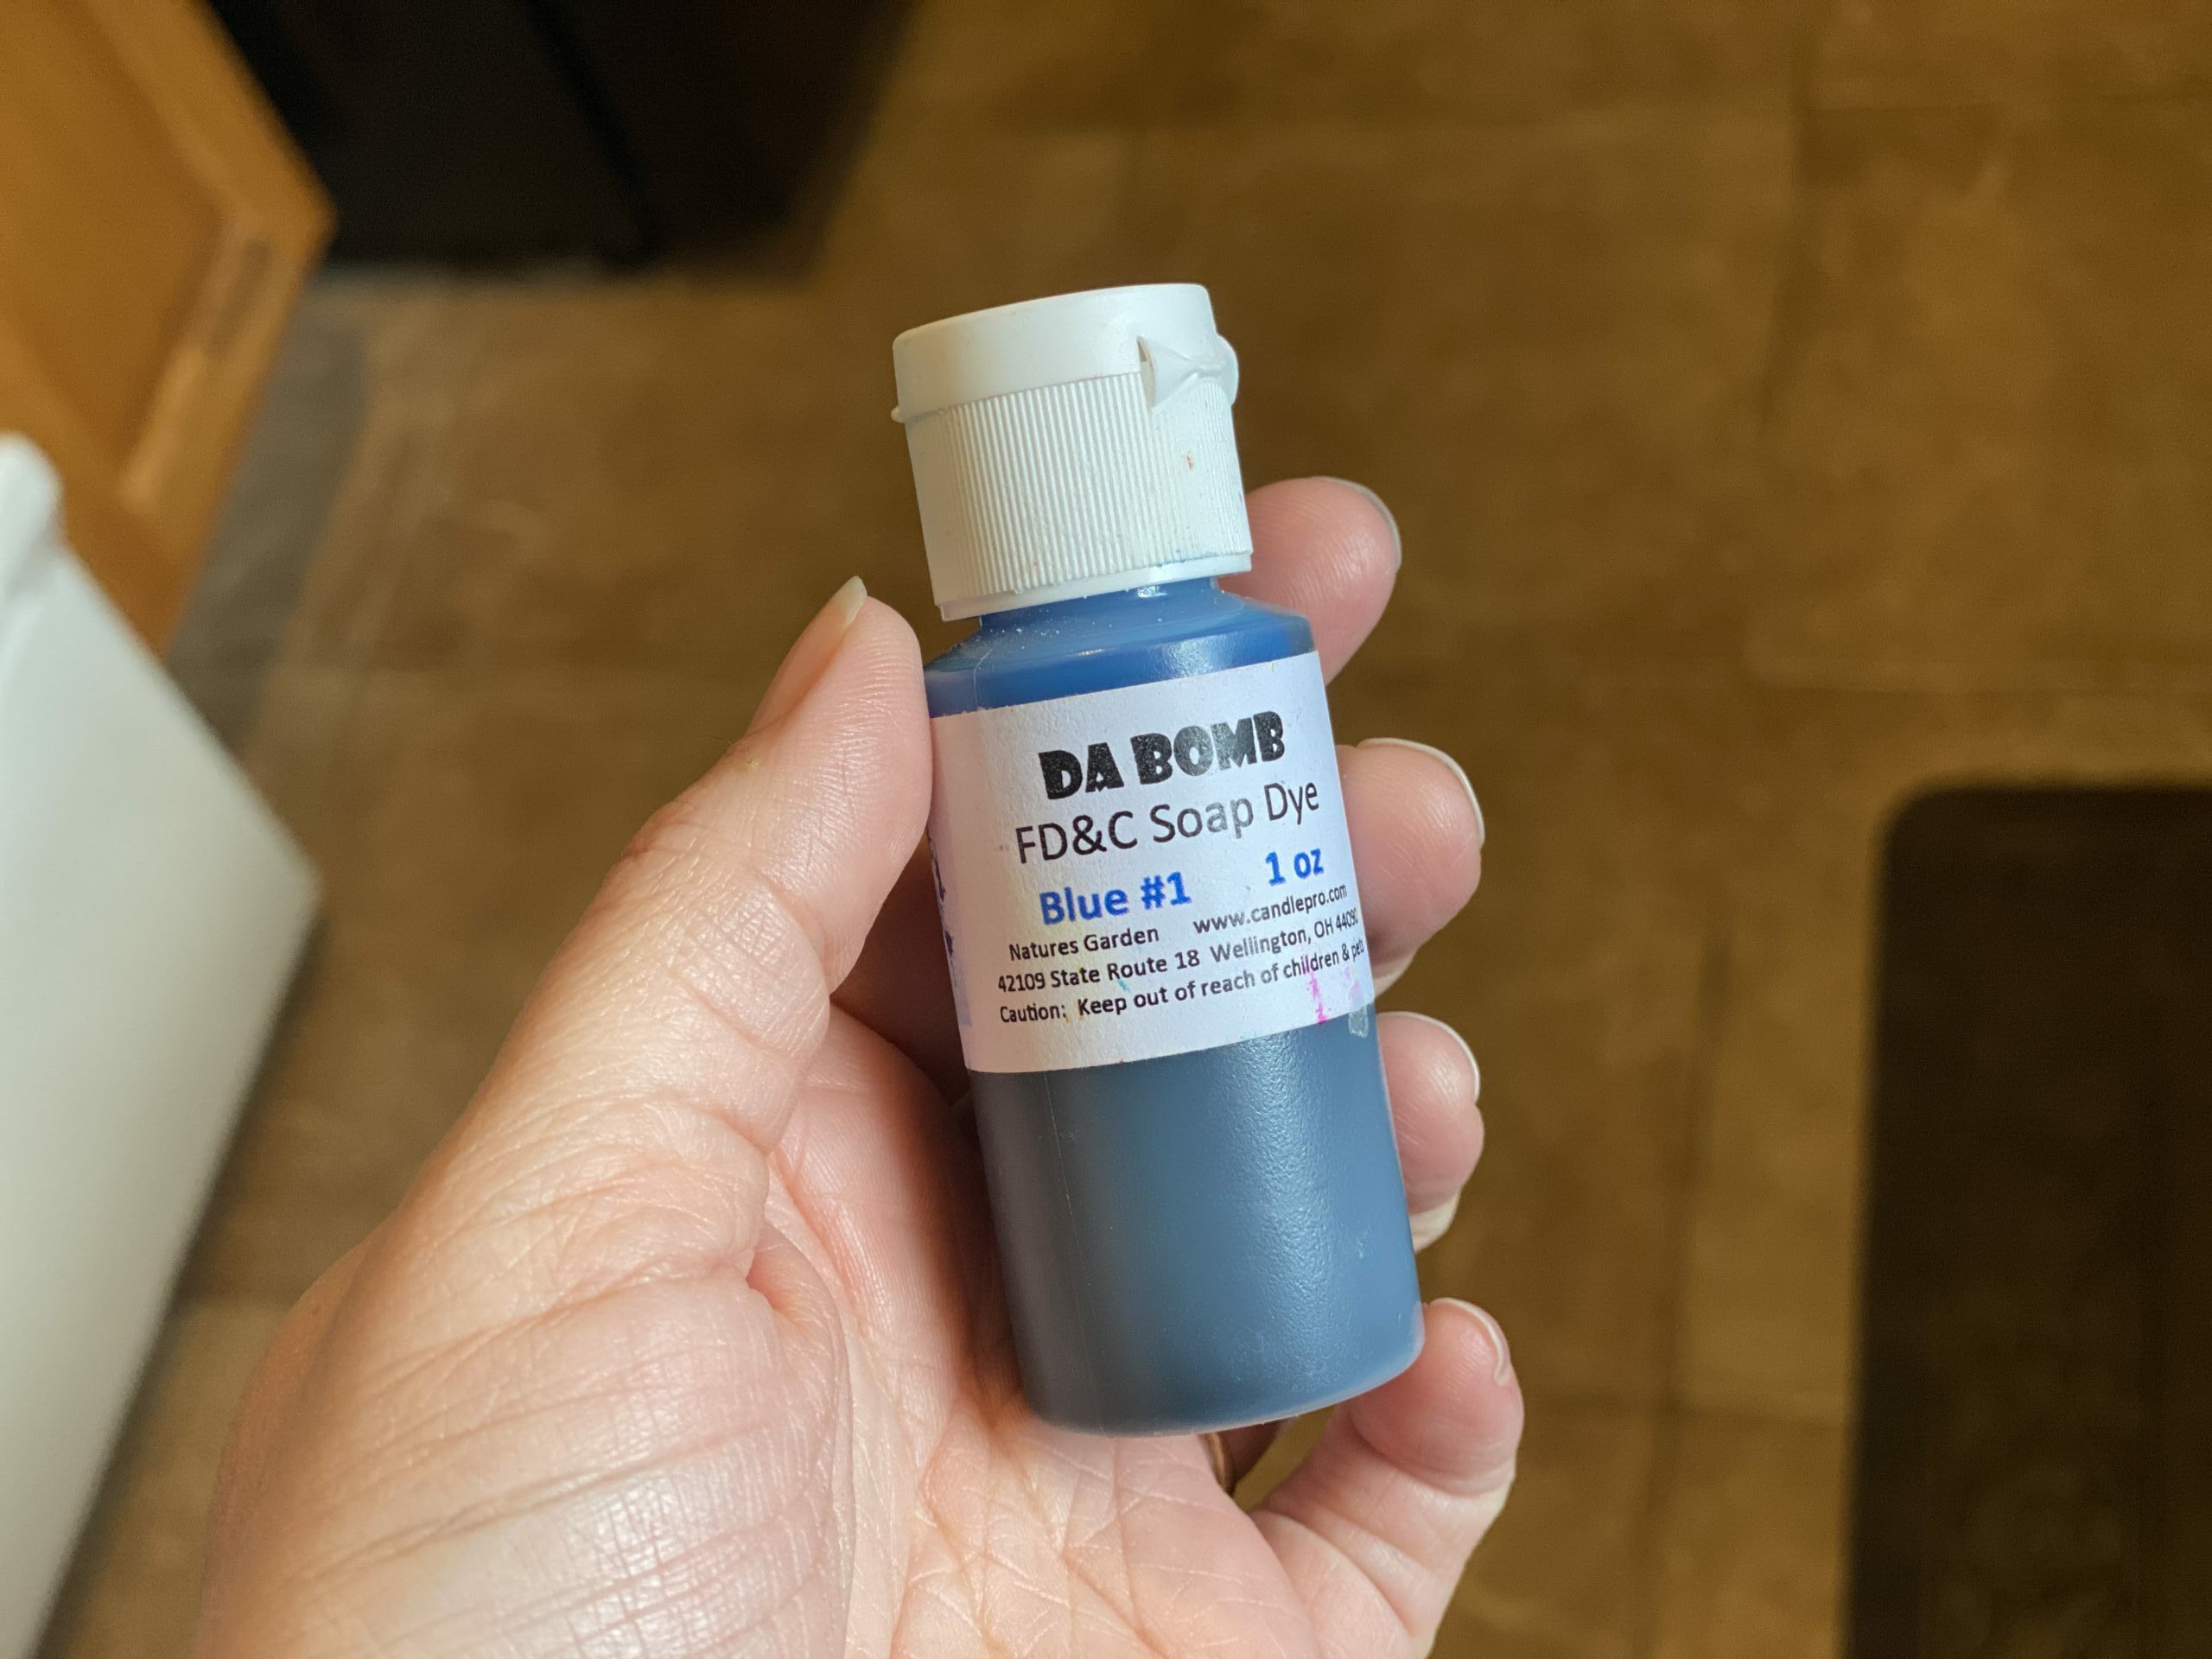
Liquid colorants (like this liquid soap dye) are the easiest to work with, but you’ll need to make sure they are approved for use in cosmetics. Additionally every ingredient in the colorant will need to be listed on your final product labels.
You can use also micas as long as they are safe for use in bath bombs–which means they should be listed as safe for use in cosmetics and on lips! In the United States they also shouldn’t contain ultramarine blue, chromium green oxide, or be a neon.
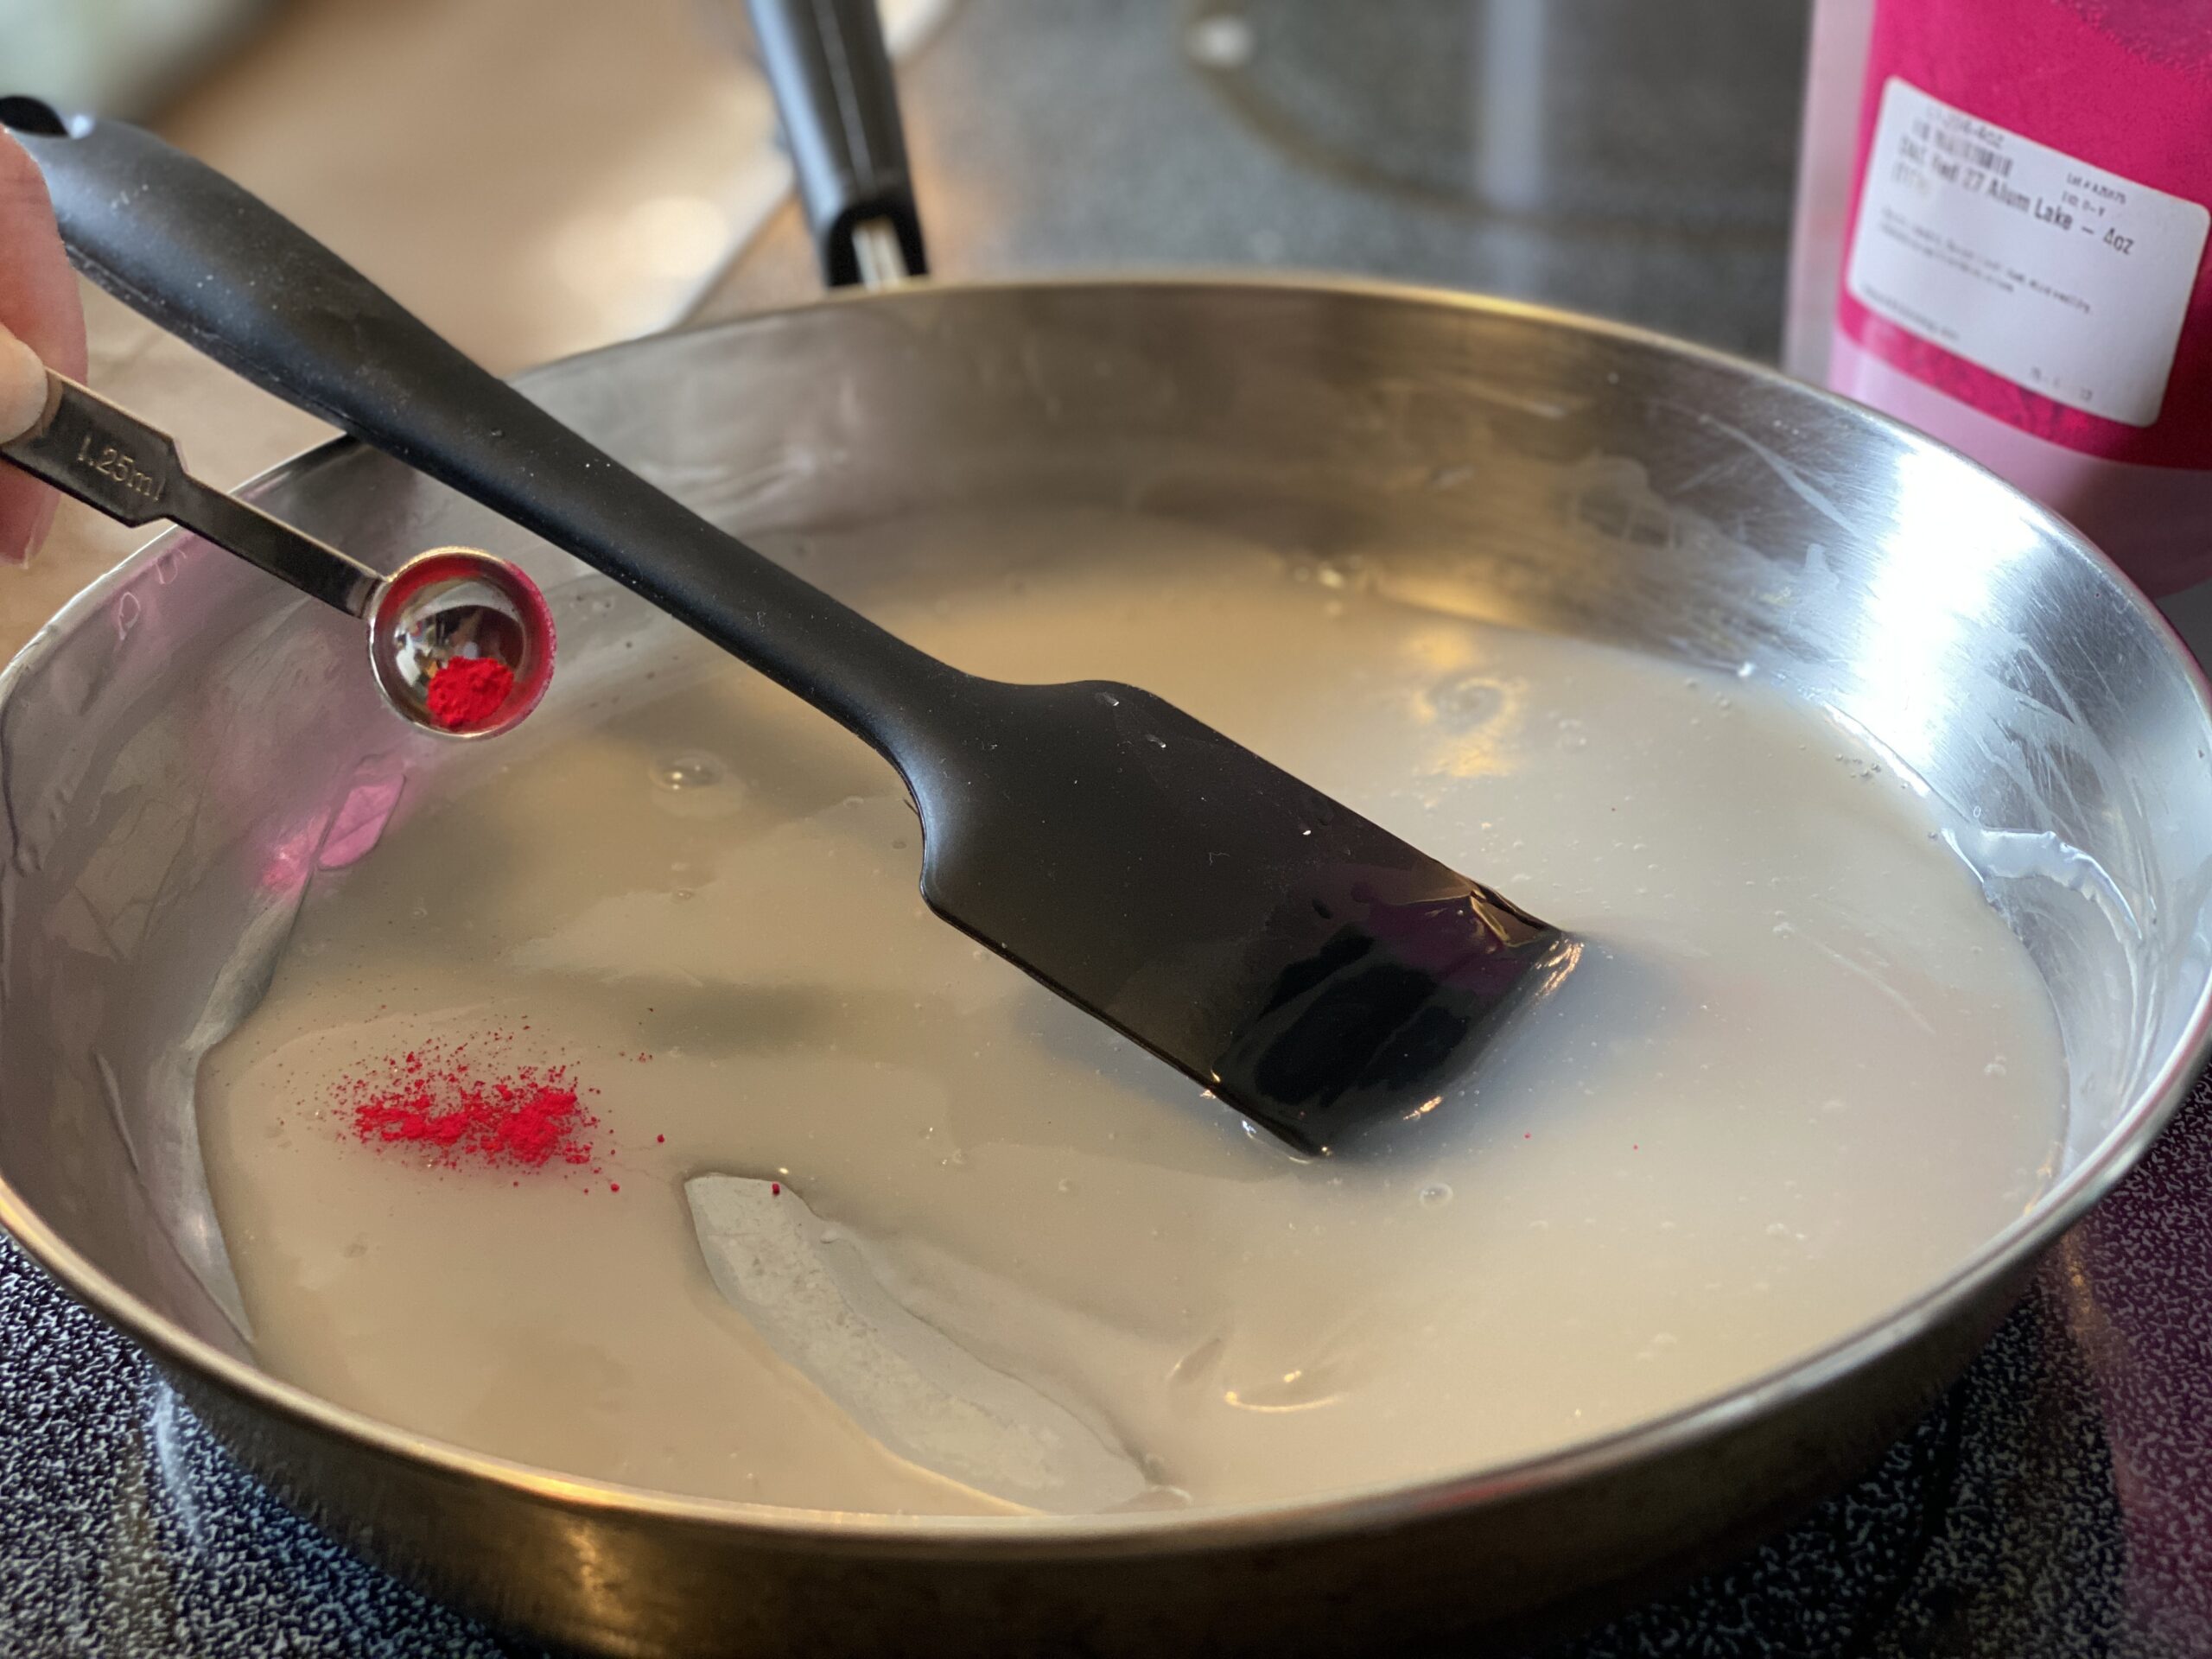
FD&C lakes or dyes also work, but these will be more prone to color bleed later on and can be hard to mix in! The color might blend in better if the lake or dye is mixed with the cornstarch before being added to the water, but I haven’t tested it yet so I can’t be certain about that!
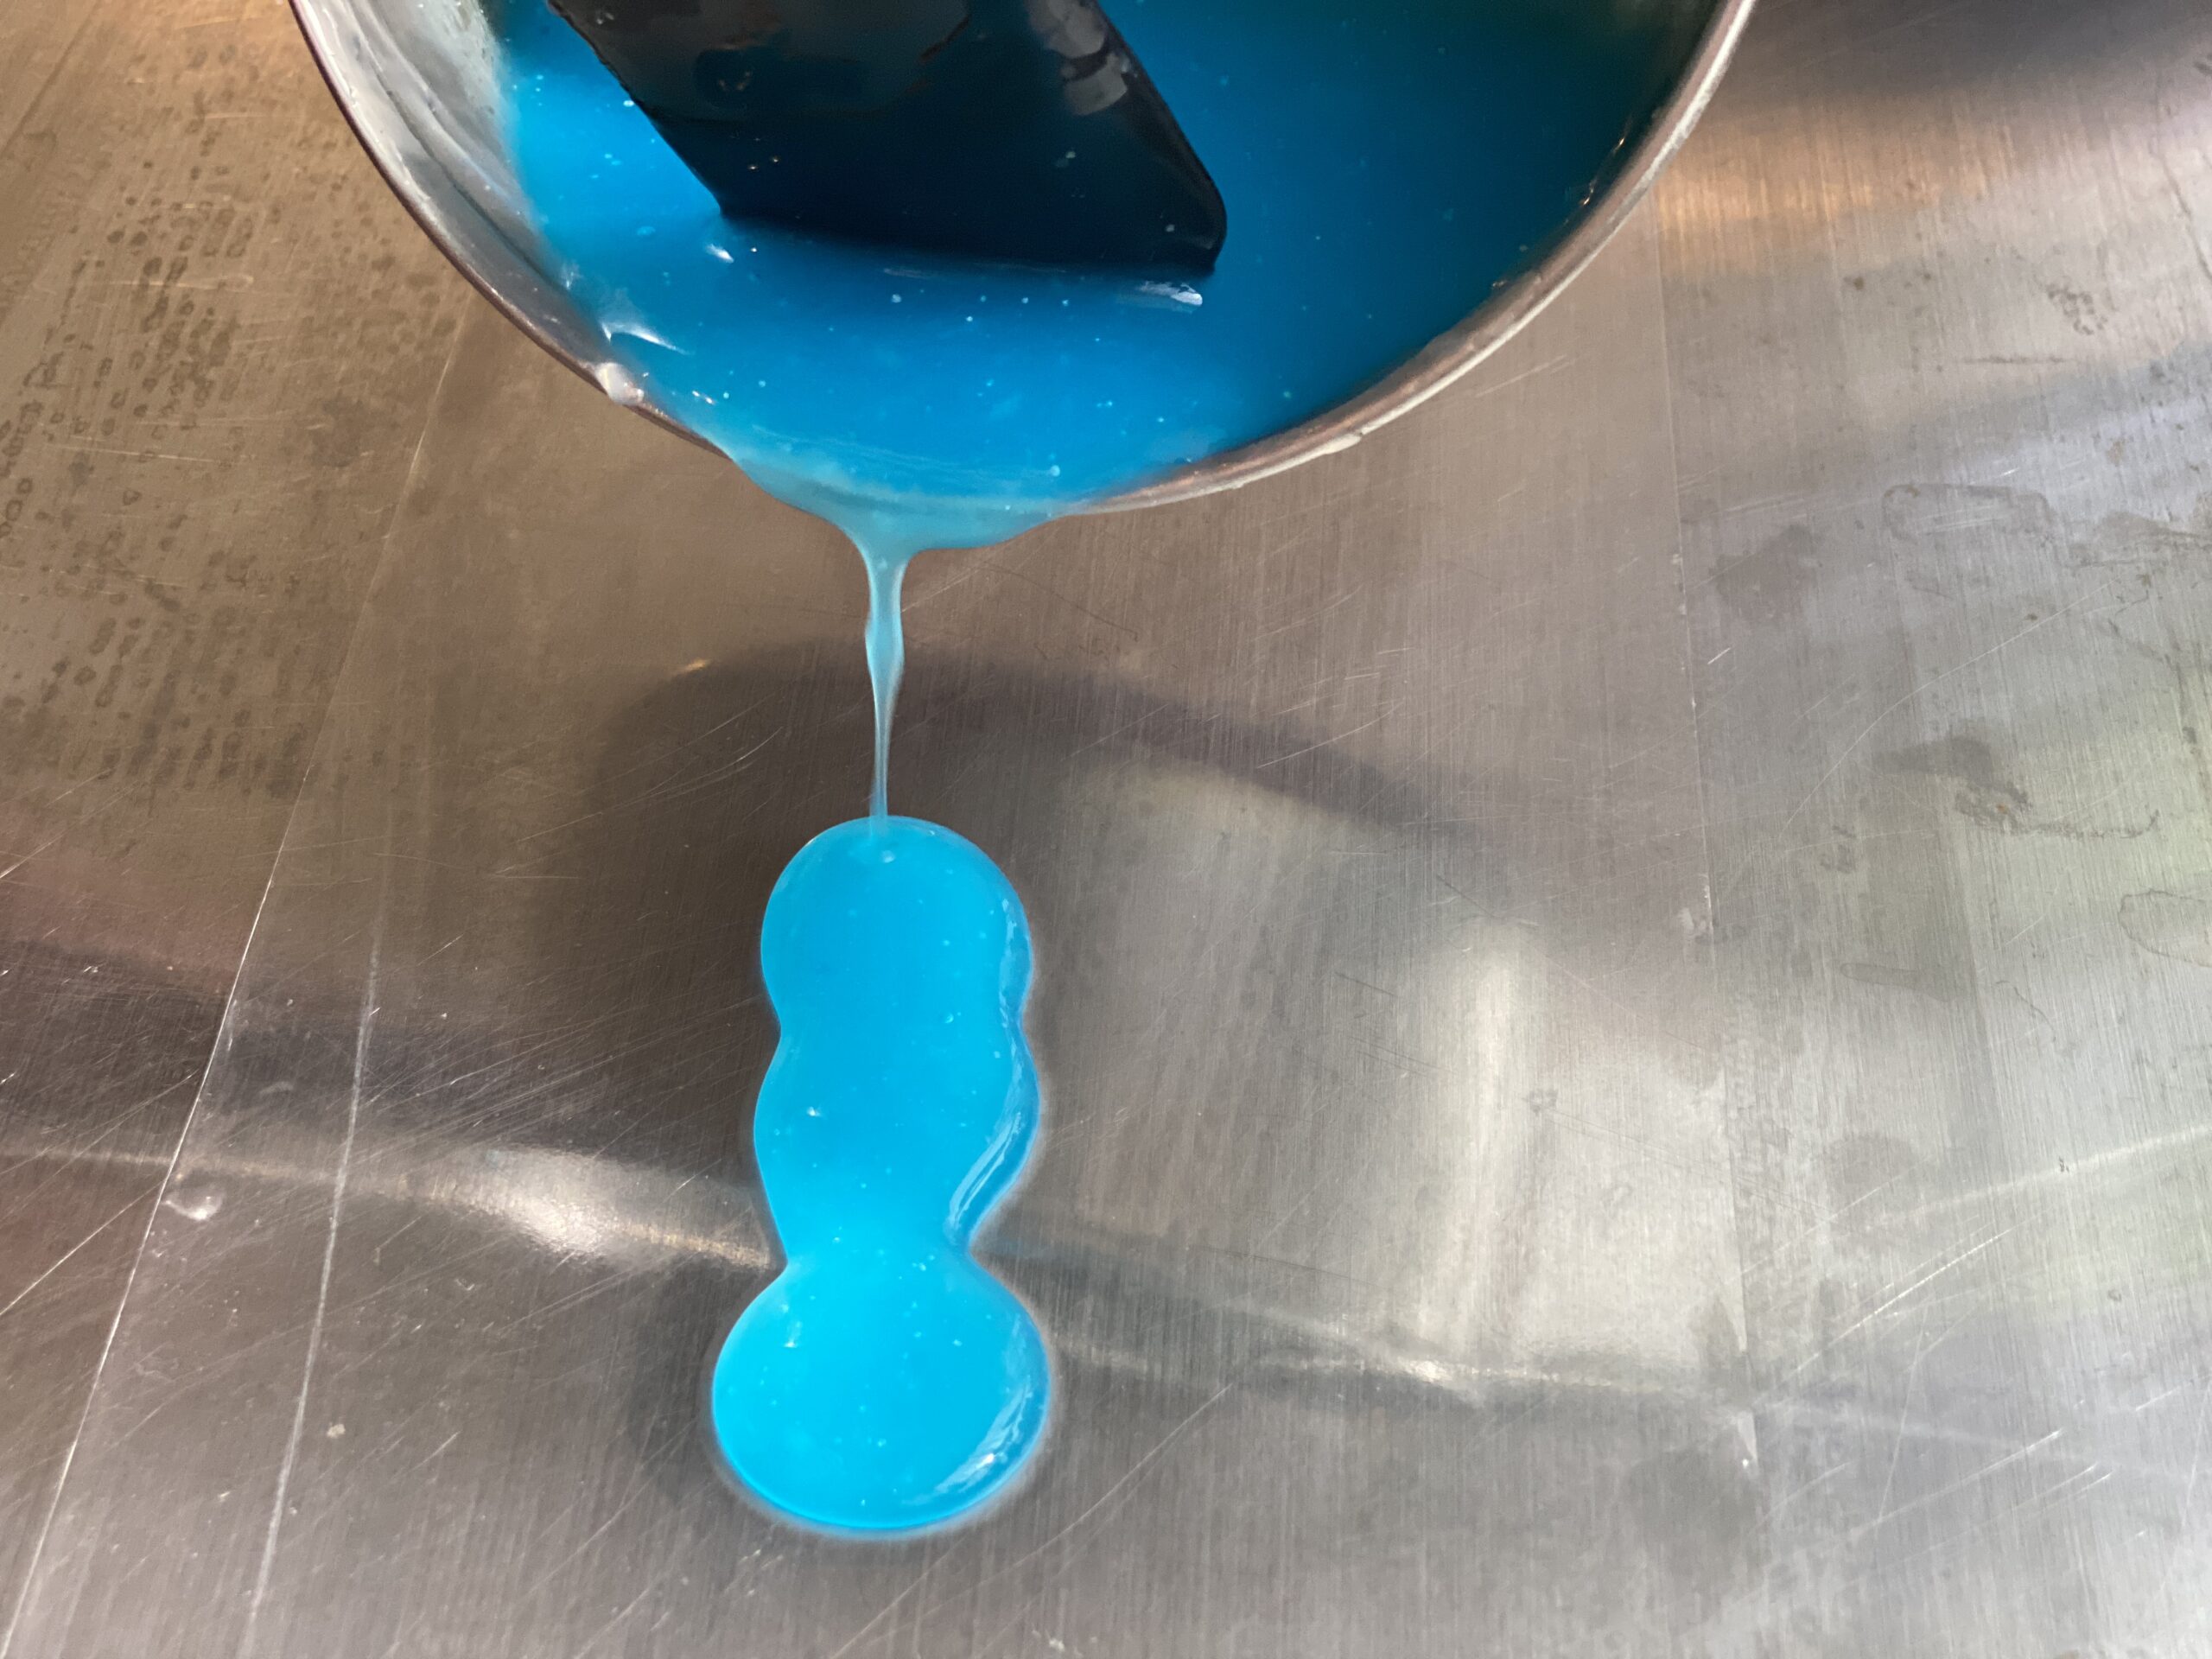
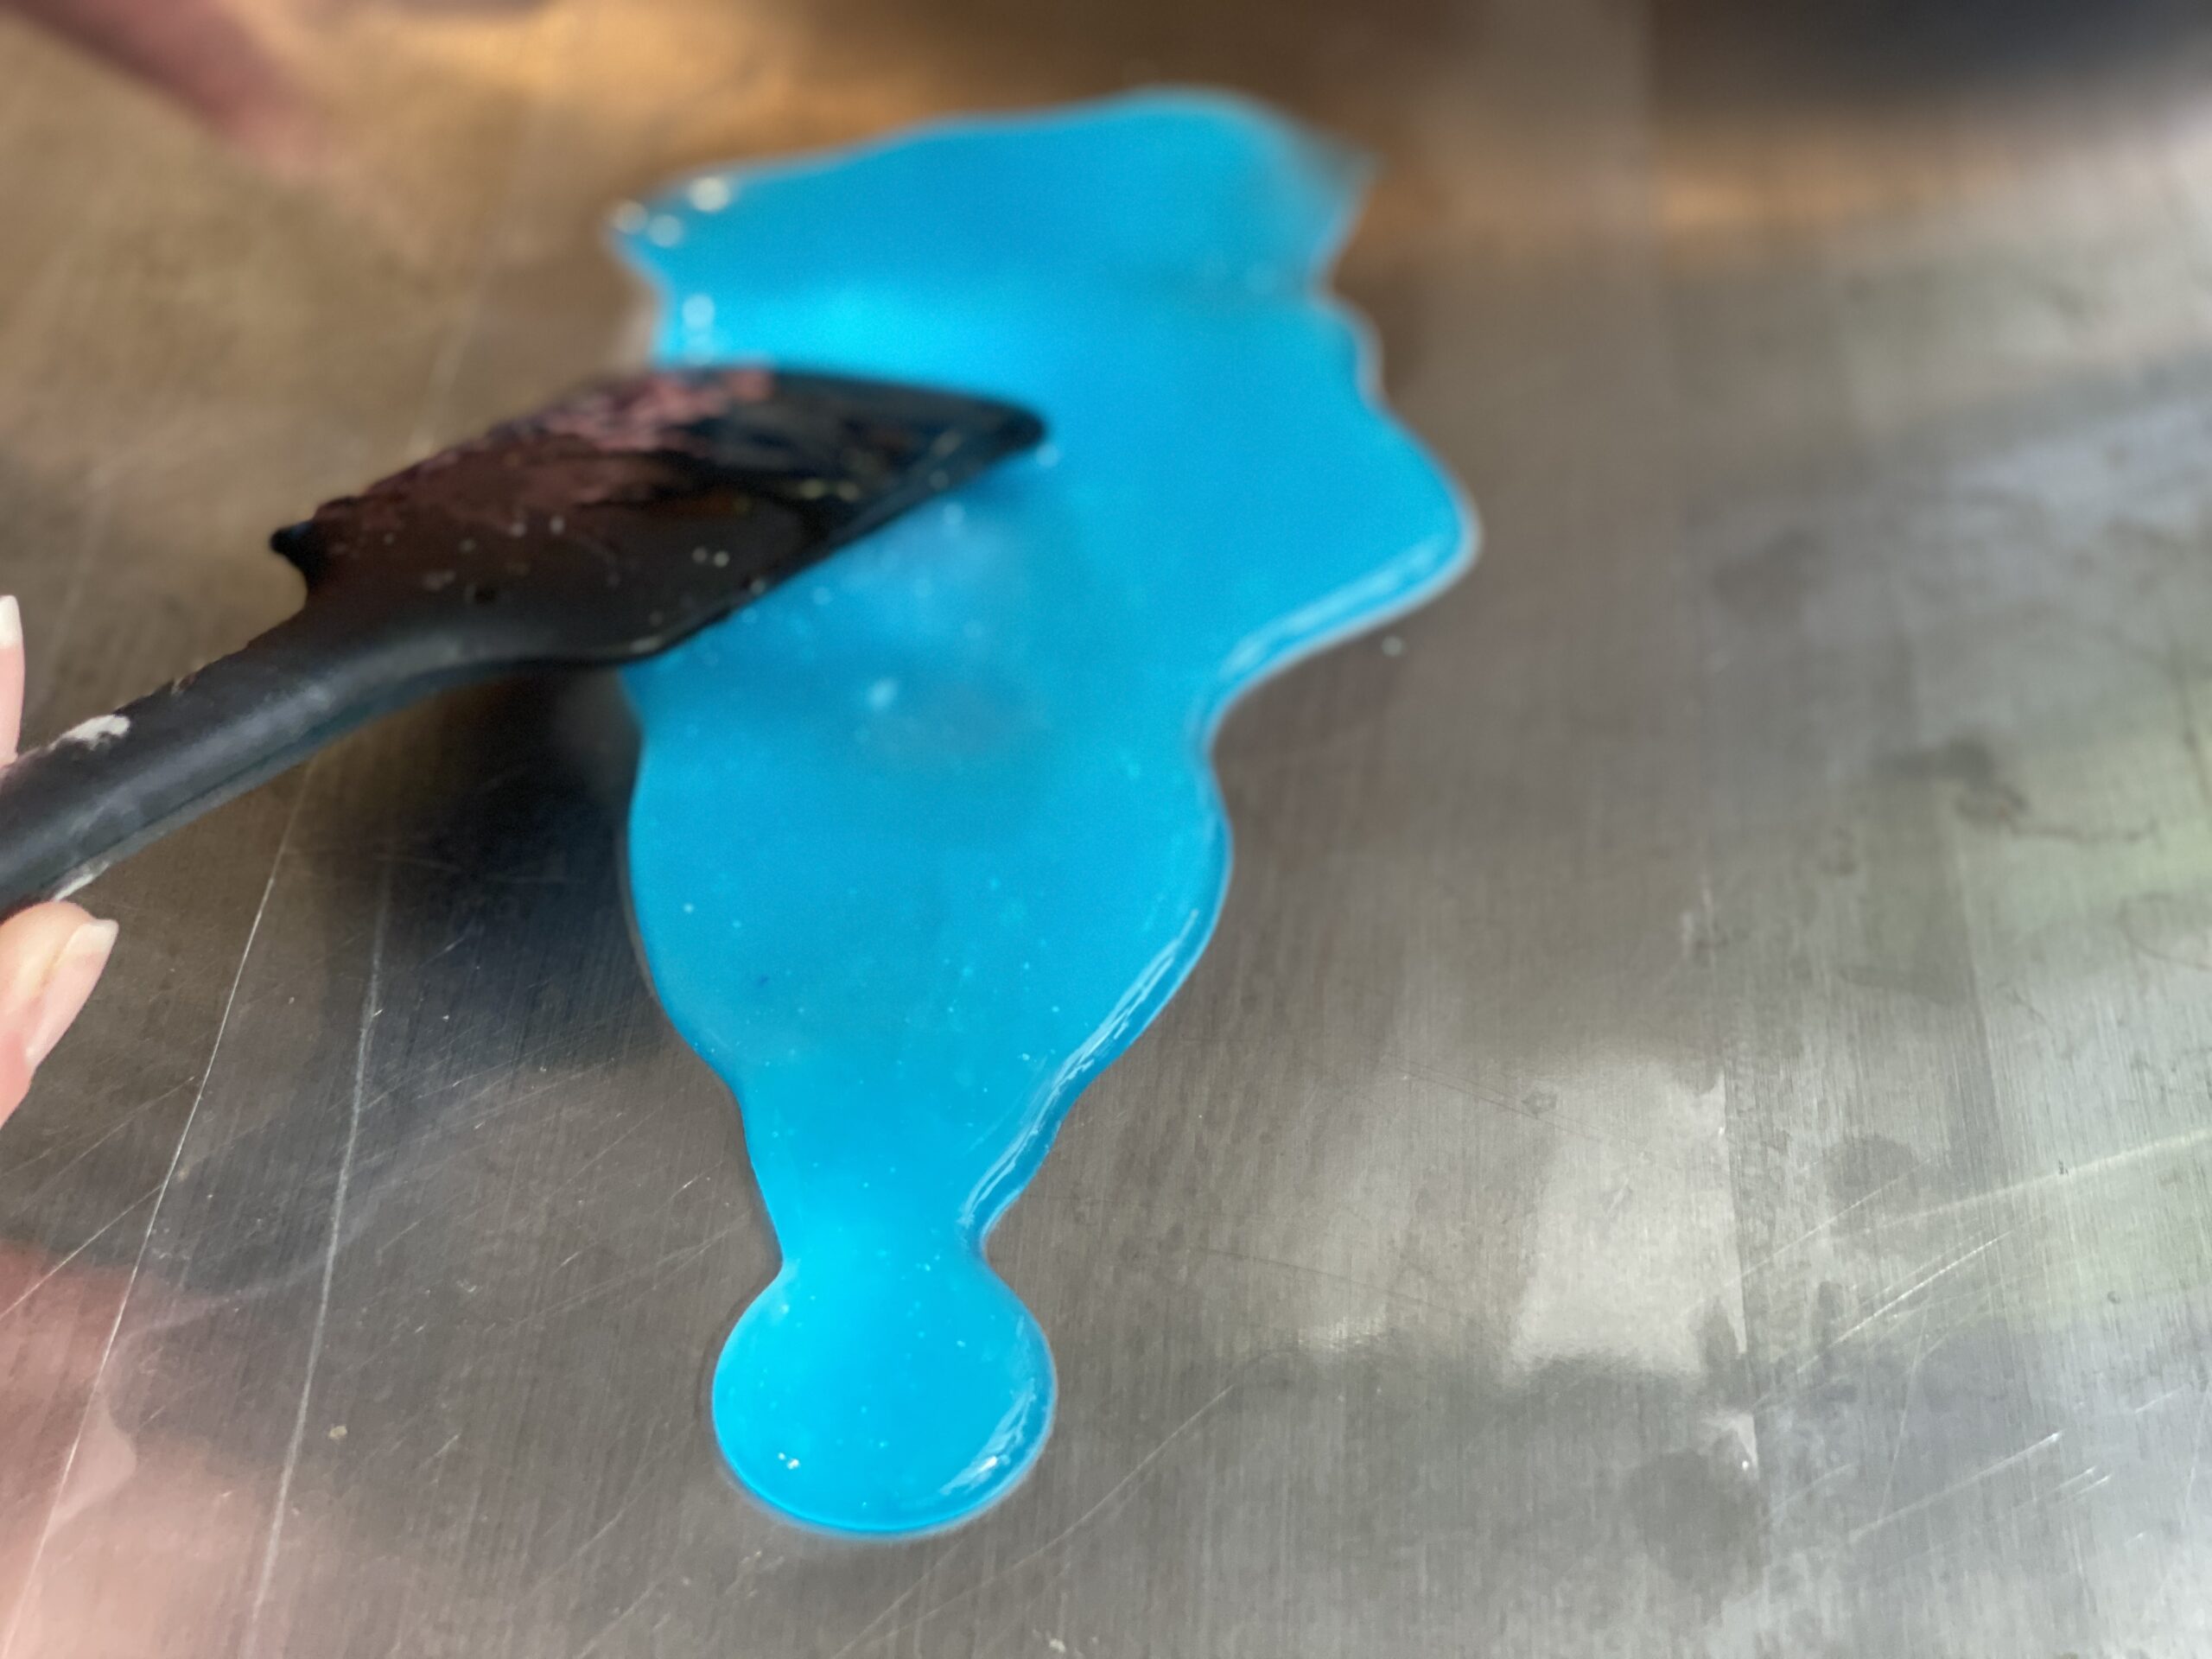
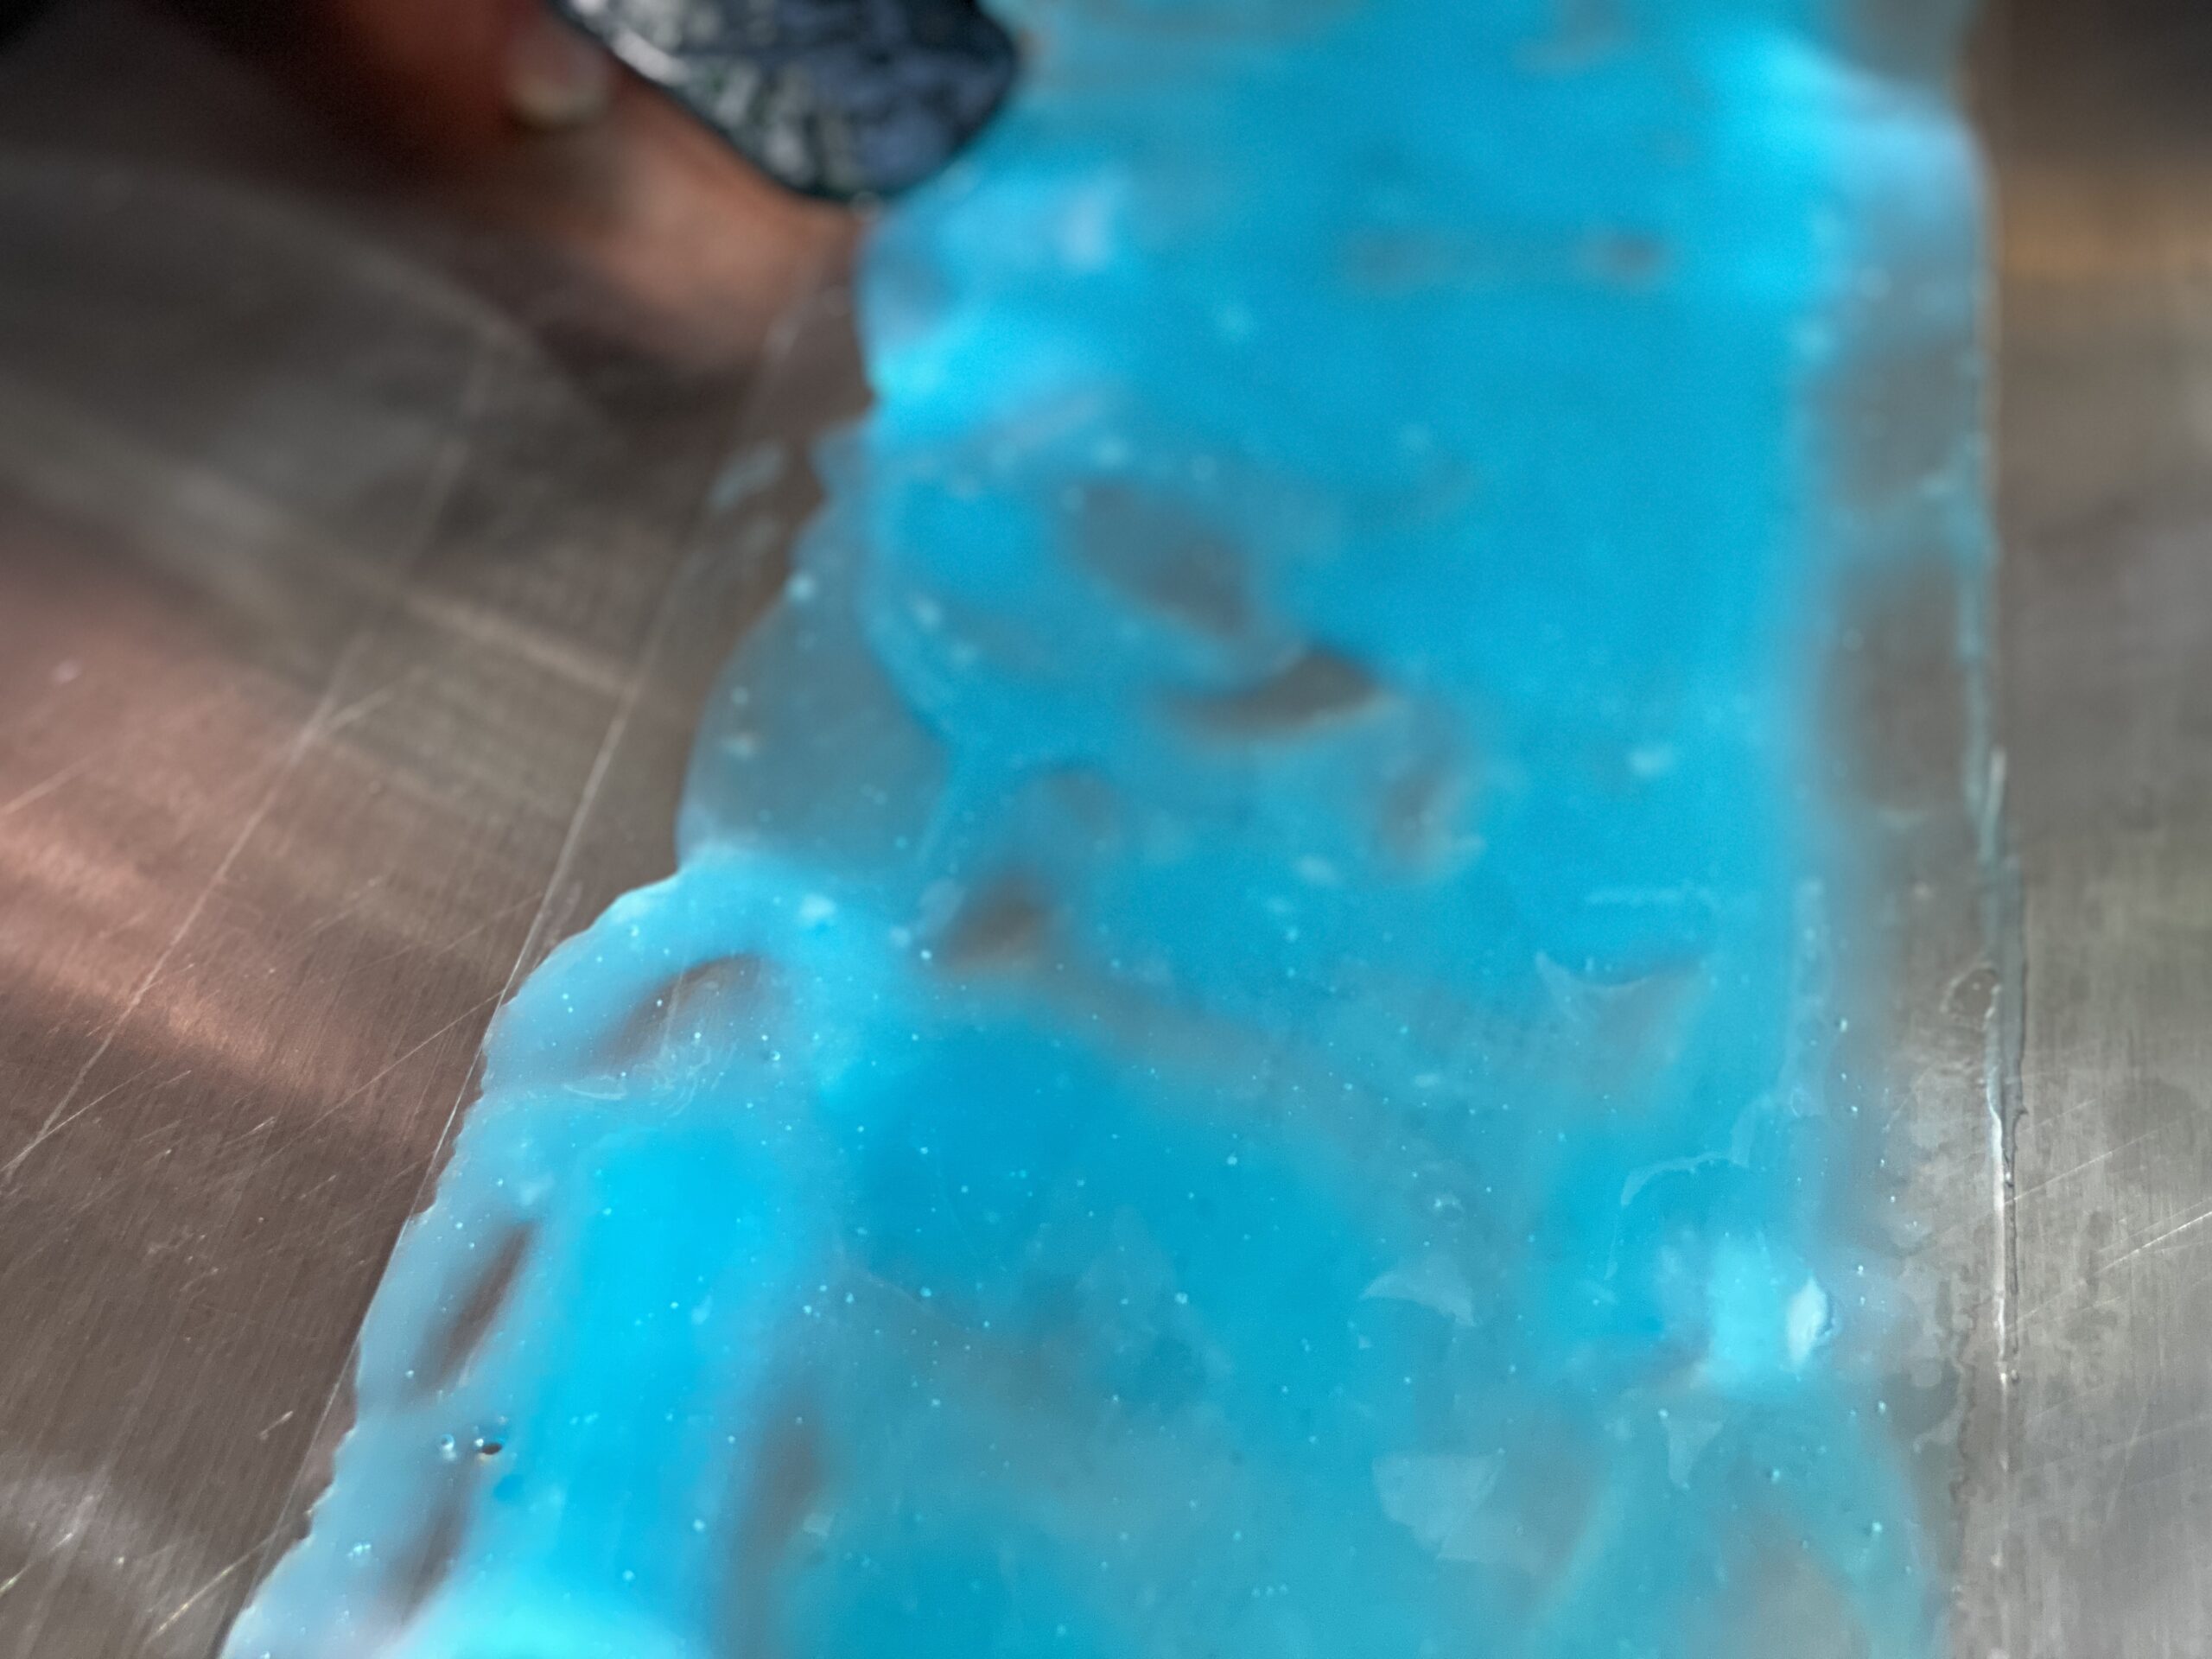
Once your color is mixed in, your batter is ready to spread onto the acetate sheets! The first time I made these I couldn’t find the giant roll of acetate that I’d specifically ordered for this project, so I used some glossy sheet protectors instead! The most important thing is that the surface you spread it on needs to be super smooth–parchment paper, freezer paper, plastic wrap–those won’t work! Acetate rolls for bakers is really the best option, gives the highest shine, and can be reused over and over!
Now is the hard part–the waiting! My sheets were totally dry by the following evening. If you have any wet spots it will make the whole mix gum up in the grinder though so make sure it’s dry! Try using a fan if you need your sheets ready quicker!

When the glitter sheets are fully dried they pull up easily off the acetate! If you made your sheets too thin then they might come off in pieces, but generally they peel off in one large sheet. These flexible glitter sheets may seem fragile, but I had some sitting around for weeks while I sorted out my grinder situation (oof, what a journey that was!) and they handled tons of shuffling around in my workshop!
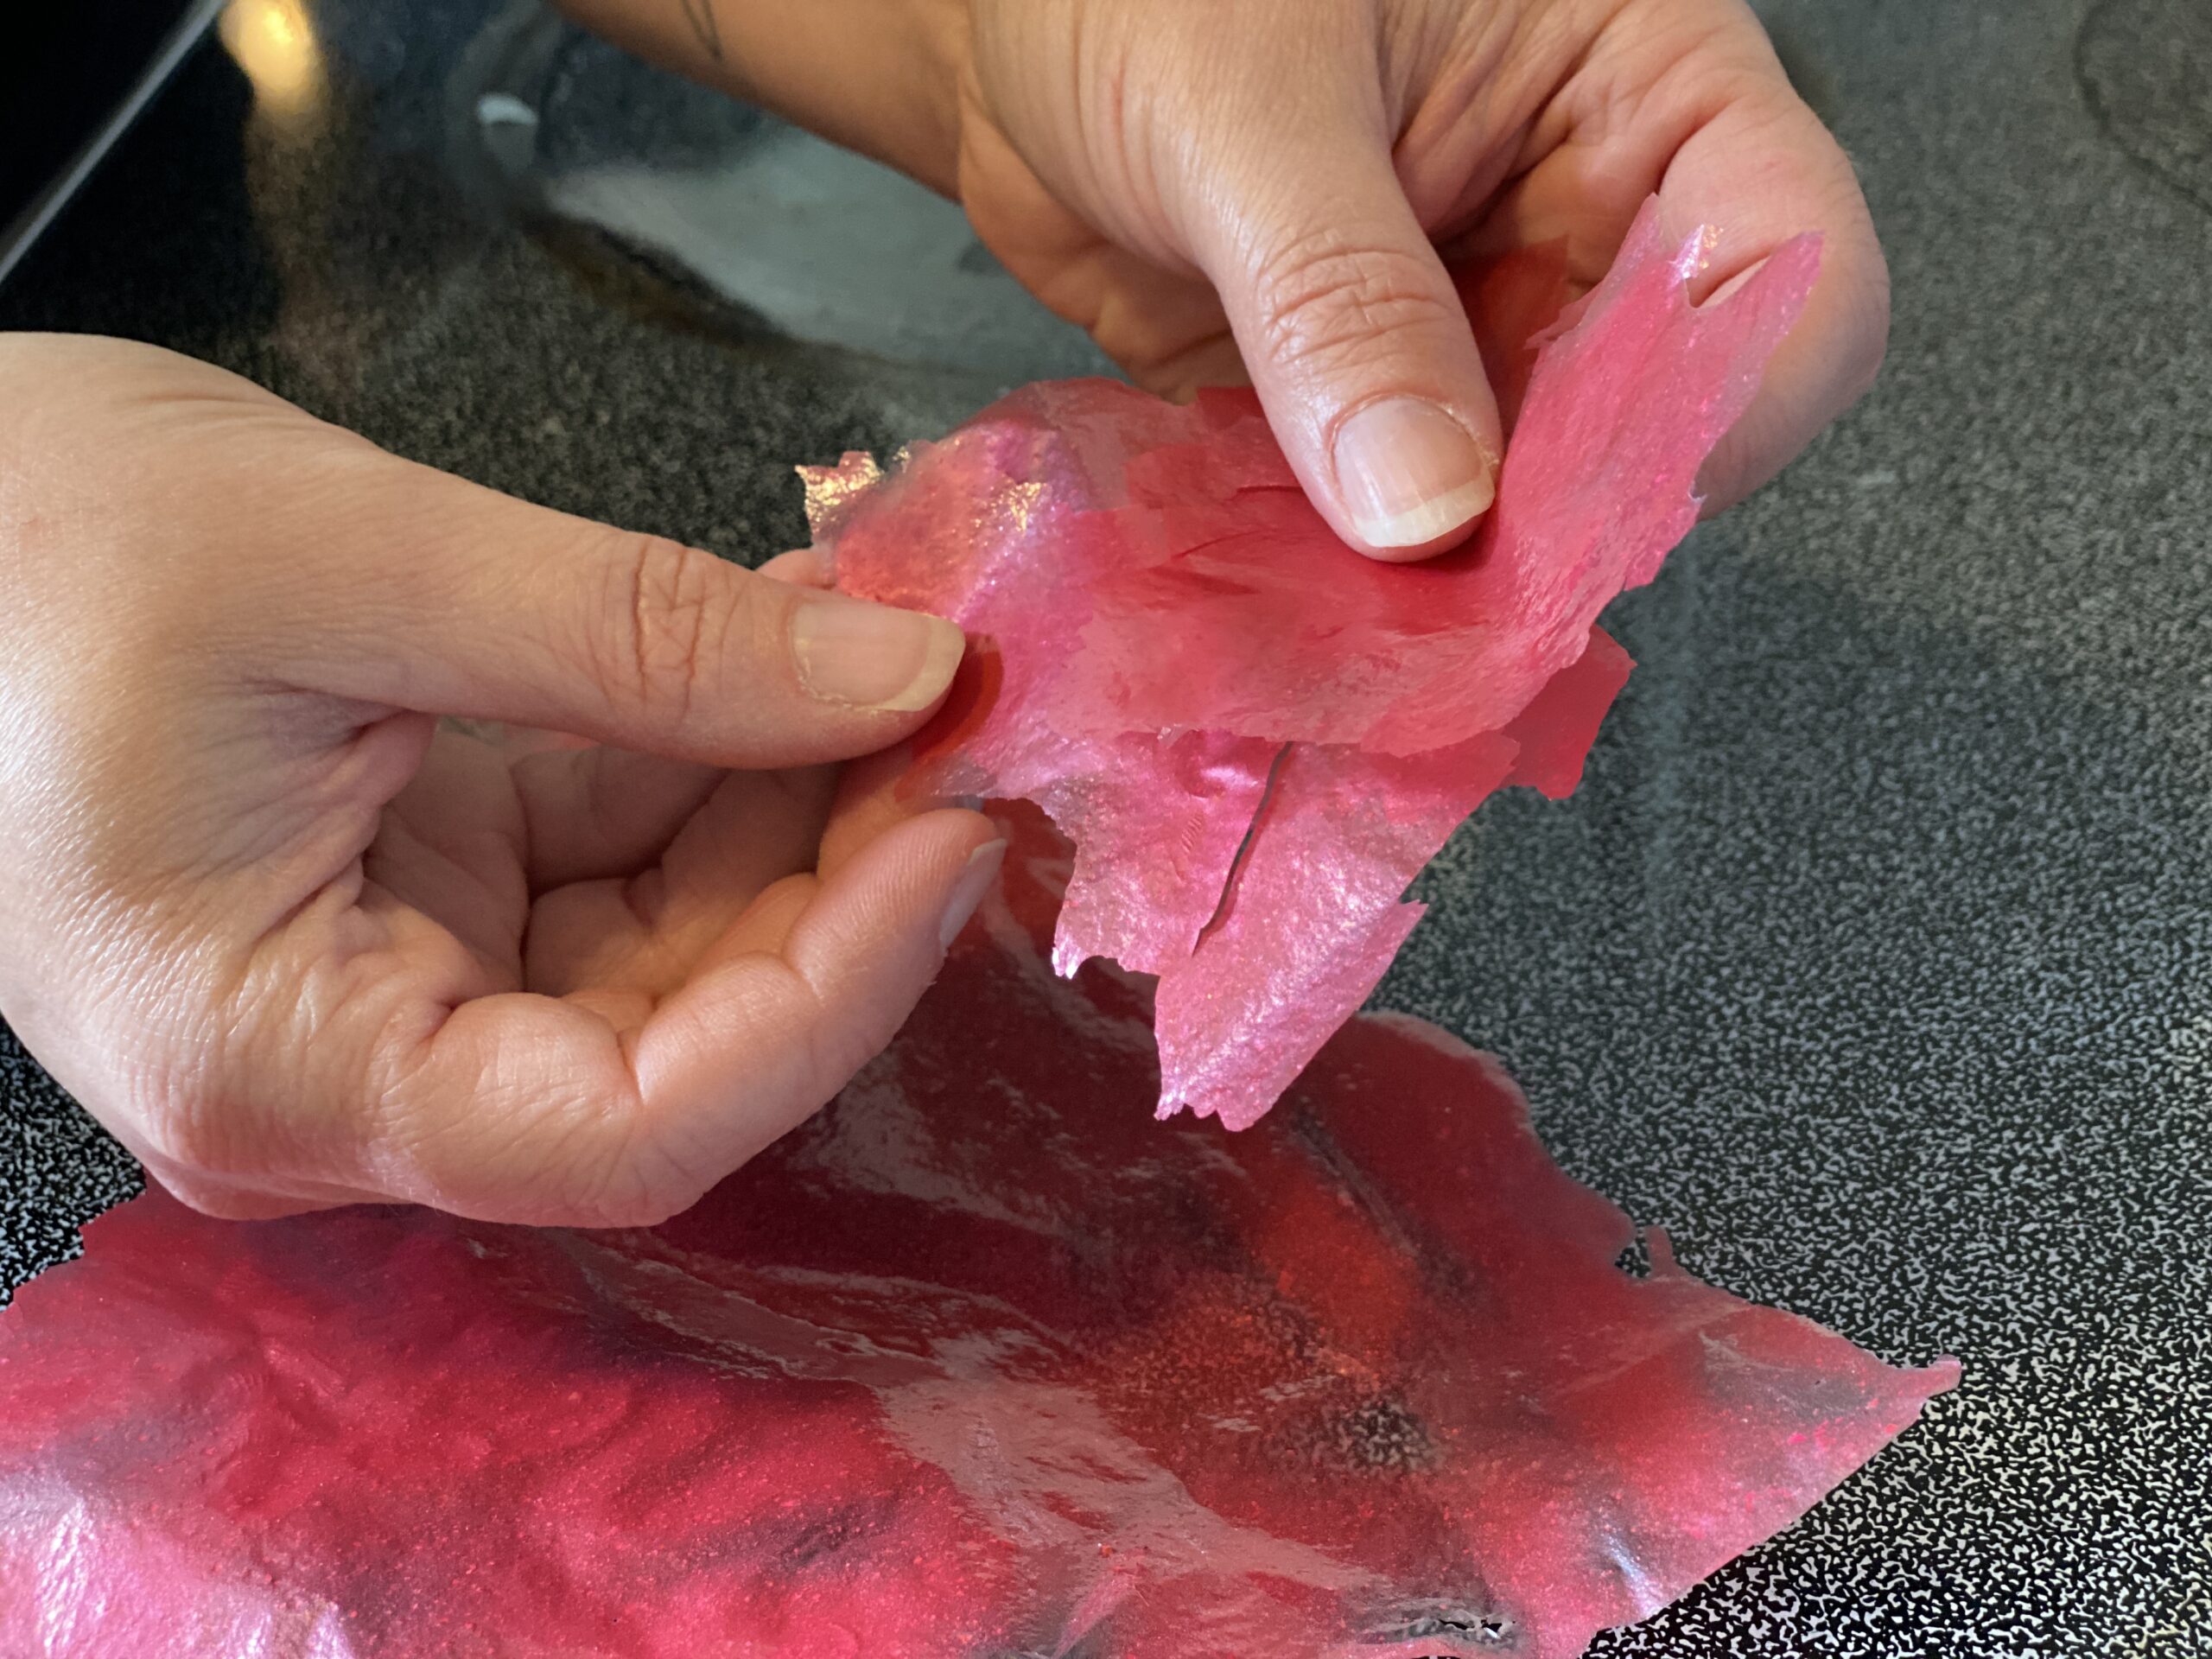
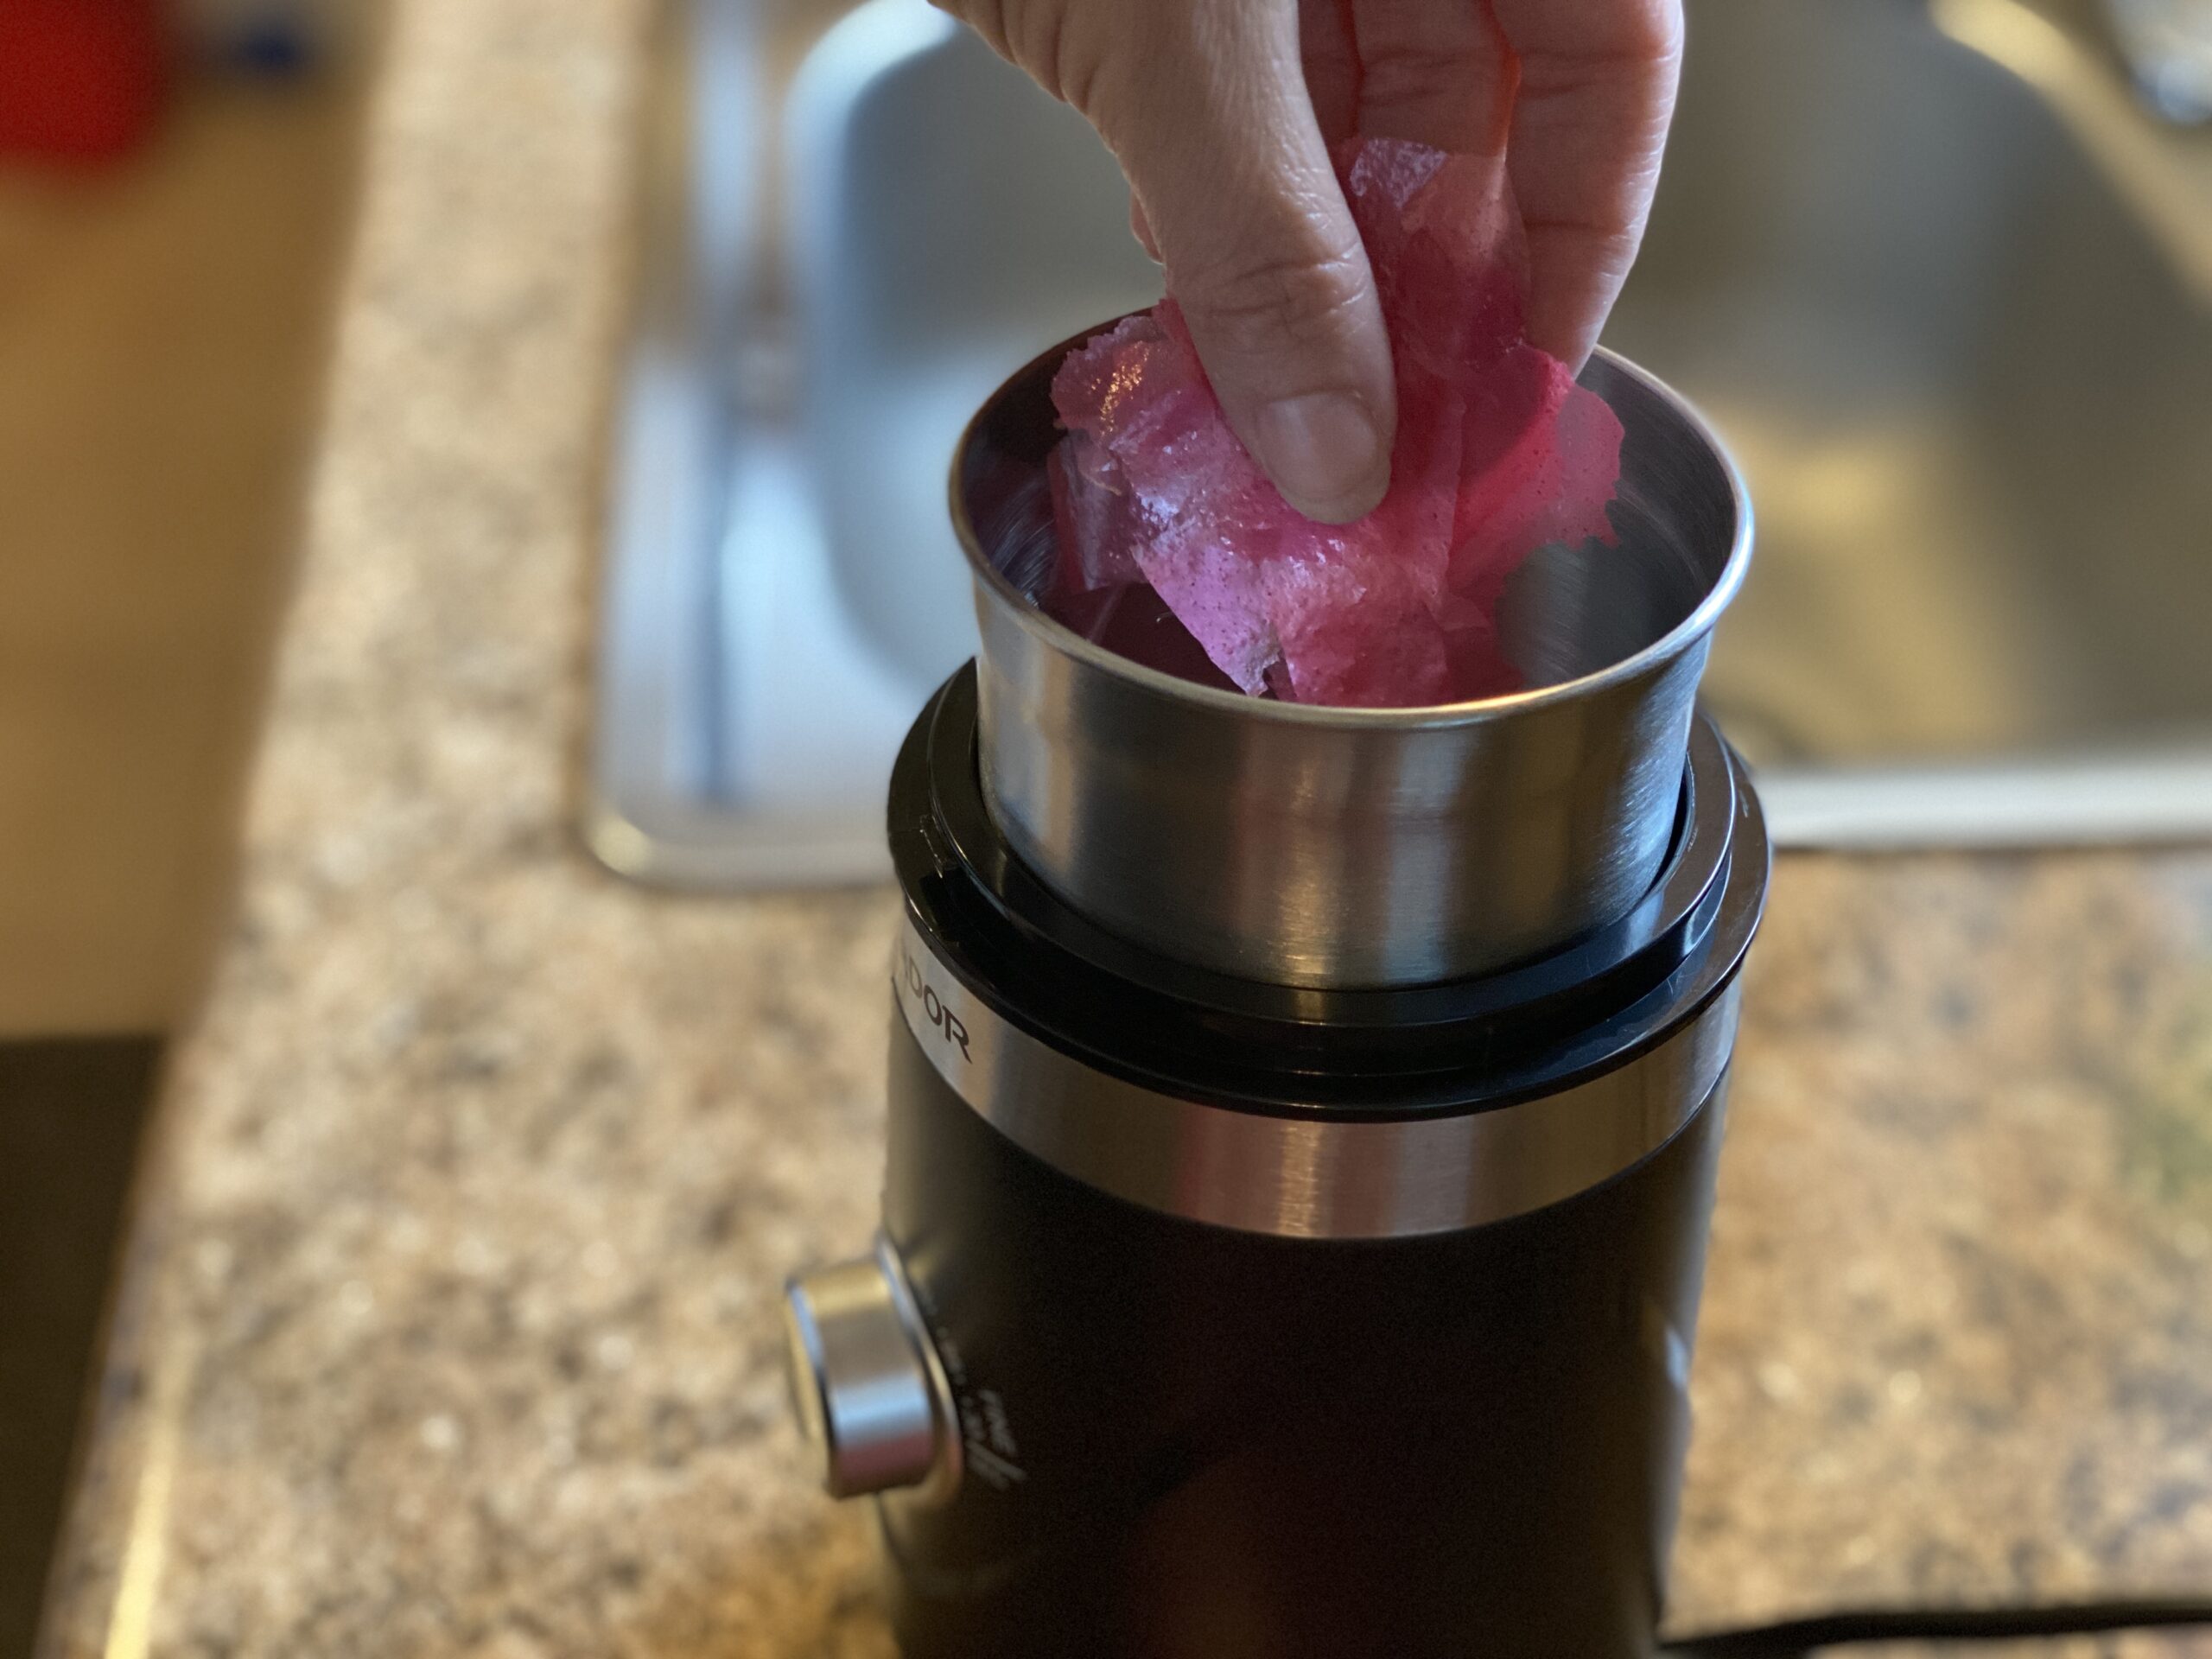
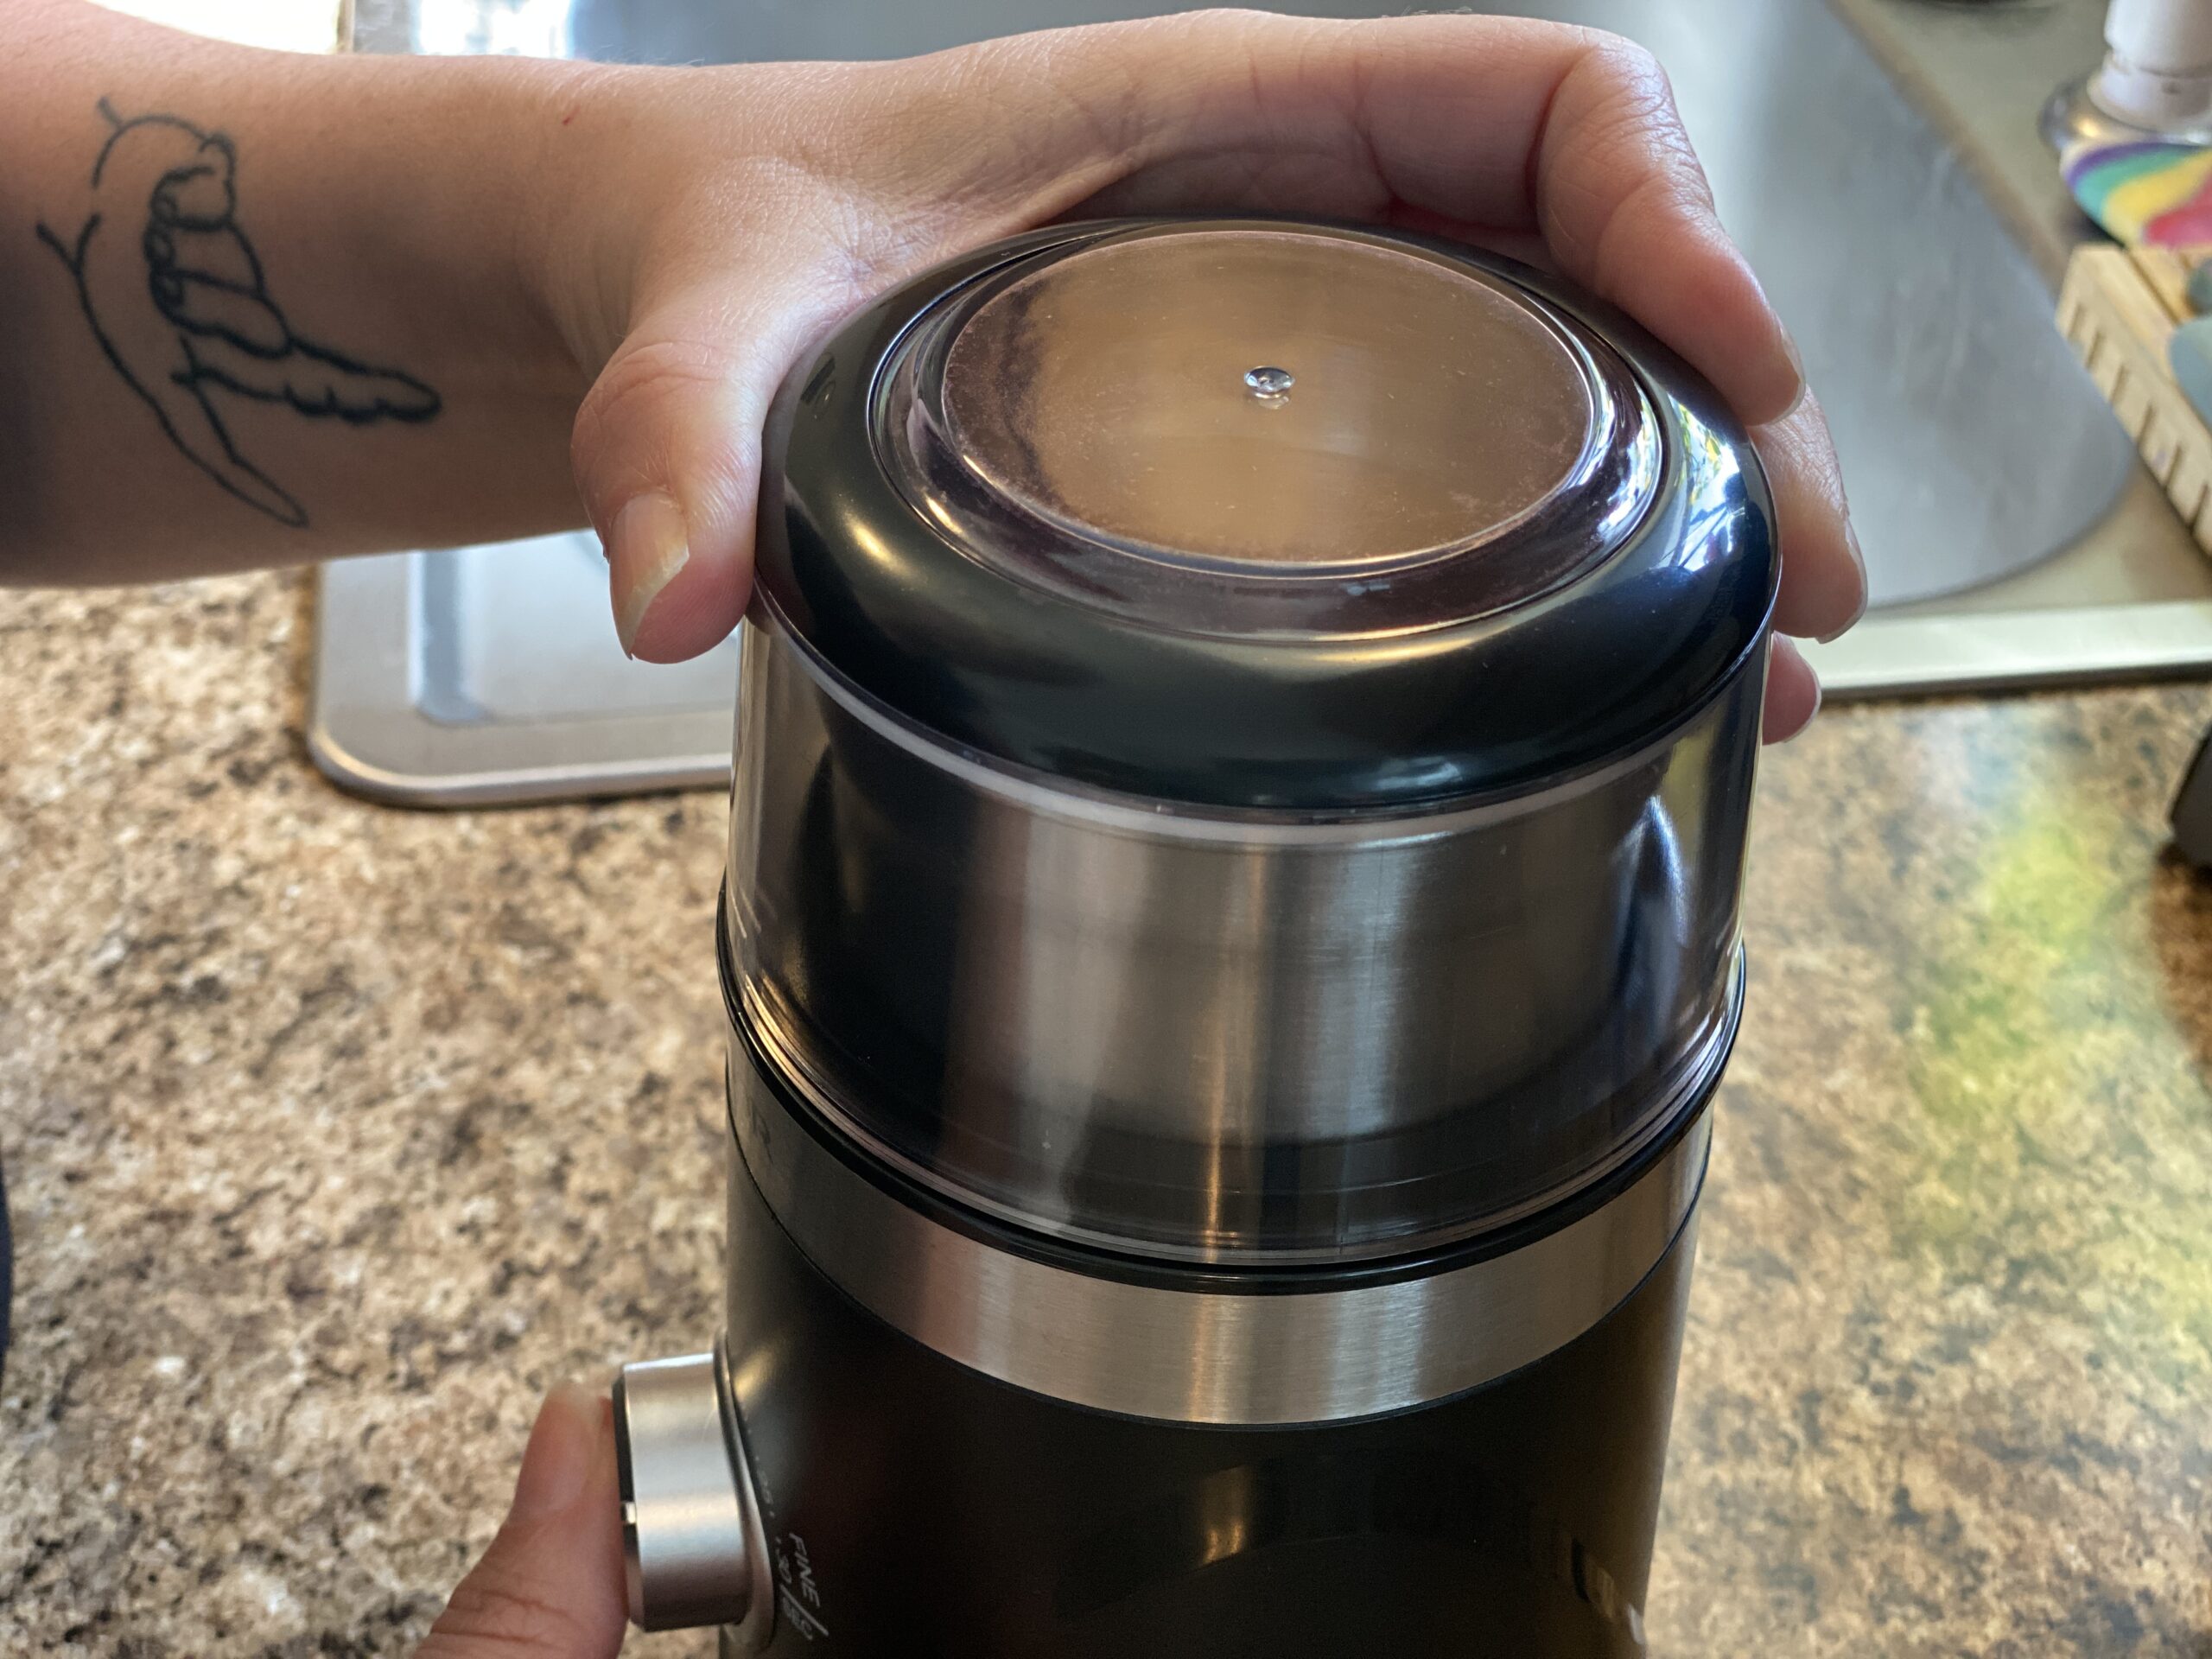
Tear one sheet at a time and add the pieces to your ginder. I have a dedicated grinder for my workshop, but if you don’t, you can find them on Amazon for around $20! I found that using quick, repetitive pulses worked better than a steady grind, but do what works best for you!
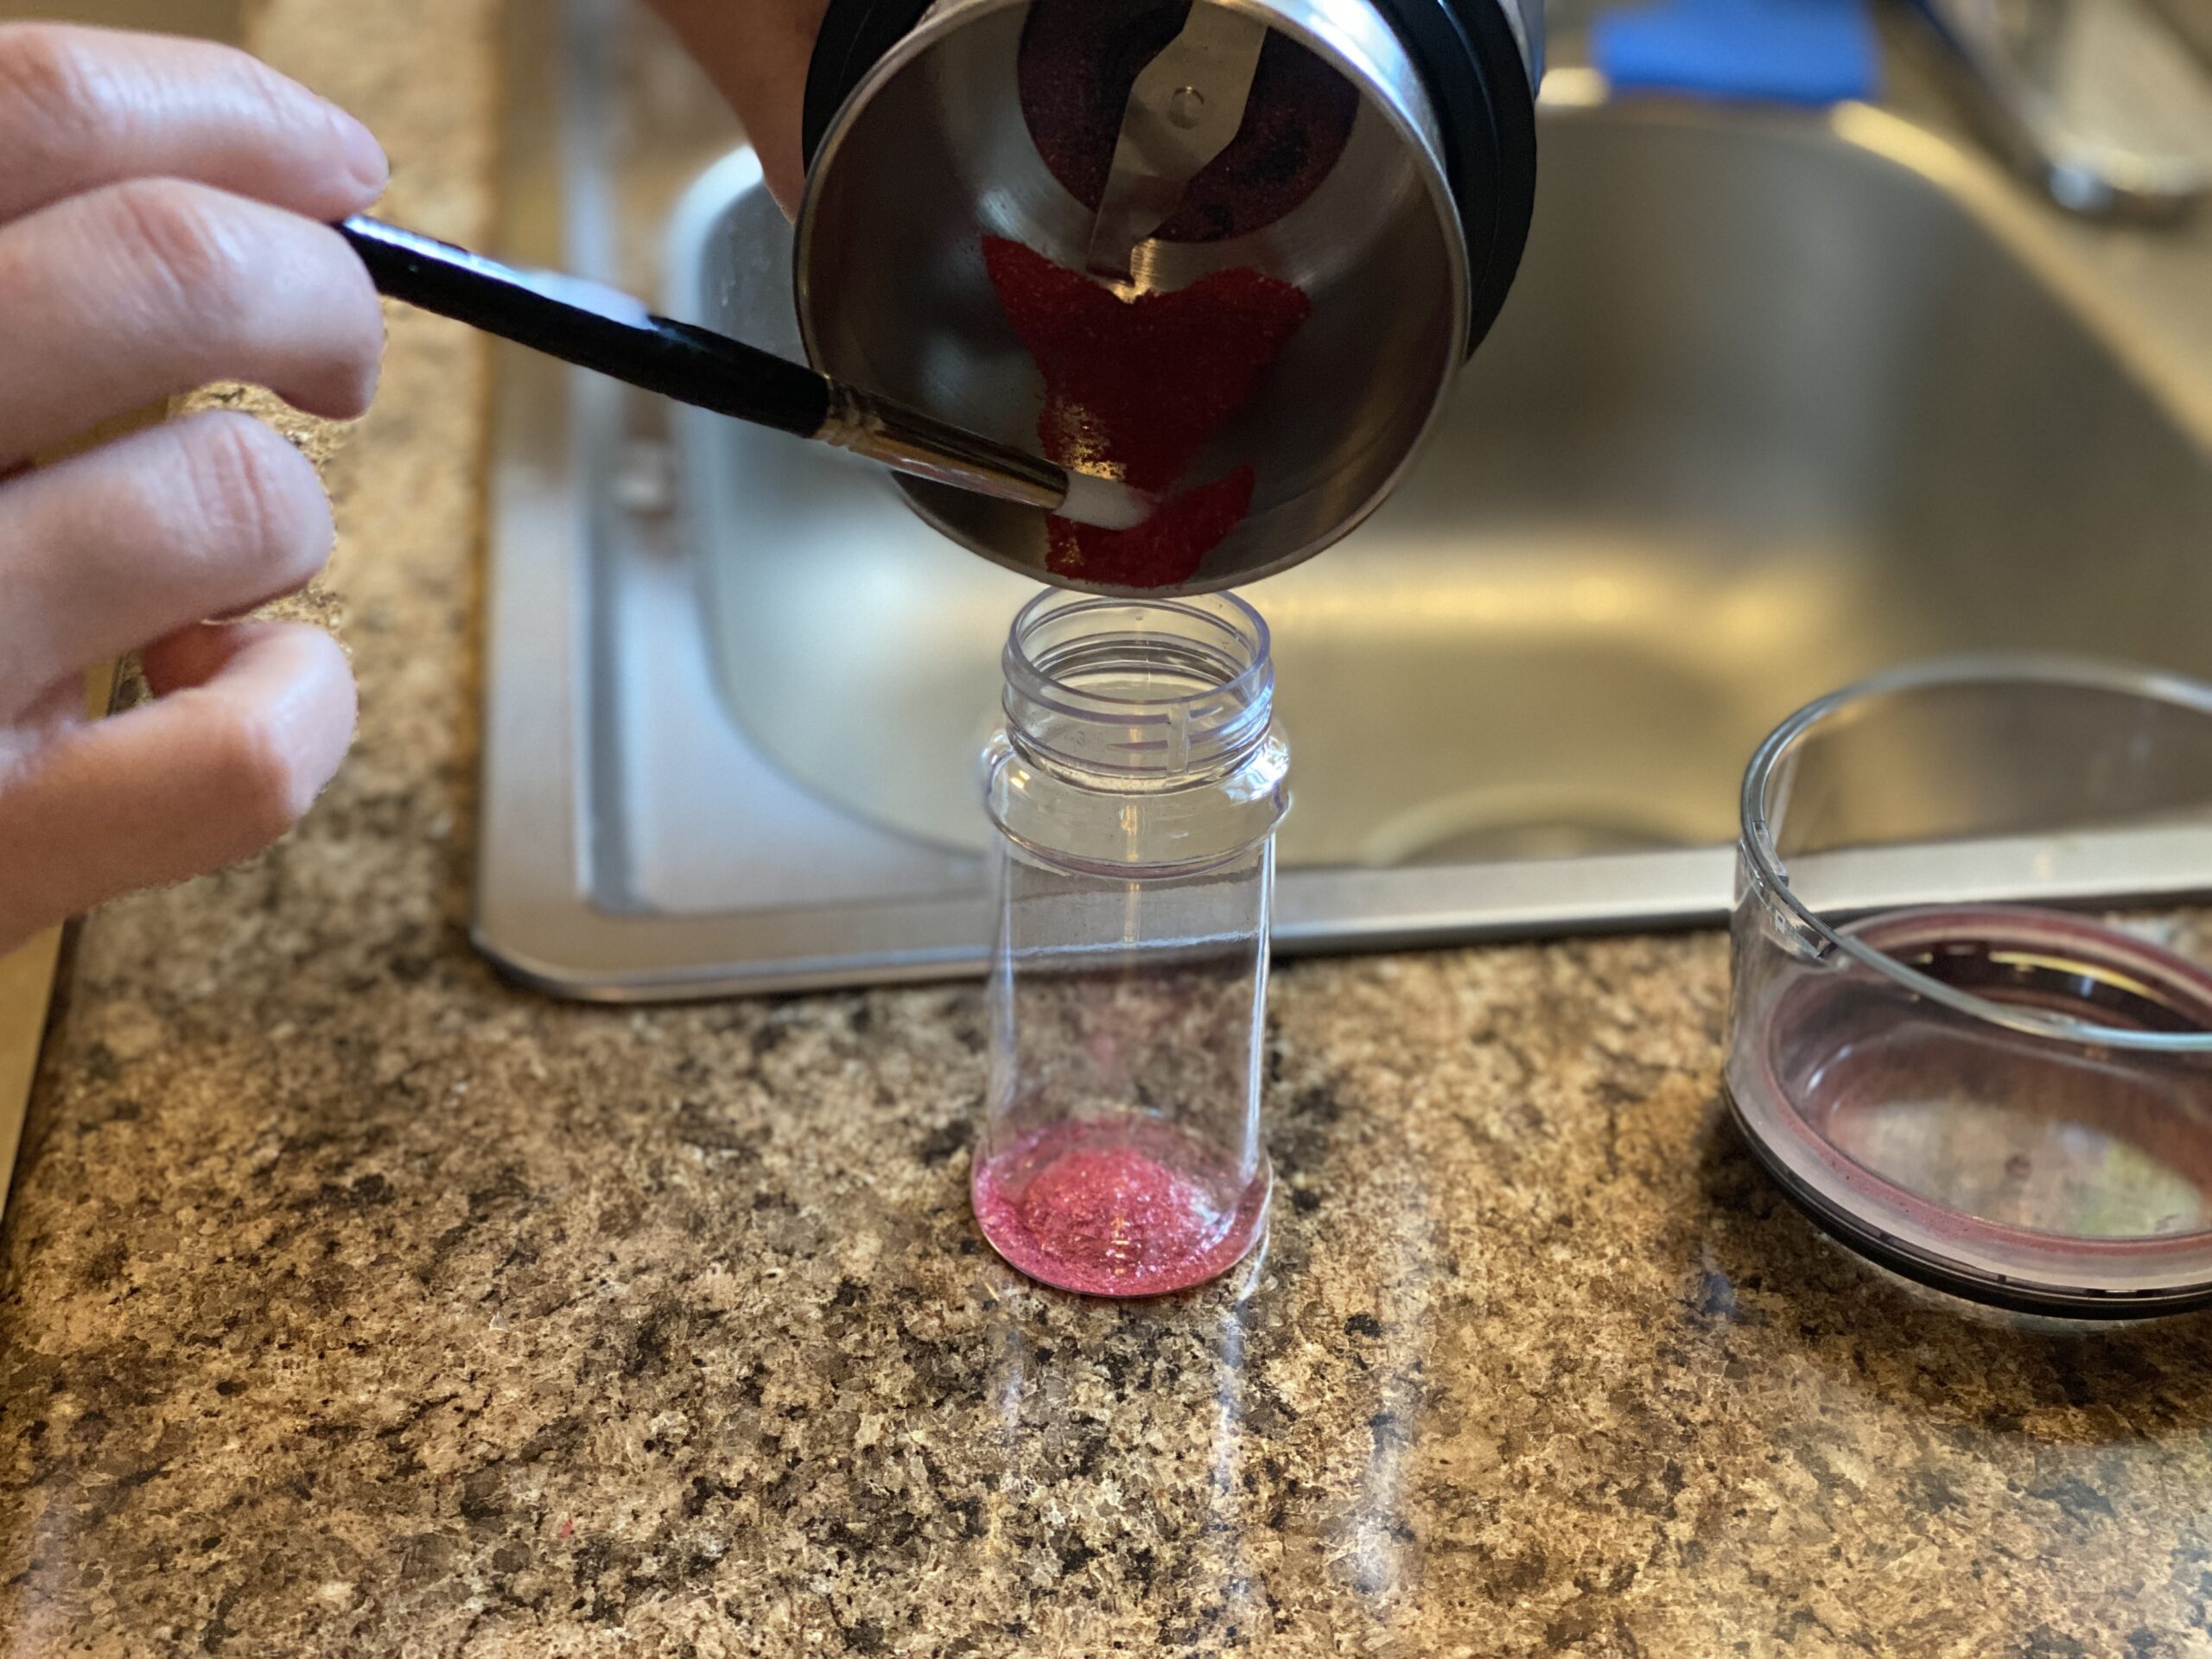
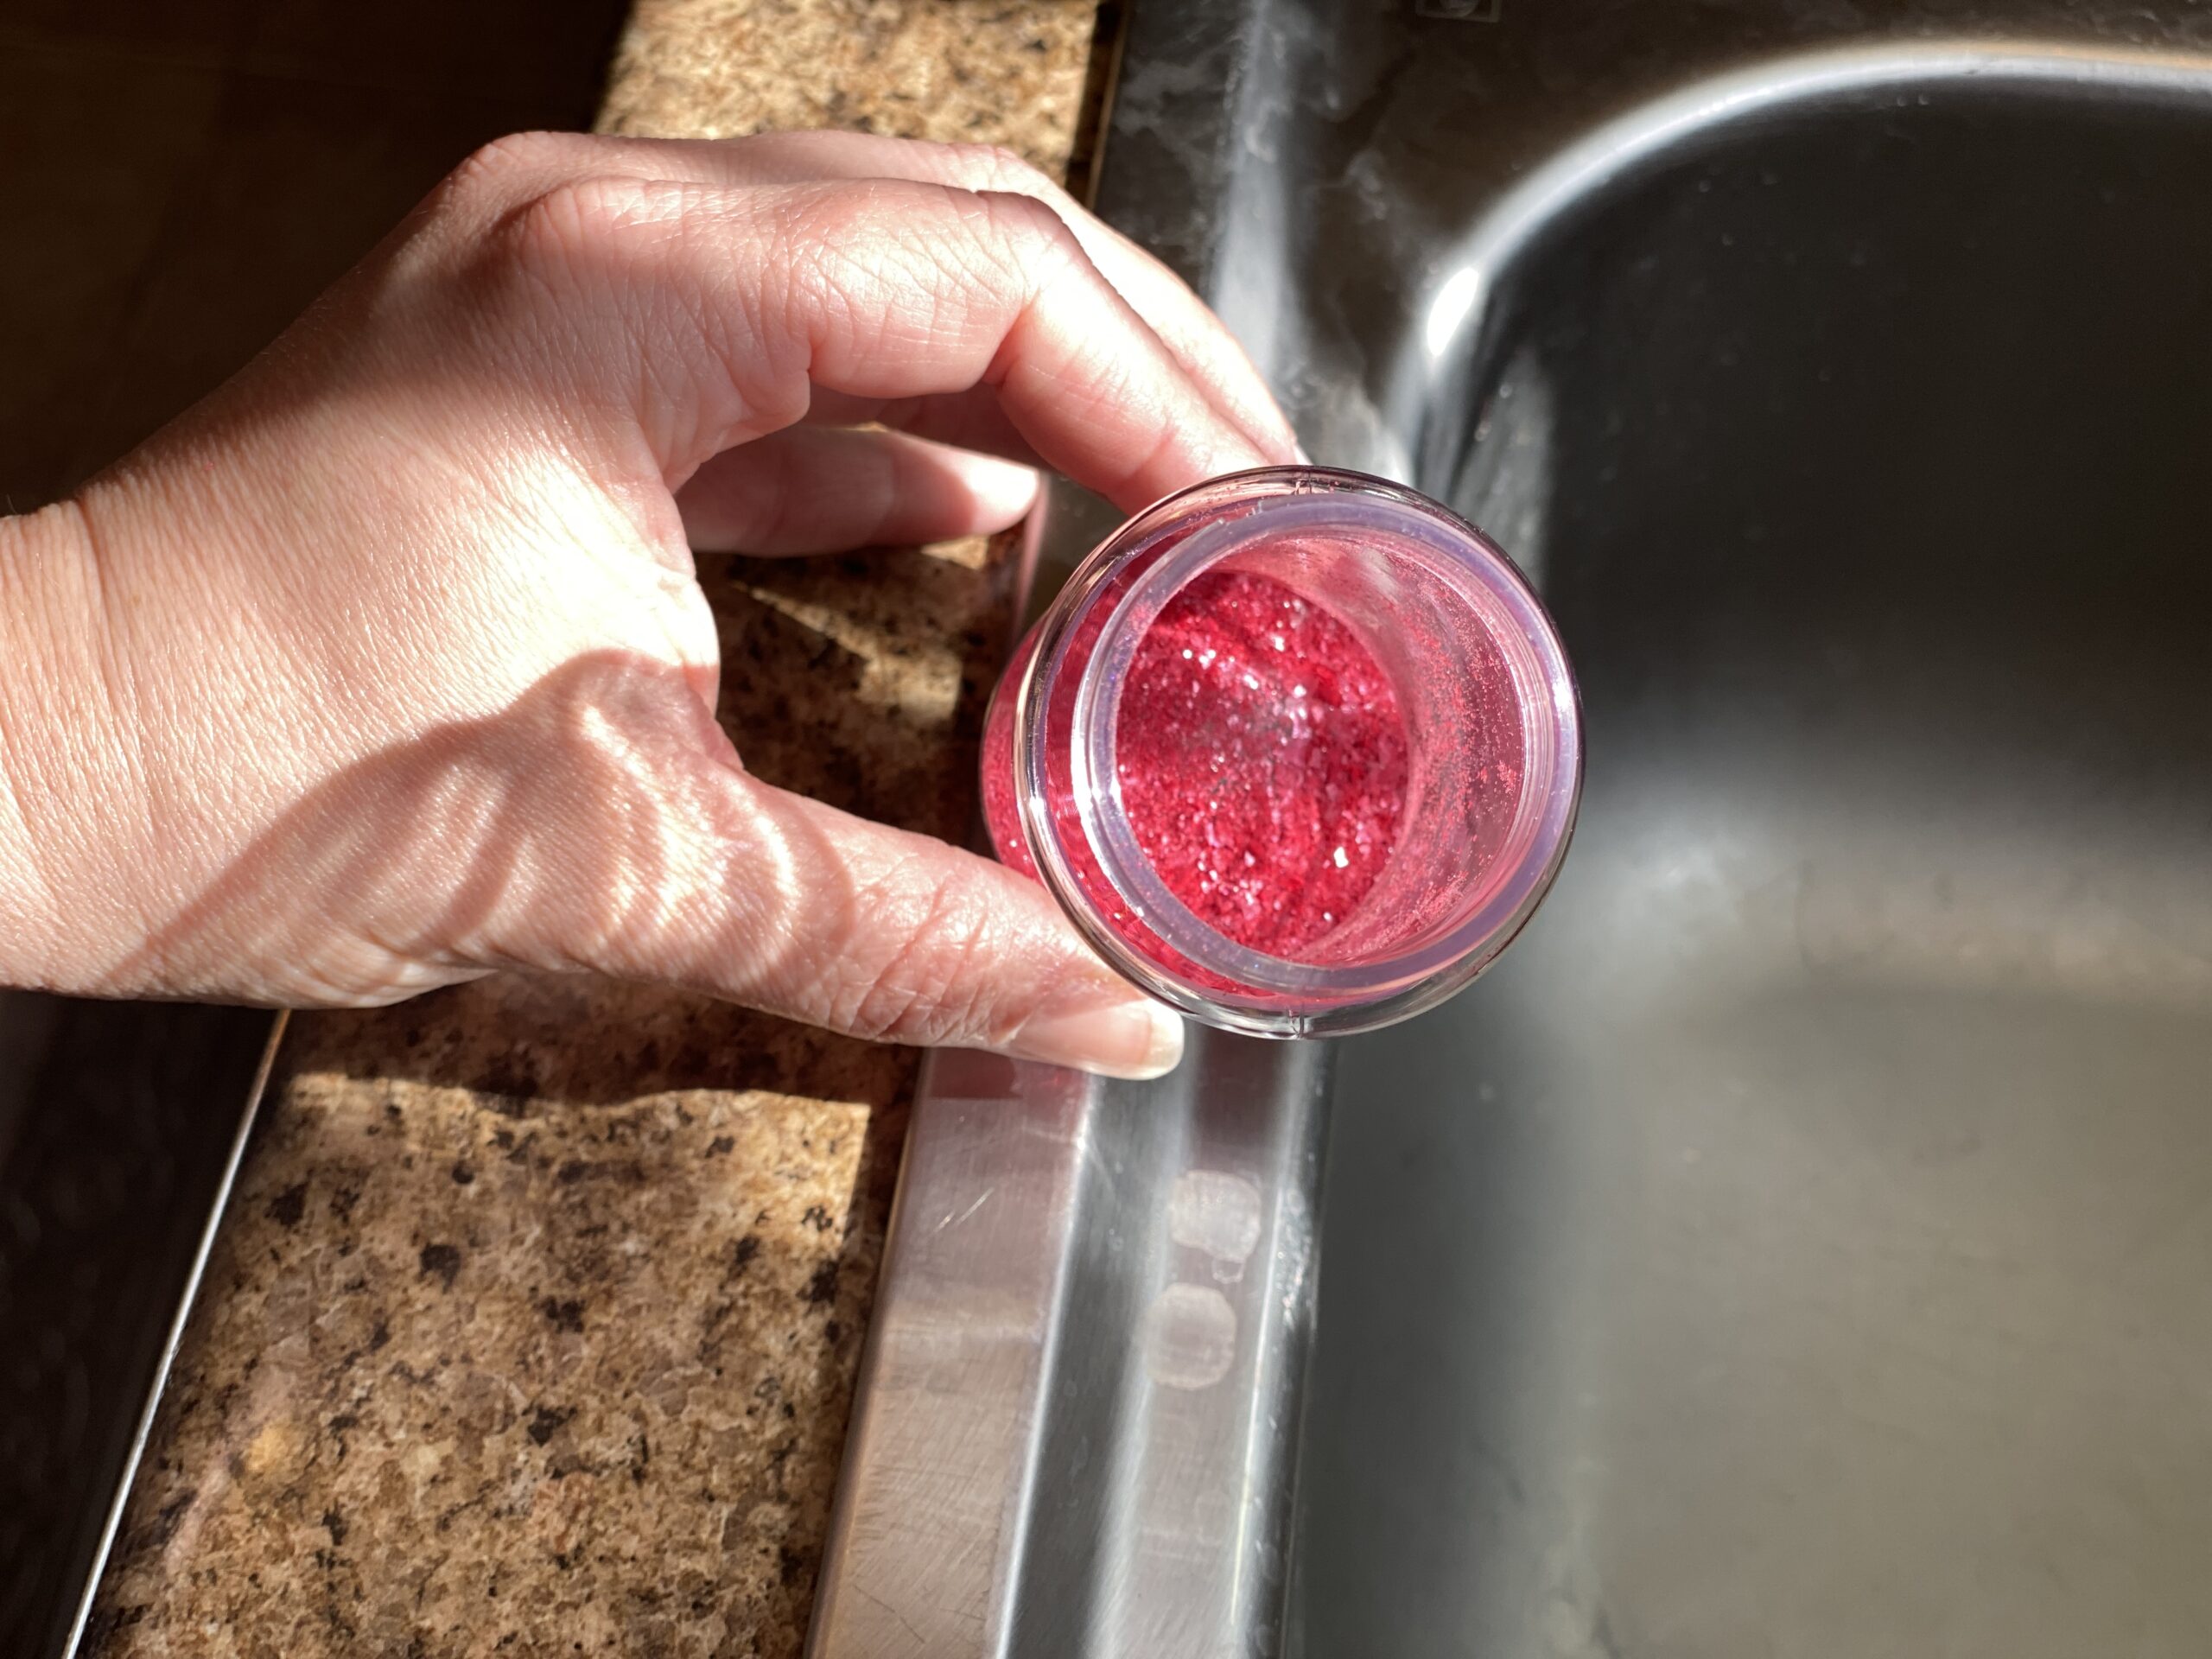
Add your glitter to your containers. I used these spice jars I found at a local restaurant supply, but I’m sure you can get them from Amazon as well. I also found that a medium sized paintbrush was really helpful in getting all the glitter out of my grinder and into my shaker bottle.
And that’s it! Simple, easy and fun! The sky is the limit on the colors and combinations you can create! You can top bath bombs, bubble bars, bubble scoops, sugar scrubs and more with your homemade glitter. Knowing with 100% certainty what’s in your glitter, and that it will absolutely biodegrade in little to no time is awesome. At the same time this glitter is shelf and product stable, so it’s a win win!
Happy Making!

Wow! This is so easy, it should be criminal! 😯🤯 Can’t wait to try this!!! Thank you for sharing. 🤩
Amazing. Thanks for sharing. It’s 11pm.and I’m so tempted to go downstairs and try this!
This is incredible! So, is it the shine in the mica that makes this glittery?
This is awesome, Robyn. Thank you!! 💙✨
This is so awesome, Robyn, thank you
This looks amazingly easy! I can’t wait to try it! Can you use it in a scrub or a lotion?
Thank you for figuring this out!! Wahoo!
Hi Robyn, I made this at around 10:00 this morning, and did everything stated. It’s still wet and gelatinous, so I’m hoping it fully dries and works out. It does say that yours was ready the following night, so I assume around 24+ hours. Am I correct? Thank you for the recipe!