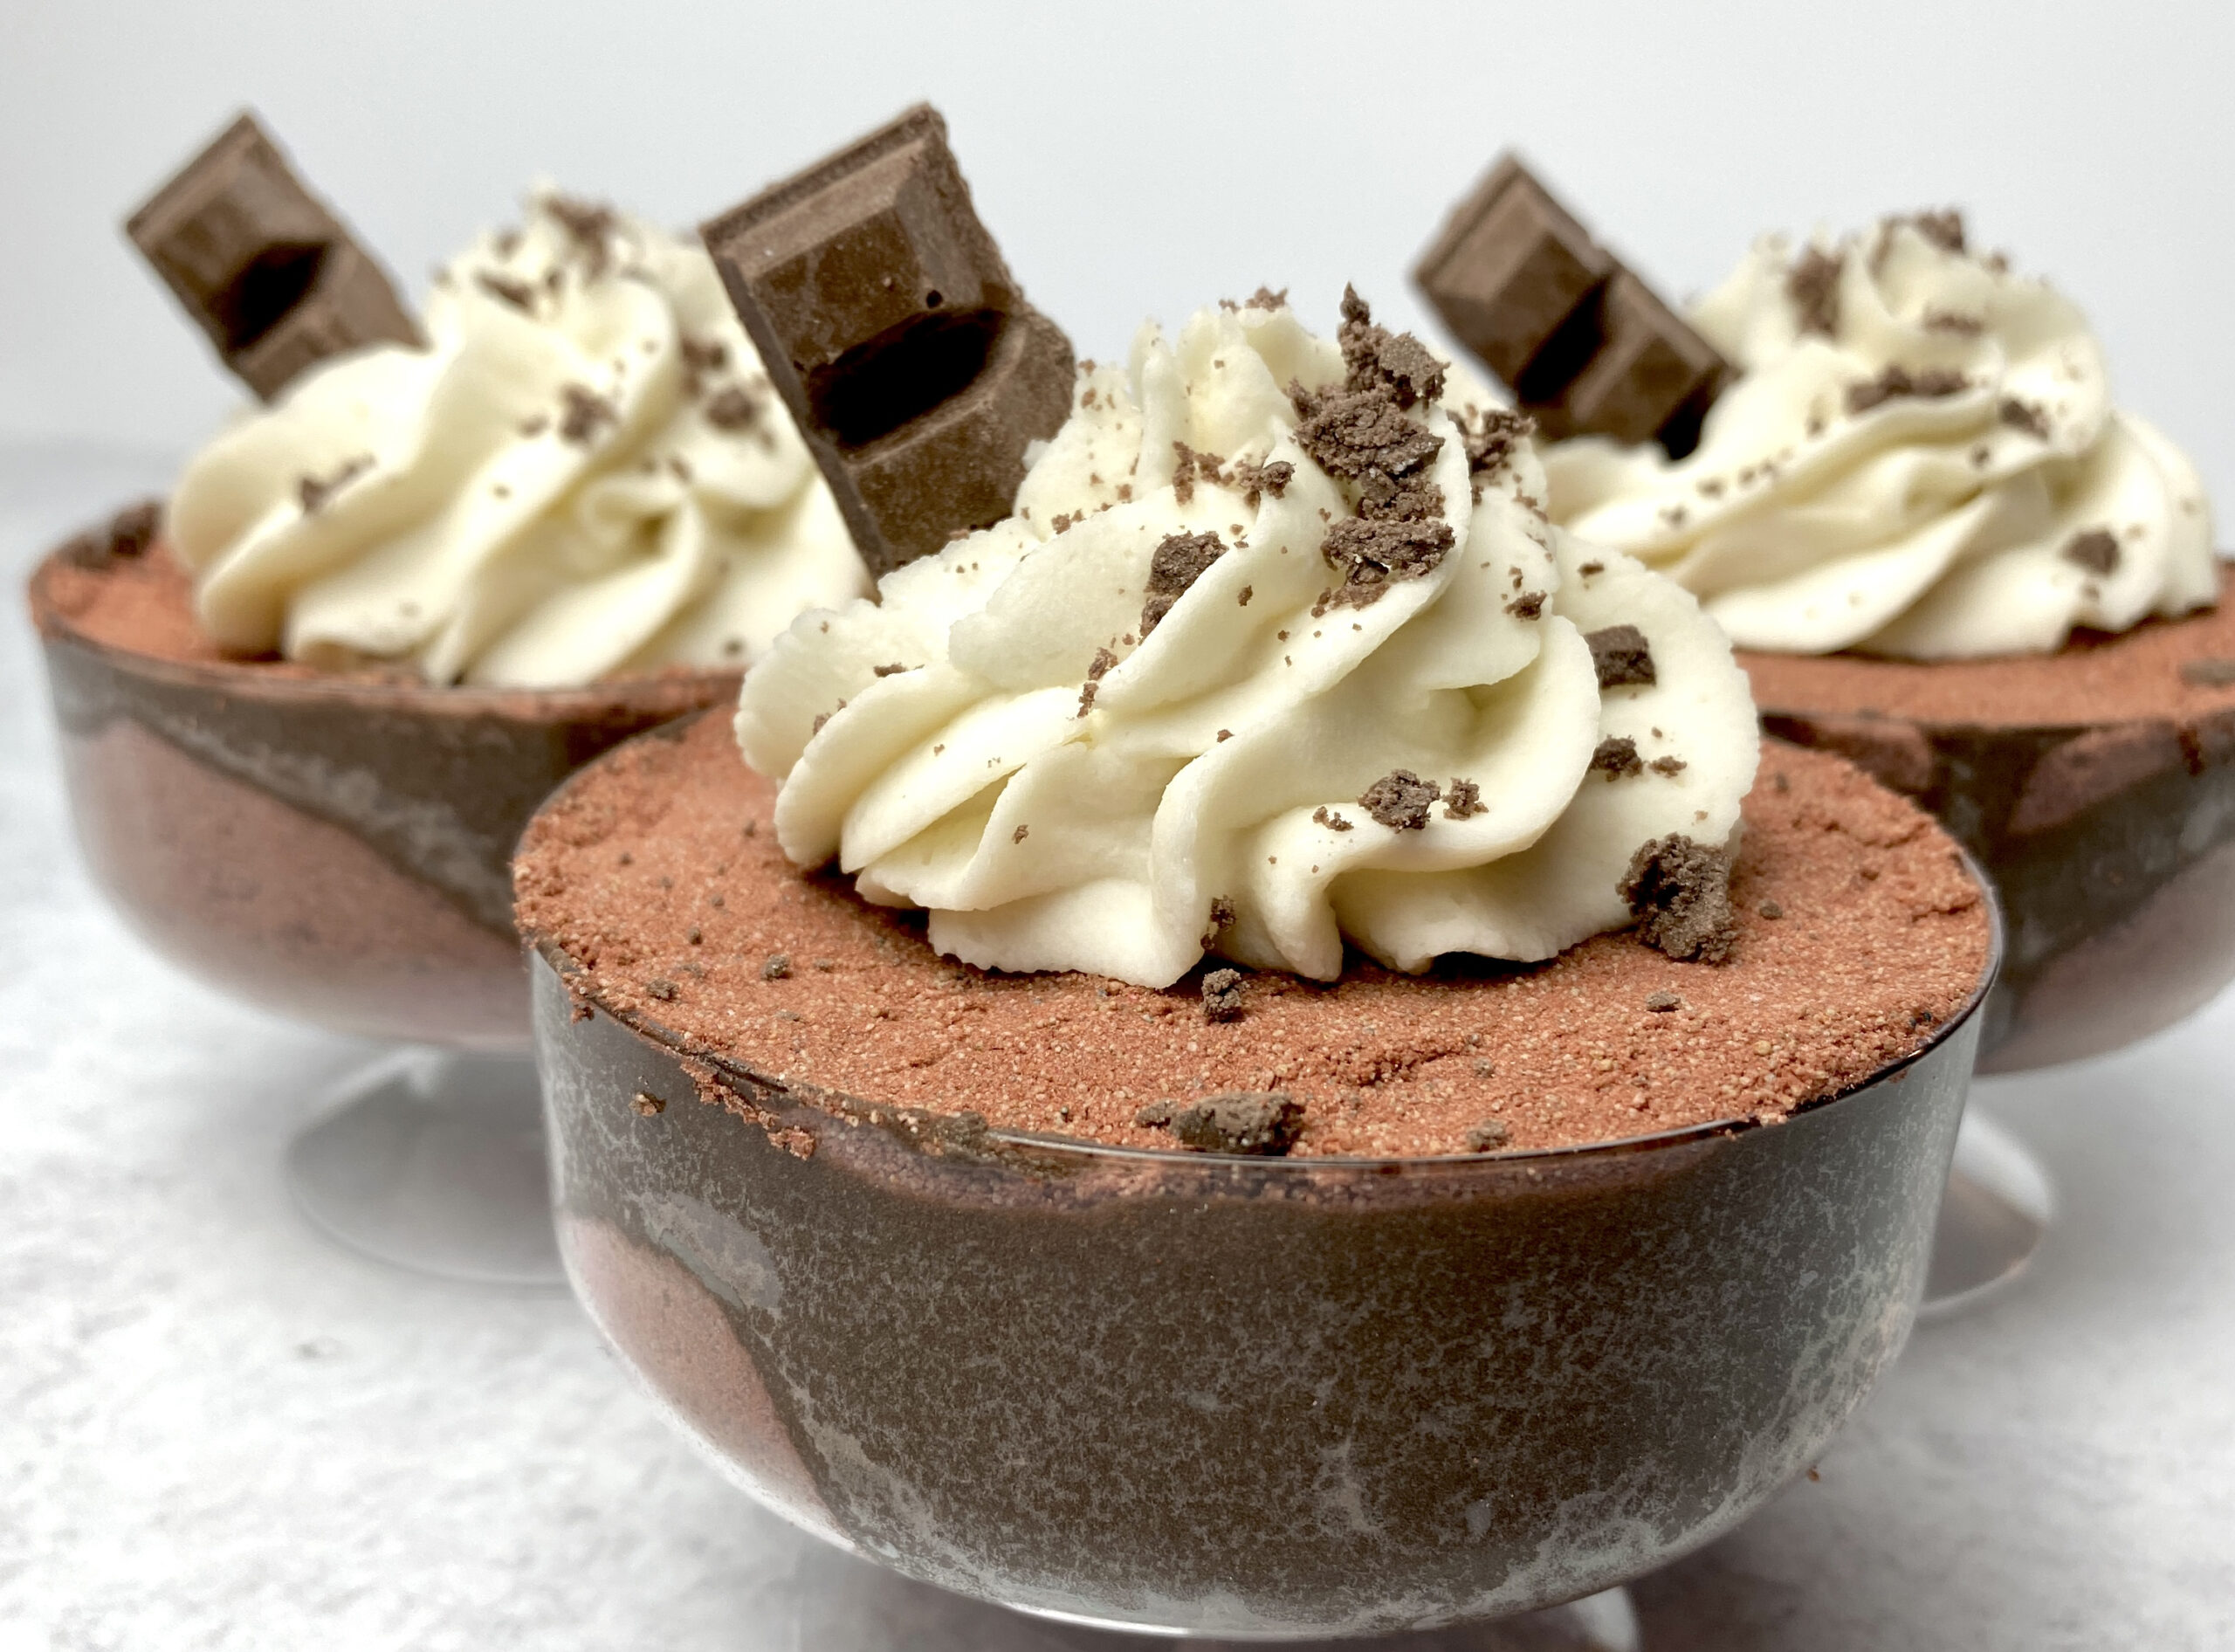
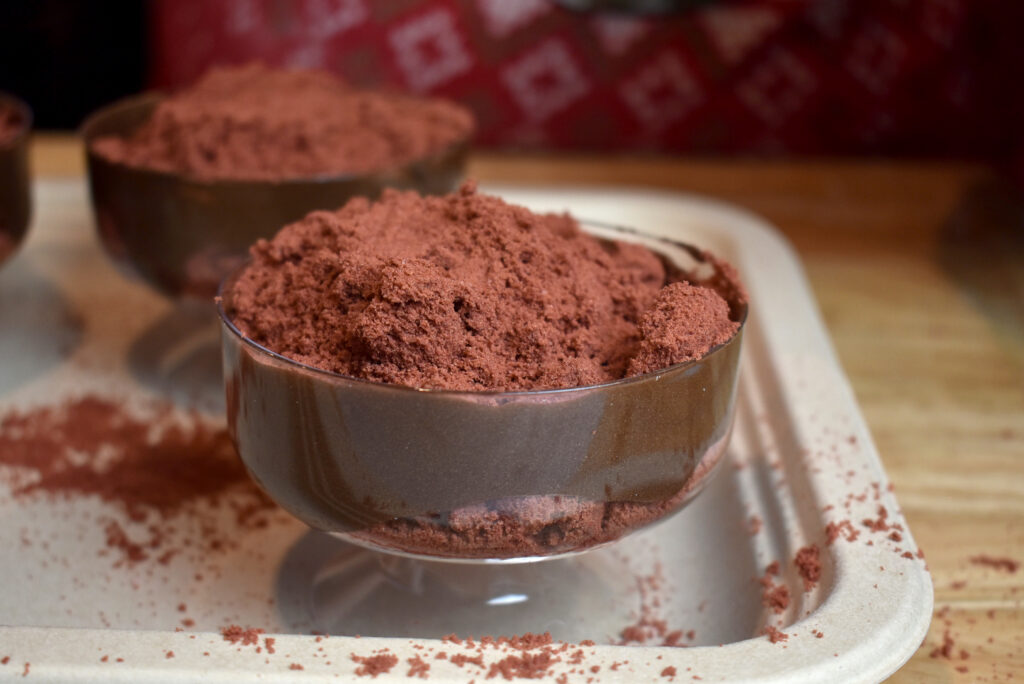
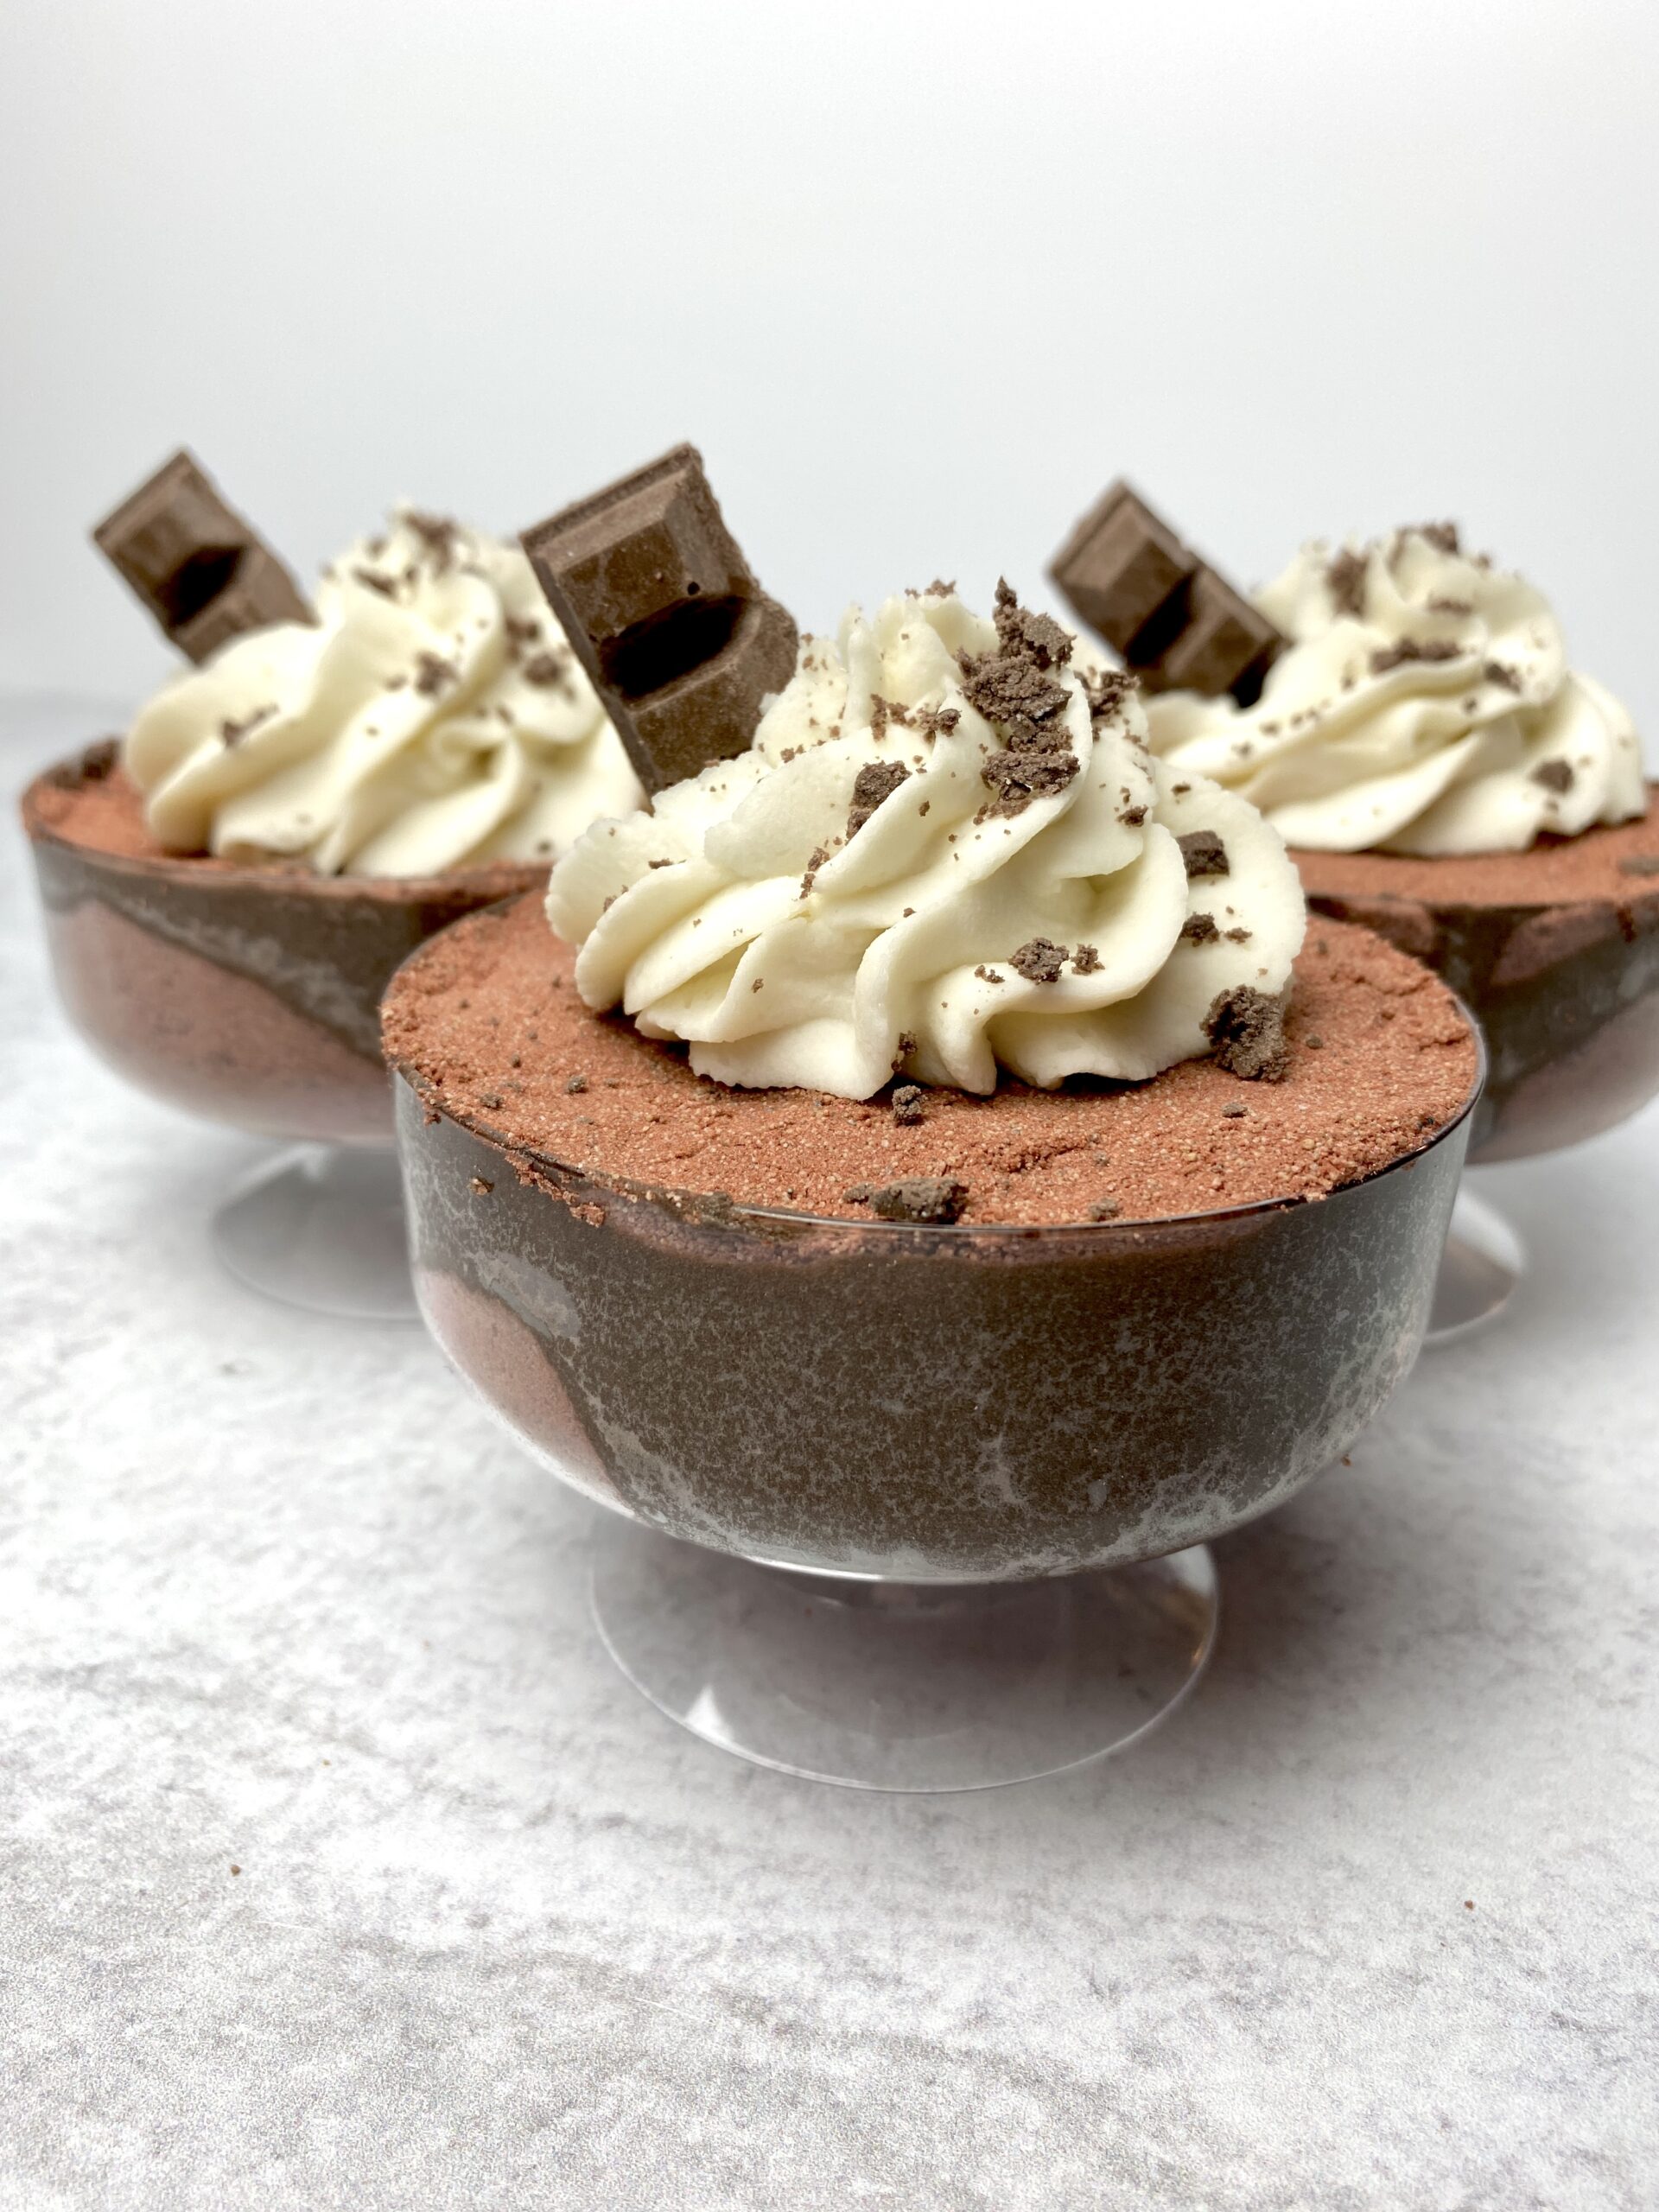
These chocolate mousse bath bombs were easy and fun to make! They ended up looking so cute! I think the cup really made them.
You can find lots of different parfait cups from your local craft store or from Party City!

Here is a rundown of the different components that we used! You can make your hot cocoa bath bombs as easy or as complicated as you want!
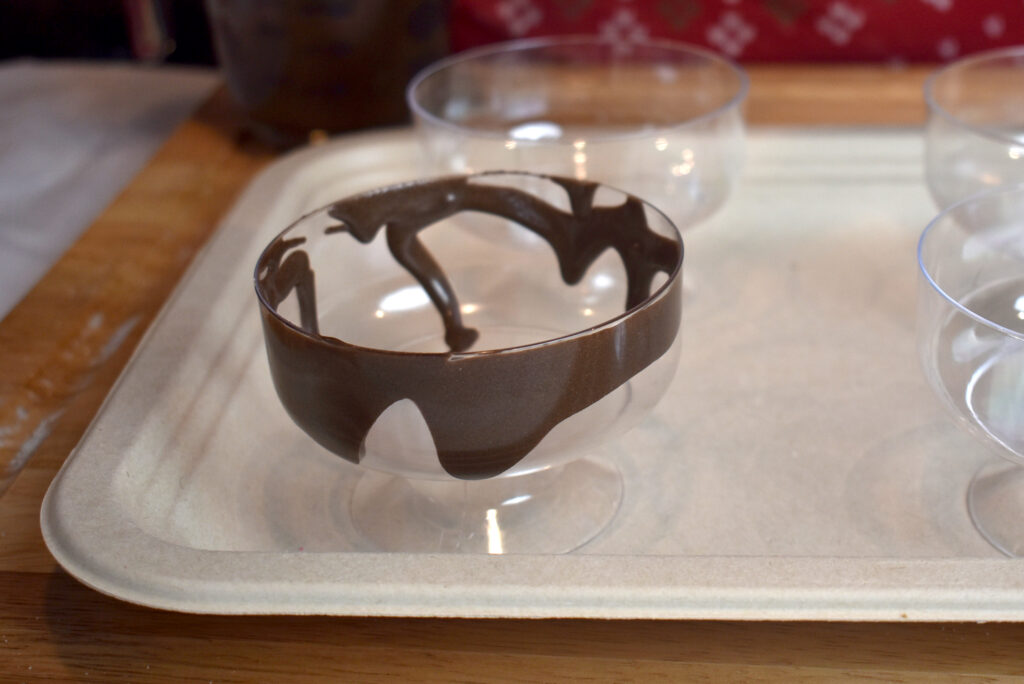
Chocolate Drizzle on Cup – We used the Quick and Thick Drizzle recipe from Bath Bomb and Bubble Bar Drizzle Guide. It allowed us to create a thick chocolate drizzle that stuck nicely to the sides of the containers.
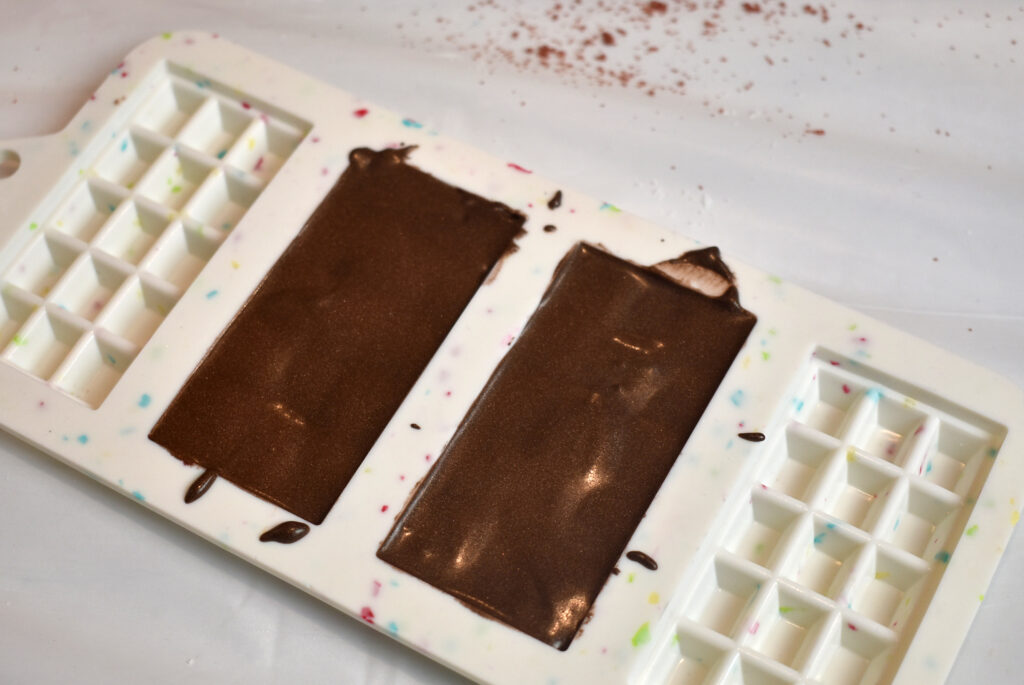
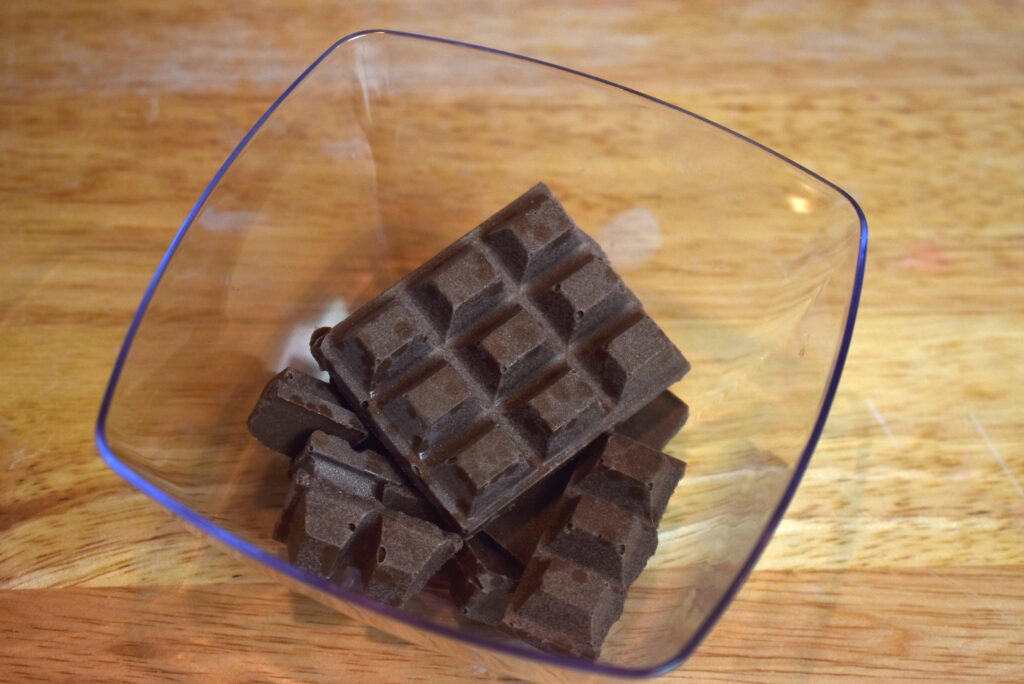
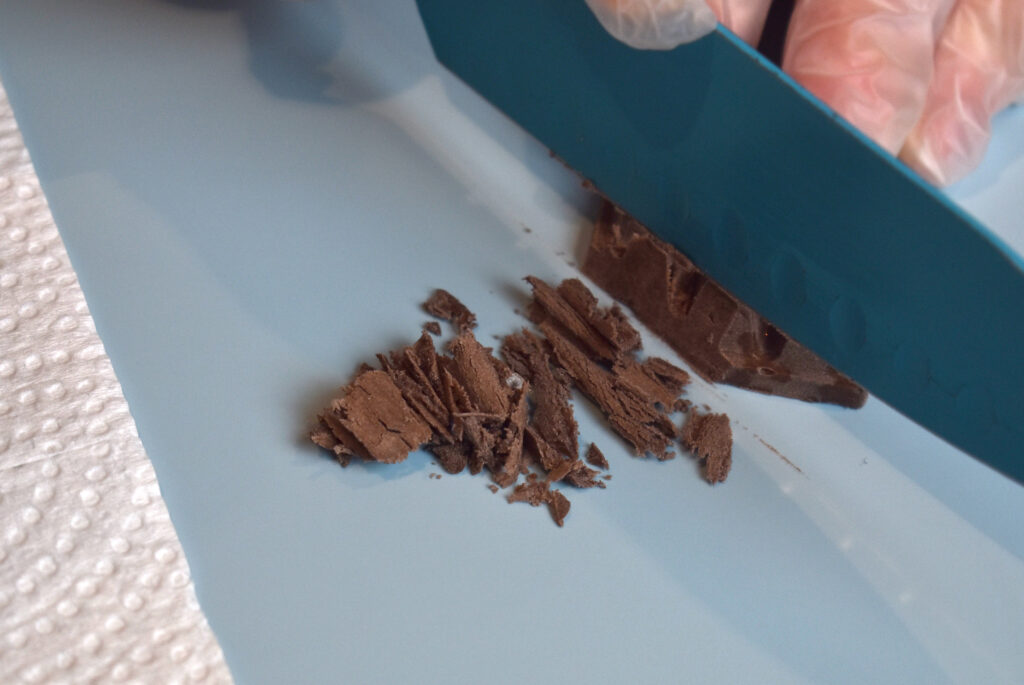
Chocolate Bar and Shavings – We used the leftover drizzle and simply filled a small chocolate bar mold. Then Robyn used a knife to create some shavings from a few of the bars that we didn’t need.
Chocolate Mousse – The mousse part is simply Robyn’s Humid Weather Bath Bomb Recipe.
Whipped Topping – The whipped topping is Wonder Bar, a bubble bar recipe that you can pipe!
Let’s make them!
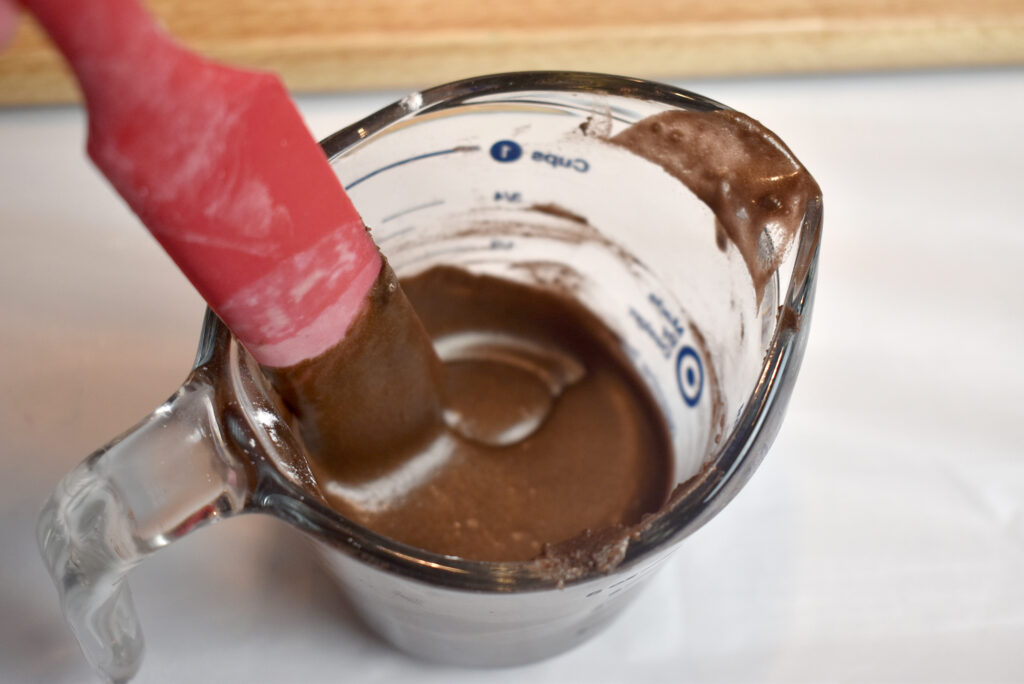
The first step is to make a batch of Quick and Thick Drizzle from our Drizzle Guide! We LOVE our drizzle recipe because it easily dissolves in the tub and doesn’t leave a mess.
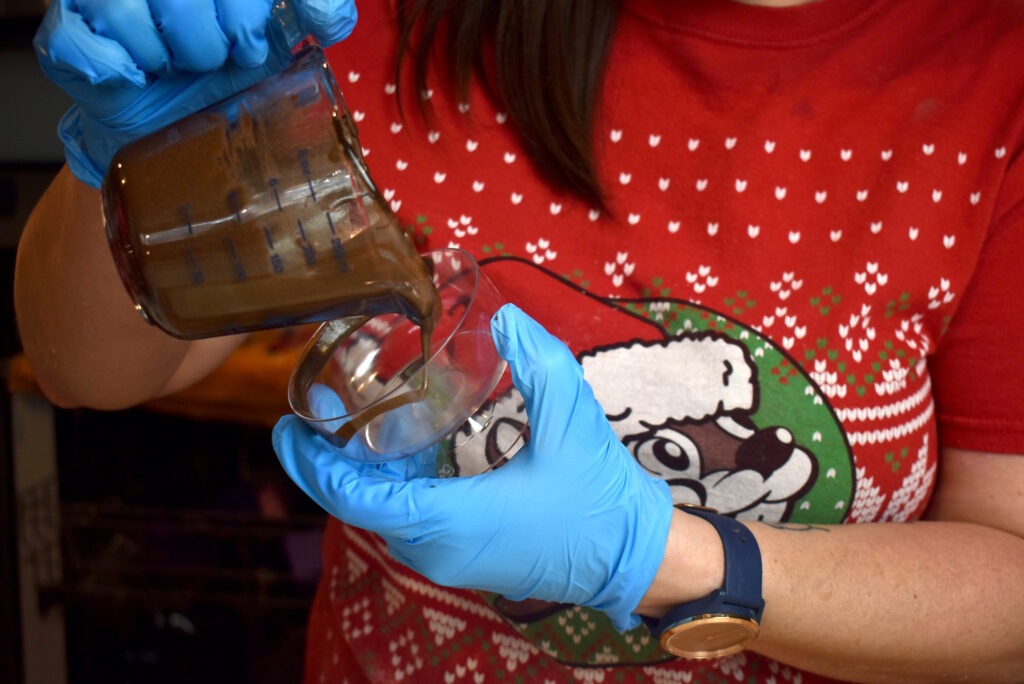
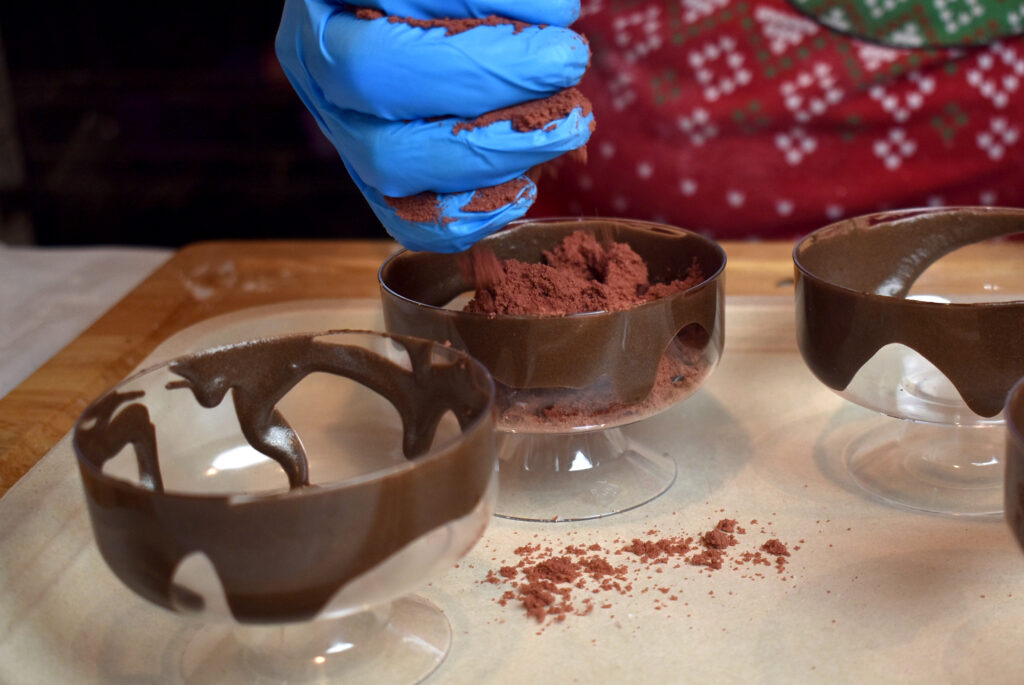
We used this drizzle to add a bit of chocolate into each cup as show below. When we first poured, it was a bit too fluid. We let it sit a few minutes and it thickened up nicely.
We used the leftovers in a chocolate bar silicone mold to make little chocolate bars to top our mousse.
Let’s make bath bombs!
Step 1: Mix up your bath bomb mixture!
Step 2: We wanted brown. You can check out the Brown Color Study to pick a brown that you’d like. Usually brown color gives brown bath water, but you could pack this bomb with purple embeds to end up with a purple or something similar.
Step 3: Once everything is mixed up, fill your containers! We loosely filled each one and then gave them a pat to pack it down a bit.
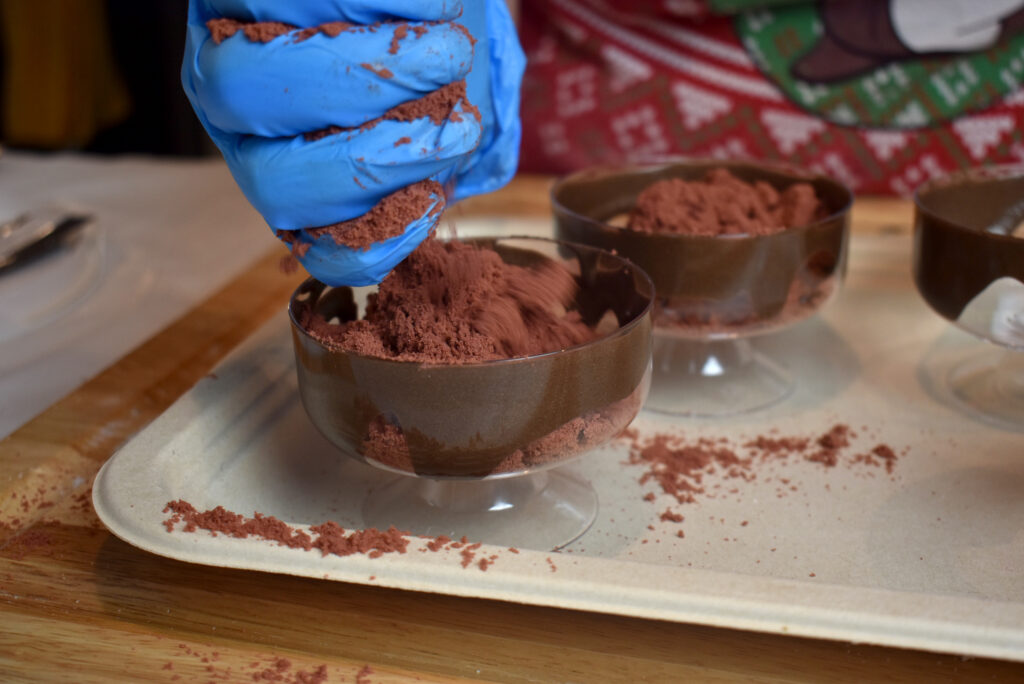
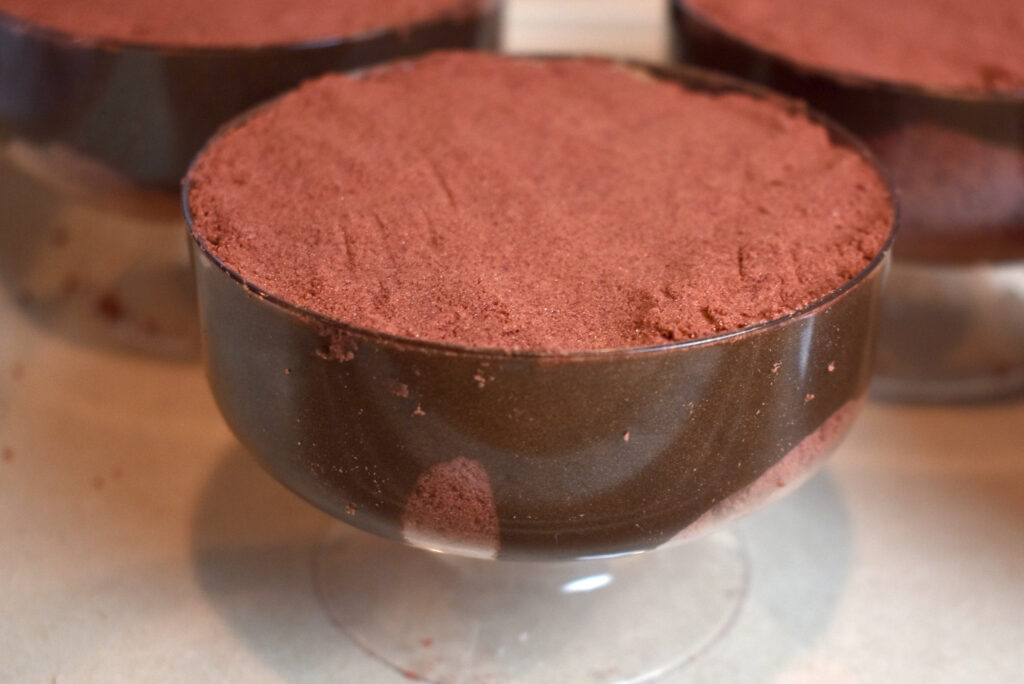
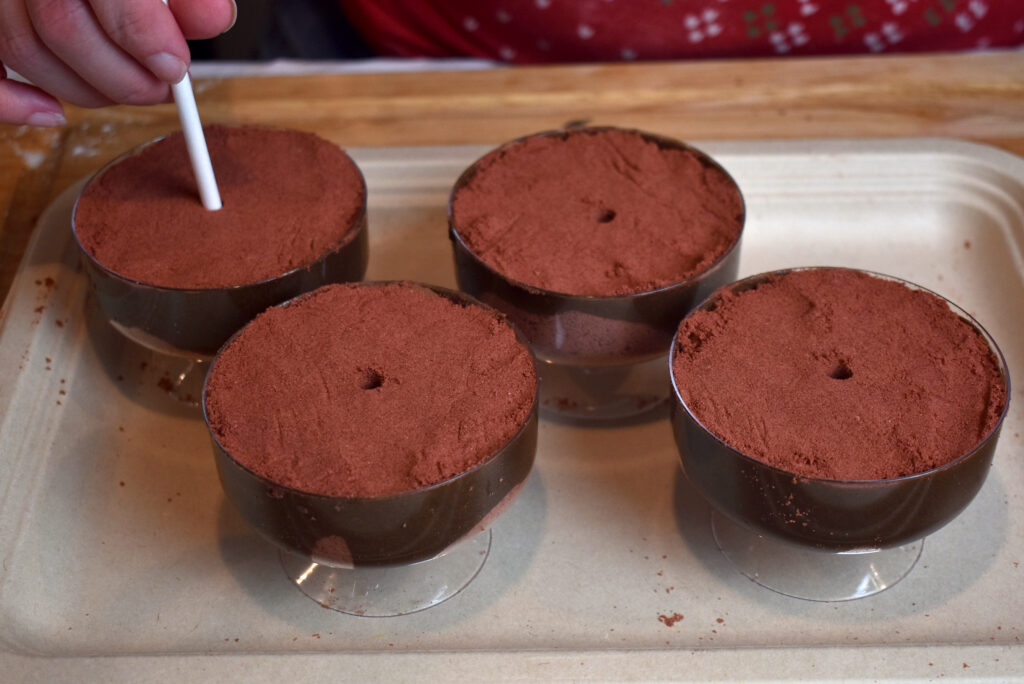
TIP: Remember to poke a hole down the center of your bath bombs or they might crack your hard plastic cups!
Step 4: Dry your bath bombs before decorating. Depending on how humid it is where you live, you might need to dry them 1-4 days. I dry in a room with a dehumidifer running and mine only need about 24 hours to dry (even in humid Florida!).
TIP: Drying your bath bombs: The best way to quickly dry your bath bombs is to place them in a room with a dehumidifier running. If you have no humidity where you live, then you probably don’t have to do this. But if you have any humidity, I highly recommend investing in a dehumidifier. Even if you don’t have high humidity, it can help your bath bombs dry quickly so you can decorate and package even faster! I like this dehumidifier from Homelabs on Amazon.
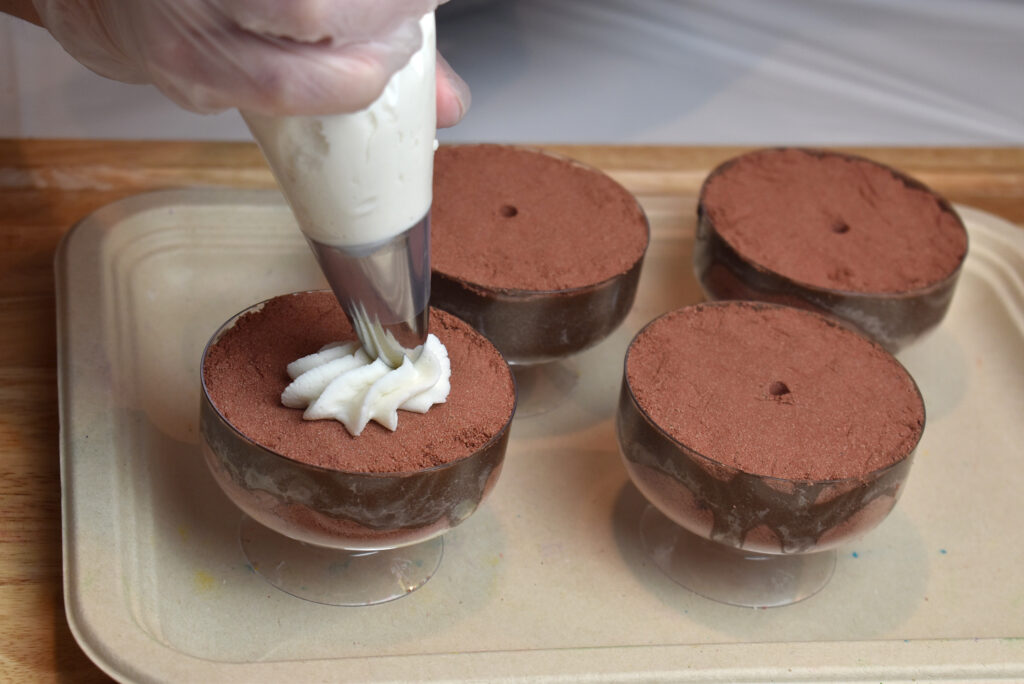
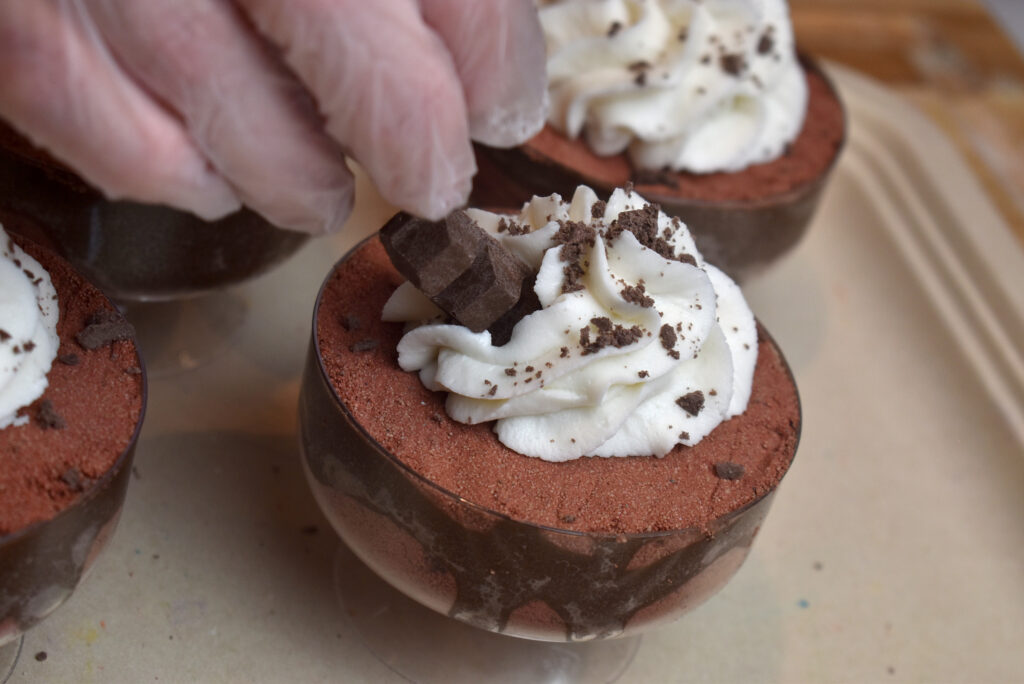
Once dry, you can decorate! We piped Wonder Bar on top and added chocolate bars and shavings on top. You don’t have to make a whole batch of Wonder bar, because then you’d have to much left over. You can simply grab some from a masterbatch. Check out this blog post where we talk about how to masterbatch Wonder Bar.
When it comes to piping Wonder Bar, it is ALL about consistency.
Step 1: Mix Wonder Bar until you get a pipeable consistency! It should look like frosting.
Step 2: Prepare your piping bag with tip and add frosting to your bag.
TIP: Spray your bath bombs with a bit of alcohol before piping to ensure it sticks!
Step 3: Pipe! We piped Wonder Bar using an Ateco 847 tip. It came out so cute!

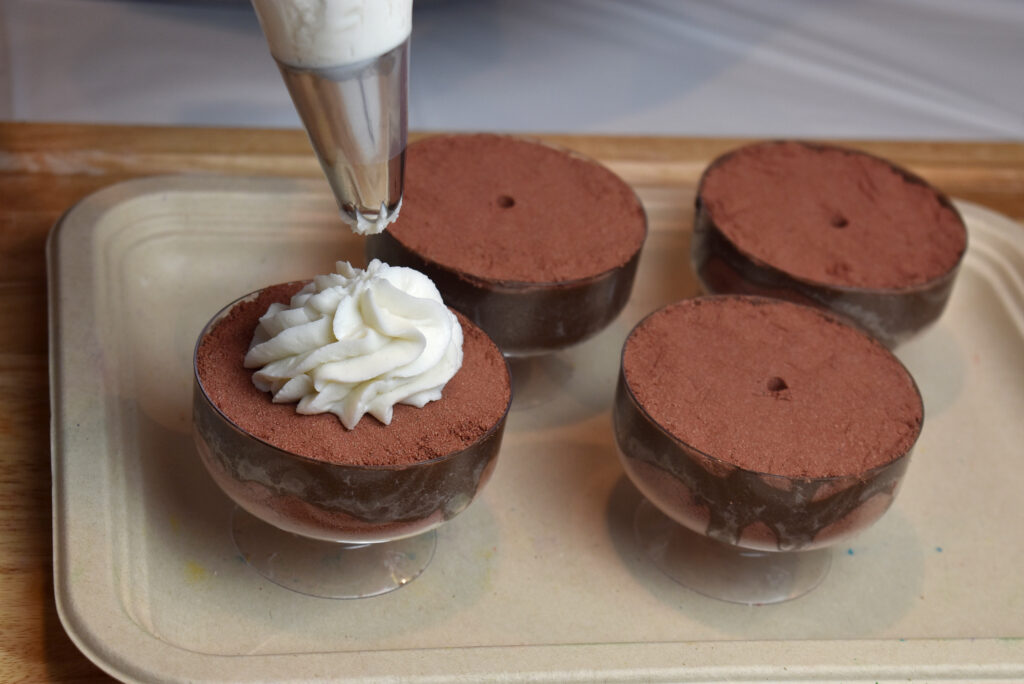
Step 4: Top with chocolate bars and chocolate shavings!
To use them you simply instruct your customer to hold the piped part under running water to dissolve and activate the bubble bar. Then they can dip the bath bomb in water and watch the fun fizziness bubble over!
Happy Bubble Making!
Robyn & Amanda
Wonder Bar Bubble Bar Recipe + Process Guide
Get one recipe to make it all! Make bubble bar scoops, rolls and bubble frosting, using just ONE recipe! Get Wonder Bar here.
Robyn’s Humid Weather Bath Bomb Recipe
Making bath bombs in wet, rainy weather can be so frustrating! If you live in an area with constant high humidity, then you’ll need a recipe that can hang day in and day out without failing, warting, cracking or crumbling. Check out Robyn’s Humid Weather Bath Bomb Recipe!