
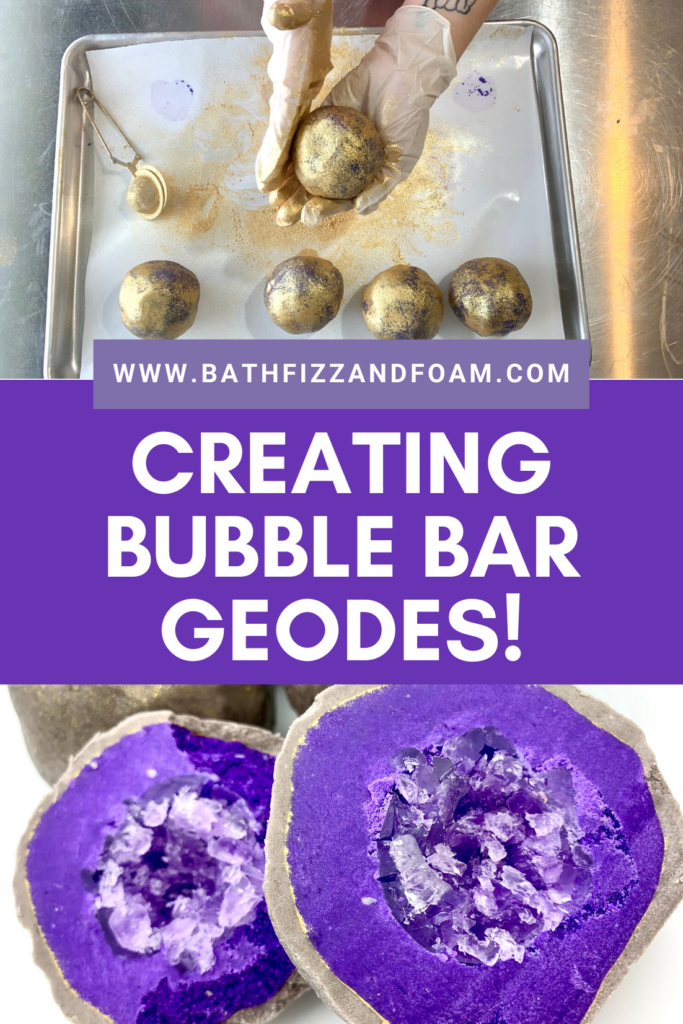
We’re celebrating the mesmerizing and beautiful Geode! Be sure to check out my geode bath bomb tutorials, Egg Geodes and Geode Hearts.
Geodes come in all shapes, sizes and colors, and it’s no different for bath time Geodes!
Since solid bubble bath is extremely popular these days, I wanted to have at least one of the Geode projects be a bubble bar of some kind. After a little brainstorming, I was pretty sure I knew a way to achieve this that would be really fun and interactive for customers.
One of the things people love to do with bubble bars is post videos of themselves chopping the bars up, placing them in strainers, sieves, or specially designed Bubble Baskets, and holding them under running water. Then you get to watch their bath tub fill up with gorgeous bubbles! If you haven’t seen these videos on instagram, you definitely need to check out #bubblebarcutting. I don’t know how, or why this is a popular thing right now, but, hey let’s go with it! If people are going to chop it up your solid bubble bar, then let’s leverage that and make it a selling point!
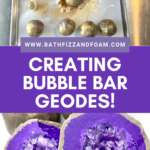
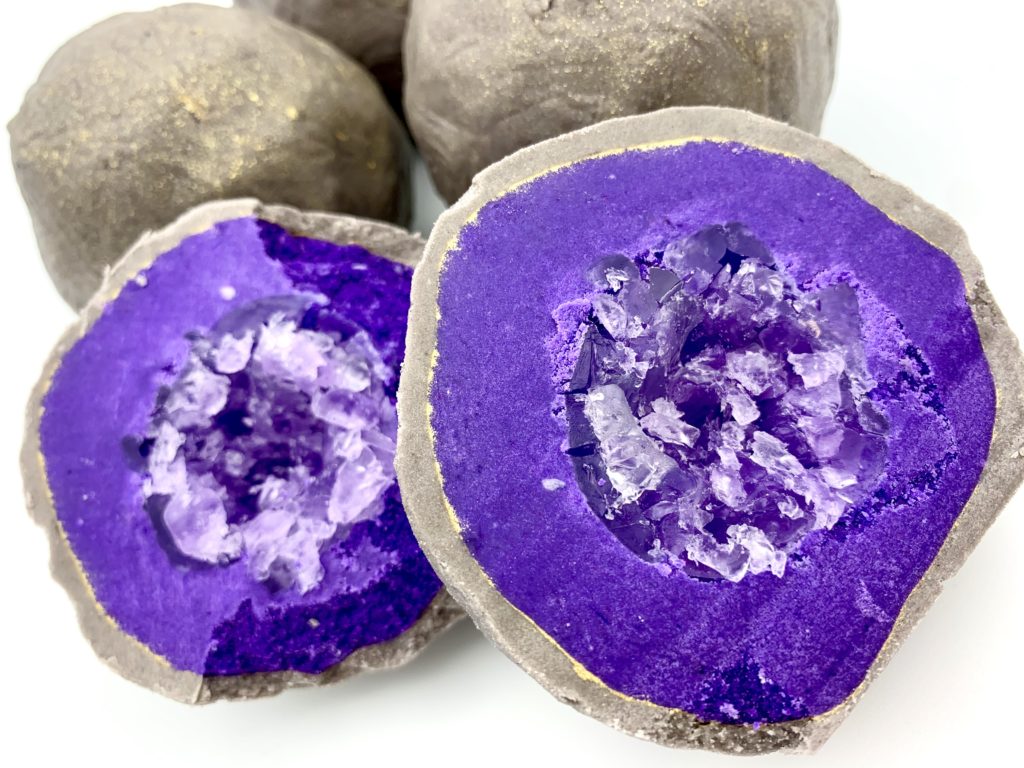
These geode bath bombs look boring and grey on the outside, but secretly have a layer of gold and vibrant purple with a crystal-like center made of chunky melt and pour soap. Once they are cut into, a customer will have that “oooh-ahhh” moment. There is so much of bathing that is about the experience and ritual! Use that to your advantage with projects like this!
This Geode tutorial uses 1.5 batches of Bubble Fondant. You can find the basic tutorial here. If you want to dive deeper into Bubble Fondant, check out my Bubble Fondant class either by itself or as part of Bubble Bootcamp! Bubble Fondant certainly has a learning curve and I go over all the ways to troubleshoot and modify your recipe in this class. I hope you’ll join us!
To make these Geode Bath Bombs you’ll need the following:
- 200g Melt & Pour Soap
- 1½ portions of Bubble Fondant (or your favorite bubble bar recipe)
- Micas, Lakes or Dyes
- Digital Scale
- Glass containers for melting
- Bowls for mixing (or stand mixer)
- Cutting board
- Knife
- Pans
- Freezer Paper
This project calls for Bubble Fondant, but you can also use your favorite Bubble Bar recipe. If you have never tried making Bubble Fondant before, the recipe can be found here. Be aware, though, that we have found different brands of baking soda and different textures of SLSA can cause this recipe to feel too dry for some people. If that happens, you can continue to add melted cocoa butter to the recipe until it reaches that fondant like texture. As with all recipes, you’ll need to tweak it to your liking, and we encourage you to do that! One of the best things about making a product by hand is having the freedom to substitute ingredients and use more or less of something! If you wish it had more bubbles, add a little extra SLSA or Bubble Up until you find that sweet spot! Make sure you take notes so you will be able to repeat that awesome bathtime experience you’re looking for!
You’ll need to make one full batch of Bubble Fondant for the inner part of the 5 geodes, and a half batch for the outer layer. I’ve given you a suggestion on how to streamline the process a little, but feel free to work with it at your own pace!
INNER BUBBLE SECTION PREP: Start off by making Bubble Fondant (or your favorite Bubble Bar recipe!) for the inner bubble section. I usually mix my own Lakes, but today I used a batch certified Lake from Saraphina’s Coastal Colours called Indigo Lake. I used ½ tsp.
OUTER BUBBLE SECTION PREP: To save time, you can simultaneously prep half a batch of Bubble Fondant that will be used later for the outside of the geodes. To do this, add all the Dry ingredients, and all the Wet 1 ingredients, and DO NOT add the Wet 2 cocoa butter. Instead set it aside until the very end when it’s time to cover the geodes.
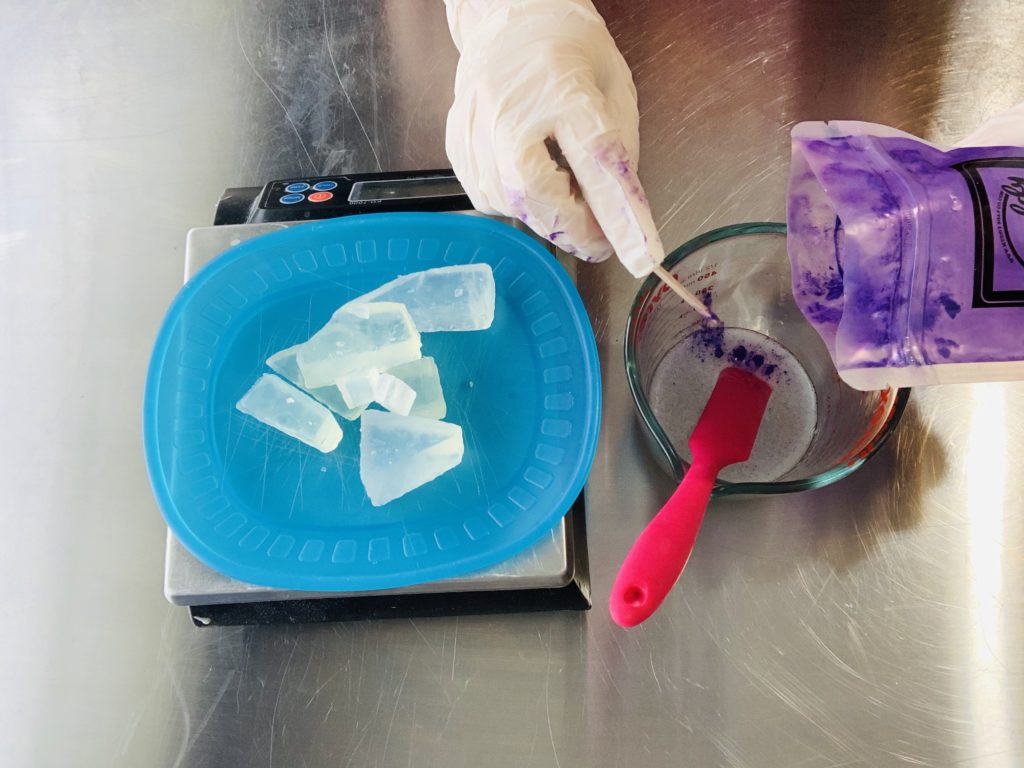
MELT & POUR CENTER: After the bubble Fondant is ready, melt 100 g of Melt and Pour soap in the microwave; we’ll call this MP1!
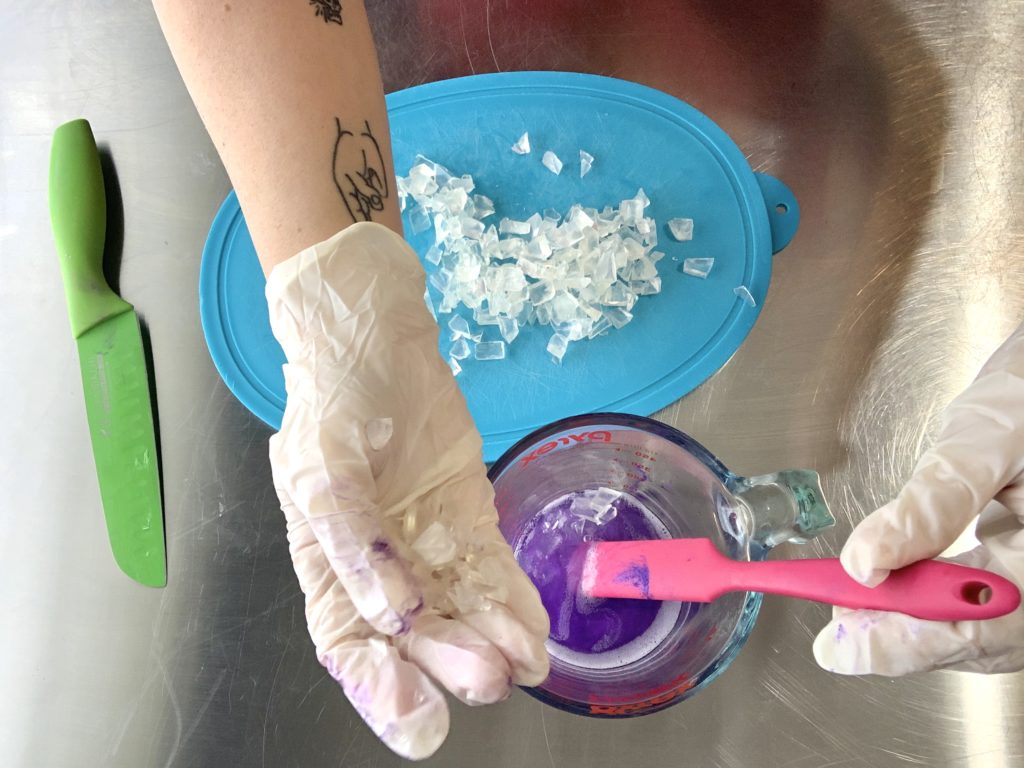
Once it’s fully melted, add your colorant. I choose Lollipop Guild from Muddy Soap Co. Make sure you stir it in well!
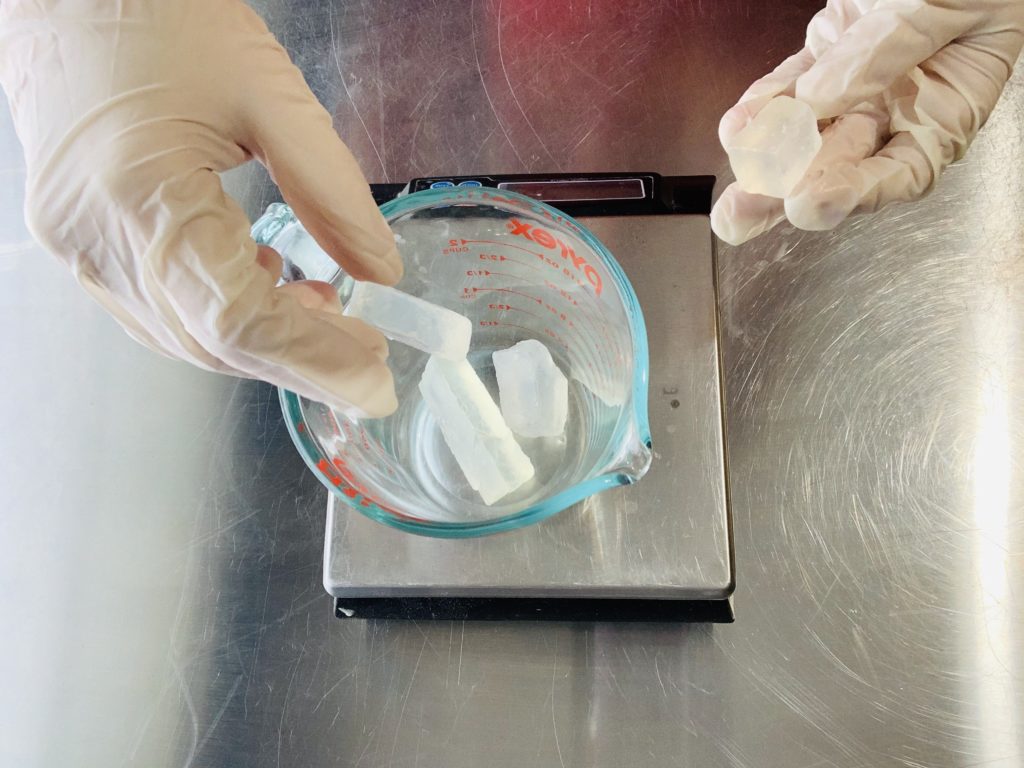
Allow MP1 to cool off while you chop another 100g of Melt and Pour soap into chunky, random shapes, we’ll call this MP2!
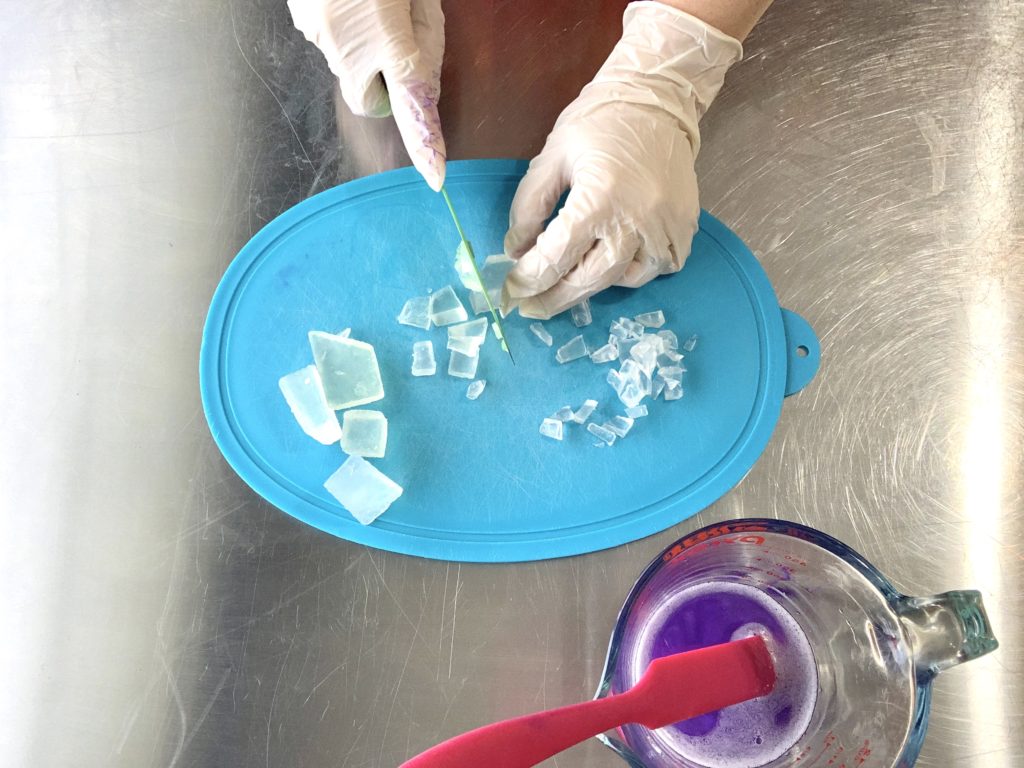
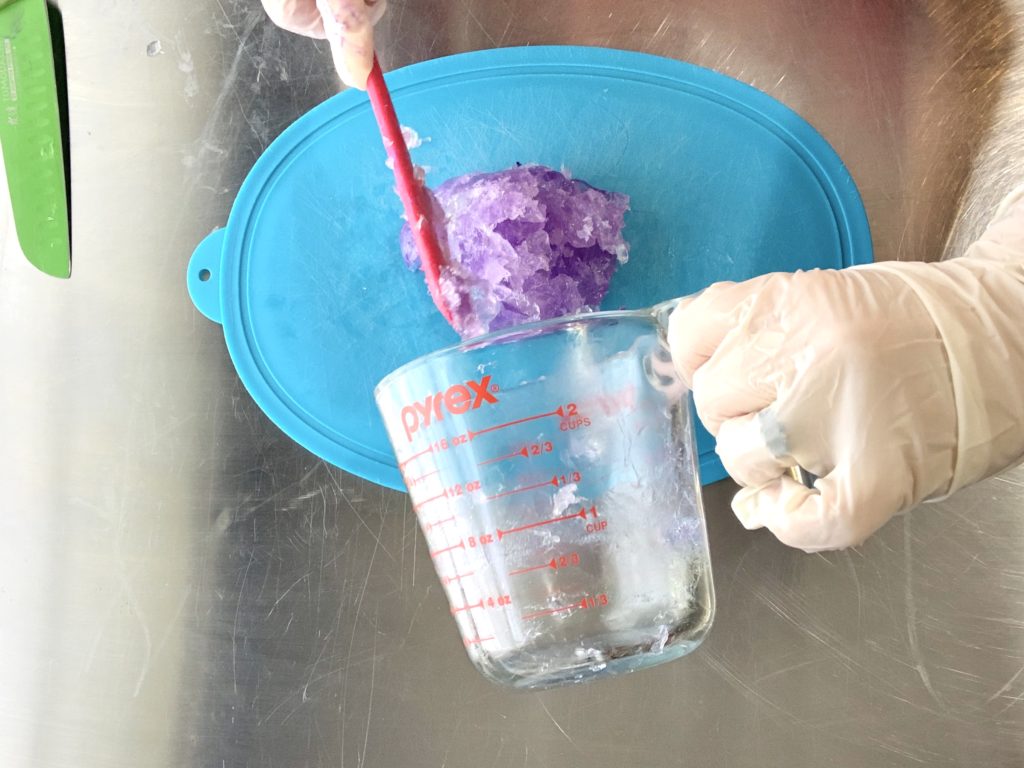
When MP2 is all nice and chopped, add it to the container with the MP1.
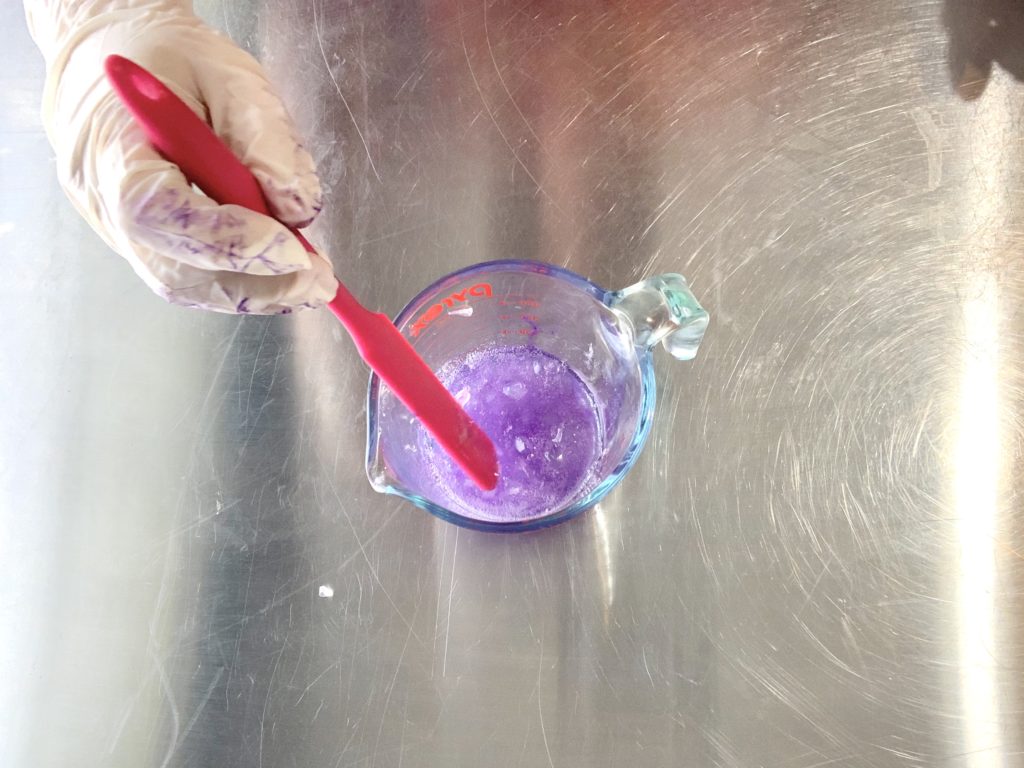
You want the MP blend to stay slightly chunky so don’t stir too much! Just stir it around a few times, and allow it to sit and cool off
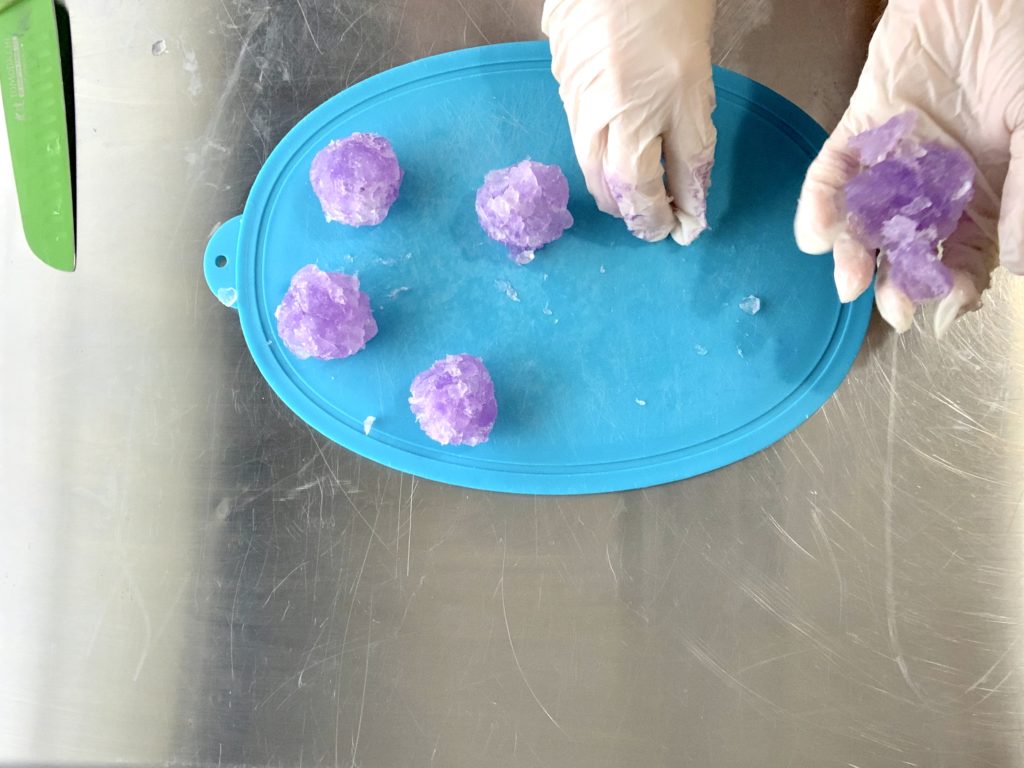
While the MP blend is still soft, remove it from the measuring cup and roll it into 5 balls.
INNER BUBBLE SECTION: Split your inner bubble section into 5 equal portions.
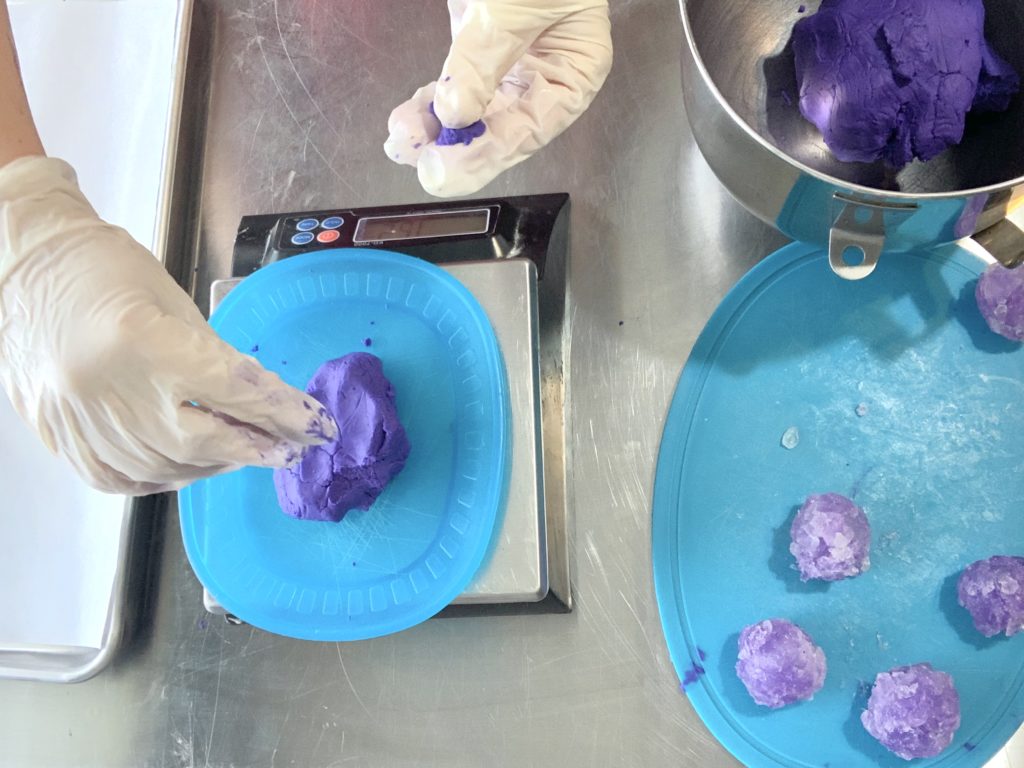
Flatten a portion out, then place one MP center into the portion and completely cover
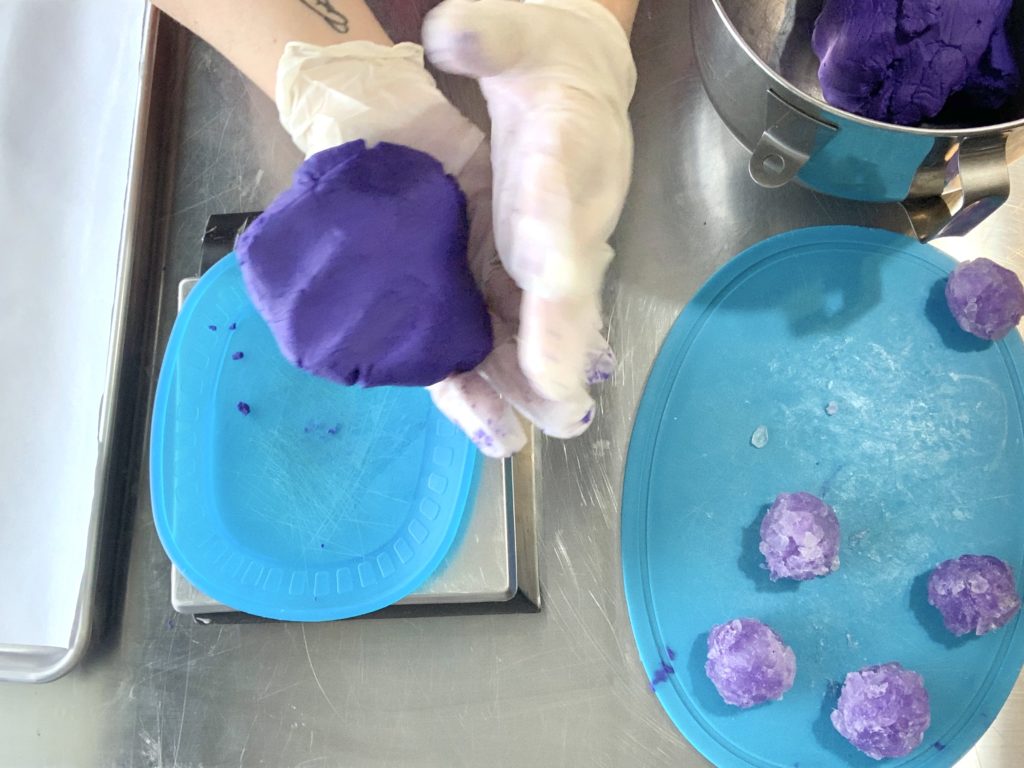
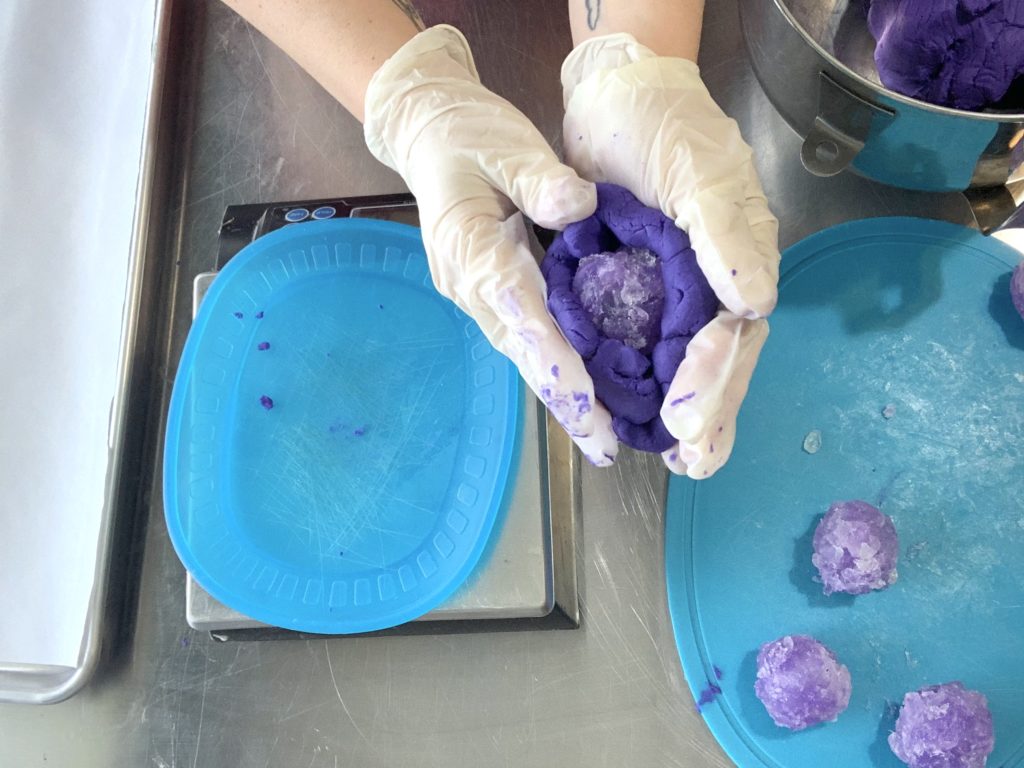

Repeat until all MP centers are covered
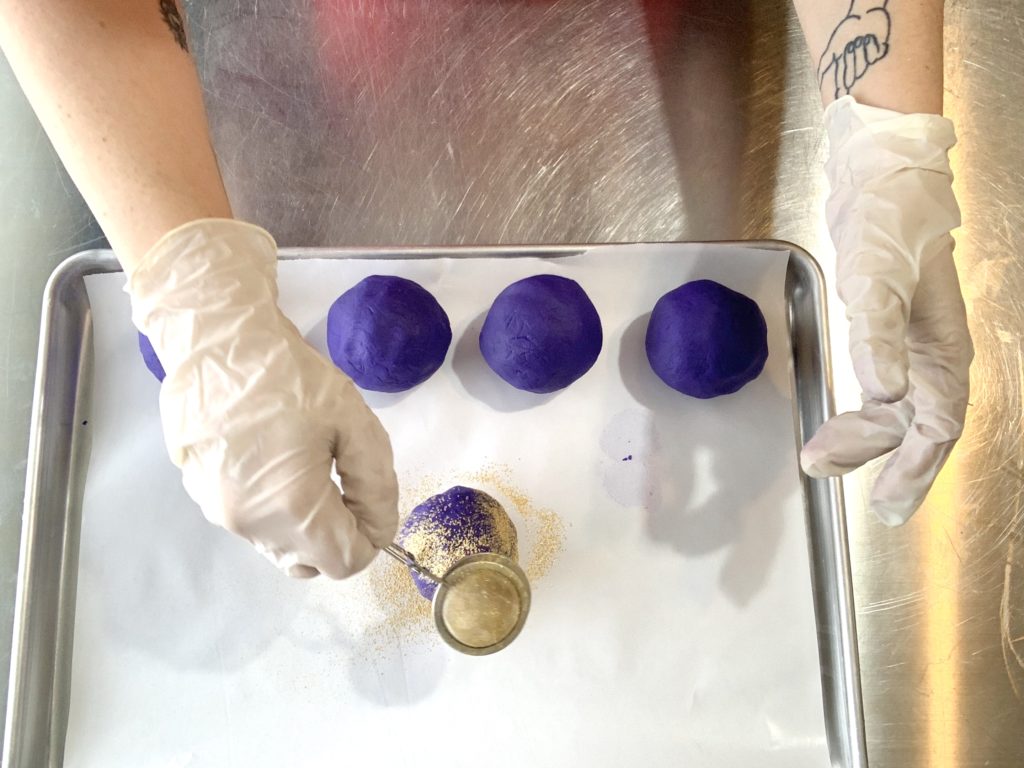
MICA LINE: Initially I used a tea ball to sprinkle mica onto my bubble portions, but found it was just as efficient to roll the bubble portions in mica.
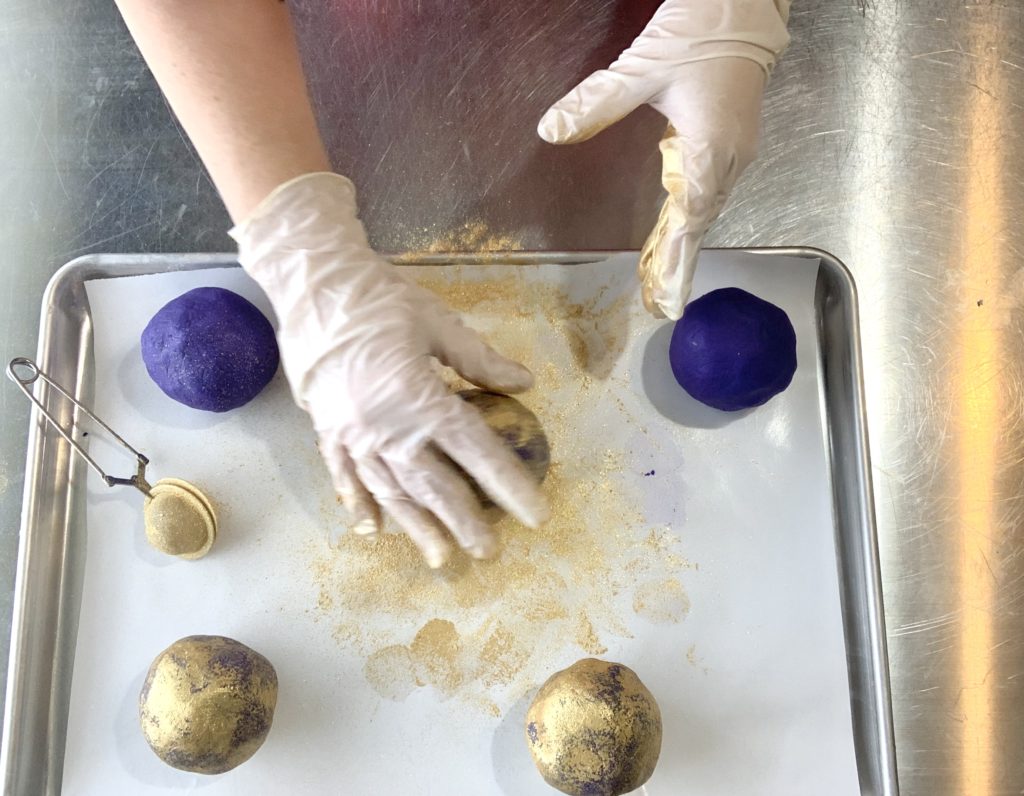

OUTER BUBBLE SECTION: If you prepped your outer bubble section, then all you need to do now is melt your cocoa butter and incorporate it into your prepared fondant mix. I once again used a Lake from Saraphina’s Coastal Colours to create a gray color. This one is called Celestial Splendor Lake and I used ⅛ tsp.
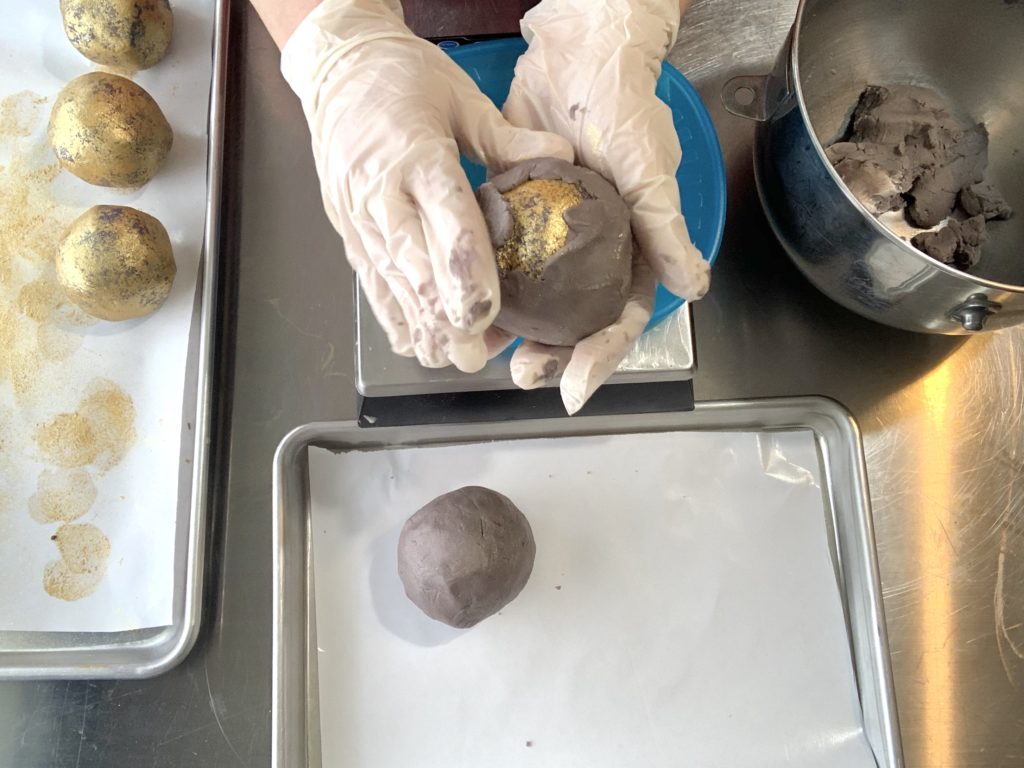
Split the outer bubble section into 5 equal portions.
Flatten each portion out, make sure the center is very thin!
Gently wrap it all the way around your geode, carefully massaging the bubble fondant into place.
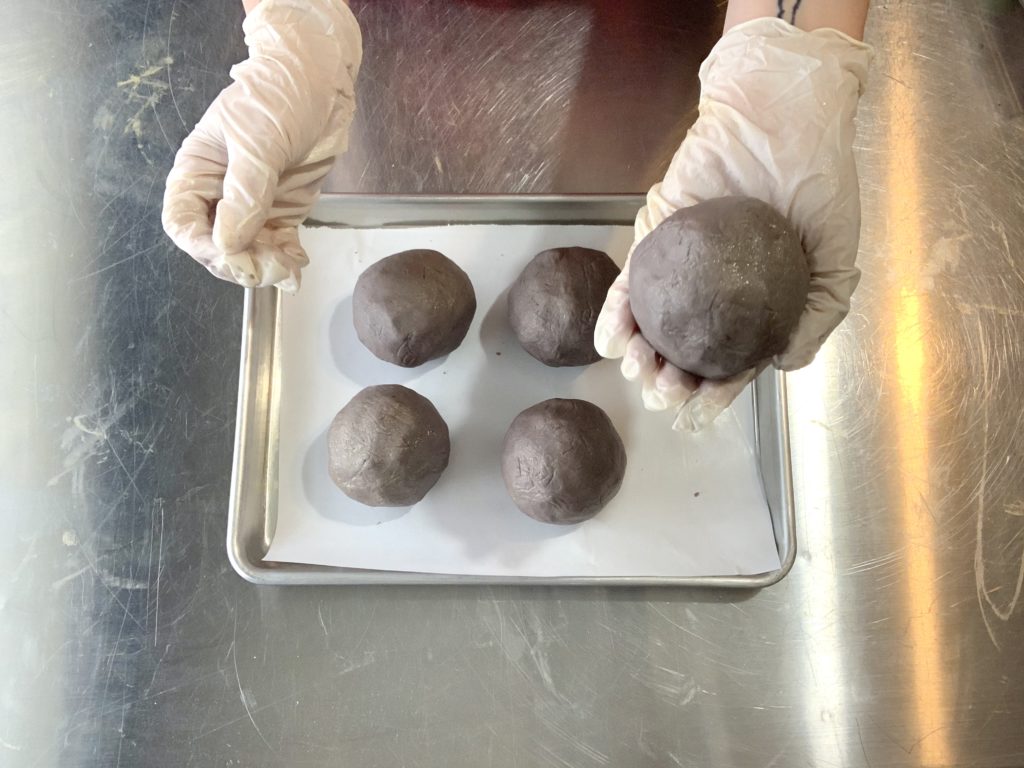
To prevent issues with sticking, let your Bubble Geodes harden on a pan lined with freezer paper!
What’s nice about this project is it’s ok if they look rough on the outside! They are Geodes! They are meant to be a little ugly on the outside! When your Bubble Geodes have completely hardened you can carefully cut into one and see what it looks like.
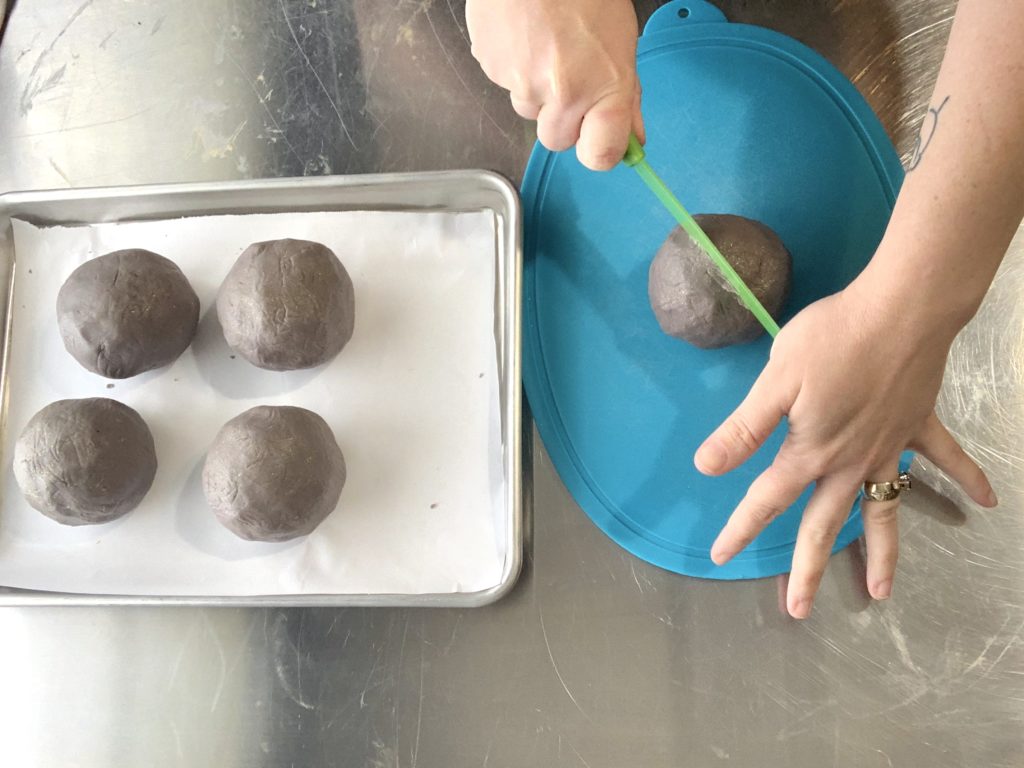
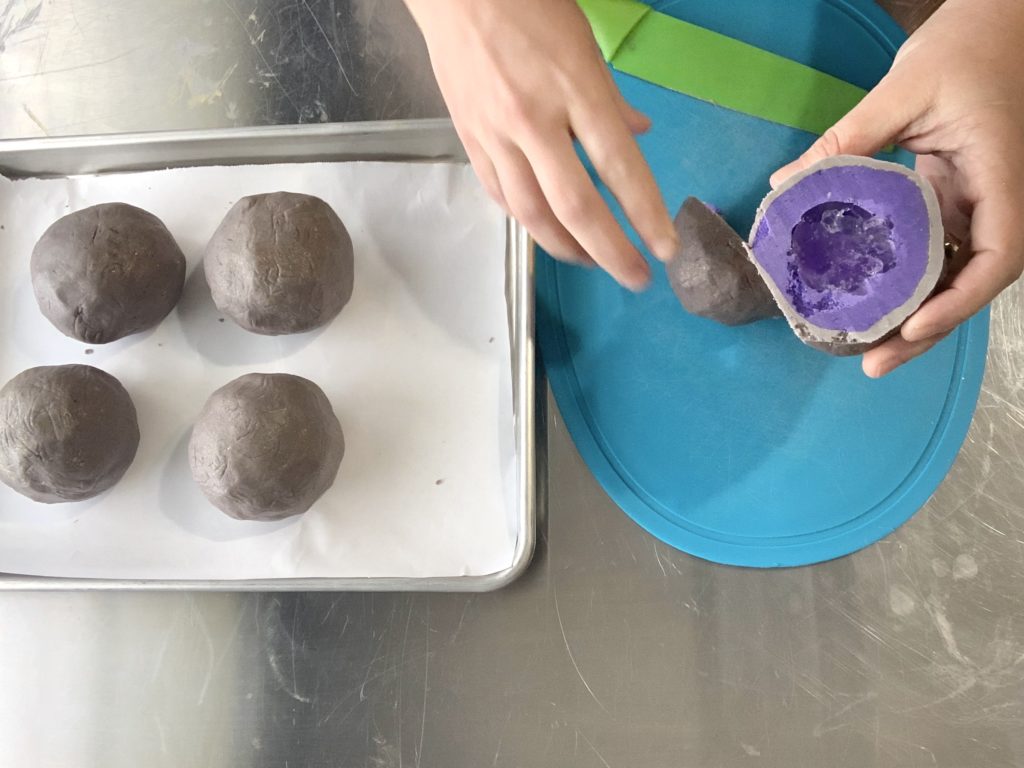
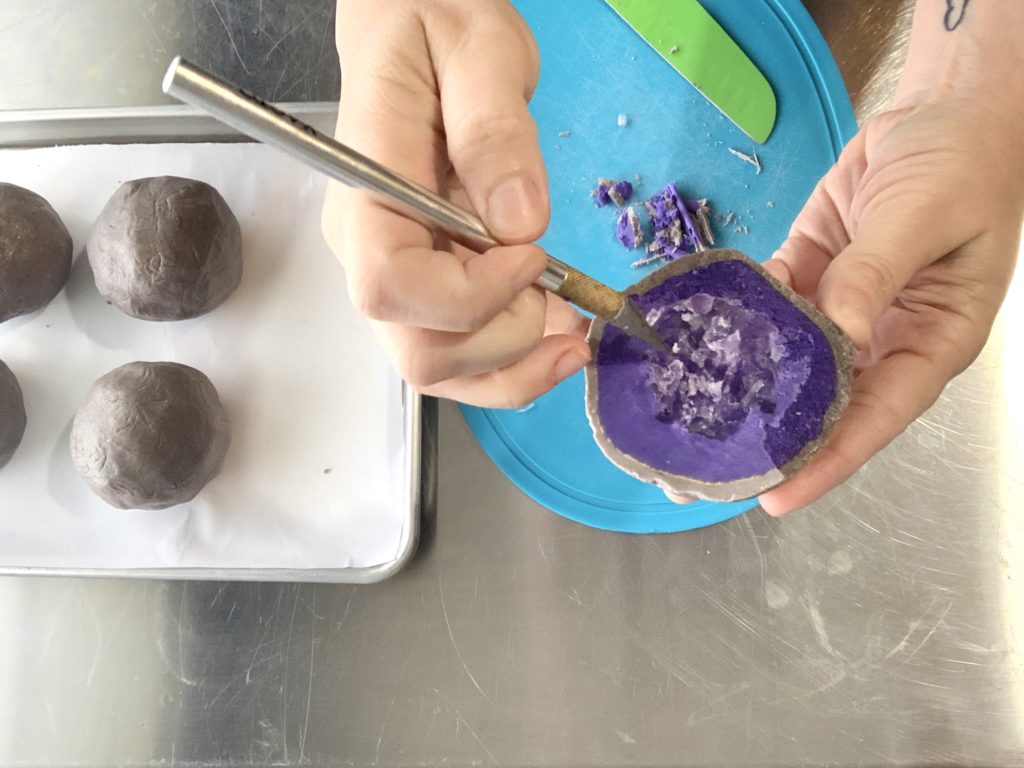
You can sell these Bubble Geodes whole and use the angle of a full customer experience as a selling point. If you do so, make sure you explain that they need to cut into the bar to see the geode inside! Otherwise, you can divide them yourself and allow customers to see the neat geode you made right away. If you choose to do that, you might want to chop the MP center up a bit with a small knife before wrapping. That way the center portion has the iconic crystalline look. Either way, you, your customers, friends and family will love these beautiful Bubble Geodes.
Don’t forget to educate whoever uses these that for best results you want to use a strainer or sieve with solid bubble baths!
Please share on Pinterest!
About Robyn French Smith

My name is Robyn French Smith! I studied fine art at the University of St Thomas and the Glassell School of Art in Houston TX, and graphic design at The Art Institute of Houston. I started dabbling in DIY bath and body products over 10 years ago after moving to Alaska. While I knew how to make basic soap for several years, I didn’t start looking at it as an art form until about 4 years ago when a neck and shoulder injury made it almost impossible for me to draw and paint. I needed a place for all that creativity to go, and I found it in soap. I received my Basic Soapmaker Certification from the HSCG in 2019 and plan on pursuing further levels of certification.
Find me online at scandaloussoap.com and Facebook!
Sorry I think I posted my question on the fondant orange by accident, but can I use wonderbar for the fondant bubble part?