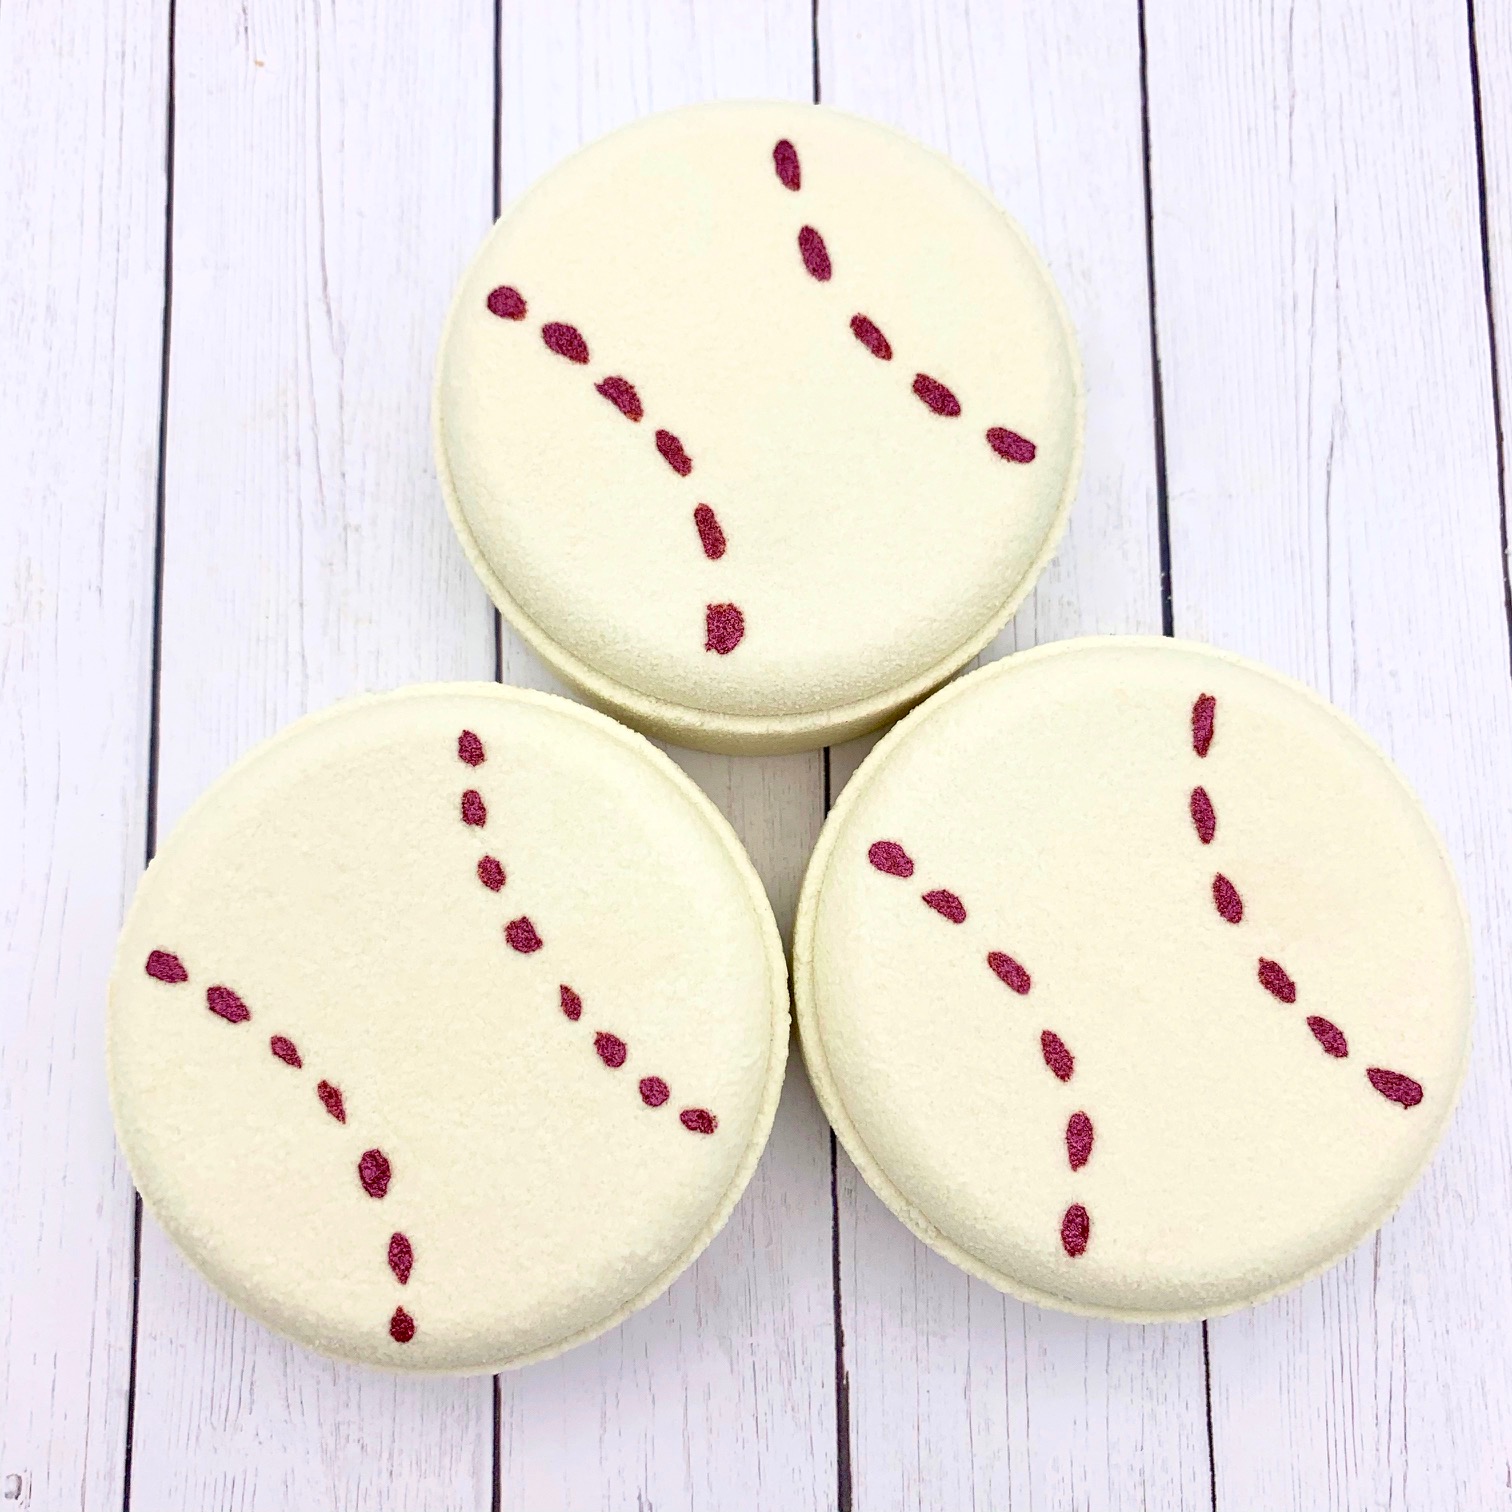

I was inspired to create some baseball themed items after being invited to sponsor an opening day festival for a local girl’s softball league. These bath bombs are really easy to make and will have great appeal for men and women, making them a fun and quirky choice for a spring lineup. Even better, they are quick and simple! Even if you’re new to bath bombs making or have been making them for years, you’ll love the outcome.
In this project I use my Electra-press and the puck shaped mold. If you don’t have a press you can still create this project! There are vacuum formed molds like the Disc Mold from Wylde Thyme Studio, or metal tin molds like the Tablet Mold from Two Wild Hares. Both of those are Etsy shops and are only a few of the many awesome places you can find fun bath bomb molds!
To start with, choose your favorite bath bomb recipe! If you don’t have a personal favorite yet, you can try Amanda’s Basic Bath Bomb Recipe. You can use any fragrance that you like as long as it’s skin safe. I chose Aqua Di Gio Type from Nature’s Garden. It’s a wonderfully crisp, clean fragrance that both men and women love!
I like to use a stand mixer to blend my ingredients, but you could also mix by hand. If you’re using a stand mixer you’ll want to cover it with a towel until the wet ingredients are fully incorporated to prevent the dry mix getting airborne. Finally, you should always wear gloves, cover and secure your hair, and wear a face mask.
Grab Amanda’s Basic Bomb Recipe here!
These baseball bath bombs will only have a little mica painted on top, so it’s up to you if you want to use Polysorbate or not. They also don’t have any color like lakes or dyes, so they are great if you’re just learning to make bath bombs! These are plain white bath bombs, and while I like the simple version just fine, you could add embeds to them if you wanted to make them more exciting!
Let’s get started!
Making Bath Bombs:
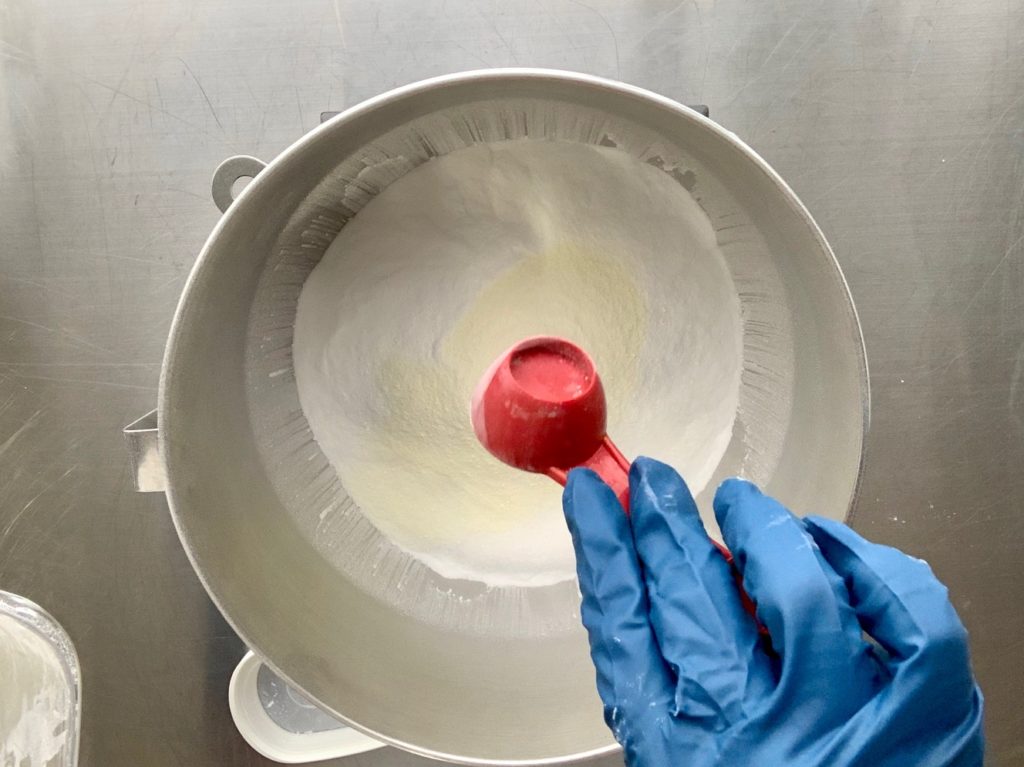
Step 1: Measure out dry ingredients–except Citric Acid–and thoroughly combine. It’s a good practice to sift your ingredients as you add them to your mixing bowl..
Step 2: In a small, separate container, weigh wet ingredients and blend well before adding to dry mix.
Step 3: If you’re using a stand mixer you can use a paddle attachment to fully incorporate the wet and dry. If you’re hand mixing, then make sure to continually sift the ingredients, breaking up clumps as you find them. Use a spatula to scrape the sides of your bowl as needed.
Step 4: Once the wet and dry are combined, you can incorporate the Citric Acid. Doing this last helps prevent any accidental reactivity, and helps prevent spotted colors. A good mix will hold its shape when squeezed and dropped.
Mold your bombs!
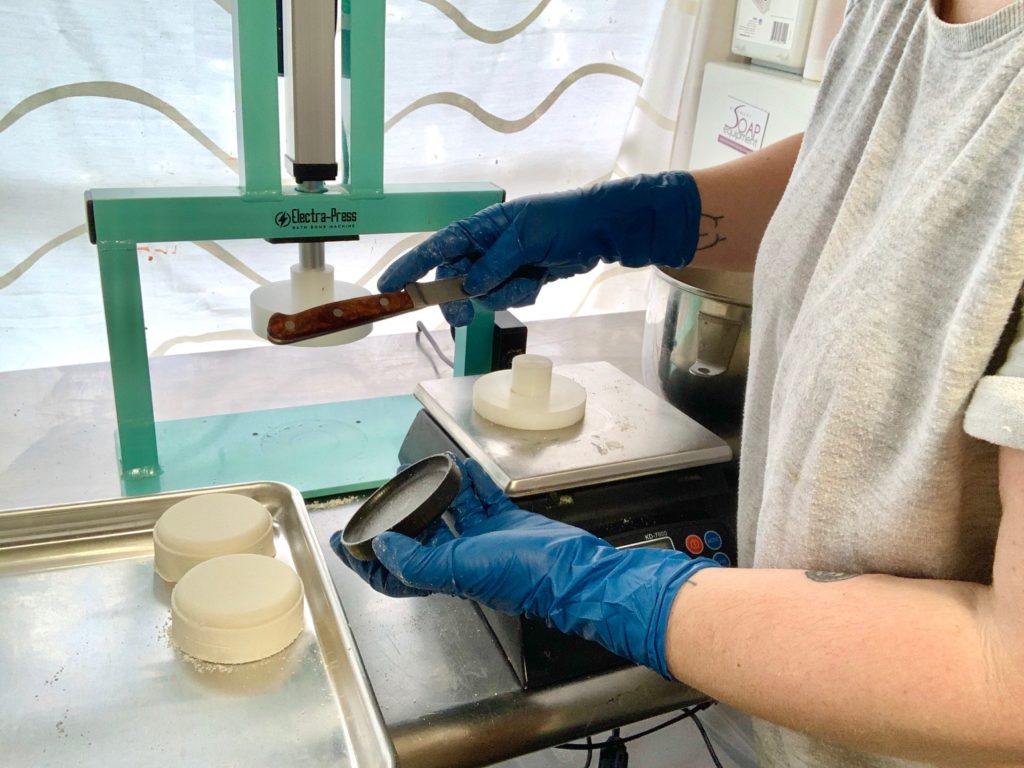
I like to tare my scale out with my mold on it. Then I can fill the mold and make sure all the bath bombs are approximately the same weight. This is really convenient if you’re selling because it helps you nail down your Cost of Goods, and makes sure all your labels are listing accurate weights!
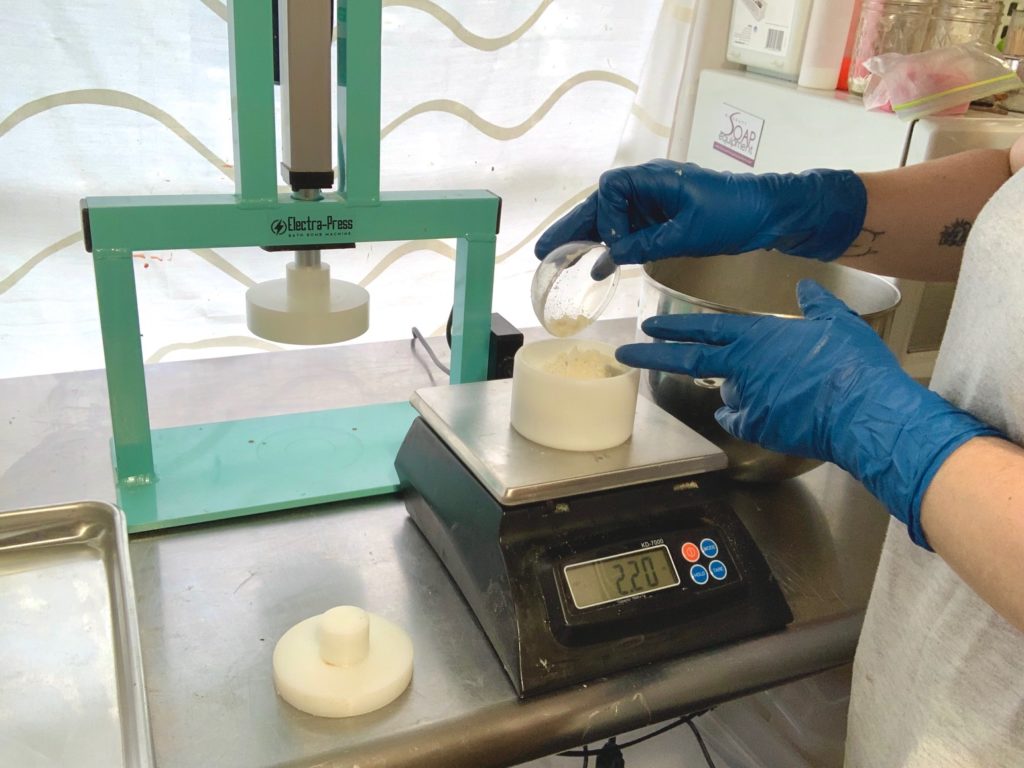
Begin adding bath bomb mix to your mold. For a press you’ll want to sprinkle the mix in, and lightly pat it down before setting the mold into your machine. Use the back of a spoon, or a hard handle to tap the mold before attempting to release it.
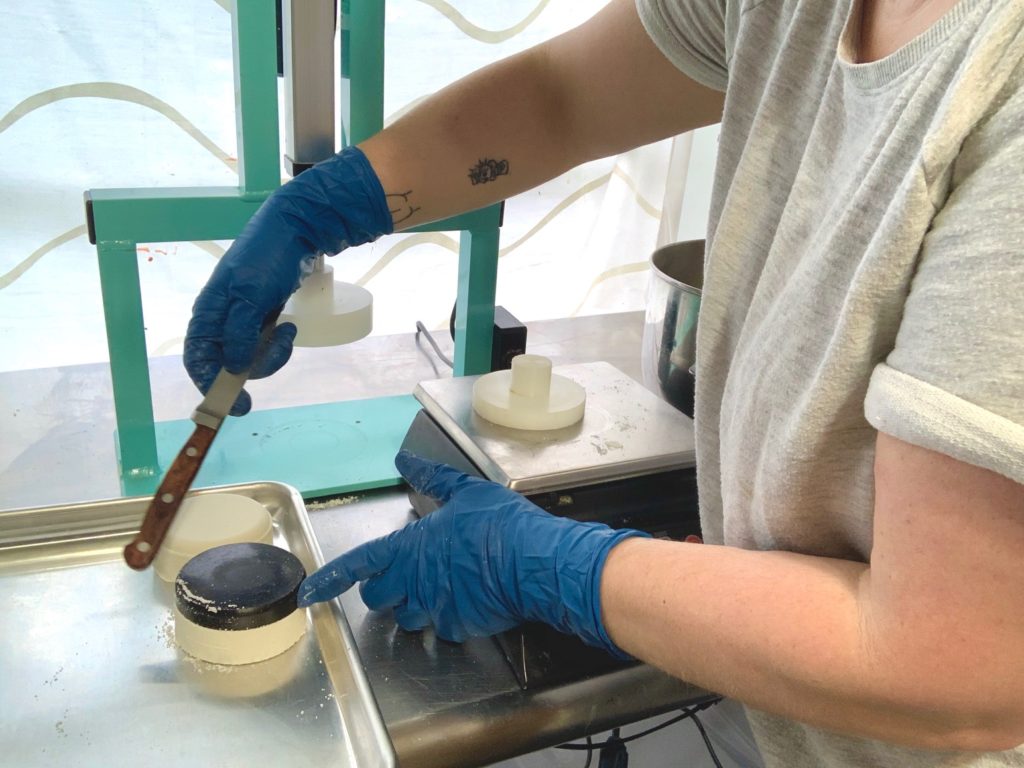
For an individual cavities you’ll need to pack the mix in evenly and press until it’s firm. Clean any edges and level the top off with a knife or icing spatula. Tap your mold with a spoon, or other hard handle and unmold by placing the bath bomb on a pan or tray.
You’ll want to make sure your bath bombs are completely dry before continuing to the next step, preferably 2-3 days. Otherwise you risk the bath bomb reacting! If you live in a humid area, or have storms coming through, you can set up a rice box to help dry your fizzies.
DECORATE:
Bath Bomb Paint
- ¼ tsp Red Mica
- 91-99% Rubbing Alcohol (abbreviated RA)
Tools:
- Small paintbrush
- Round cookie cutter (optional!)
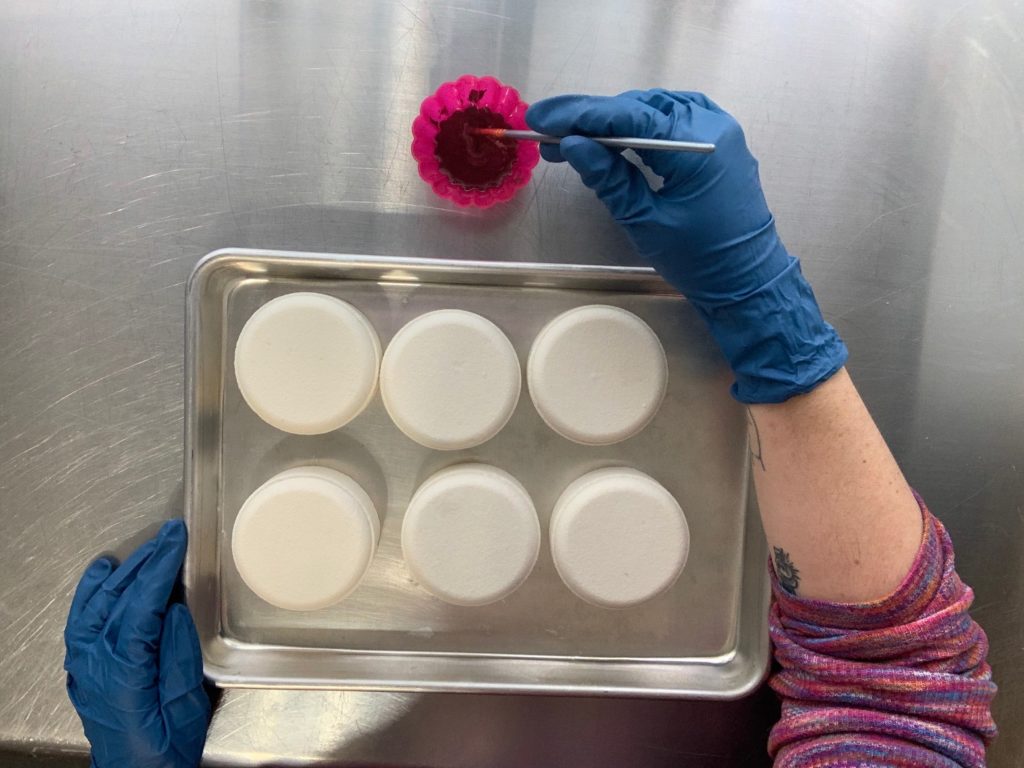
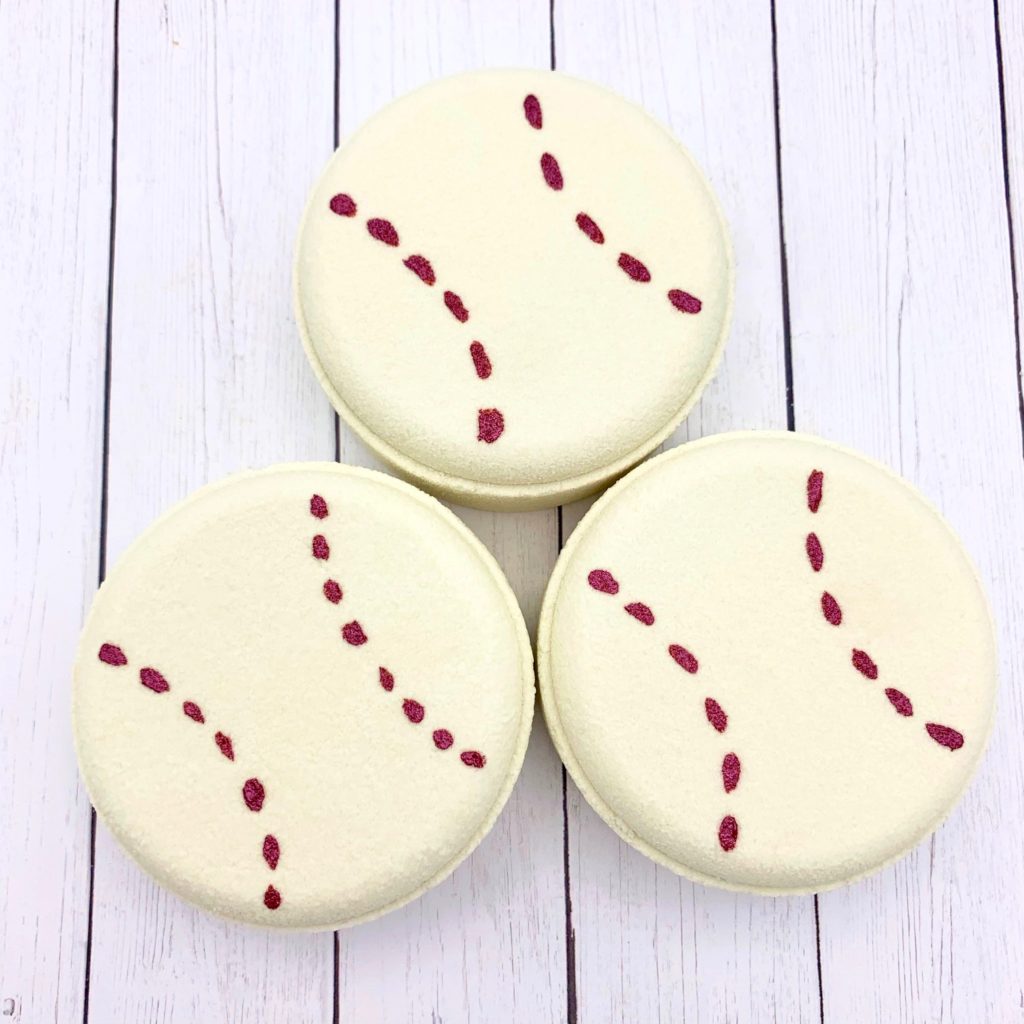
When the Bath Bombs are dry, it’s time to add stitches to the baseballs! To do this you only need the few ingredients listed above! The mica I used is called Thistle, from Muddy Soap Co. It is a burgundy red!
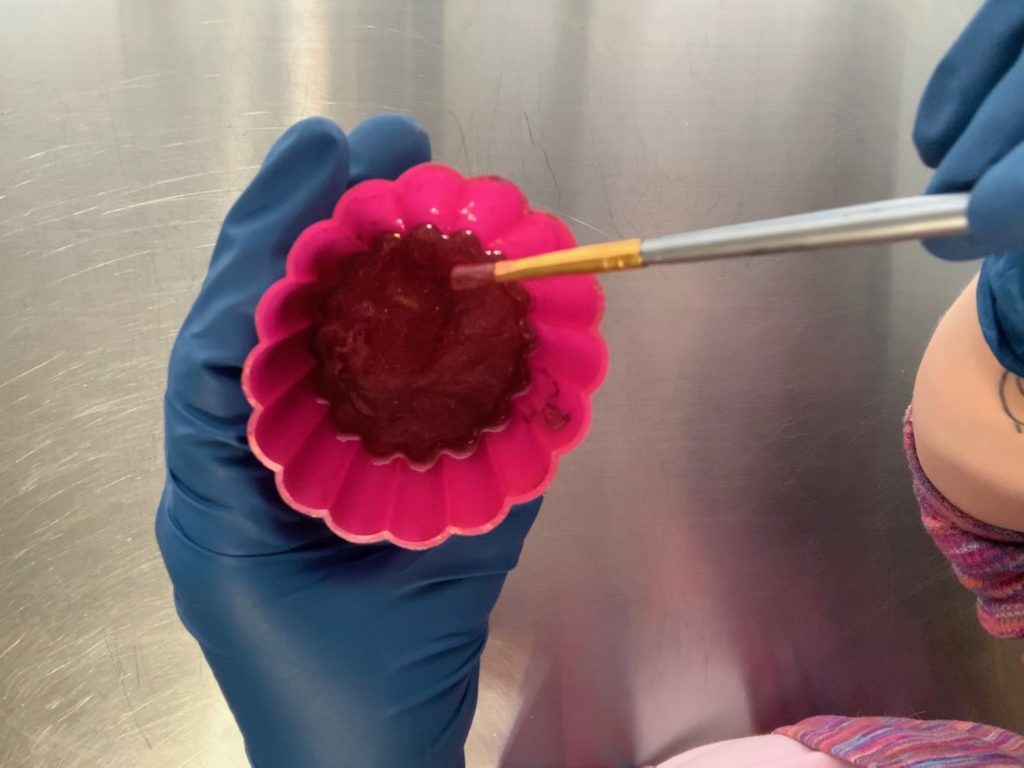
Mix your mica and rubbing alcohol in a small container. I love using silicone cupcake molds for this! There are no hard and fast rules for the ratio of mica to RA! I would say start with a 1:1 ratio and see where that gets you! You want the mica to flow freely and smoothly in the RA. If the mix settles, you want the blend to be fairly homogenous without a clear delineation of RA sitting on top. At the same time you don’t want the mix to be thick like a paste.
If the mix is too thin and you can see a clear layer of RA, let it sit for awhile then give it a stir. The RA will evaporate and the mix will hit that sweet spot. If the mix is too thick, add a little RA and stir it up! Odds are, you will have to add more RA as you go anyway as it dissolves. I get asked more questions about painting bath bombs than almost anything else, so this is great practice. If you’re nervous about messing up your bath bombs, you can practice painting on old ones or dud bath bombs (we all have a few sitting around right?)
When I was painting my bath bombs I found it was harder to make half circles than I thought it would be! It was definitely easier when I used a circle cookie cutter as a template. Alternatively you could cut a circle from paper and use that as a guide! I tried dashed lines, dotted lines, and v-shapes, but I liked the dashed lines best!

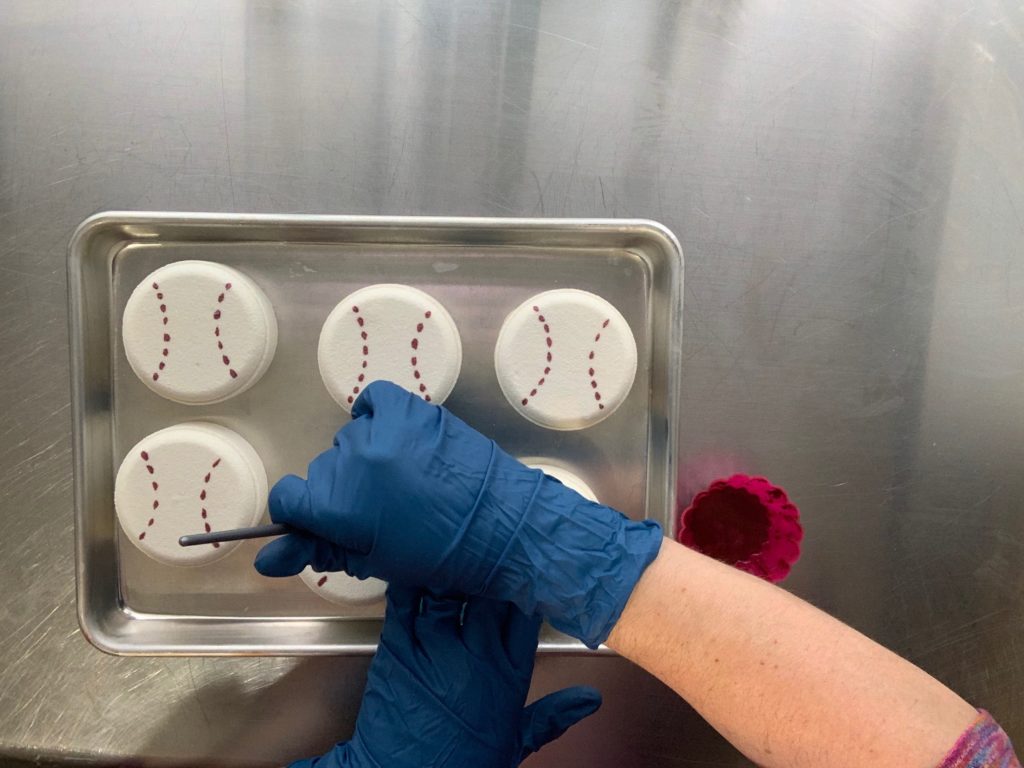
I let my bath bombs dry for about 2 days before packaging to make sure the mica didn’t smear! They were great sellers and I was right, men women and kids all really liked them! I can’t wait to make some more!
About Robyn French Smith

My name is Robyn French Smith! I studied fine art at the University of St Thomas and the Glassell School of Art in Houston TX, and graphic design at The Art Institute of Houston. I started dabbling in DIY bath and body products over 10 years ago after moving to Alaska. While I knew how to make basic soap for several years, I didn’t start looking at it as an art form until about 4 years ago when a neck and shoulder injury made it almost impossible for me to draw and paint. I needed a place for all that creativity to go, and I found it in soap. I received my Basic Soapmaker Certification from the HSCG in 2019 and plan on pursuing further levels of certification.
Find me online at scandaloussoap.com and Facebook!