Ahhh Halloween! Probably one of my favorite holidays. There are so many amazing Halloween projects for bath bomb and bubble bar makers. Piping bubble bar wands is an easy way to make fun projects for kids and adults!
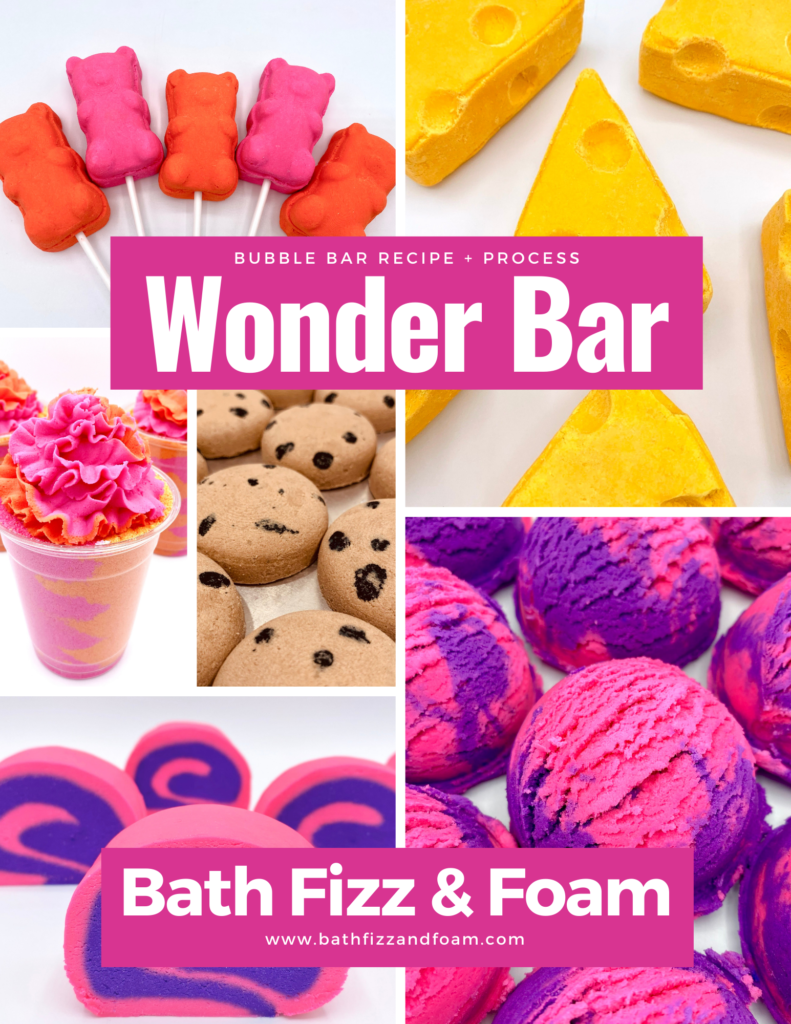
For this project, I used Wonder Bar! Wonder Bar is a bubble bar recipe that can be pressed like a bath bomb, scooped into bubble scoops, rolled into fun rolls and piped into bubble frosting! It is the most dynamic bubble bar recipe on the market. Check it out here!
You can use Wonder Bar or you can use your favorite pipeable bubble frosting. This tutorial is all about the design.
So, what’s a bubble wand? In case you’re new to all of this, a bubble wand is a bubble bar attached to a stick (cake pop stick, or pop sickle stick) that you hold under running water to create a bath full of bubbles! My kids LOVE bubble wands! They love holding them under running water as bubbles magically appear!
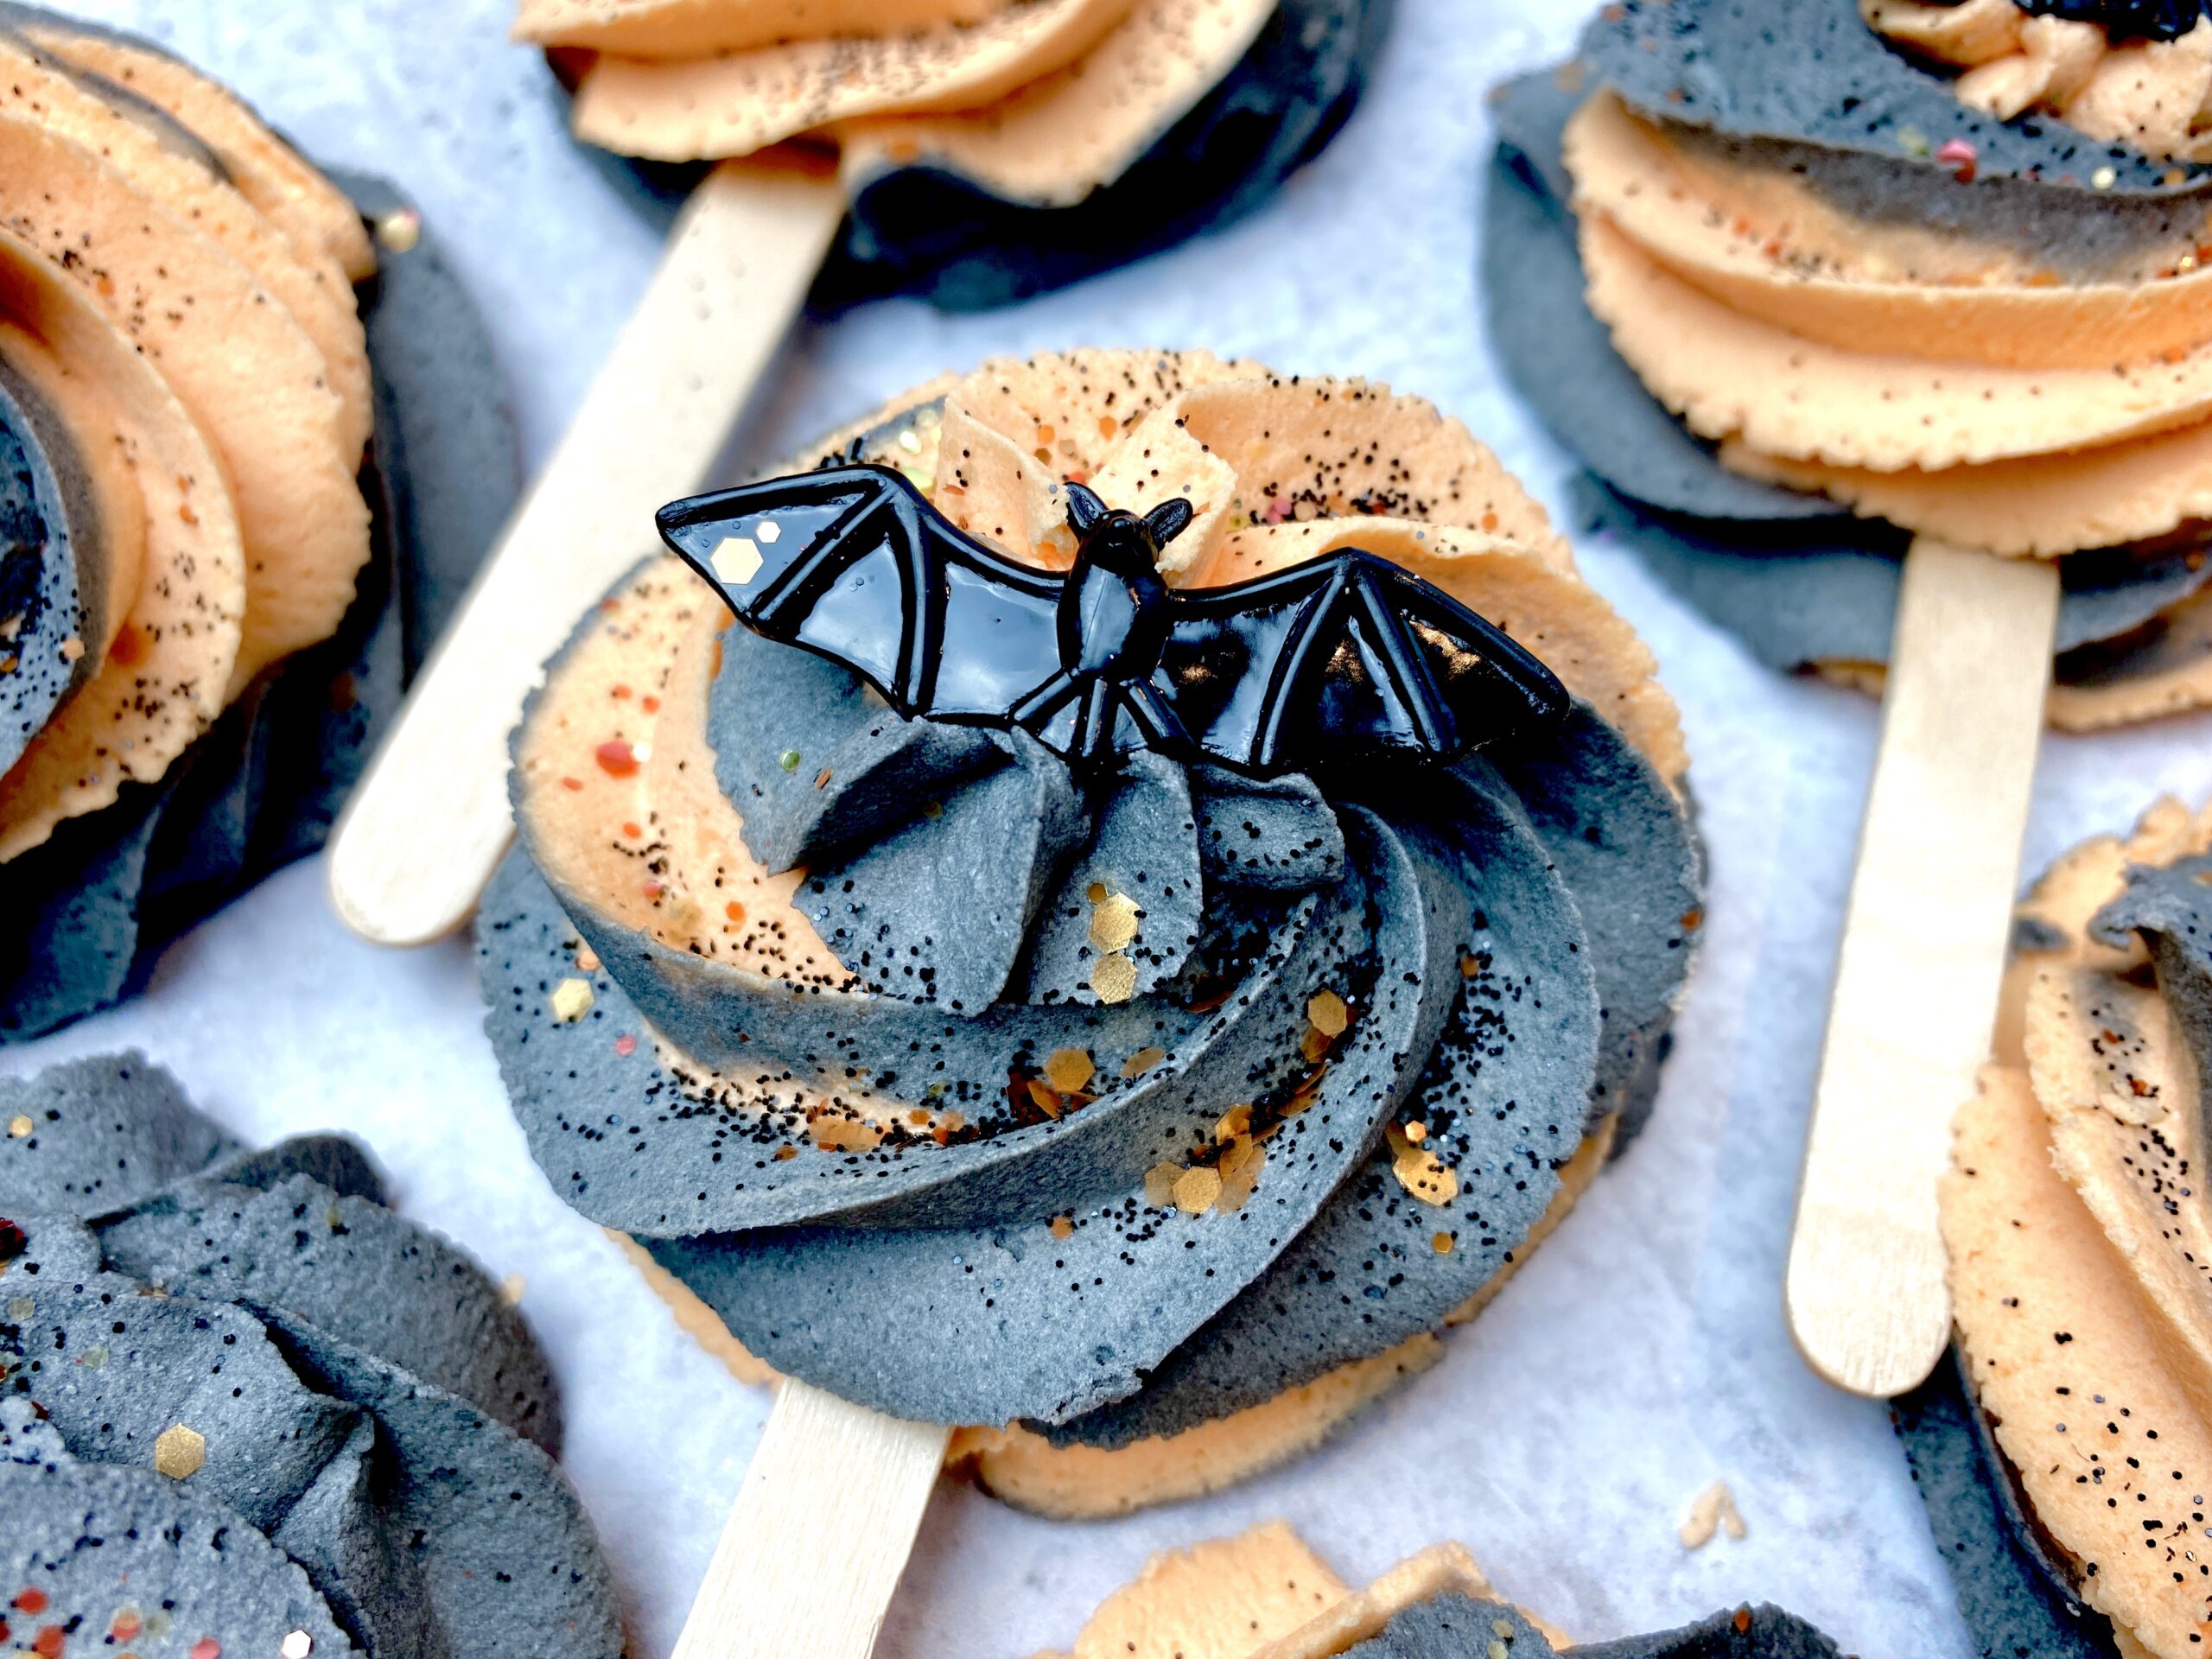
Here’s how to make them!
Get the Wonder Bar recipe here. You can use a full batch or you can dip out of a masterbatch and only make a few!
Other ingredients and supplies needed:
- Orange colorant – We used Robyn’s orange color study to make the perfect orange using lakes. You can also use your favorite orange mica.
- Black colorant – We used Robyn’s black color study to make the perfect black using lakes. We do not recommend using charcoal or black oxide in bath products.
- Pop sickle sticks (or cake pop sticks)
- Cosmetic approved, eco Glitter
- Bat rings – We found adorable bat rings from a party supply store!
When it comes to bubble wands, it is ALL about consistency. As mentioned, Wonder Bar allows you to create a pipeable bubble frosting. These directions are outlined in the PDF when you purchase.
Step 1: Mix Wonder Bar until you get a pipeable consistency! It should look like frosting.
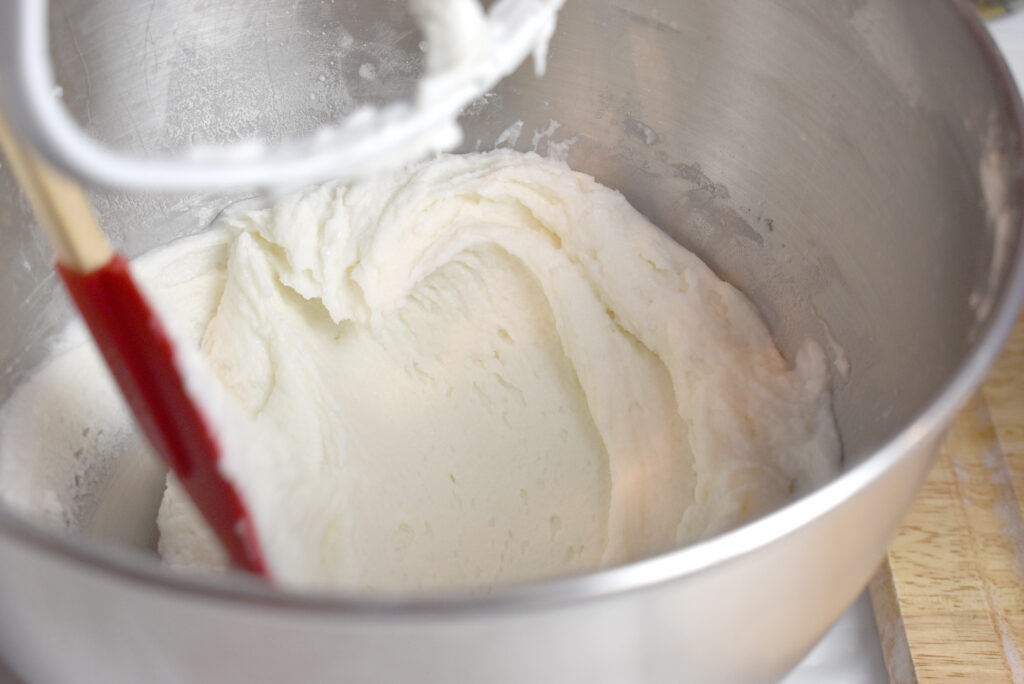
TIP: Try a test piping! If your piping is airy and cracking, then add more alcohol!
Step 2: Divide your mixture to color. Color one using orange and one using black. If your mixture dried out a bit during the coloring process, add more alcohol to get it back to piping consistency!
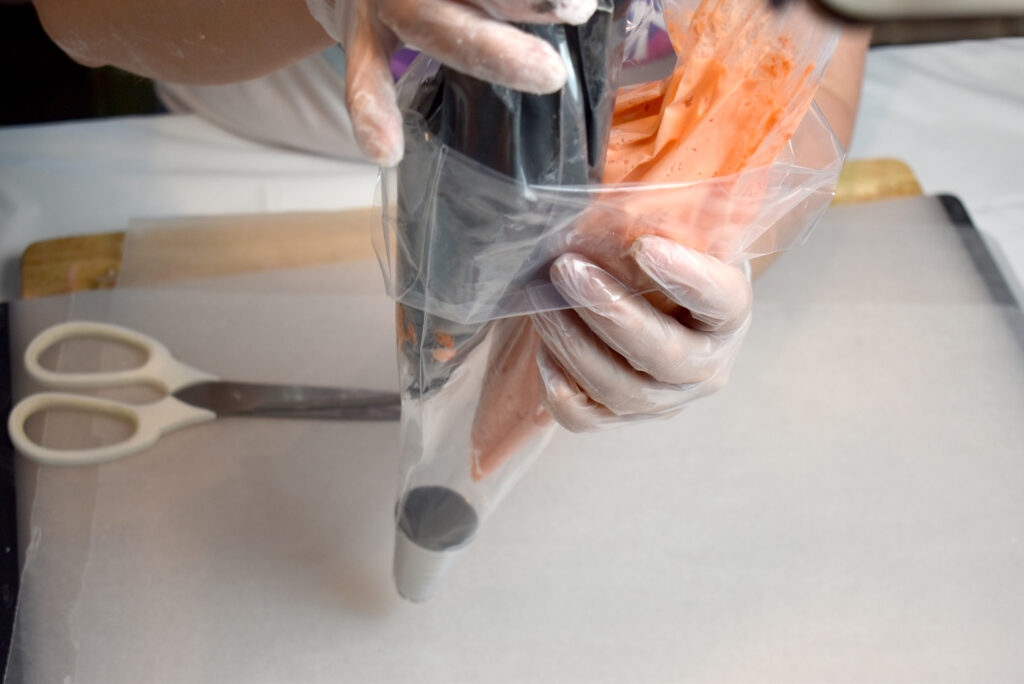
Step 3: Put each mixture into a bag To prevent the mix from drying out as you prepare each color, don’t cut the bags until you’re ready to place them in the main bag!
Step 4: When all your colors are ready, cut the tip off of each bag as shown. (Notice there are not piping tips!)
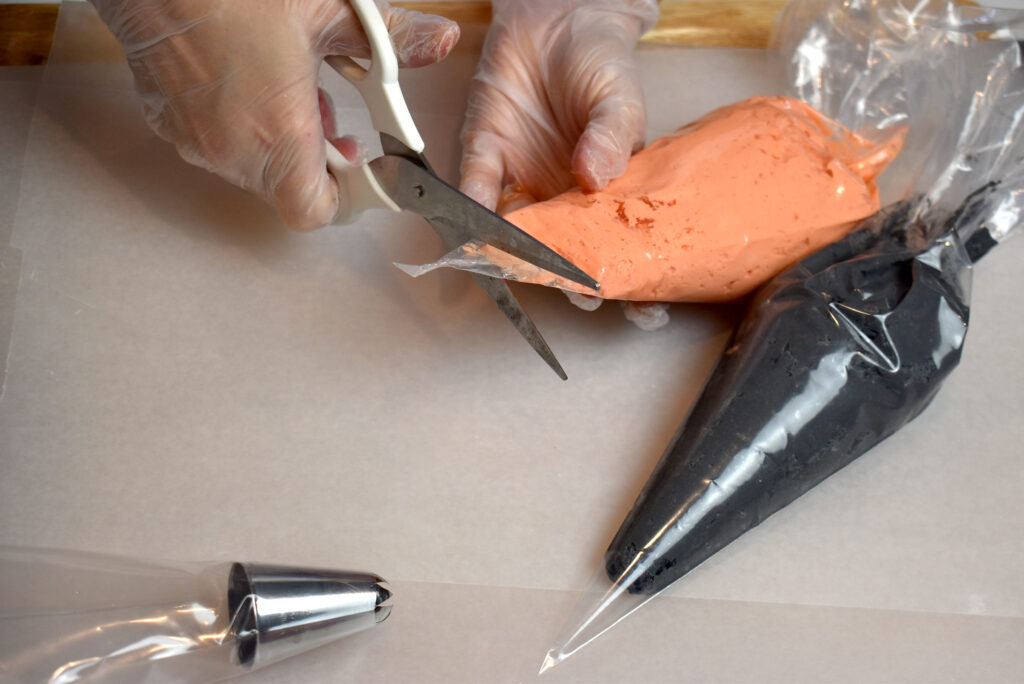
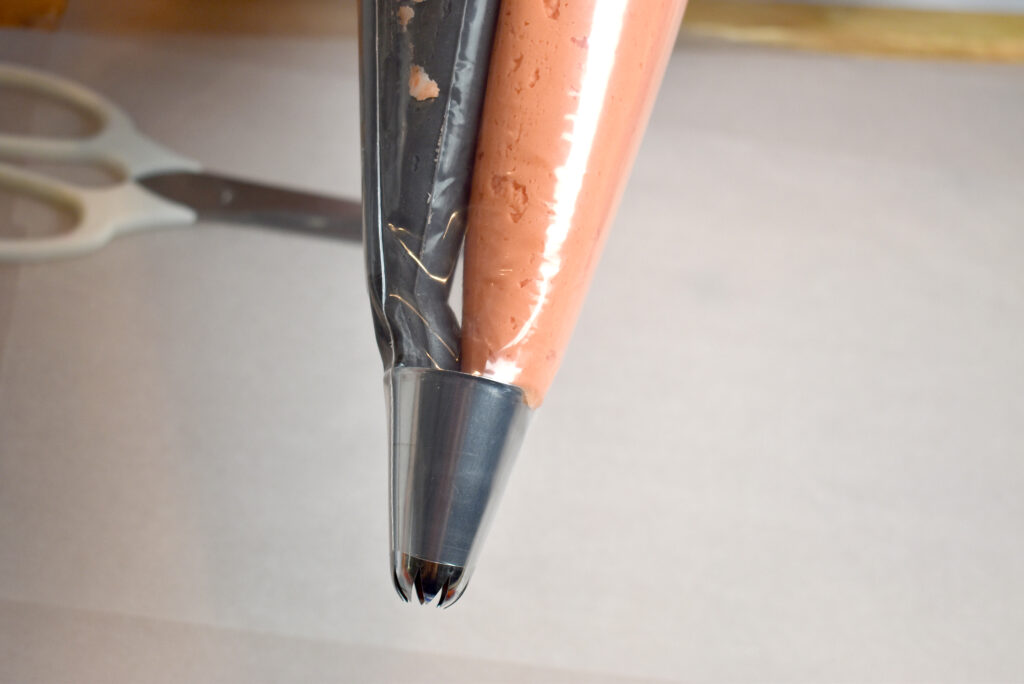
Step 5: Prepare another bag with your tip. My favorite tip for piping bubble wands is the Ateco 847 tip.
Step 6: Place both colors into the new bag as shown. Try to keep them evenly inserted so when you squeeze, they’ll both come out at the same time. This will allow you to pipe a double colored bubble wand!
Step 7: Pipe a blob of Wonder Bar.
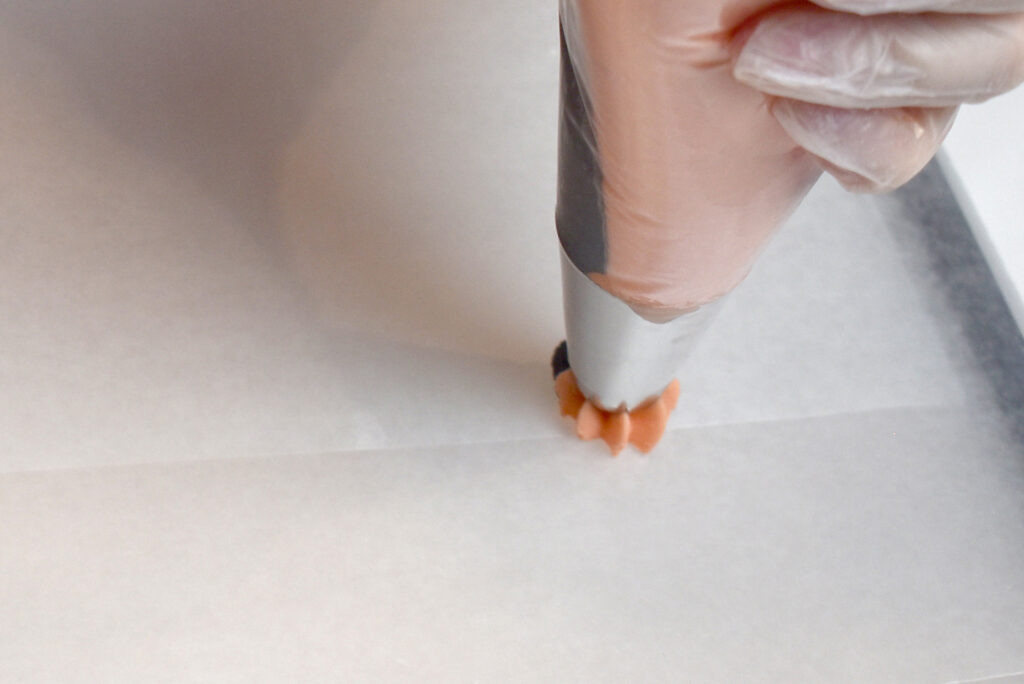
Step 8: Pipe a circle surrounding the blob.
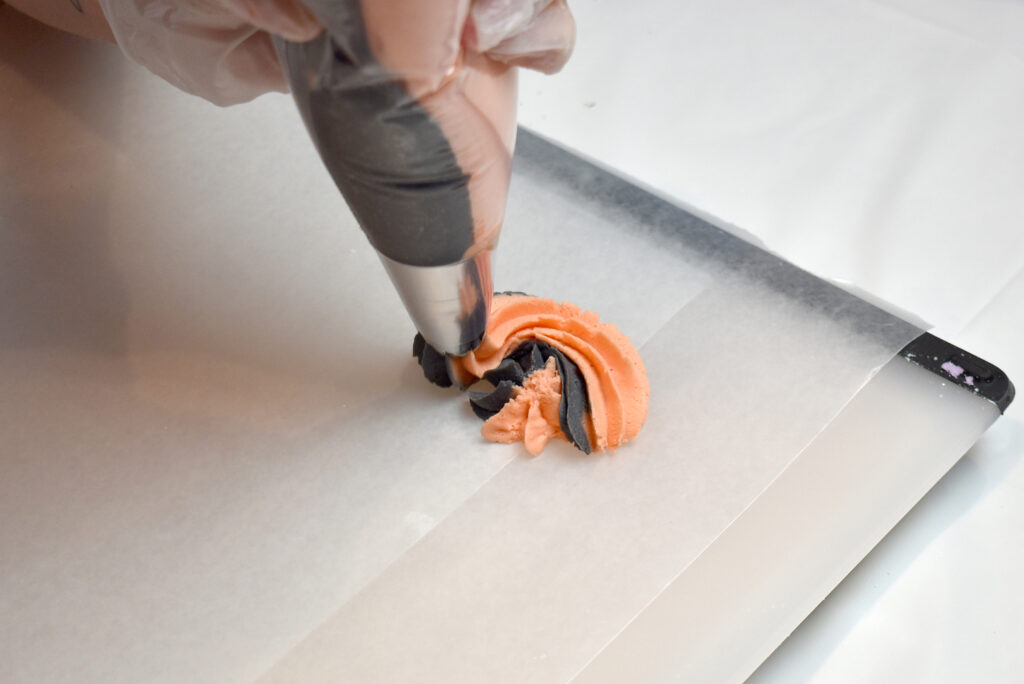
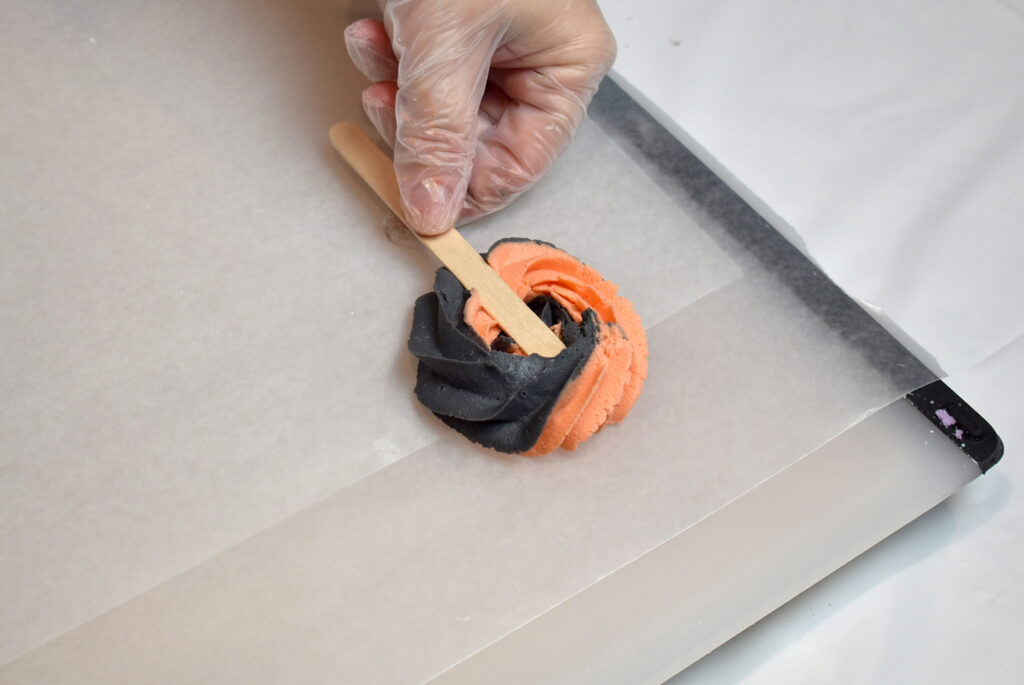
Step 9: Place a stick on top of this first layer. Having a bottom layer and a top layer creates a more stable bubble wand where the stick won’t fall out!
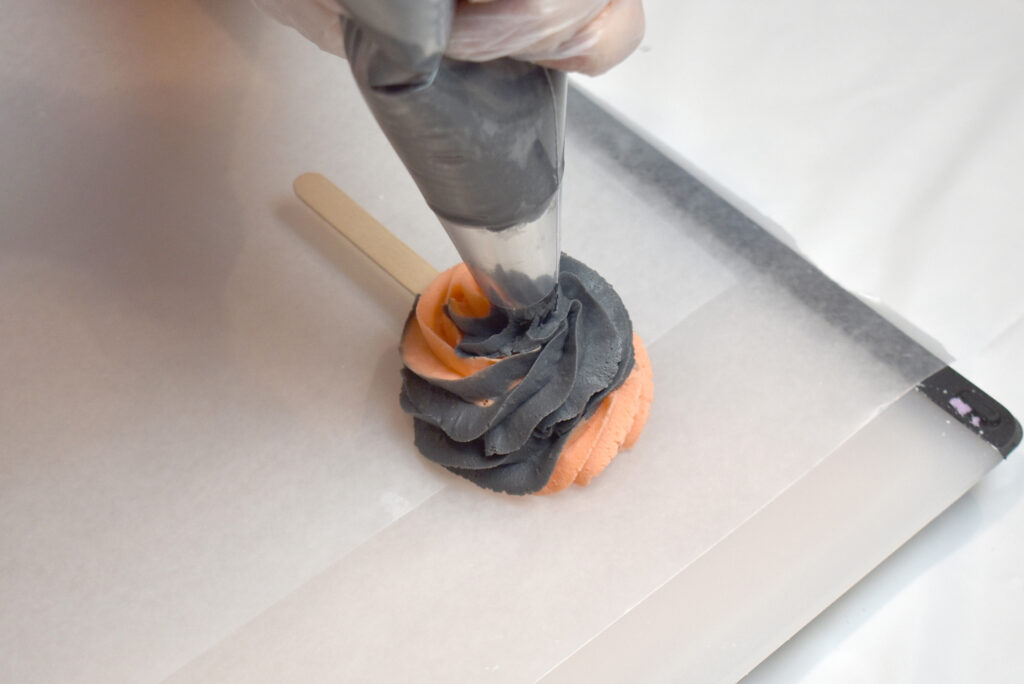
Step 10: Pipe another swirl on top to complete your bubble wand.
Step 11: Top with a fun toy! We added a bat ring! Sprinkle with glitter, if you want! We love cosmetic, eco glitter!

Step 12: Allow your bubble wands to dry for 1-3 days (depends on your humidity).
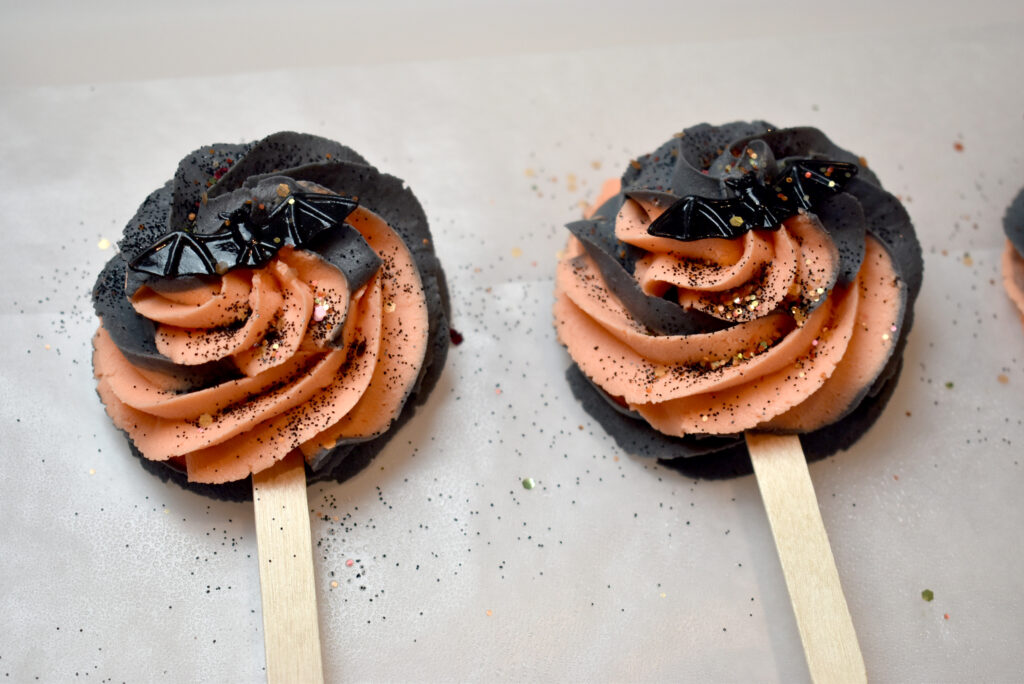
Tip: Dry your bubble wands in a room with a dehumidifier.
Once dry you can package your bubble wands! I like to package in a bag, tied with a ribbon!
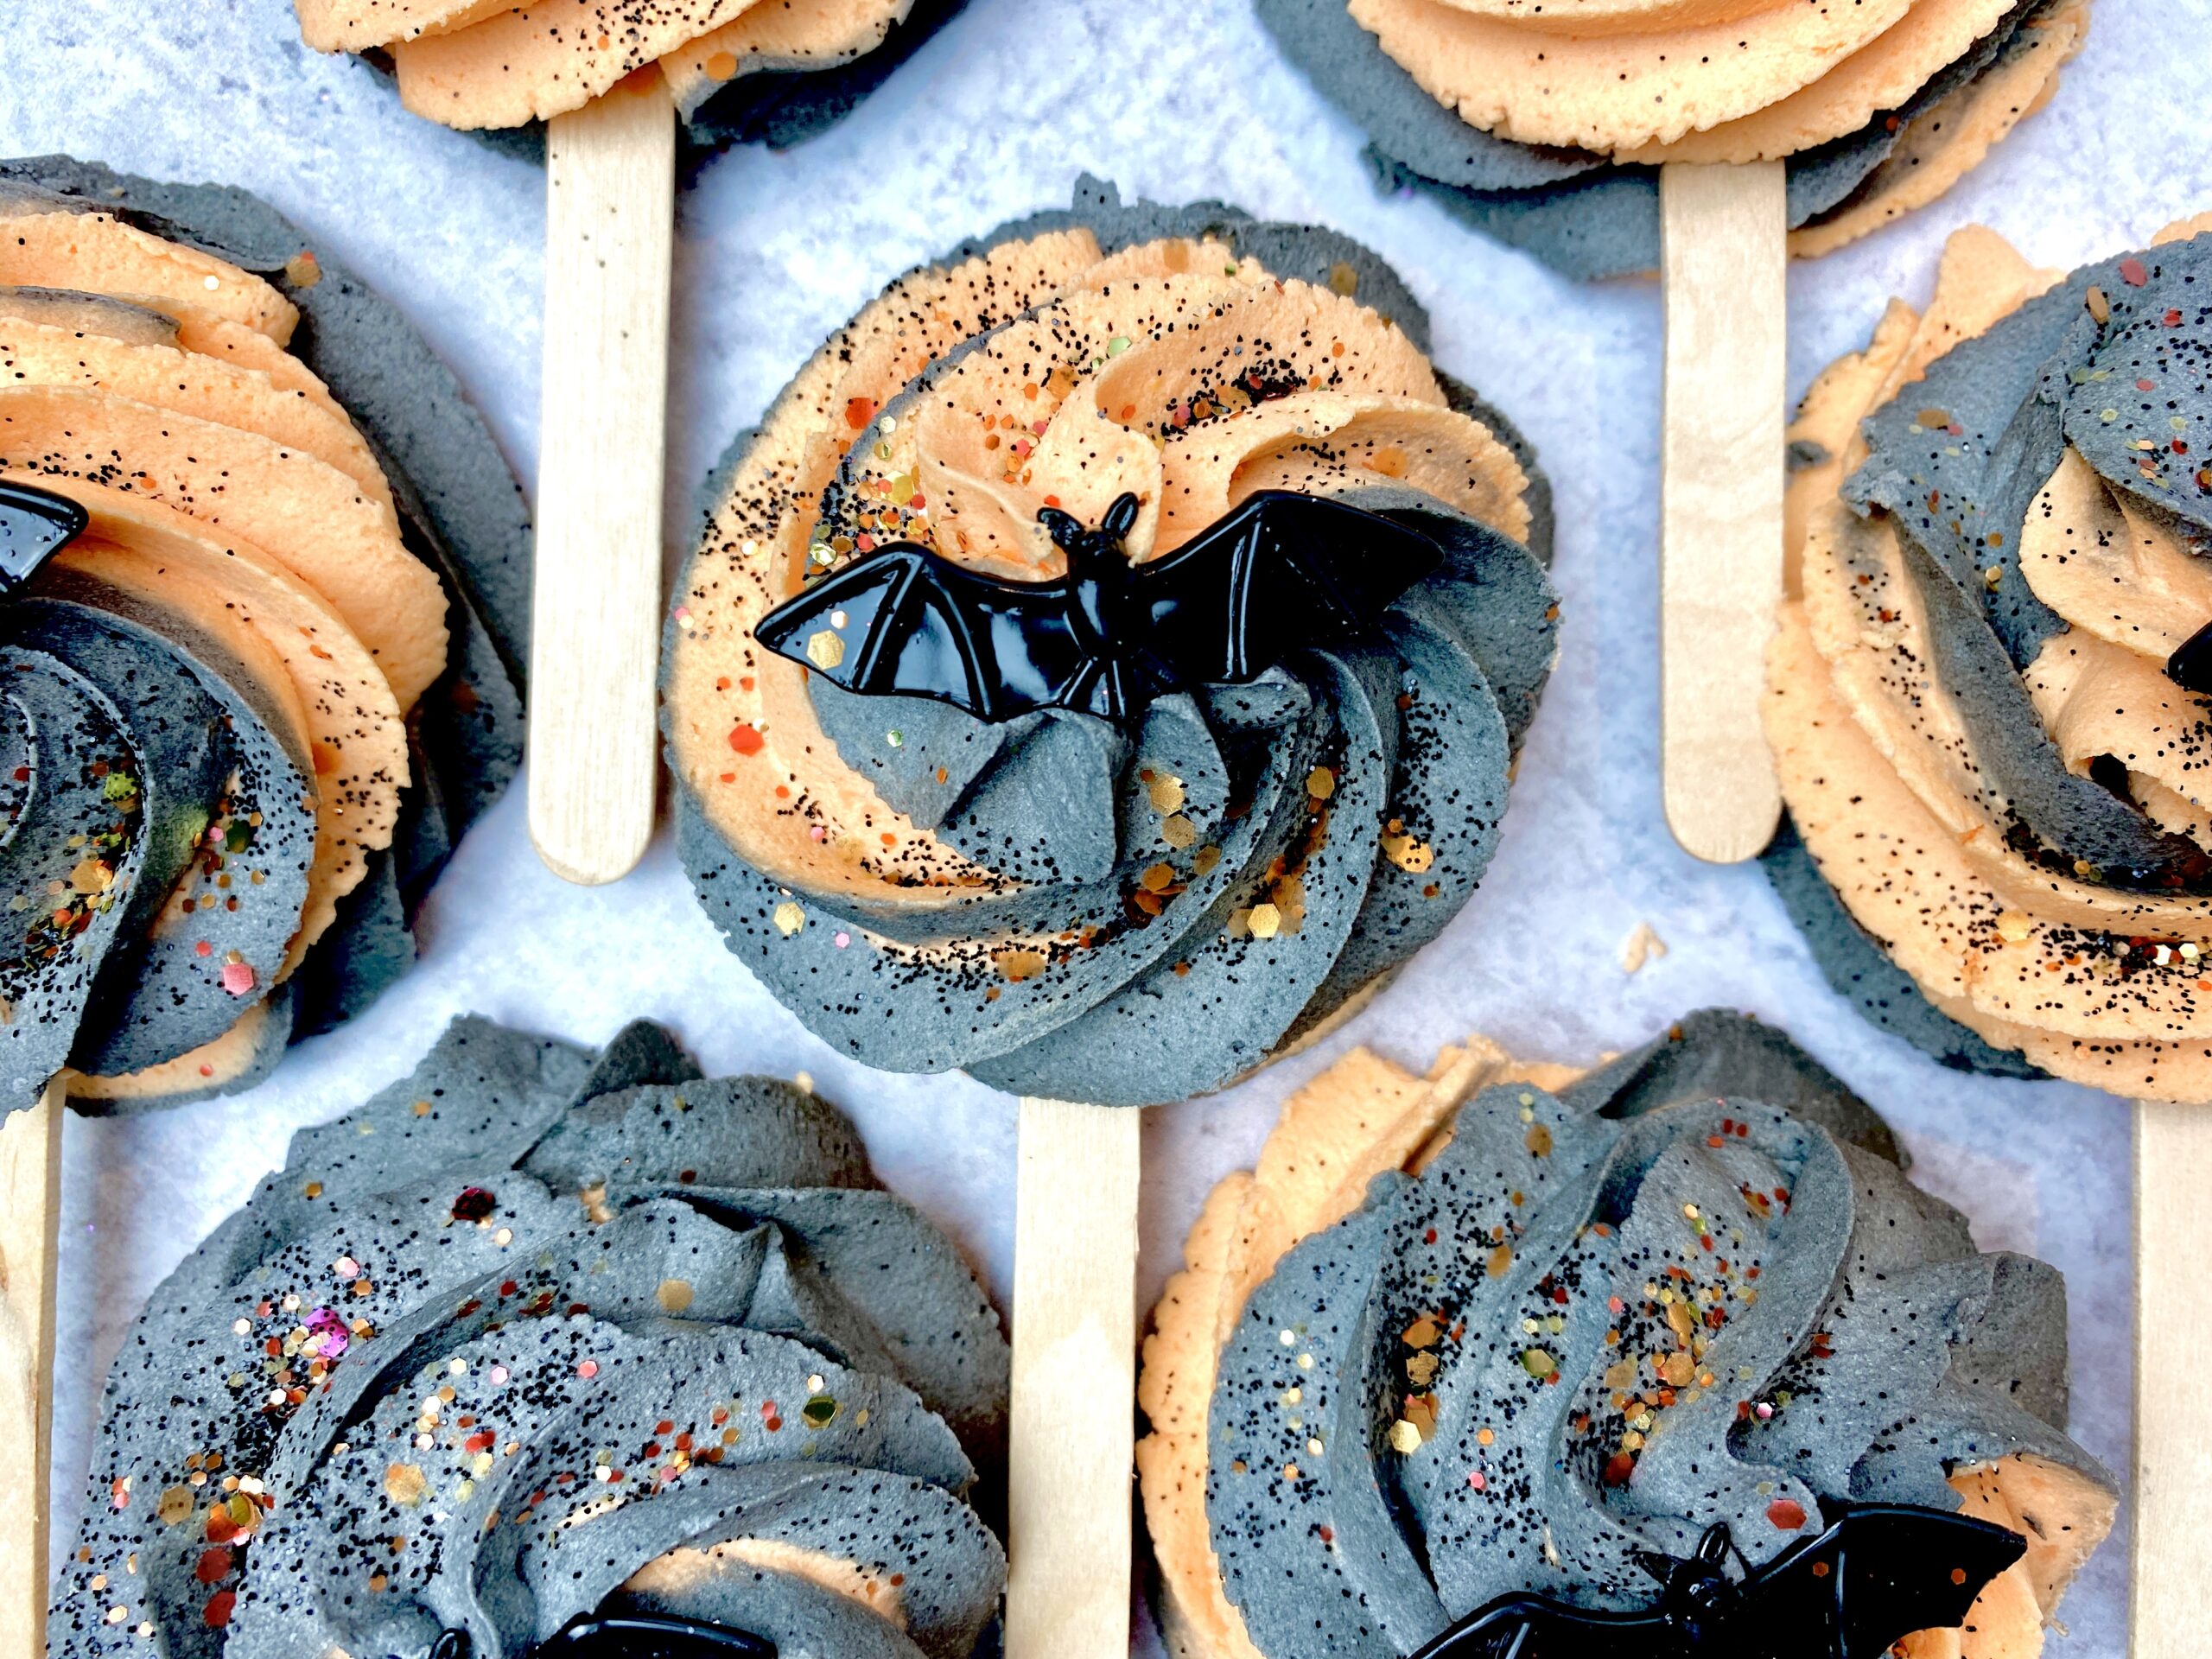
To use a bubble wand, simply direct your customer to hold it under hot running water. As the water dissolves the bubble wand, it create a bath full of bubbles!
Happy Bubble Making!
Robyn & Amanda
Wonder Bar Bubble Bar Recipe + Process Guide
Get one recipe to make it all! Make bubble bar scoops, rolls and bubble frosting, using just ONE recipe! Get Wonder Bar here.
